Project Essay

“Step Into the Newsroom”

The aim of this project is to promote the knowledge of current events in schools. My inspiration for this project came from a family member telling me that they do not often discuss current events in school. From this, I was inspired to create a project that would make learning current events simple, but reliable for children in school. This is where the idea to make an interactive carpet came about. In “A Brief Rant on the Future of Interactive Design”, Bret Victor highlights the the importance of keeping tactile interactions alive in the technology age. Creating a project where students have to step on certain parts to hear the news, despite being able to Google it, allows for a more dynamic interaction. 

I hope to create a sense of fun with this project as well. From the act of stepping on the carpet, I want to create a more fun experience that just reading the news on your phone. The look of the carpet will be a world map with large button over each continent and largely populated country. This makes is so the user can easily choose where they would like to hear news from around the world. When the button is pressed, an LED will light up, and then on the laptop screen a tweet that includes the name of the country will randomly be found. Because this project is intended to be in schools, we will have to take precautionary steps to make sure that the tweets are appropriate. By Nov 25-26, my partner and I have to create the carpet itself and begin figuring out how to generate tweets in our code. After the carpet is done and looks like a world map, we can create the buttons for the user to press and attach them to the carpet. This should be done by Dec 2. The code should be finished in time with the carpet. This leaves us with just over a week to add the finishing touches. I would like to see if it is possible to have the tweets read out, but this is what the extra time is left for. 

As I said above, my major inspiration for this project was my family members lack of current events in school. I was loosely inspired by another project as well. This project was “Moon” by Ai Weiwei and Olafur Eliasson. Their vision was to create a space where people from all around the world impact how users interact with the project. I wanted the same, but I am doing it with tweets. Using tweets aligns with my definition of interaction perfectly. The project will have to “read, think, and speak” in order to display relevant tweets. It will read which button has been pressed, locate a tweet that has to do with the selection region, and display it on the screen. I think my project has significance in that it is an educational tool. It is intended for the use of students in school, but it could be simplified or advanced to fit different audiences. For example, instead of reading tweets, elementary schoolers could press the buttons and the carpet would read the name of each country. This project could be easily built upon to teach different things, but the overarching meaning is that it educates. 
RAPS Assignment 5 – Chenlan Yao (Ellen)

Link to my gist: https://gist.github.com/Ellen25/5f3deafb41a829c51a9f8d5a19dd3447

Sample video:

Process:

I started this assignment from the 1D model I made in class:

1D model

1D model

I furtherly developed it by first adding another 2 dimensions to gl.multiple and adding attributes to gridshape. After editing the 3D model, I also used 1EASEMAPPR and 1PATTERNMAPPR to create a pattern with 2TONR to generate its color. Connected it with the 3D model created by jit.gl, the changing color pattern was added to the model. The final patch looks like:

assignment5 pattern

I tried to use the 3D model downloaded from the Internet but I failed. No matter how I adjust the settings, the model didn’t show up clearly. I will try my  best to figure it out later.

Week 11: VR & VR Effects (Repost&Update)

I’ve recently been using 3D modeling software for class (Rhino) and my primary goal or interest was to find methods of integrating it into these applications and my final project. I wanted to find other applications that can be used in conjunction with the MochaVR, MantraVR, and CaraVR. 

Key Takeaways: 

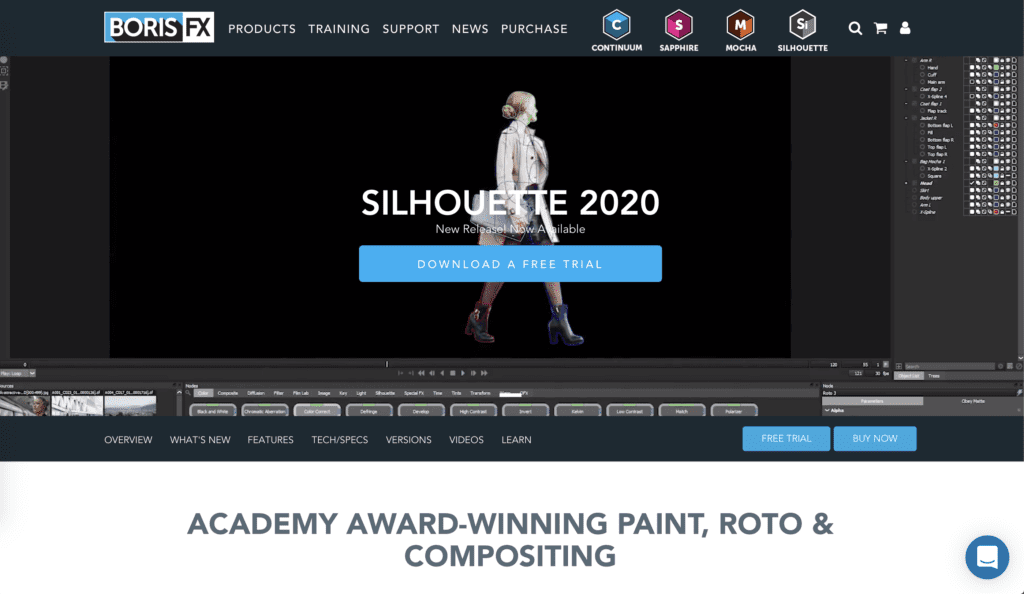
BorisFX – MochaVR  – SI – MochaVR has a sister software called Silhouette that focuses primarily on non invasive/abrasive paint that allows users to take a more graphics driven approach to VR effects. This however, is an extra software that is just as expensive but the features are STUNNING and something I’d be willing to invest in. Best Feature: Layout – the layout of programs by BorisFX is very similar to other art programs like Photoshop or Lllustrator. If I were the user/consumer this is what I’d prefer as the controls seem the most familiar and with the least learning curve.

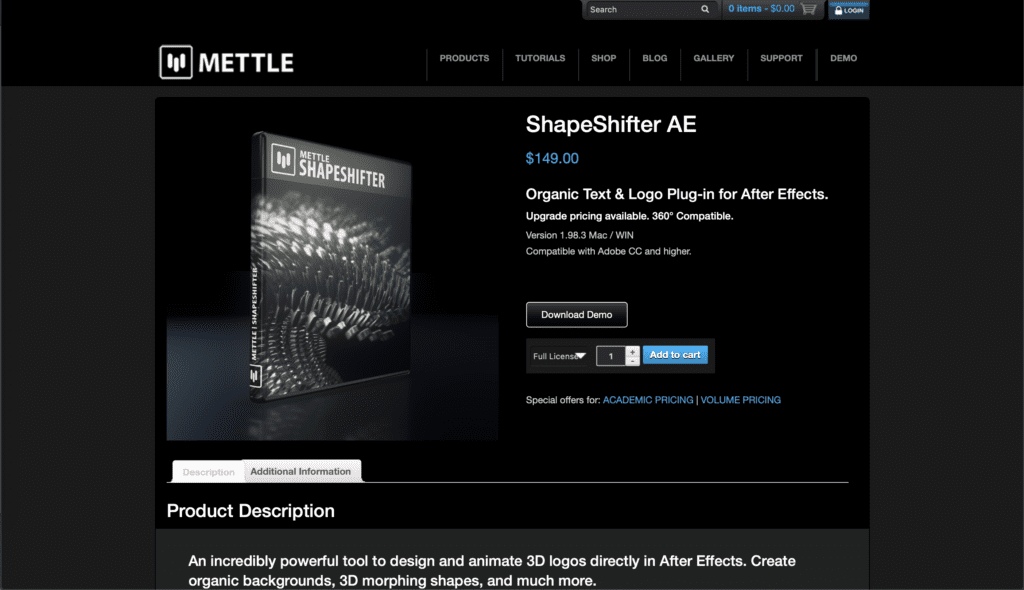
Mettle -Mantra VR- Shapeshifter: Mantra VR has a extra software that acts as a plug-in called ShapeShifter AE. However, it is mainly limited by a lack of features (in comparison to the other 2) and  not as advanced with the features it offers. It is mainly used for AfterEffects while the others have better optimization for other applications. Best Feature: THE PRICE! The price point is good enough to be a good enough supplemental software to support MantraVR.

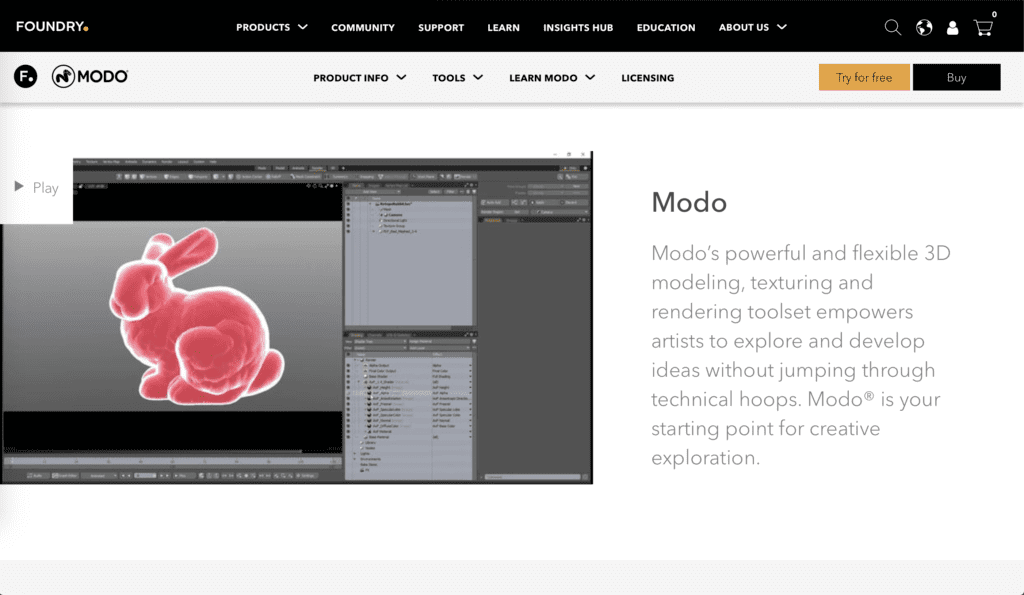
Foundry – CaraVR – Modo – Modo is another application that is focused more on amazing texturing and rendering tools. The program is quite intuitive and has a mid-price range. Best Feature: Modo’s workflows are very artist friendly, it’s very similar to what I’m used to in the past. This can make it easier to learn (ideally). It is also a powerhouse for lighting and shading effects as well as a power translator aka great for CAD formats and etc. 

If I were to invest in a particular software, I would invest monetrily and learning wise on MochaFX. The layout is a lot easier to understand compared to the other two and the sister application SI is also one that I find the most interesting. Both applications would be incredible outlets to produce VR videos with 3D modeled/rendered add ons. 

Final project essay by Steve Sun

project title: Collab Drawer

purpose: we want to highlight human connection, but this time not through making contact but through collaborating and communicating with each other. in this project, through collaborating with the teammates, the users as a team can draw a complete picture using this drawer. however the point is not drawing the perfect picture, but is the communication and collaboration that is happening in the users a s a team.

plan: in our final layout of the project, there will be several balls (nur depend on the number of the users) connected with lines. each player is in charge of the rotation of one ball. The circle on the end of the whole thing is a pen, where another player can decide if it draws lines or to go back to the former step. through conrtoling the rotation of each balls and collabratively positioning the pen, the users will be able to draw pictures with this tool. we need to have several controllers and a button to control the draw function. 

we plan to have at least one rotation good to use before user testing, and immediately finish the rotation of the other controllers after that. then while Kris is diong the final wiring, I will begin the fabrication

significance: This project encourages communication and promotes team collaboration. we didn’t build this idea upon anyone else’s project, but this idea of interaction that “it should not be ‘input output that’s it’ kind of thing but the output actually promotes the user to do more with the project” was generated from the article The Art of Interactive Design by Crawford. 

Assignment 5: Multi 3D Objects (Phyllis)

Here is the link to my gist

Process

I was searching for different 3D models and finally decided to choose a human head (downloaded on TurboSquid) for this assignment. I loaded it to max through “read,” added 10 in total and experimented with their motions based on Eric’s example patch. I did some adjustments on the frequency/scale/speed of position, XYZ rotation, and scale of my head model. For rotation on the x-axis, I switched the parameter to “phase.” The motion was finalized to be 10 heads nodding at a high frequency with low-frequency shakes, and the 10 heads move around on x, y, and z-axis.

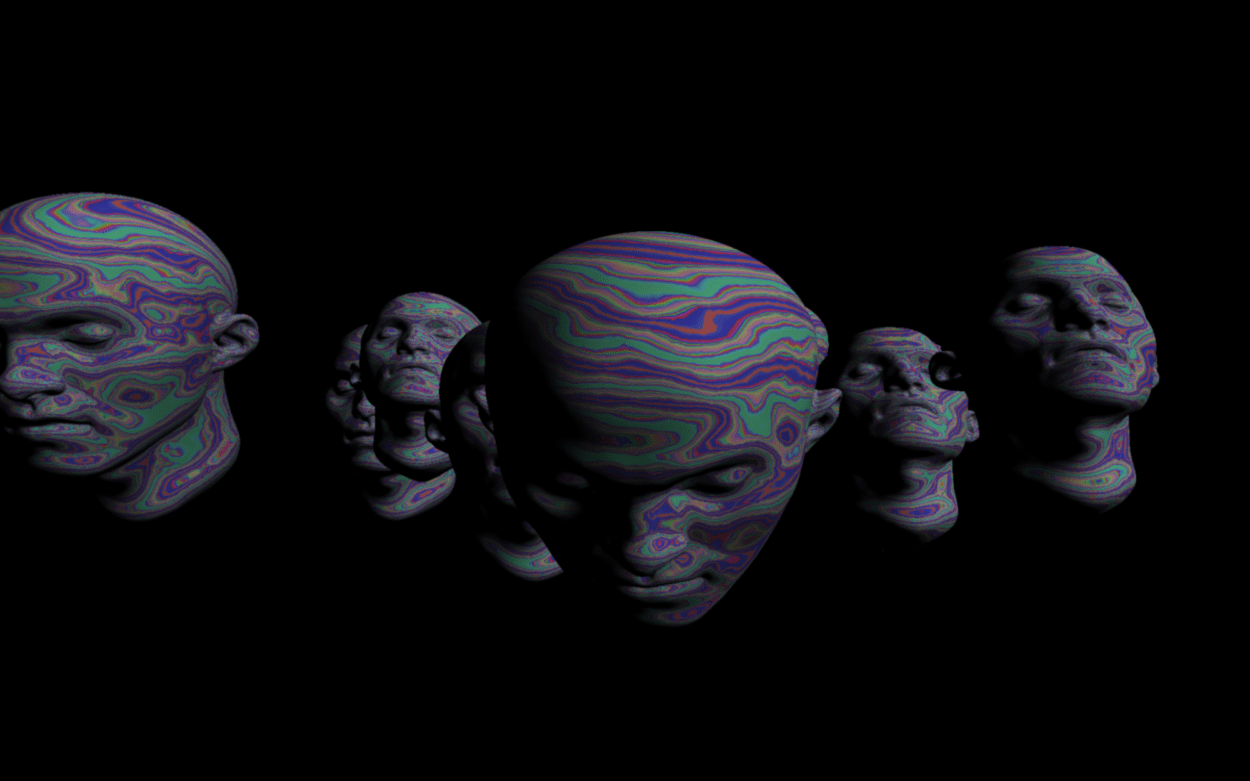
After finalizing the motions, I started to generate patterns for the model, however,  I could only make changes to the background rather than the model itself. (Now that I understand how it works, I find myself stupid… 😑) The patterns were not passed to the model — Eric explained to me how effects/patterns could be passed to the model in jitter and I finally understand!!! Then I worked with the patterns by using 1PATTERNMAPPER, MAPPER and HUSALIR, and produced the first output image (see Figure 1).

Figure 1

Demo for Figure 1

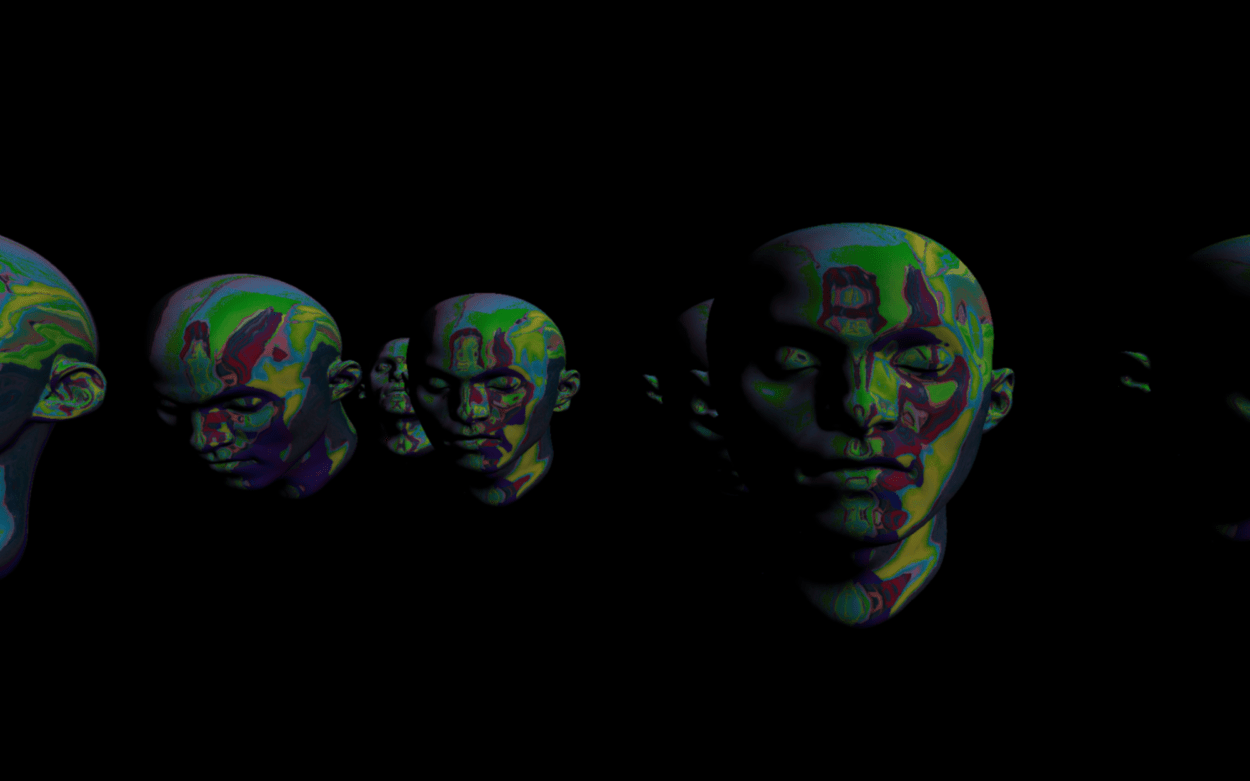
Eric also showed me how to switch between different patterns by adding more statements to the drawing function. The switching can be easily achieved by a simple click. I modified my face with MUTIL8R and had my second output image produced (see Figure 2).

Figure 2

Demo for Figure 2

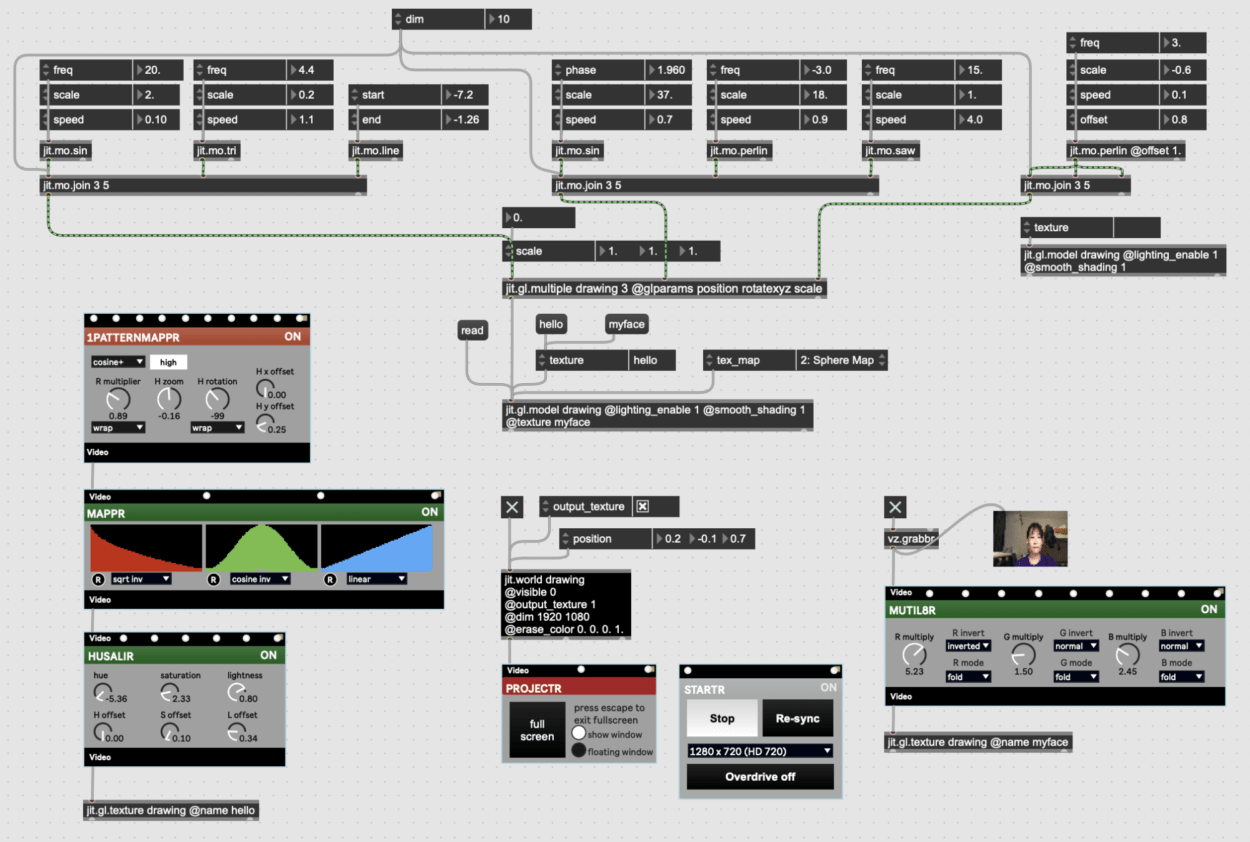
Below (Figure 3)  is a screenshot of my entire patch.

Figure 3

Reflection

  • I find out the reason why I felt this assignment challenging at the beginning — I was not comfortable with jitter yet. So I was afraid of trying out and felt that I’m not good at it (even though we’ve been worked with Max for an entire semester). I need to step out of my comfort zone.