MLNI Week 9: Innovative Interface with KNN – SamanthaCui

Link to code

Demo (there’s music so please turn on your speaker):

Concept:

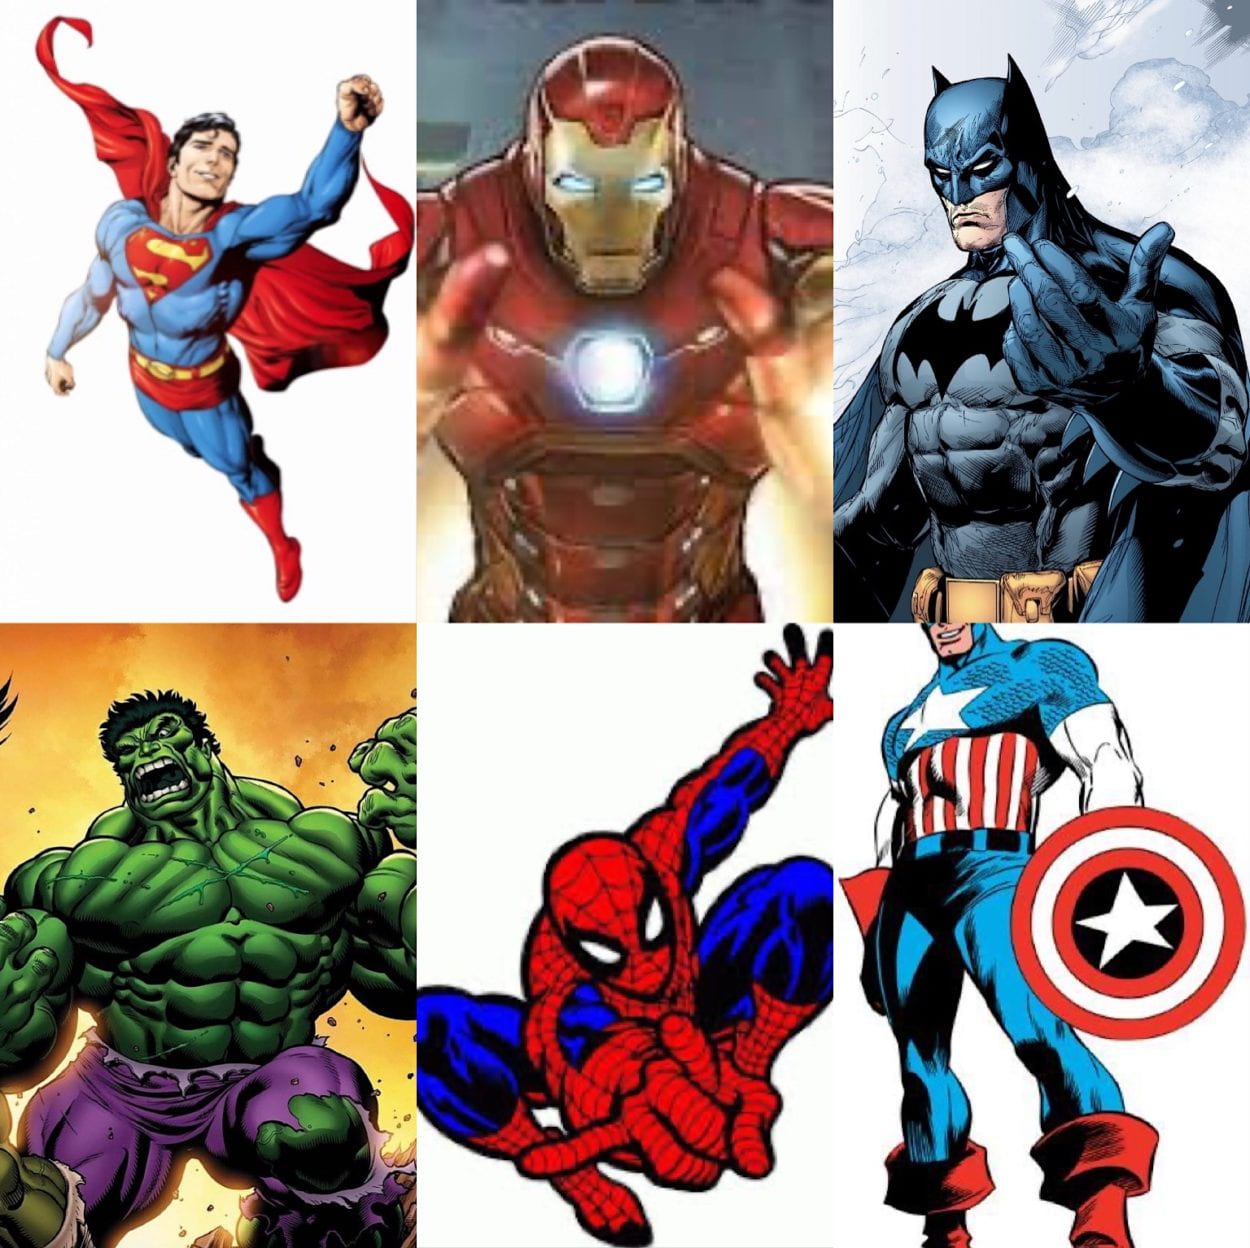
This week we are assigned to build an interface utilizing KNN Classification. I was messing around with the example code provided by the professor and found using video as input very interesting. I followed the codes and developed a themed webpage for children to play with. A lot of children are interested in superheroes, they often imitate their gestures and movements. Thinking of that, I chose six difference superheroes from Marvel and DC to be my characters. They’re Superman, Iron Man, Batman, Spiderman, the Hulk, and Captain America.

Design:

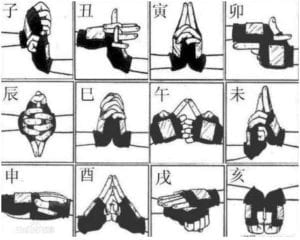
These superheroes all have a signature pose where people could instantly think of. Using that, I recorded these movements and poses into the dataset, and loaded into the webpage. All of the poses I recorded are similar to the ones shown in the picture, so people could easily figure out what poses could trigger each character when they are messing around.

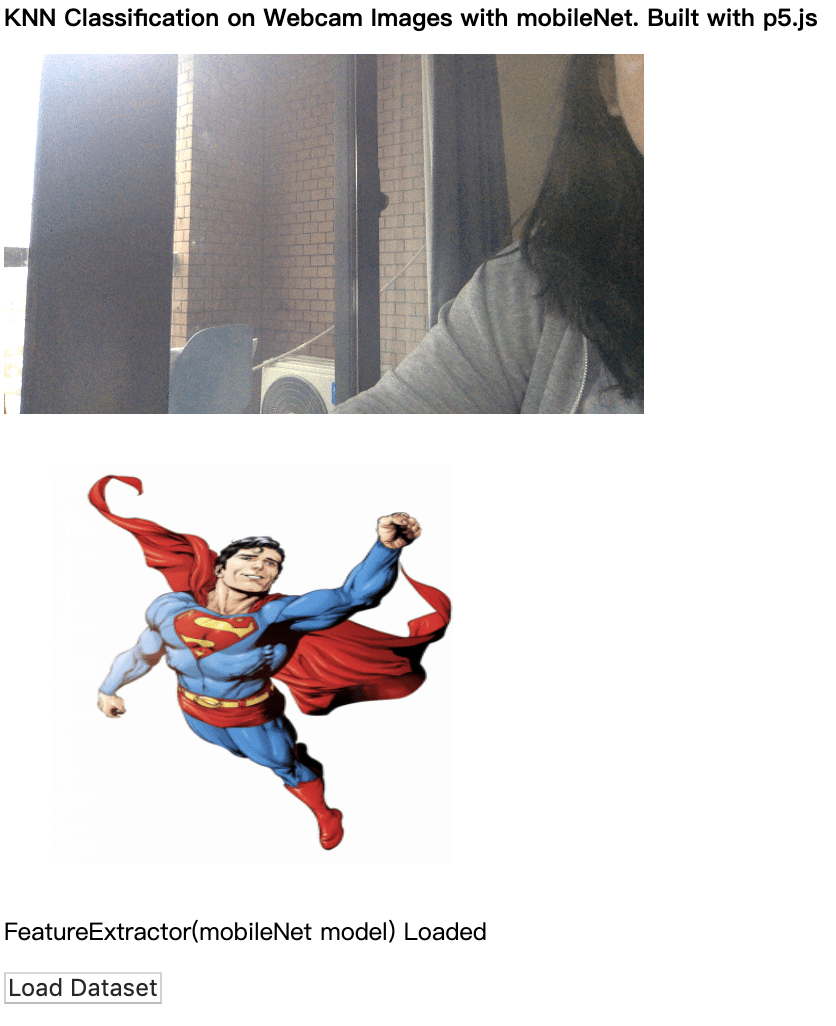
Since I added more class to the code, the webpage was too long to show the webcam and the “Confidence in …” text for every character at the same time.  To make it more clear of which superhero was the user’s movement classified as, I added a div to show the image of the character being triggers.

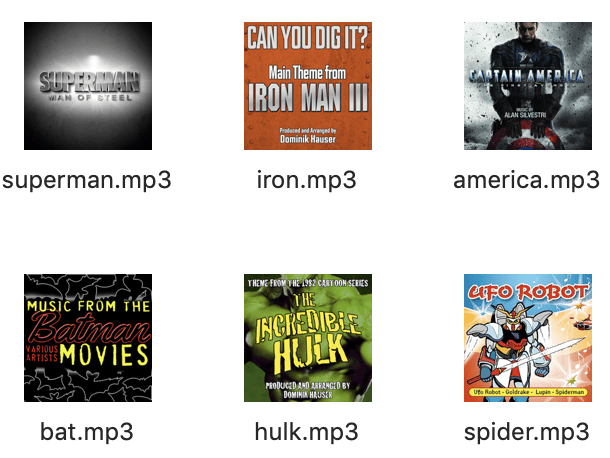
All of the pictures I chose for each character are from the cartoon or the original comic design. To match the aesthetic, I chose the theme song from the tv show or cartoon, where most of them are produces in the 1960s, to be played whenever the character comes up. 

Code:

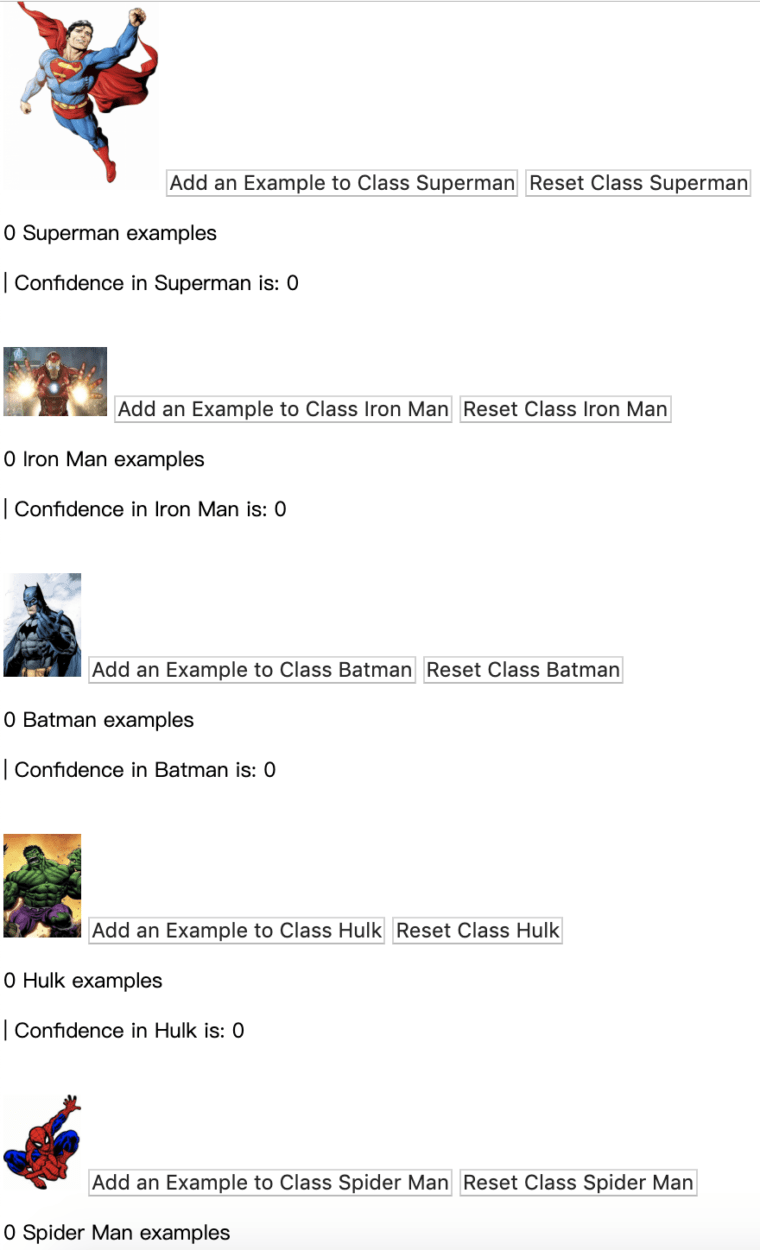
  • I used the example code from class, KNNClassification_video to train and get the dataset. Then I changed the layout for each class using HTML.
  • To add the audio, I first added the source audio in HTML and gave it an id, then I called it in Javascript.
  • To appear the corresponding image under the webcam, I added a div in HTML, styled it in CSS, and changed the image in Javascript by changing its source image.

Difficulties:

I was trying to let it appear gifs from modern-day films of the superhero under the webcam, but it wasn’t working that well. The gif froze and slowed down the entire site. I think it might be because it was unable to process that much at the same time. 

Project Proposal – Kris

As the case is that: we thought of what project we want to make before research, so we propose two different version of our original idea as well as a backup.

1. Life Line ver.1
We decided to make a massive interactive art. Players (estimated number 6 – 10) will each have a device in their hand. On the celling is a projector that cast a circle around each player on the floor. The color of the circle is dimming, meaning that one is losing his life. The only way to make one exist longer is to “build interactions” with other people, that is to connect the device with another for several seconds, until a line appears on the ground that connect you two. The more lines you have connecting with others, the longer you exist. The lines are also disappearing gradually so one needs to keep making new connections.
In the research, we read the Isea essay that discusses the relationship between nodes and networks, which help us to design the function and life cycle of each player to present a profound idea (which will be mentioned later). The research on other project offered us inspiration and detailed way of implementation to use projection mapping (i.e. the function of the projector on the celling).
There are several technology difficulties in the project: wireless communication of many Arduinos and computer; inter-Arduino communication; programming the network; locate everyone’s location and cast projections around them…
As a art work, it is intended for all types of audience who are interested. Instead of having a really practical use, it is intended to convey a message: what it means by saying we exist?

2. Life Line ver. 2
As the most difficult technology might be to locate the space of players, the version two of life line uses a screen that shows different points as player, and lines connecting the points as the connection built by players.

3. Glove Translator
It is a glove that can translate sign language (people with speaking disability use it) into text casted on a screen, and machine synthesized verbal language. It is to help the people with speaking disability have more efficient communication with the rest.
I researched in two existing implementations:
1.
https://economictimes.indiatimes.com/magazines/panache/meet-the-new-google-translator-an-ai-app-that-converts-sign-language-into-text-speech/articleshow/66379450.cms
Instead of using hardware, it uses cameras on your phone as well as AI to recognize sign language. It as the same purpose with our design but a completely different approach.

2.
https://www.newscientist.com/article/2140592-glove-turns-sign-language-into-text-for-real-time-translation/
DOI: 10.1371/journal.pone.0179766
It is an ongoing project, that uses Knuckle sensors to detect knuckle curvature when using sign language. It can only translate 26 letters in English.

MLNI Week 9: KNN Greenscreen Generator – Alex Wang

Task:

Create an artistic or practical interface that utilizes KNN Classification. Be as experimental as possible with the real-time training feature. Avoid that random inputs trigger random effects. 

Final Product:

Process:

I started by experimenting with the in class KNN code, I realized that aside from the cool effect that it creates, it can be a great tool for recognizing objects. 

By taking a snapshot of a still background, we can now trace any moving figure that is different from the original rgb values of each specific pixel value.

A clear human figure can be seen as I walk around the canvas.

I decided that this would be a great application for the generation of a greenscreen effect.

improvements from inclass code:

I implemented a training portion to the code, unlike the snapshot that just takes one frame. The code now takes in real time footage until the average difference is lower than a threshold value, when most pixel value stays still and constant, the training will be finished and the trained model will be stored unless the user presses the space bar to train again. 

Then I filtered out value by pulling values that are close to 0 to 0, and value that are high to 255.

using this filtered difference value, I adjusted the opacity value of the output pixels, making the pixels that are very different to be completely transparent, revealing the realtime camera footage underneath, while pixels that are the same as the trained model will be changed to green.

video

the one disadvantage to this approach is that if the color of the moving object is close to the still background, there will be extra green on the moving object.

If this program is ran in a properly lit room, with clear differences in color between objects, then it will work great.

Midterm Writing assignment —— Lishan Qin

Overview

For the midterm project, I developed an interactive two player combat battle game with a “Ninjia” theme that allows players to use their body movement to control the actions of the character and make certain gestures to trigger the moves and skills of the characters in the game to battle against each other. This game is called “Battle Like a Ninjia”.

Background

My idea for this form of interaction between the players and the game that involves using players’ physical body movement to  trigger the characters in the game to release different skills is to a large extent inspired by the cartoon “Naruto”. In Naruto, most of the Ninjas need to do a series of hand gestures before they launch their powerful Ninjitsu skills. However, in most of the existing battle games of Naruto today, players launch the character’s skills simply by pushing different button on joystick. Thus, in my project, I want to put more emphasis on all the body preparations these characters do in the animation before they release their skills by having the players pose different body gestures to trigger different moves of the character in the game. Google’s pixel 4 that features with hand-gesture interaction also inspires me.

Motivation

I’ve always found that in most of the games today, the physical interaction between players and games is limited. Even though with the development of VR and physical computing technology, more games like “Beat Saber” and “Just Dance” are coming up, still, the number of video games that can give people the feeling of physical involvement is limited. Thus, I think it will be fun to explore more possibilities of diversifying the ways of the interaction between the game and players by riding of the keyboards and joysticks and having the players to use their body to control a battle game.

Methodology

In order to track the movement of the players’ body and use them as input to trigger the game, I utilized the PoseNet model to get the coordination of each part of the player’s body. I first constructed the conditions each body part’s coordination needs to meet to trigger the actions of the characters. I started by documenting the coordination of certain body part when a specific body gesture is posed. I then set a range for the coordination and coded that when these body parts’ coordinations are all in the range, a move of the characters in the screen can be triggered. By doing so, I “trained” the program to recognize the body gesture of the player by comparing the coordination of the players’ body part with the pre-coded coordination needed to trigger the game. For instance, in the first picture below, when the player poses her hand together and made a specific hand sign like the one Naruto does in the animation before he releases a skill, the Naruto figure in the game will do the same thing and  release the skill. However, what the program recognize is actually not the hand gesture of the player, but the correct coordination of the player’s wrists and elbows. When the Y coordination of both the left and right wrists and elbows of the player is the same, the program is able to recognize that and gives an output.

Experiments

Originally, I wanted to use a hand-tracking model to train a hand gesture recognition model that is able to recognize hand gestures and alter the moves of the character in the game accordingly. However, I later found that PoseNet can fulfill the goal I wanted just fine and even better. So I ended up just using the PoseNet. Even though it’s sometimes less stable than I hope, it makes more using diverse body movement as input possible.During the process of building this game, I encountered many difficulties. I tried using the coordination of ankles to make the game react to the players’ feet movement. However due to the position of the web cam, it’s very difficult for the webcam to get the look of the players’ ankle. The player would need to stand very far from the screen, which prevents them from seeing the game. Even if the model got the coordination of the ankles, the numbers are still very inaccurate. The PoseNet model also proves to be not very good at telling right wrist from right wrist. At first I wanted the model to recognize when the right hand of the player was held high and then make the character go right. However, I found that when there is only one hand on the screen the model is not able to tell right from left so I have to programmed it to recognize that when the right wrist of the player is higher than his left wrist, the character needs to go right.

Social Impact 

This project is not only an entertainment game, but also a new approach to apply the technology of machine learning in the process of designing interactive game. I hope this project can not only bring joys to the players, but also show that the interaction between game and players is not limited by keyboards or joysticks. By using the PoseNet model in my project, I hope this project allows people to see the great potential the machine learning technology can bring to game design in terms of diversifying the interaction between players and games, and also raise their interest in learning more about the machine learning technology through a fun and interactive game. Even though today most of games still focus on the application of joysticks, mouse, or keyboards, which is not necessarily a bad thing, I still hope that in the future with the help of machine learning technology, more and more innovative way to interact with games will become possible. I hope people can find inspiration from my project.

Further Development

If given more time, I will first improve the interface of the game. Since it has brought to my attention during user test that many players often forgot the gestures they need to do to trigger the character’s skill. Thus, I might need to include an instruction page on the web. In addition, I will also try to make more moves available to react to player’s gesture to make this game more fun. I was also advised to create more characters that players can choose from which character to choose to use. So perhaps in the final version of this game, I will apply a style transfer model and ask the model to generate different character and battle scene to diversify the players’ choice.

Recitation 7: Functions and Arrays – Lillie Yao

Recitation Exercise:

For this documentation, we were asked to use Processing and create 3 shapes and create arrays, for loops, and animations with the code. In this exercise, I got to practice with color changing, x and y values, and movements around the screen. Throughout the steps, I did run into some obstacles but soon figured them out just by playing with the code.

Step 1: 

For this step, we had to display 3 different shapes on the screen. I made 3 different circles, all the same size, and made them random colors every time the user would run the code.

Step 2:

For this step, I had to use a for loop to tell the code to make 100 different circles. I had trouble with this because I didn’t make another integer “i” so I wasn’t giving the for loop a command to keep making circles until it reached 100 circles. It was also hard because I didn’t know whether or not to put the color command in the setup() or the draw() function. In the end, I figured it out and declared an integer “i” and put the color function in the setup() function.

Step 3:

For this step, it was basically the same thing as the previous step except I used an array. This was hard for me because I was really confused as to how many different arrays I needed to make. At the same time, I was also confused as to where I needed to put my arrays. Turns out, I declare the arrays outside of everything and then fill them in the setup() and draw() functions.

Step 4:

In this step, all I had to do is make the circles move a certain way and then I used an if statement to ensure that if the circles hit the sides of the screen, that it would bounce. This was really simple for me to do since I already had the basics down so all I needed to do was to add an if statement.

Question 1:

The difference between having my for loop in setup() and draw() is that in setup() I would only be telling it to run once and then it would stop. But when I put the for loop in draw(), it constantly repeats itself. I’m not sure if this is exactly why but I found that it worked when I was testing my code out and figuring out where to put the for loop.

Question 2:

Using arrays is beneficial when you have to store multiple values at once in an array. I find that using arrays will be make coding a lot simpler especially if you are using a lot of numbers and have to store them. I might use arrays in a project when I have to assign different values to certain shapes, or make them move without having to declare each variable.

Code:

int circle = 100;
float[] x = new float[circle];
float[] y = new float[circle];
float[] speedX = new float[circle];
float[] speedY = new float[circle];
float[] size = new float[circle];
color[] c = new color[circle];

void setup() {
  size(600,500);
  background(255);
  
  for (int i=0; i < 100; i++) {
    x[i] = random(width);
    y[i] = random(height);
    speedX[i] = random(-2, 2 );
    speedY[i] = random( -2, 2 );
    size[i] = random(10,500);
    c[i] = color(random(255),random(255),random(255));
      drawCircle(50,50,color((255),color(255),color(255)));
    

    print("y["+i+"] = ");
    println(y[i]);
  }
  
}

//void display(float x, float y, color c) {
//}

void draw() {
  background(255);
  for (int i=0; i< 100; i++){
   drawCircle(x[i], y[i], c[i]);
  
   x[i] = x[i] + speedX[i];
   y[i] = y[i] + speedY[i];
   
   if (x[i] > width || x[i]< 0) {
      speedX[i] = -speedX[i];
    }
    if (y[i] > height || y[i]< 0) {
      speedY[i] = -speedY[i];
    }
  }
  
}

  //drawCircle(150, width*0.25, height*0.25, color(91,246,250));
  //drawCircle(50, width*0.45, height*0.45, color(255));
  //drawCircle(200, width*0.75, height*0.75, color(0,0,255));


void drawCircle(float u, float v, color c) {
  noStroke();
  fill(c);
  ellipse(u,v,50,50);
}