This recitation is about the basic implement of processing, by using the functions we have learned so far to draw our own vector diagrams. To get my motif, I choose The Art of Computer Deisgn written by Osamu Sato, I briefly read the whole piece and find what he has made for computer design is very interesting to me. As it is incredible to imagine that at that year, there are already artists who can make great designs based on computer. The combination of different geometrical patterns can make abstract images which to me is more fascinating, and the thing that atracts me most is the image of eye. I am kind of obsessed with the expression of eyes, there are so many different ways to depict an eye, and all of them are fascinating, no wonder for computer design. And also eye means perception, different ways of drawing it will mean different way of understanding towards what perception is.
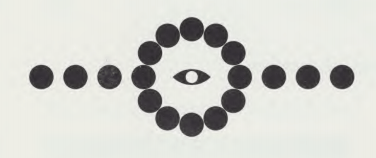
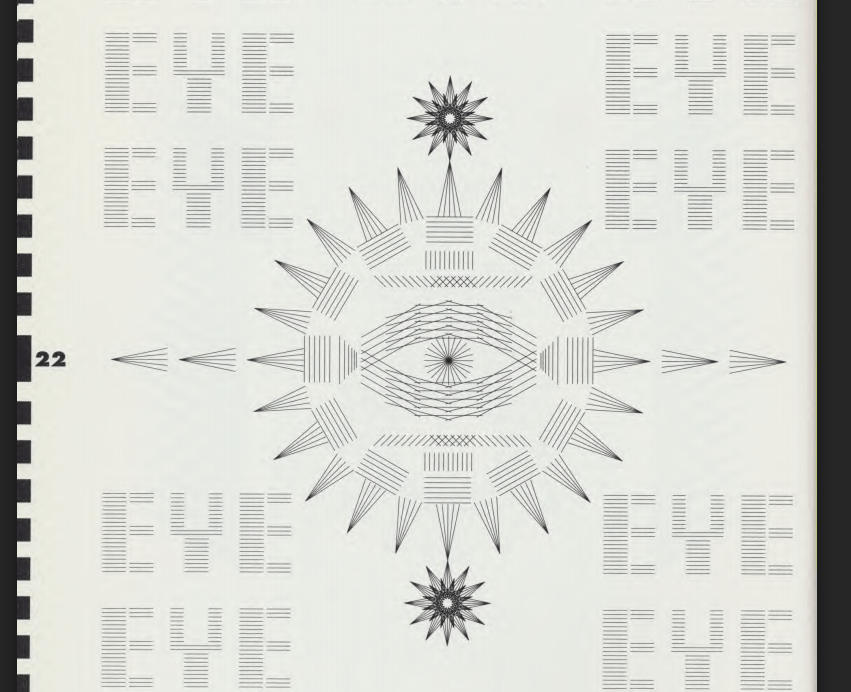
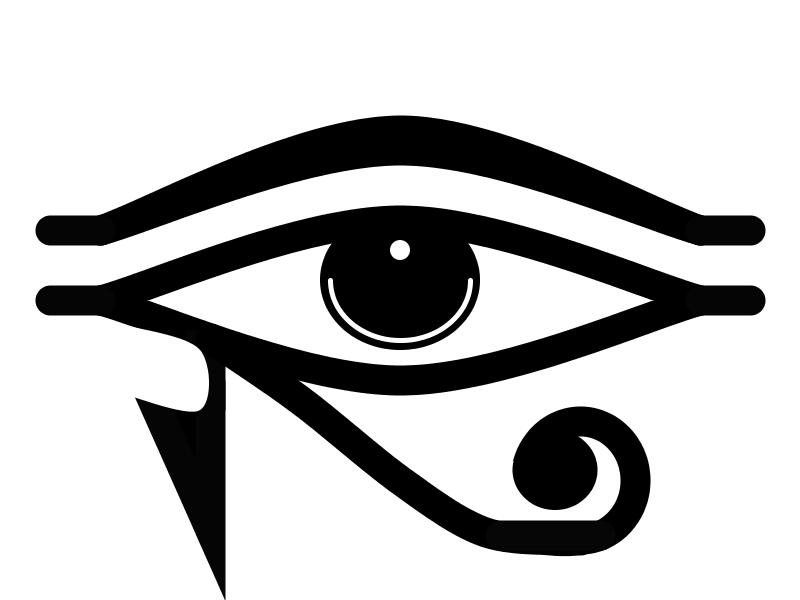
These two are the eyes that fascinates me the most, the first one, simple but full of patterns, the second one, complicated and deep, make me feel like being absorbed into it. So I relate these eyes to a pattern that I have long been interested in, the Horus Eye, which is an ancient Egyptian symbol of protection, royal power, and good health. I’m in great obsession with Egyptian history and art, the Horus Eye is definitely one of my favourite pattern.

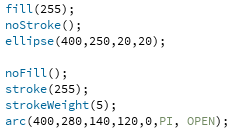
So based on this image, I start to make my own Horus Eye on processing. So the whole image can be seperated into three parts, the eyebrow, the eyeball, and the decoration downwards. The eyebrow and the eyeball are easy to draw, the eyebrow consists of two curves, one curve sharing the same radian with the eyeball, the other having a smaller radian to make the eyebrow thicker. The code for eyebrow is following.
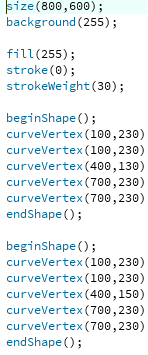 So I first set the frame size into 800 times 600 and set the background color to white. I make a small mistake here that I set the fill color of the eyebrow to white, but actually I should have set it to noFill(), but due to the sequence of the layout there are no conflicts on the image, I set the stroke’s weight to 30 to make it looks thicker to resemble how the Horus Eye looks like. Since I need to draw a customized curve, I need to use curveVertex() function, and it is very important to be aware of the camelcase, by using this should start with a beginShape() and end with a endShape().
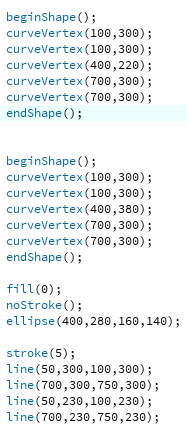
For the eyeball, I need two curves to combine with each other to form the orbit, but I cannot use ellipse here or it will look too mellow and full. Then at both ends of the curves I set two lines to make the eye look biger. In the end, I draw an ellipse inside the orbit to become the eyeball, which fills with black, I also draw an arc and a circle inside to make it look more vivid. The corresponding code is following.
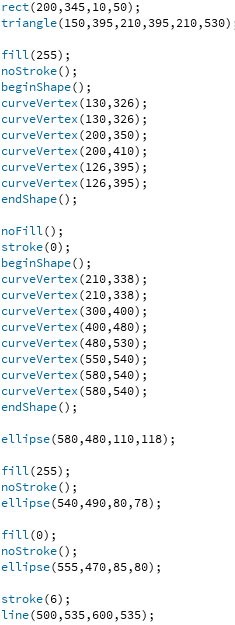
Here comes the toughest part, the decoration downwards. Since this part is comparatively complicated, I seperate it into mainly three parts, the tip, the arc and the tentacle at the end of the arc. Firstly for the tip, I seperate it into three parts, a rectangle, a triangle and a curve to cut them. I combine the rectangle with the triangle together, than fill the cureve into white to cover it to cut them. For the arc, I need to test on the diagram to see where to set the anchor to change the radian of the curve, so it takes me a lot of time. The end of the arc is flat so it is easy for me to connect it with tentacle which consists of two circles, the first circle is the frame of the tentalce, and I cover another circle on it to finish the part, but the circle I made have cover the arc downward a little bit, so I put a line on it to fix though it still does not look that nice.
And this is the outcome.
I have found great potential and interest in processing, I will keep digging into it.