Exercise 1: Make a Processing Etch A Sketch
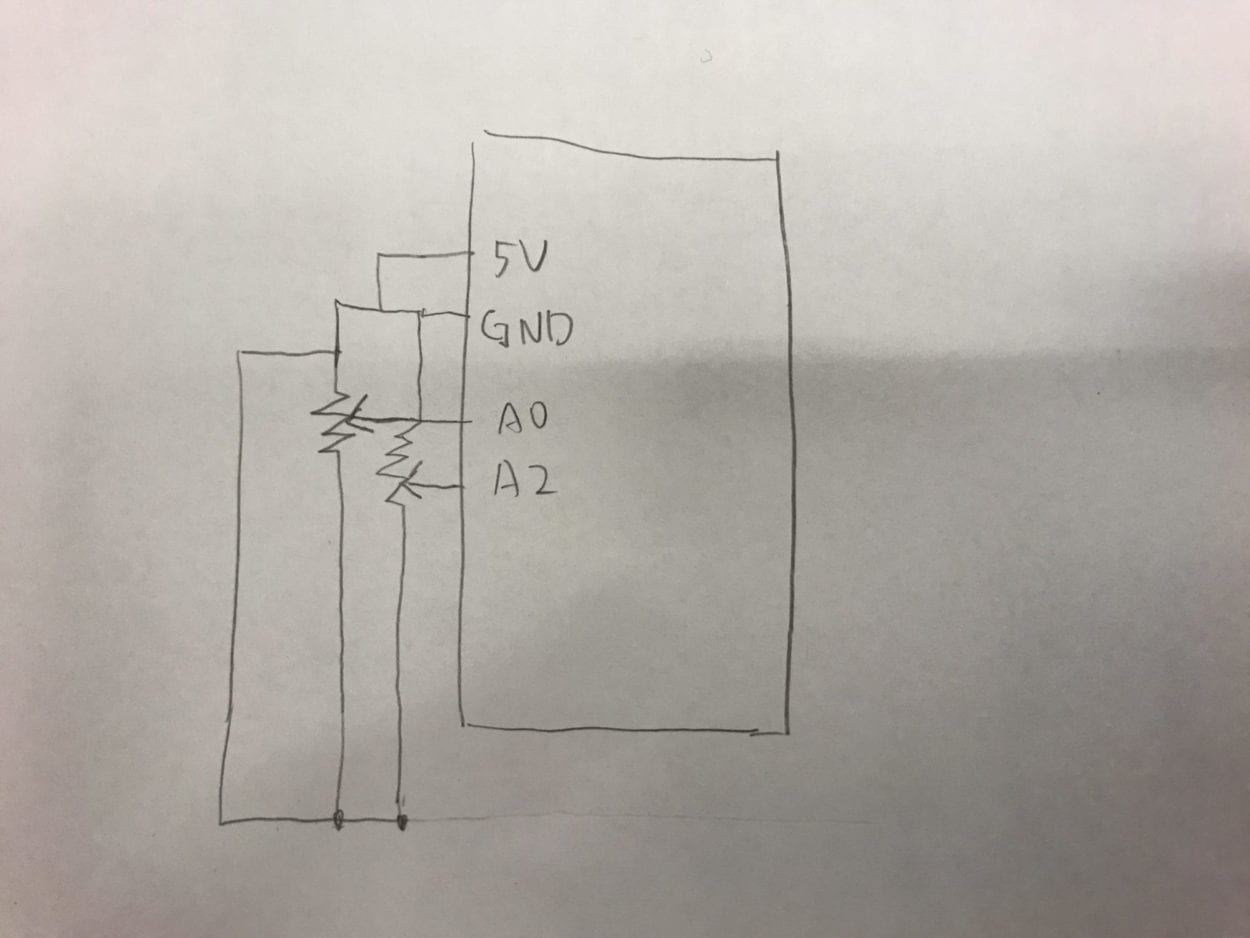
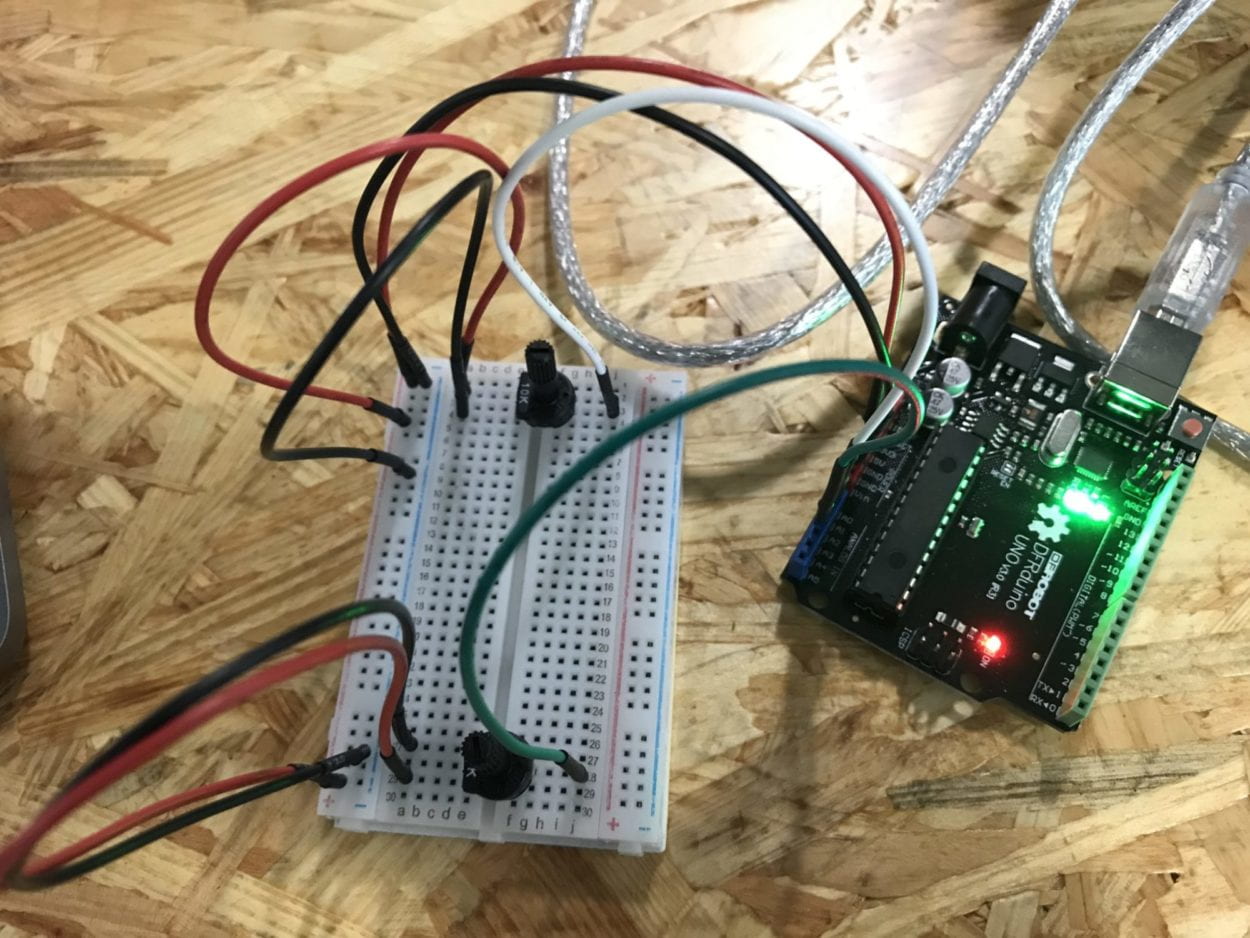
To create the processing Etch A Sketch game, I started by building the circuit with two potentiometers on my arduino board. I connected two potentiometers to pin A0 and A2, to the power source and the ground. I used the multiple value from arduino to processing code example. When finished, I uploaded the code and checked in my serial monitor. Sensor value 1 and sensor value 2 changes according to how I change the two potentiometers.
Below is the schematics for my circuit:
Then, I revised the code for processing. I checked and revised my port index number to 1. First, I used the map function to map values from two sensors to a range between 0 and the width and height. Then, I used the ellipse function and setting two sensor values respectively as the x coordinate and y coordinate of ellipse. This happens within the draw loop. When finished, as I twist two of my potentiometers, I was able to draw ellipses in different directions and created a curvy line effect.
Below is a video documentation:
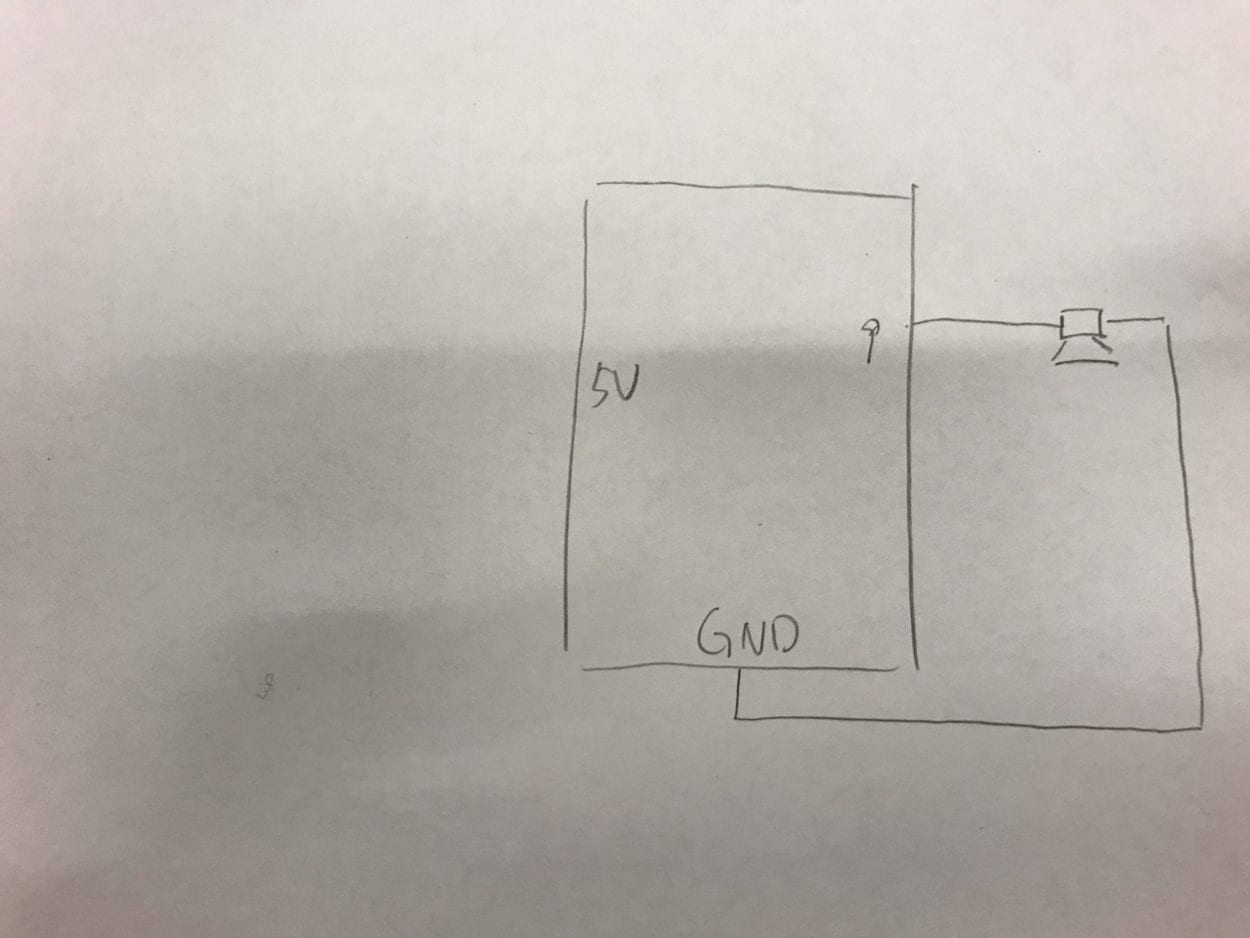
Exercise 2: Make a musical instrument with Arduino
For the second exercise, I started by building the buzzer circuit. I connected the buzzer to the ground and pin 9 as suggested in the code example. I used the multiple value, from processing to arduino code example. In processing, I used the line function to draw lines based on the current position and previous positions of my mouse. I put value of mouseX into index values[0], mouseY into index values[1], and int(mousePressed) into index values[2]. I also used the mousePressed function, when I press the mouse, the drawing resets or begins.
Below is my schematics:
: 
In arduino, I used values from index values[0] and values [1] from the array from processing. I used the tone function so that values from index values[0] will control the frequency of the tone and values from index values[1] will control the duration of the tone. As I drew the line in different directions, the buzzer created different sounds.
Below is my video documentation:
Coding documentation:
1.Code for potentiometer drawing:
-Arduino
void setup() {
Serial.begin(9600);
}
void loop() {
int sensor1 = analogRead(A0);
int sensor2 = analogRead(A2);
Serial.print(sensor1);
Serial.print(“,”);
Serial.print(sensor2);
Serial.println(); // add linefeed after sending the last sensor value
// too fast communication might cause some latency in Processing
// this delay resolves the issue.
delay(100);
}
-Processing
import processing.serial.*;
String myString = null;
Serial myPort;
int NUM_OF_VALUES = 2;
int[] sensorValues;
int[] oldsensorValues;
int radius; /** this array stores values from Arduino **/
void setup() {
size(900, 500);
background(0);
setupSerial();
radius = 10;
//framerate
}
void draw() {
updateSerial();
printArray(sensorValues);
float value1 = map(sensorValues[0], 0, 1023, 0, width);
float value2 = map(sensorValues[1], 0, 1023, 0, height);
fill(234,33,15);
stroke(255);
ellipse(value1, value2, radius, radius);
// add your code
//
}
void setupSerial() {
printArray(Serial.list());
myPort = new Serial(this, Serial.list()[ 1 ], 9600);
myPort.clear();
// Throw out the first reading,
// in case we started reading in the middle of a string from the sender.
myString = myPort.readStringUntil( 10 ); // 10 = ‘\n’ Linefeed in ASCII
myString = null;
sensorValues = new int[NUM_OF_VALUES];
}
void updateSerial() {
while (myPort.available() > 0) {
myString = myPort.readStringUntil( 10 ); // 10 = ‘\n’ Linefeed in ASCII
if (myString != null) {
String[] serialInArray = split(trim(myString), “,”);
if (serialInArray.length == NUM_OF_VALUES) {
for (int i=0; i<serialInArray.length; i++) {
sensorValues[i] = int(serialInArray[i]);
}
}
}
}
}
2.Code for Line musical exercise
-Arduino:
#define NUM_OF_VALUES 3 /** YOU MUST CHANGE THIS ACCORDING TO YOUR PROJECT **/
/** DO NOT REMOVE THESE **/
int tempValue = 0;
int valueIndex = 0;
/* This is the array of values storing the data from Processing. */
int values[NUM_OF_VALUES];
void setup() {
Serial.begin(9600);
pinMode(9, OUTPUT);
}
void loop() {
getSerialData();
// add your code here
// use elements in the values array
values[0];
values[1];
// if (values[0] == 1) {
// digitalWrite(13, HIGH);
// } else {
// digitalWrite(13, LOW);
// }
//
// if (values[1] == 1) {
// tone(9, values[2]);
// } else {
// noTone(9);
// }
tone(9, values[0], values[1]);
//if statement
}
//recieve serial data from Processing
void getSerialData() {
if (Serial.available()) {
char c = Serial.read();
//switch – case checks the value of the variable in the switch function
//in this case, the char c, then runs one of the cases that fit the value of the variable
//for more information, visit the reference page: https://www.arduino.cc/en/Reference/SwitchCase
switch (c) {
//if the char c from Processing is a number between 0 and 9
case ‘0’…’9′:
//save the value of char c to tempValue
//but simultaneously rearrange the existing values saved in tempValue
//for the digits received through char c to remain coherent
//if this does not make sense and would like to know more, send an email to me!
tempValue = tempValue * 10 + c – ‘0’;
break;
//if the char c from Processing is a comma
//indicating that the following values of char c is for the next element in the values array
case ‘,’:
values[valueIndex] = tempValue;
//reset tempValue value
tempValue = 0;
//increment valuesIndex by 1
valueIndex++;
break;
//if the char c from Processing is character ‘n’
//which signals that it is the end of data
case ‘n’:
//save the tempValue
//this will b the last element in the values array
values[valueIndex] = tempValue;
//reset tempValue and valueIndex values
//to clear out the values array for the next round of readings from Processing
tempValue = 0;
valueIndex = 0;
break;
//if the char c from Processing is character ‘e’
//it is signalling for the Arduino to send Processing the elements saved in the values array
//this case is triggered and processed by the echoSerialData function in the Processing sketch
case ‘e’: // to echo
for (int i = 0; i < NUM_OF_VALUES; i++) {
Serial.print(values[i]);
if (i < NUM_OF_VALUES – 1) {
Serial.print(‘,’);
}
else {
Serial.println();
}
}
break;
}
}
}
-Processing:
import processing.serial.*;
int NUM_OF_VALUES = 3; /** YOU MUST CHANGE THIS ACCORDING TO YOUR PROJECT **/
Serial myPort;
String myString;
// This is the array of values you might want to send to Arduino.
int values[] = new int[NUM_OF_VALUES];
void setup() {
size(500, 500);
background(0);
printArray(Serial.list());
myPort = new Serial(this, Serial.list()[ 1 ], 9600);
// check the list of the ports,
// find the port “/dev/cu.usbmodem—-” or “/dev/tty.usbmodem—-”
// and replace PORT_INDEX above with the index of the port
myPort.clear();
// Throw out the first reading,
// in case we started reading in the middle of a string from the sender.
myString = myPort.readStringUntil( 10 ); // 10 = ‘\n’ Linefeed in ASCII
myString = null;
}
void draw() {
//background(0);
stroke(255);
line(mouseX, mouseY, pmouseX, pmouseY);
// changes the values
//for (int i=0; i<values.length; i++) {
// values[i] = i; /** Feel free to change this!! **/
//}
// sends the values to Arduino.
values[0] = mouseX;
values[1] = mouseY;
values[2] = int(mousePressed);
sendSerialData();
// This causess the communication to become slow and unstable.
// You might want to comment this out when everything is ready.
// The parameter 200 is the frequency of echoing.
// The higher this number, the slower the program will be
// but the higher this number, the more stable it will be.
echoSerialData(200);
}
void mousePressed() {
background (0);
}
void sendSerialData() {
String data = “”;
for (int i=0; i<values.length; i++) {
data += values[i];
//if i is less than the index number of the last element in the values array
if (i < values.length-1) {
data += “,”; // add splitter character “,” between each values element
}
//if it is the last element in the values array
else {
data += “n”; // add the end of data character “n”
}
}
//write to Arduino
myPort.write(data);
}
void echoSerialData(int frequency) {
//write character ‘e’ at the given frequency
//to request Arduino to send back the values array
if (frameCount % frequency == 0) myPort.write(‘e’);
String incomingBytes = “”;
while (myPort.available() > 0) {
//add on all the characters received from the Arduino to the incomingBytes string
incomingBytes += char(myPort.read());
}
//print what Arduino sent back to Processing
print( incomingBytes );
}