1. Recitation Exercise
The first animation that came into my mind was the in-class practice about the movement of a circle inside the screen. So I started by creating that circle. I first created two incremental variable that prompted the circle to respectively move along the x and y-axis. Then I created the if statement to set limit on the range the circle could move. Inspired from the additional homework below (I did the homework first), I set the incremental value to negative when the position of the circle reached the edge. Since the circle moved along x and y axis, there were two incremental variables for me to define and change. The code is as follows.
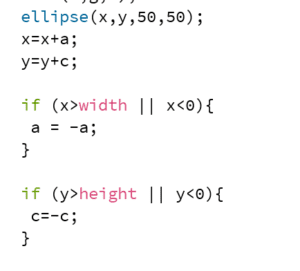
I tried several other kinds of animation, like the mouseX, mousePressed, keyPressed. For the mouseX and mouseY, I created circles with the movement of the mouse. I filled the circles with black so as to make it like painting. For the mousePressed, I changed the position of the moving circle randomly inside a draw(). When the mouse was pressed for certain span, it would seem like creating multiple random circles inside the screen. I also used keyPressed to clear everything on screen. The effect was shown as follows.
The effect would be totally different if I added a background at the beginning. The background matters as it decides whether the movement will leave traces or not.
2. Additional Recitation Homework
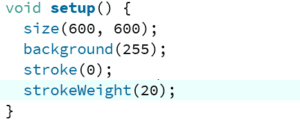
Step 1: Draw Circle at the center
Pretty straightforward. Here’s the code.
Step 2: Circle periodically expands and contracts
Since the circle increments and decrements at the same speed, I gave the width of the circle a variable called w and let it increment and decrement respectively by 10. Since the width increases until reaching a certain value (I set it to 300) and then decreases, I used if statement. The coding is as follows:
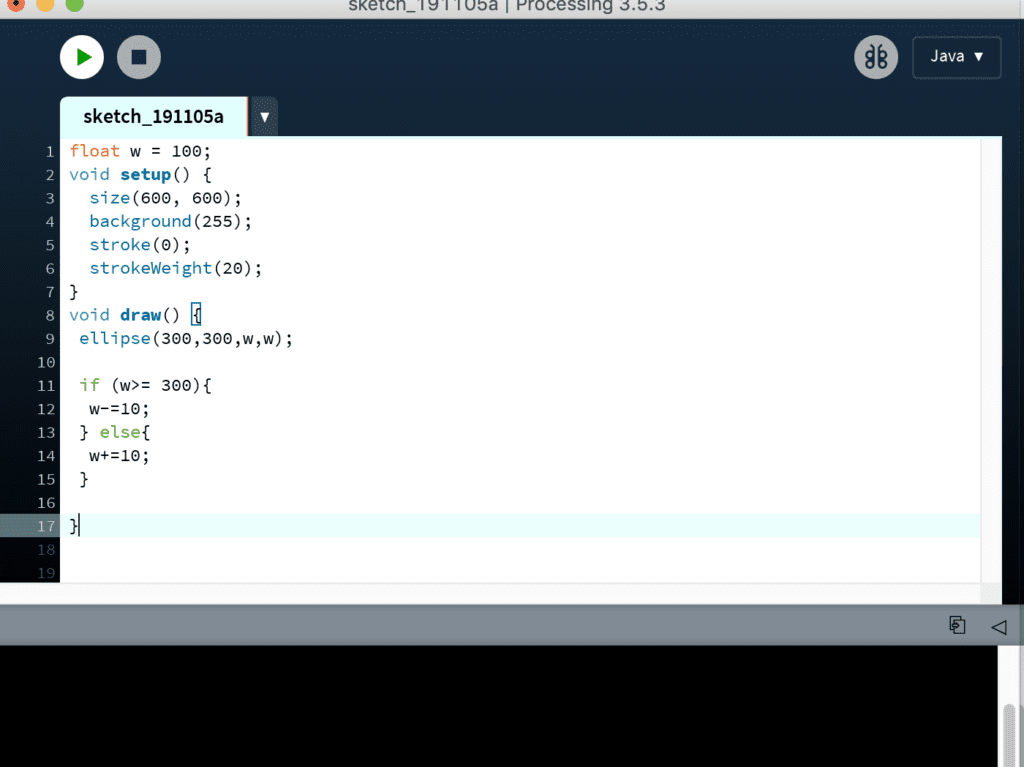
However, the circles became trembling when the width reached 300.
I read through the code again by substituting 300 since that’s where the code got wrong. When the width reached 300, w was subtracted by 10 to 290. With 290 the sketch drew a circle again, and then the 290 value entered the if statement and it incremented by 10, which meant that the 300 appeared again. Now I understood that once the circle reached 300, my code asked it to draw circle with 290 and 300 width back and forth. That’s why the circle appeared “trembling.”
After realizing this problem, I thought over an alternative to this problem. Such period expansion and subtraction actually reminded me of the fading light because they shared the same logic. So I opened Arduino and looked at the fading example code.
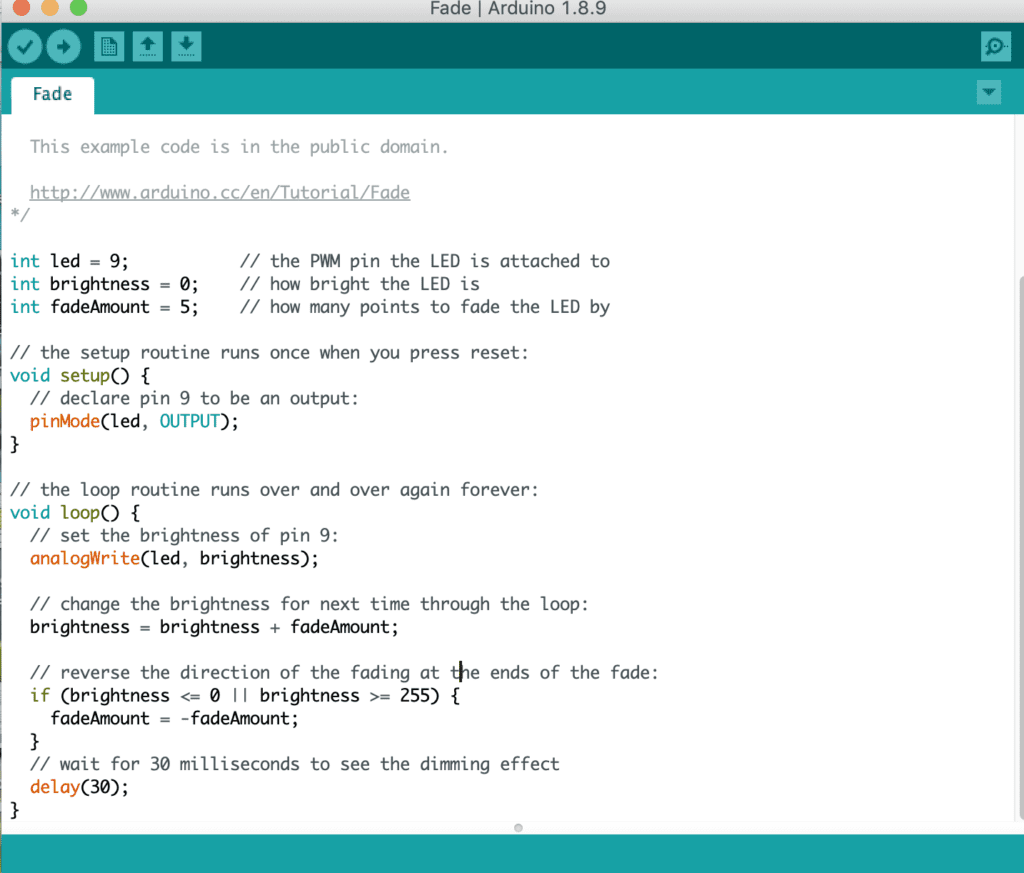
I noticed that it created a variable called “fadeAmount” as the incremental value and set it to negative when the certain value was reached so that the incrementing and decrementing could be realized. I think this was quite a smart code and could be applied to my circle. So I created a new variable called c.
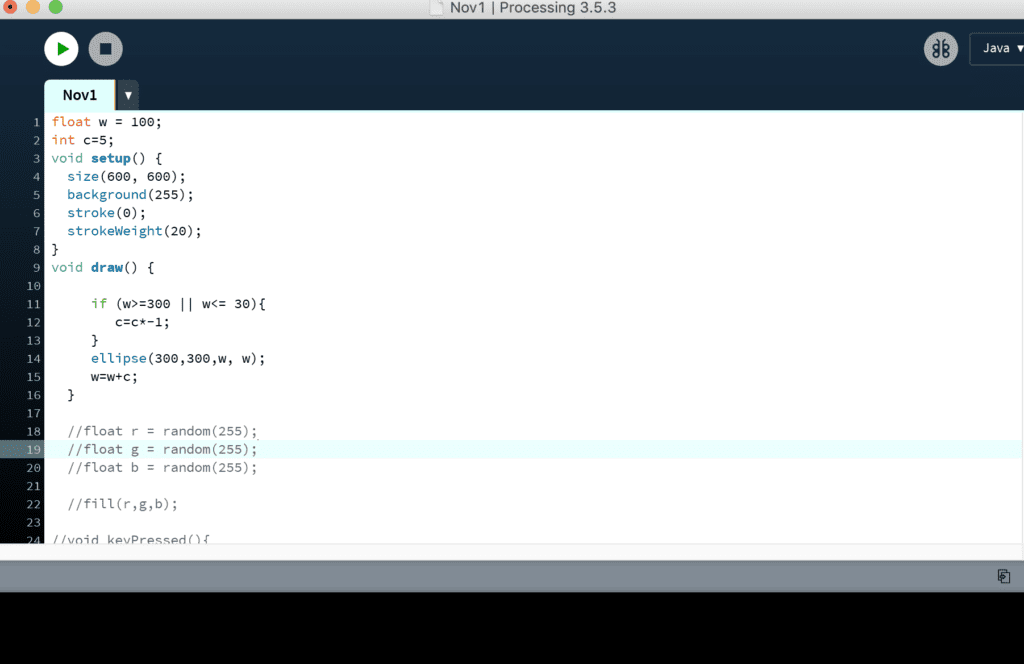
The expansion and subtraction worked in this way! However, the work was not done, as shown below.
Then I realized that since the draw() function drew one circle each time, the animation was created by constant drawing of multiple shapes. And the trace of the last shape would be left on the sketch. After realizing this, I created a background code at the beginning of the draw() function so as to clear the sketch each time a circle was drawn. In this way it worked!
Step 3: Outline changes color smoothly
Following the colorMode guideline, I first set up colorMode() in setup() to limit each color range (red, green, blue) to a value between 0 to 100 (after experimentation I found this range to be most ideal). I set a strokeColor in the draw() and then assign a random value to each red, green and blue color. Here’s the effect.
It appeared that the color was changing so rapidly. I went back to see the model on the website and thought about how I could made the color changing slower. Random value was not a good method since the random one changed too fast. After examining the circle for a while I realized that the expansion speed of the width and the color changing rate was similar. This made me think that what if the color changing speed could be the same as the “c”, which was the incrementing value of the width. Inspired by this idea, I tried to put the w inside one of the color value (I put inside red range). The value of the “w” swung from 30 to 300 so I correspondingly adjusted the value in the strokeColor to w/3 so that it was within the color range of 0-100.
It turned out that it worked!
Interesting functions:
- MouseX, mouseY
- if statement and negative change of incremental/decremental value
- mousePressed; keyPressed