Exercise 1: Make a Processing Etch A Sketch
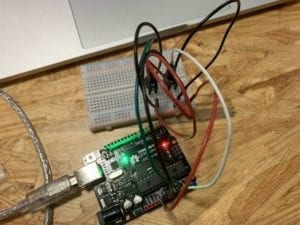
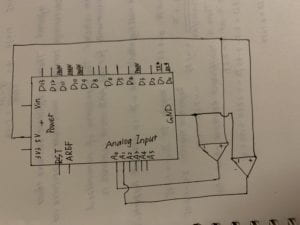
For the first exercise, the circuit was not hard to build and I used red color for jumper cables connecting potentiometers and the “5v” port and black color for jumper cables connecting potentiometers and the “GND” port, to make the whole circuit clearer and more straightforward. I then deleted the line of sensor 3 in Arduino since the exercise only involved two values, each one matched each potentiometer. In my first alternation, I simply set two variables and used them in the ellipse function. Even after adjusting the port number, the same error kept showing up. Therefore, I pressed each jumper cables to strengthen the connection and the port number together with its matching values. However, all the numbers turned out to be 0, so we transfer my attention to the code in both Arduino and processing. Then I realized the range of index in two codes was different, which made it hard for the processing to convey the exact number. The map function changed the value range of the two variables and the number successfully changed as when I rotated the potentiometers.
The interaction in this program was straightforward, following the listening, understanding, and responding steps. When the user rotates the potentiometers, the computer “listens” to the value that potentiometers inputted and “understands” those values by positioning it to the range I set. Then the device “responds” to the user by moving the ellipse in the canvas in the exact direction.


Code: <script src=”https://gist.github.com/KayceeCC/ffa872ba860ac5d8d87b3db88470c5b6.js”></script>
Exercise 2: Make a musical instrument with Arduino
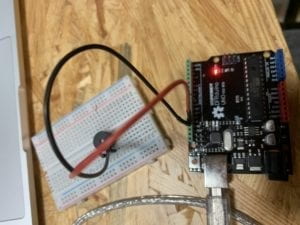
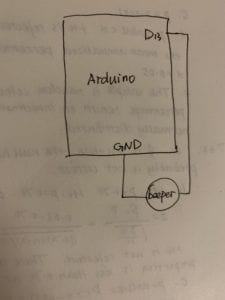
The circuit for the second exercise was even simpler with just one beeper and two jumper cables. I chose the mouse as the interactive part instead of the keyboard because using a mouse could easily create a continuous change of the tone of the beeper. This program also only involved two variables, which were mouseX and mouseY. Based on the mistakes that I had made in the first exercise, the process went much more smoothly. Under the guidance of the tone function posted online, I set value[0] that responded to mouseX that controlled the pitch of the sound and value[1] responded to mouseY that controlled the lasting time of the sound. When I moved the cursor in the canvas, the beeper would make different sound corresponding to the cursor position, changing continuously.
The interaction in the second exercise was similar to the first exercise. The cursor or the user and the beeper made up the two objects of the interaction. When the user moves the cursor in the canvas, the computer analyzed the position of the mouse and transferred the information to the Arduino in order to make the beeper makes the accurate sound.


<script src=”https://gist.github.com/KayceeCC/486e5c405644cf4e7f5b9f6c90843571.js”></script>