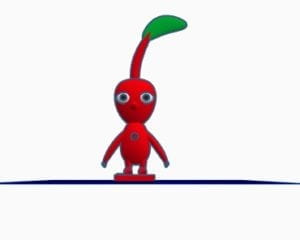
On March 13, I attended the 3D-print workshop held by Nick in 823. In this workshop, I learned how to use Tinkercad to design a 3D toy model. We aimed to create a little red elf toy using Tinkercad.


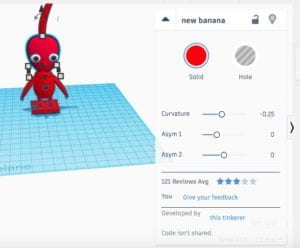
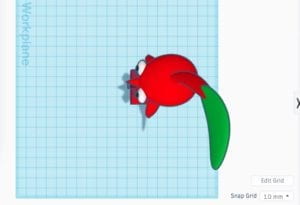
First, we used the shape called New Banana. We adjusted the curvature of it to make it as the head of an elf. Then we used many shapes that I didn’t use in the lecture, such as pineapple, paraboloid, cone and so on. Also, I learn how to use Group, Align, Flip and other functions when designing the toy. During the practice, I found it was hard for me to keep up the pace with the instructor because I was not familiar with Tinkercad’s operating system. Especially when it came to the hands and feet part, I had trouble connecting multiple cones which served as fingers) to the toy’s arms. So it took me a long time to adjust the position of fingers and toes according to the standard image. Through hard work, I overcame the most challenging part and successfully installed its fingers and toes. By practicing, my skills of 3D modeling in Tinkercad got improved. To put in LEDs, I made the hole using the shape of the Cylinder in the middle of the toy so that the LED would be into it. From this workshop, I learned the meanings of many specific parameters in different shape models and the basic operation in Tinkercad. My 3D modeling ability has been improved. After finishing designing the model, I entered the printing stage.
On March 18, we printed the model. Nick taught us how to use the 3D printer to print it. After an hour of waiting, our work was finally finished. This experience improved my physical fabrication and enabled me to design and make 3D models independently.
