Project Name: Schrödinger’s Cat (Decision Maker)
Name: Theresa Lin
Partner: Frances Yuan
Instructor: Marcela
Motivation
Both Frances and I are really indecisive and always have a hard time deciding on things such as what to eat. We also noticed that our friends are all also really indecisive when it comes to planning on what to do together. We wanted to make a decision maker that was more fun and engaging than your typical decision maker website.
Inspiration
We stumbled upon this video of a Schrödinger’s cat decision maker and thought it was really intriguing and has that level of engagement we were looking for so we wanted to re-create it. https://www.youtube.com/watch?v=B7sKqlM4LZg&t=1s In their project they reveal the cat by shining a light on it, we decided to put the cats on a surface on a servo and make it rotate randomly.
This video provides a clear explanation of Schrödinger’s Cat. https://www.youtube.com/watch?v=OkVpMAbNOAo
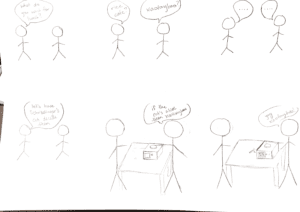
Concept Story
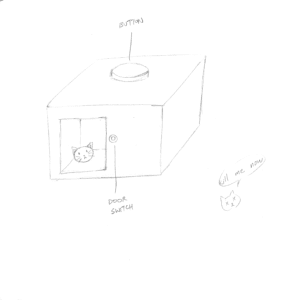
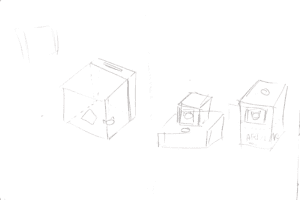
Project Sketch
Tools Used
Illustrator
makercase
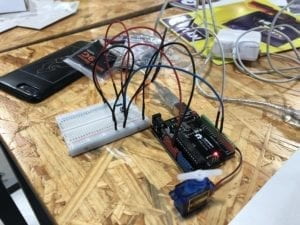
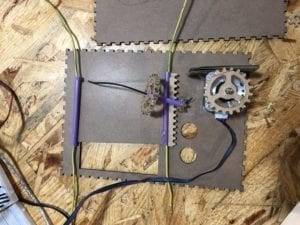
Materials Used
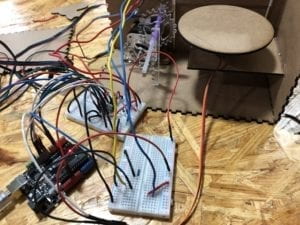
2 Breadboard
1 Arduino
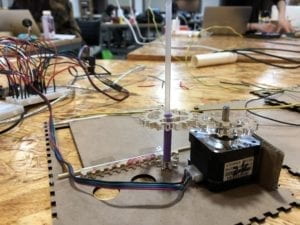
1 Servo
Gears
Straws
1 Motor
Wires
1 H-bridge
10k resistor
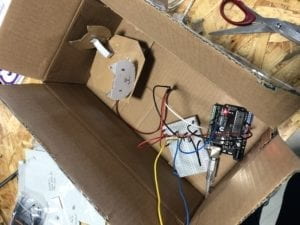
Prototype
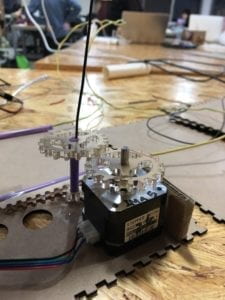
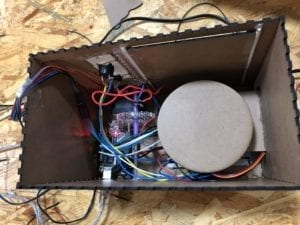
Servo for the two cats to rotate on

User Testing Feedback
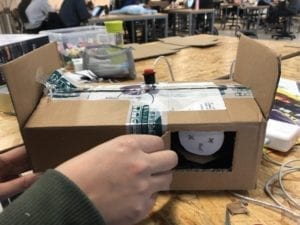
During the user testing, one thing we noticed was that people were a little confused as to what to do first. They didn’t know they had to ask it a yes or no question. I think it might be because we didn’t specify that it was a decision maker. People said the window of the cat wasn’t the first thing that they were looking at so they didn’t know where to look after pressing the button. Some users also said that they weren’t sure when to open the door to look at the cat. A lot of people liked how the box had cat ears so the entire box resembled a cat head. One thing I thought was interesting was that some people would ask questions like “Will I pass my midterm?” instead of questions that required decision making. Before the user testing we didn’t think it could also function as a sort of ‘future predictor.’
Final Product Process
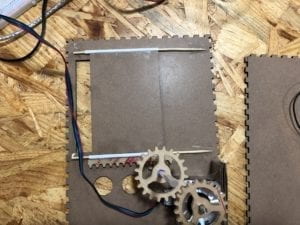
Based on the user testing feedback we received, we thought it was be best to have a door that would automatically open when the user presses the button. For the automatic door, we had to laser cut gears. At first we tried to use Gear generator for our gears but we had to pay to download the gears so we tried to find other alternatives. We ended up downloading a picture of gears and then tracing the image in Illustrator to change it into vectors.
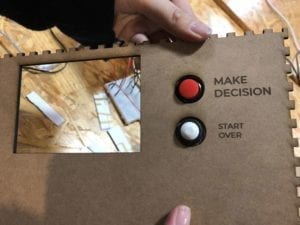
We tried to think of the best way to design the box so that the user’s attention will be on the door and the button at the same time. We also thought to include some instructions such as a step one and two so it will be more clear as to what to do. We decided to put the red button right beside the door so when users press it, their attention is already by the door and will immediately anticipate on the door opening. We decided to make the box taller than our prototype so it’s easier to see by placing the door towards the top. Although many people liked the cat ears on our prototype we decided to leave it out on the final version because we felt like people kind of expected the box to have a cat face and suggested that we change it to a cat’s face with expressions expressing ‘yes’ or ‘no.’ However, we wanted to stick to the Schrödinger concept and left the ears out.
We also decided to put the words “Yes” and “No” with the corresponding cats because some people couldn’t tell whether or not the cat they were looking at was dead or alive. We used this picture of the cats from Shutterstock and added the words on Illustrator.
For the automatic door to slide, we used a straw and wires at first. However, the wires were too small compared to the straw so when the door slides up and down, the door would sway from side to side and the gears wouldn’t line up.
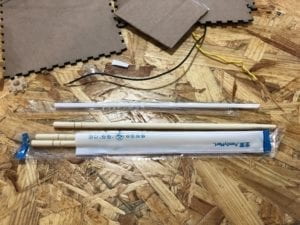
We ended up going to Family Mart to see if they had a narrower straw or something sturdier and thicker that the wires. Fortunately, they had both a smaller straw and these wooden picks. It fit perfectly and prevented the doors from swaying.
Challenges/Obstacles
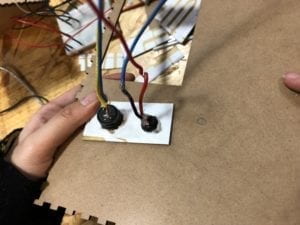
One of the most challenging things was making sure both of the gears would line up. At first the position of the motor was a bit off, so the gear wouldn’t match up after they turned. We had already glued the motor onto the box, so we had to cut off the hot glue and re-glue it. We also noticed that the hole we made for the buttons were too big, although we were sure we measured it correctly. We ended up putting the buttons through a piece of cardboard so it would hold the buttons up.
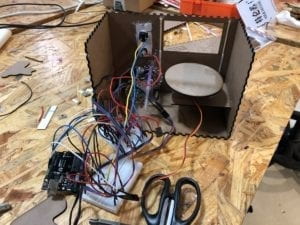
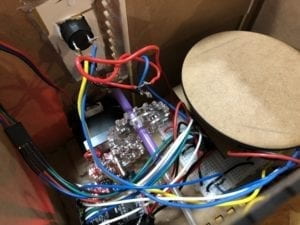
After we were done building the circuit and and gluing most of the box, we noticed that the box was potentially too small for all the circuits. We ended up replacing a lot of the wires with shorter ones for the breadboards and Arduino to all fit into the box.
Conclusion: Reflection
I think the automatic door was definitely a positive addition that we added in response to the feedback we received during user testing. Making the box taller and placing the button right next to the door were also positive changes. Our users definitely were not confused as to where to look because their attention are drawn to the red button first and then immediately onto the door that’s opening right after they press the button. I learned that it’s best not to assume that everything will work smoothly and then start working on the project at the last minute.
Demo
We also had our friends try it.