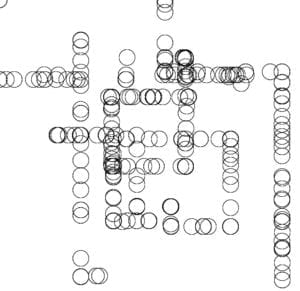
Exercise 1: Etch a Sketch
Materials
- 2 Potentiometer
- 1 Arduino
- 1 Breadboard
- Wires
Schematic
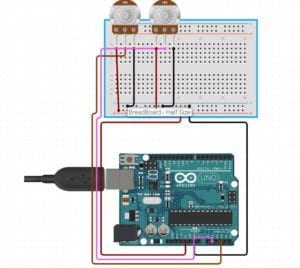
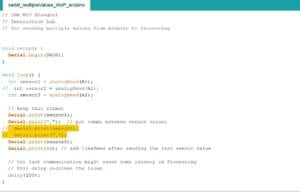
After I built the circuit, I first checked to see if the potentiometers were working properly by using the read serial code in Arduino for multiple values. Because I only had two values that needed to be read, I commented out the third value that was already in the example code.
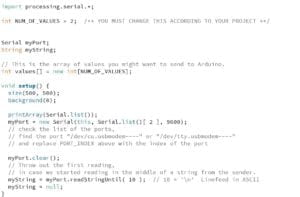
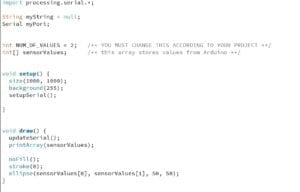
Next I changed the port number in Processing and tested to see if it would print out the values from the two potentiometer. When that worked fine, I changed the code so there would be two sensorValues and then drew an ellipse. For the x position of ellipse I set it to sensorValues[0] and for the y, sensorValues[1].
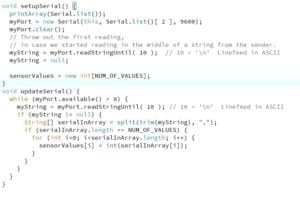
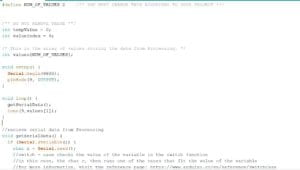
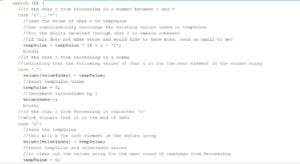
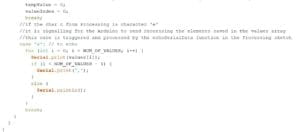
Processing Code
Arduino Code
Exercise 2: Musical Instrument with Arduino
Materials
- 1 Buzzer
- 1 Arduino
- 1 Breadboard
- Wires
Schematic
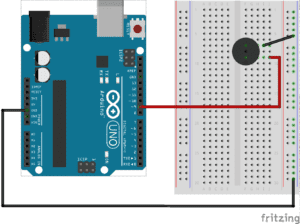
For this circuit, at first I didn’t connect the buzzer correctly so for the longest time there was no sound when I ran the code. Later on I realized I plugged the positive into ground and vice versa. I then added code to the draw() function in processing so that when the mouse hovers over the screen, it’ll draw a white line. I also changed the NUM_OF_VALUES to 2. The coding was more difficult for this exercise. At first it was a bit overwhelming, but with some help from the fellows I realized I didn’t need the if statement in Arduino in loop(). So I removed that and only set one value for tone. I was also confused about what value[i] was supposed to be in processing. Again with some help, I realized it was the value that should be set equal to the mouseX position.
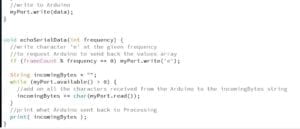
Arduino Code
Processing Code