Recitation Activity:
In this week’s recitation, we integrated the coding elements to create an interactive animation in Processing. I decided to create a completely new one, and to include some level of interaction.
I found the transform functions quite interesting, but we did not learn them in class. Therefore, I decided to explore these functions first to develop my ideas. I copied the code from the slide, changed some numbers, trying to figure out how the codes work.

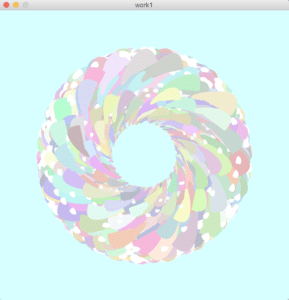
Then, I started to create some shapes by myself. I didn’t use “bezier”, “beginShape()”, “endShape()”, and “vertex” functions in recitation 5, so I decided to have a try this time. I created some abstract shapes, including some big ones and some small ones, and let them rotate around the center. To ultilize the “random()” function, I decided to create each shape in random colors. I picked the colors from a small range, so that the image would not be too messy. After I ran the code, I found the image with round shapes and colors of macaroons looked quite similar to a rainbow icing donut. So I decided to let the viewer interact with the image as “eating the donut”. I used the “pmouseX” and “pmouseY” function to control a circle that is in the same color as the background, so that it could be used as an eraser.
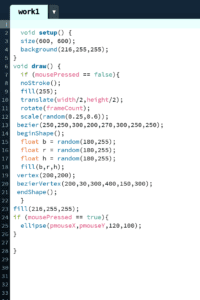
This is the final code that I wrote:
This video shows how the code “make” a donut:
“Eat the donut”:
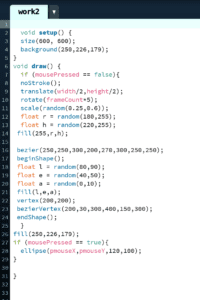
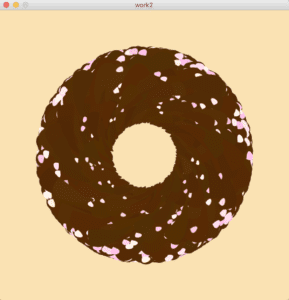
To improve my creation, I decided to change the flavor of the “donut”. I changed the background color and the colors of the shapes, and successfully made it as a “chocolate donut with sprinkles”.
Additional Recitation Homework:
As homework of this recitation, we needed to create an animated circle that is continuously changing color and its position could be controlled by the user based on the keyboard’s arrow key input. This was not an easy task, but finally I made it successfully.
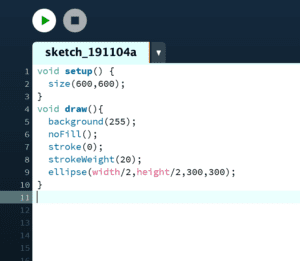
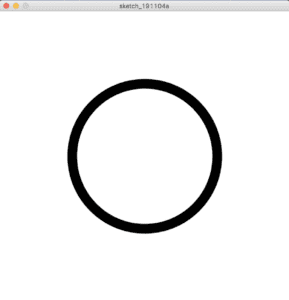
Step 1:
The first step was quite simple. What I needed to do was just to set up the canvas size, the background color, and then created the circle.
Step 2:
In Step 2, I matched the condition in “if” sentences with the “speed” that I set up, so that the circle can periodically expand and contract.
Step 3:
In Step 3, I needed to let the outline change color smoothly, and a hint is provided in the recitation website that we should set the colorMode() to HSB. It took me a while to understand how this function works and where to put this function. I also made some modifications to the code for the stroke’s color, so that it could look brighter.
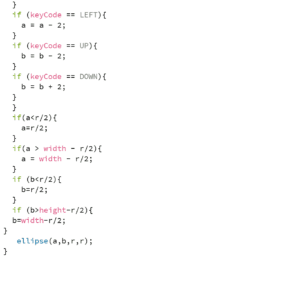
Step 4:
It was not hard to let the circle moves around the canvas based on the keyboard’s arrow key input. What I needed to do was just to use the “keyCode” function and the keycode environment variables, such as “UP”, “DOWN”, “LEFT”, and “RIGHT”. However, it took me long to figure out how to make the canvas’ edges a border that the circle cannot pass. I tried to set some conditionals for the “key” function, but it didn’t work. Finally, I just used several “if” sentences to complete the task.

It was my first try to create animations that the viewer can interact with. The process of creating these images was hard, but quite interesting as well. I learnt how to develop a creative idea by exploring something new, and how I could make it real by continuously having a second try when it fails. I also learnt several useful functions that are listed below.
Functions:
- float
- rotate()
- scale()
- key
- keycode
- pmouseX/pmouseY
- frameCount