Introduction: In this recitation, we explored how to understand the use of codes in the Arduino and built more complicated circuits.
Partner: Malika (Weiyi Wang)
Date: 22nd February
Materials:
1 * Arduino Uno
1 * USB A to B cable
1 * breadboard
1 * buzzer
2 * LEDs
2 * 220 ohm resistors
2 * 10K ohm resistors
2 * pushbuttons
2 * arcade buttons
A handful of jumper cables
1 * Multimeter (optional)
Circuit 1: Fade
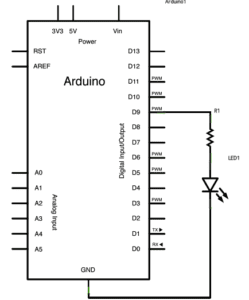
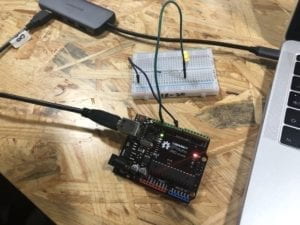
Process: For the first circuit, we connected it quickly as the diagram shows and uploaded the code, and the LED flickered. It is worth noticing that we put different types resistors apart so that we would not mix them up. Also, the instructor reminded us not to connect Arduino board to power supply before completing the circuit.
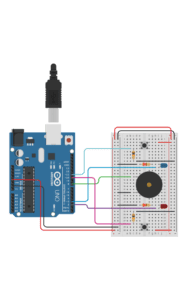
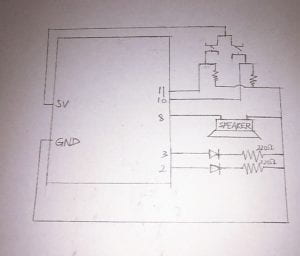
Circuit 2: toneMelody
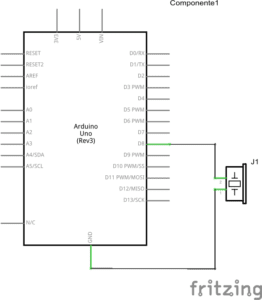
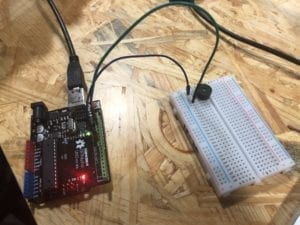
Process: Building this circuit was easier than the previous one. We connected the Arduino board, the breadboard and the speaker according to the diagram before connecting them to power supply. The speaker played a melody when we uploaded the code.
Circuit 3: Speed Game
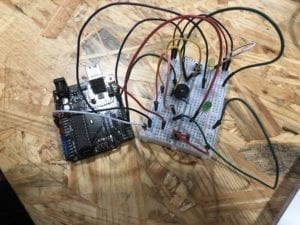
We built the circuit following the instruction here. Although it was easy to connect the components one by one, we did not understand how it worked when doing so. However, we still made some experiments and discovered that it did not entirely work as the recitation instruction said. To be specific, regardless of time, whoever clicks the button ten times first wins.
(Optional) Circuit 4: Four-player Speed Game
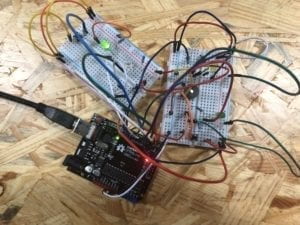
Process: We had enough time to figure out how the optional circuit works. We only need to add another two-player circuit to our own and it required few adjustments, so we started from the code. Although neither of us knew how Arduino codes work, we tried our best looking at the logic in the source code. Since we both learned some Python before, it gradually became clear how the code was organized and what each part of the code was aimed at. Step by step, we copy each part of the code to add player 3 and 4. We guessed what some symbols mean and followed suit. In the end, an instructor helped correct our code which lacked a bracket. For the circuit, we found another group and simply connected their wires for power supply to our Arduino board, and it immediately worked when we uploaded the code.
Question 1:
Reflect how you use technology in your daily life and on the circuits you just built. Use the text Physical Computing and your own observations to define interaction.
Technology may refer to any of the skills used in the production of goods and services. Therefore, every moment I am enjoying the benefits that technology brings in daily life. From the bicycle invented centuries ago to modern microchips in the cell phone, technology is widely used to facilitate travelling, learning, entertainment and almost every aspect in my life. When building the circuit, I was mainly using modern information and electronic technology that enables the miniaturization of electronic equipment, making it possible for me to make interactive gadgets without much difficulty. Interaction is an interactive process of listening thinking and speaking between two or more actors, and we can also consider it as input, processing and output when interacting with computers. This is a two-way activity, where people and computer both receive information from the other and react.
Question 2:
If you have 100,000 LEDs of any brightness and color at your disposal, what would you make and where would you put it?
I would put all the LEDs on the walls and the ceiling of a small room to make it a work of art. By changing the input signals, the LEDs can mimic the scene of time and space travelling, create moving colors according to the chosen music, or simply give people a calm and warm feeling when meditating. It would be a perfect place to stimulate imagination and creativity, or to seek mental relaxation when feeling stressed.