Exercise 1: Make a Processing Etch A Sketch
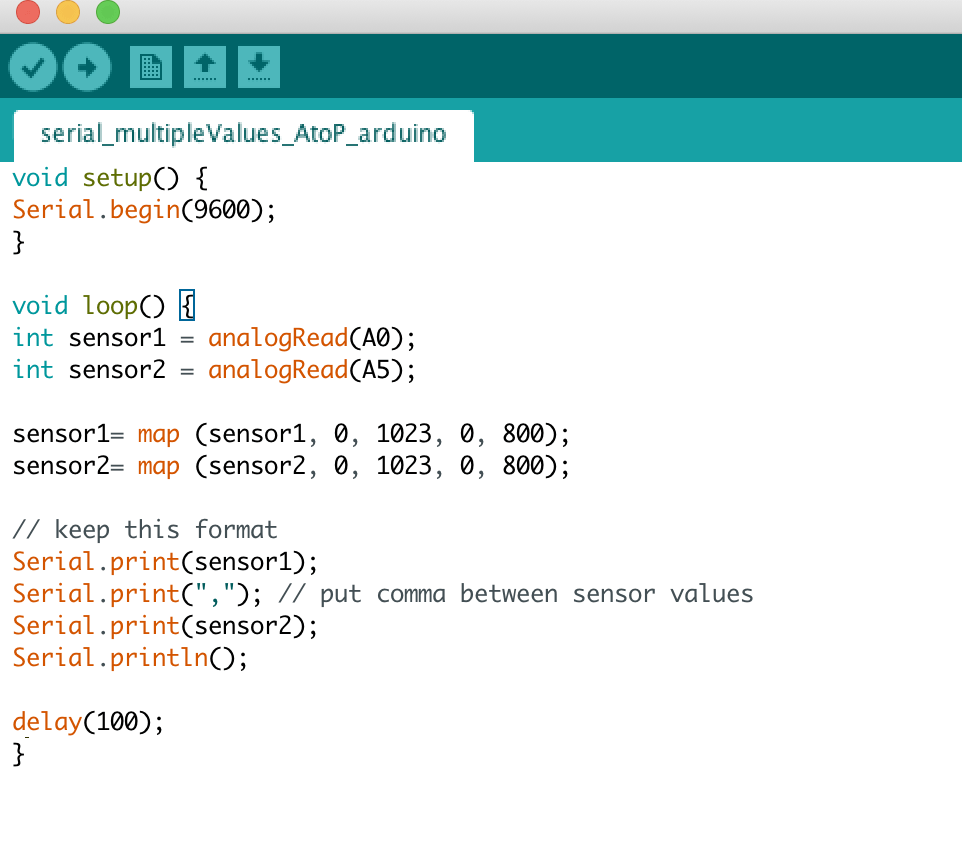
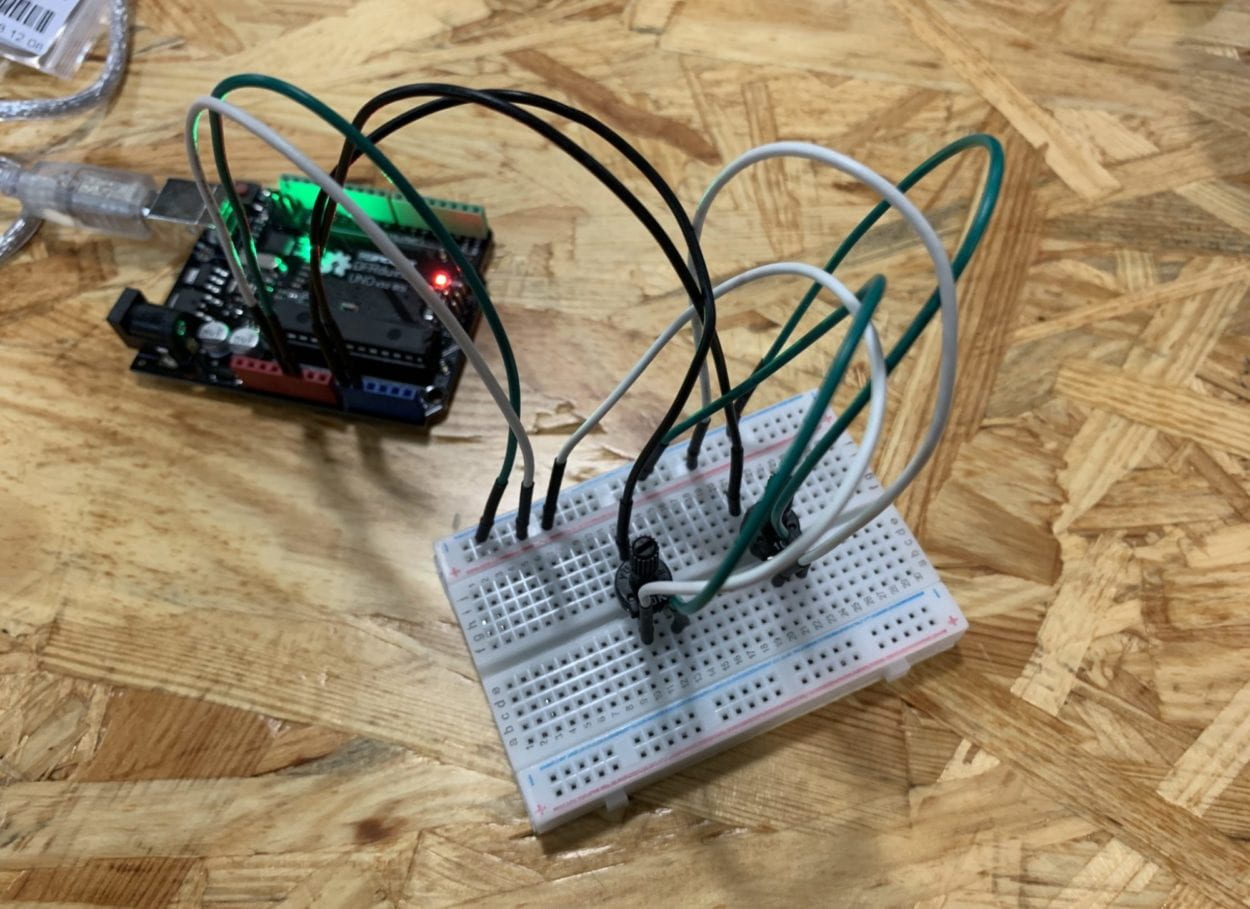
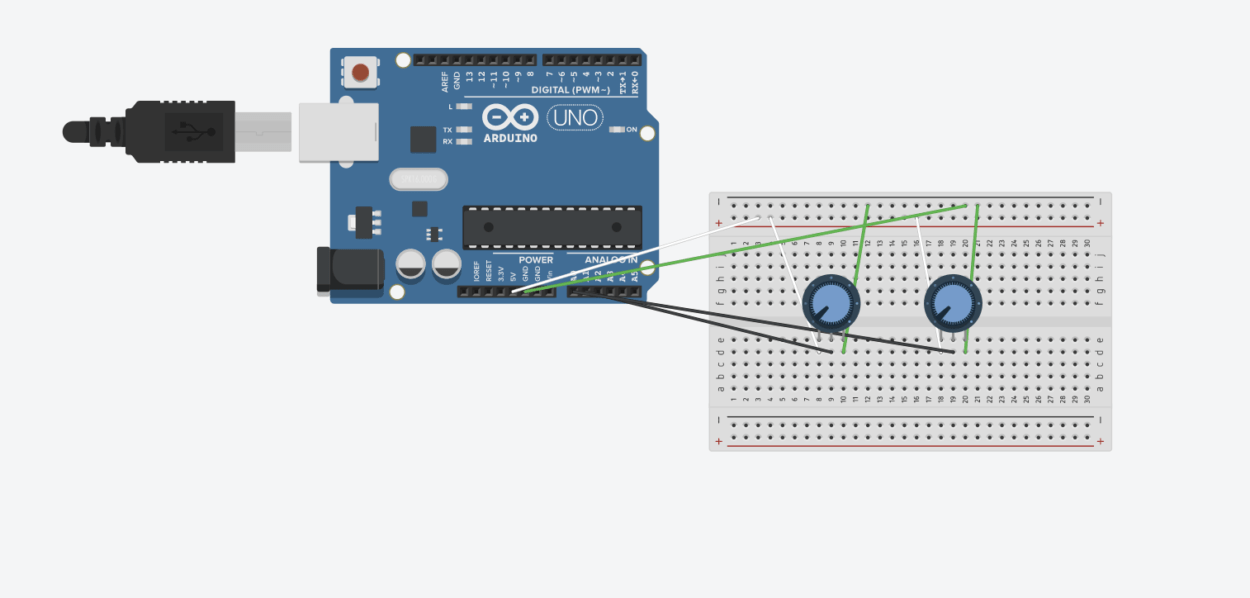
For exercise 1, we were to use serial communication within Arduino and Processing to send two analog values from Arduino to Processing, first building a circuit with two potentiometers that would read the x and y values of the Etch A Sketch. One of the potentiometers would have to read the “x” values, while the other potentiometer would read the “y” value, in order to create the drawing by turning the potentiometers. Utilizing the serial_multipleValues_AtoP file from class, I modified the code slightly so as to make sure the mapped values would correspond to the correct potentiometers. The circuit was fairly easy to assemble, with the most challenging part being the connection between Arduino and Processing. I had trouble getting the line to be stable, but discovered it was due to loose wiring between the potentiometers on the breadboard.
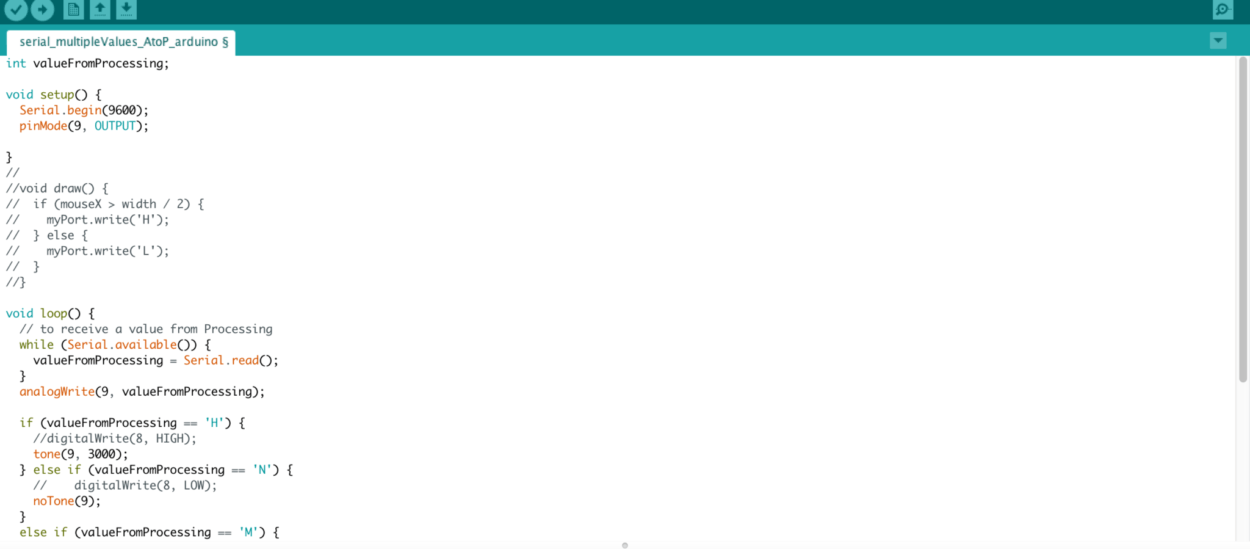
Arduino Code:
Processing Code:
import processing.serial.*;

int NUM_OF_VALUES = 2;
int[] sensorValues;

int prevX;
int prevY;

String myString = null;
Serial myPort;

void setup() {
size(800,800);
background(0);
setupSerial();
}

void draw() {
updateSerial();

printArray(sensorValues);
stroke(250,250,250);
line(prevX, prevY,sensorValues[0],sensorValues[1]);
prevY = sensorValues[1];
prevX = sensorValues[0];
}

void setupSerial() {
printArray(Serial.list());
myPort = new Serial(this, Serial.list()[4], 9600);
// WARNING!
// You will definitely get an error here.
// Change the PORT_INDEX to 0 and try running it again.
// And then, check the list of the ports,
// find the port “/dev/cu.usbmodem—-” or “/dev/tty.usbmodem—-”
// and replace PORT_INDEX above with the index number of the port.

myPort.clear();
// Throw out the first reading,
// in case we started reading in the middle of a string from the sender.
myString = myPort.readStringUntil( 10 ); // 10 = ‘\n’ Linefeed in ASCII
myString = null;

sensorValues = new int[NUM_OF_VALUES];
}

void updateSerial() {
while (myPort.available() > 0) {
myString = myPort.readStringUntil( 10 ); // 10 = ‘\n’ Linefeed in ASCII
if (myString != null) {
String[] serialInArray = split(trim(myString), ",");
if (serialInArray.length == NUM_OF_VALUES) {
for (int i=0; i<serialInArray.length; i++) {
sensorValues[i] = int(serialInArray[i]);
}
}
}
}
}
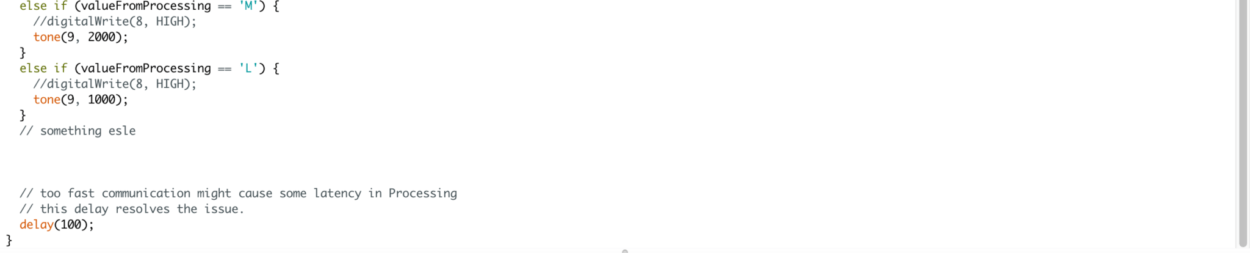
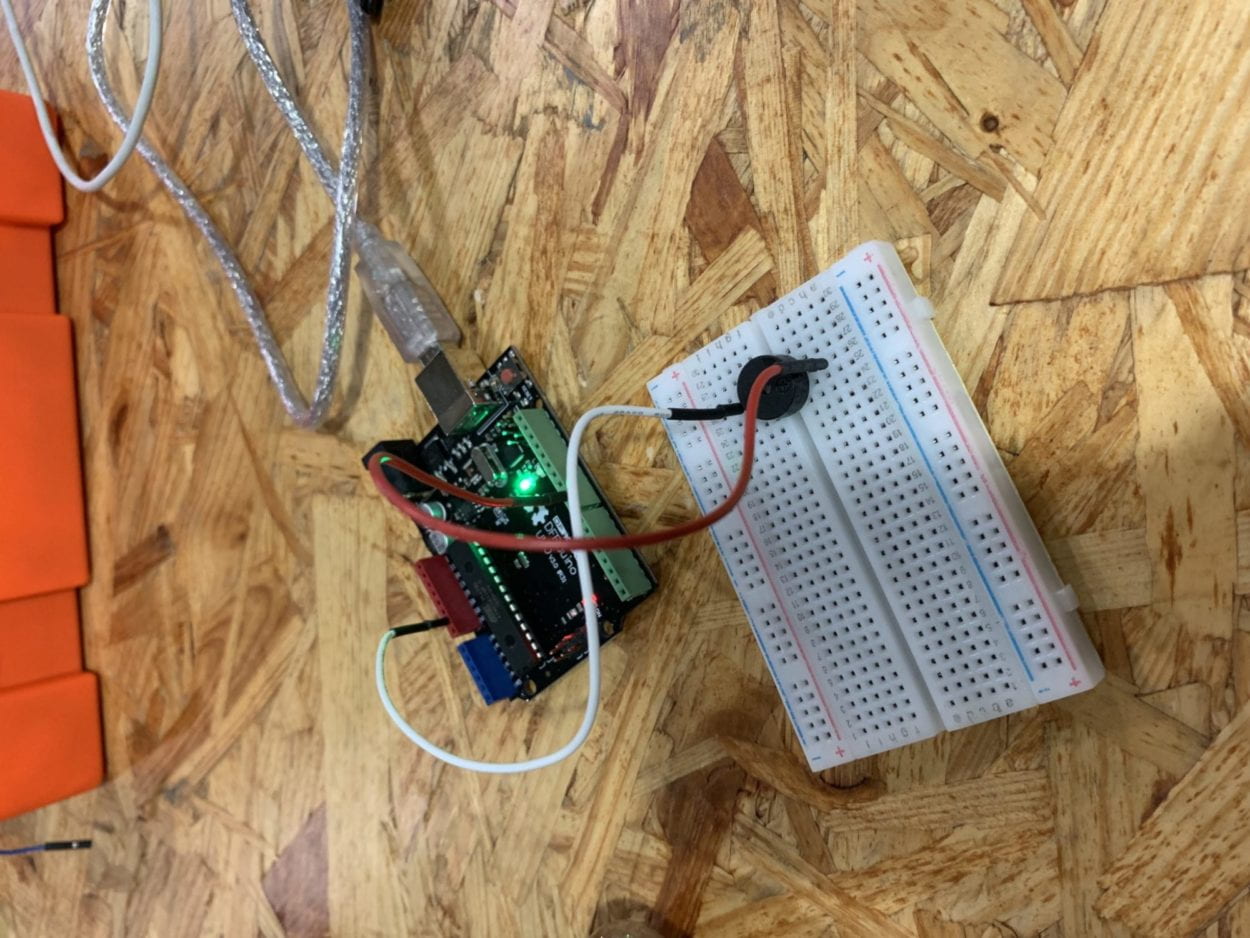
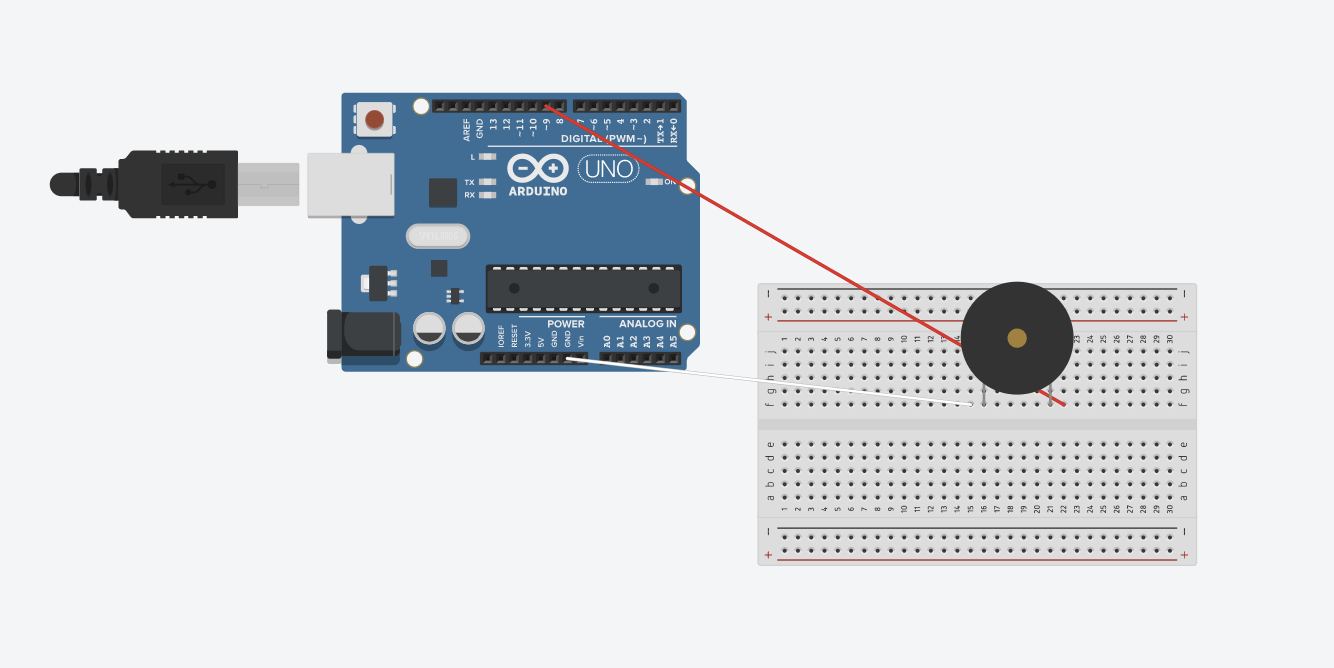
Exercise 2: Make a musical instrument with Arduino
For exercise 2, we were to send values from Processing to Arduino using a buzzer that would play a sound if pressed. We were to map the position of the mouse in respect to the buzzer’s tone. We can use the multiple values from Processing to Arduino for our code, modifying for the duration and frequency of the values.
import processing.serial.*;

Serial myPort;
int valueFromArduino;

int High;
int Med;
int Low;

void setup() {
  size(500, 500);
  background(0);

  printArray(Serial.list());
  // this prints out the list of all available serial ports on your computer.

  myPort = new Serial(this, Serial.list()[4], 9600);
  // WARNING!
  // You will definitely get an error here.
  // Change the PORT_INDEX to 0 and try running it again.
  // And then, check the list of the ports,
  // find the port "/dev/cu.usbmodem----" or "/dev/tty.usbmodem----"
  // and replace PORT_INDEX above with the index number of the port.
}


void draw() {
  // to send a value to the Arduino
  High = height;
  Med = 2*height/3;
  Low = height/3;
  if (mousePressed && mouseY > 0 && mouseY < Low) {
    myPort.write('L');
  } else if (mousePressed && mouseY > Low && mouseY < Med) {
    myPort.write('M');
  } else if (mousePressed && mouseY > Med && mouseY < High) {
    myPort.write('H');
  } else {
    myPort.write('N');
  }
  //if (mouseX > width/2) {
  //  myPort.write('H');
  //} else {
  //  myPort.write('L');
  //}
}