Introduction
In the second recitation we were asked to do both circuit building and coding with Arduino. My partner Xu You and I completed the three circuits before the class ended, so we tried the fourth one together with another group, but we did not succeed because the coding was too difficult.
Circuit 1: Fade
Hardware:
- Arduino or Genuino board
- LED
- 220 ohm resistor
- hook-up wires
- breadboard

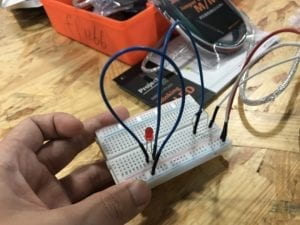
The first circuit is pretty simple and we quickly connected all the wires following the instruction. After copying the code into Arduino, we see the fading light…
Circuit 2: toneMelody
Hardware
- Arduino or Genuino board
- piezo buzzer or a speaker
- hook-up wires
- breadboard

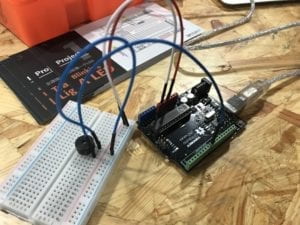
The second circuit is about making a buzzer sing. The circuit is not difficult either, we built it together successfully in one attempt. Then we copied the code from the website into the Arduino and here is the buzzer singing:
Circuit 3: Speed Game
Hardware
- Arduino or Genuino board
- piezo buzzer or a speaker
- hook-up wires
- 220 ohm resistor
- 10k ohm resistor
- Switch
- LED
- Arcade Button
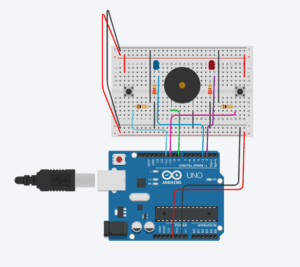
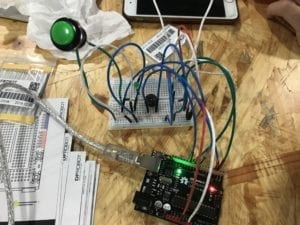
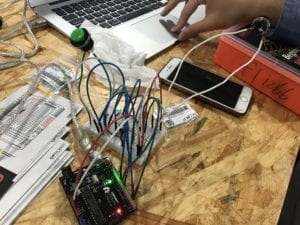
Circuit 3 is much more complex. It involves 4 resistors, 2 LED, 2 switches, 2 Arcade Buttons, a buzzer and countless wires. To build them on the breadboard took my partner and I a lot of time. What I learned from my partner in this process is that we can connect 5V to the “+ row” on the breadboard so that the entire row can be used as the power. Also, the circuit is actually symmetric, so it would take less effort if we do the symmetric parts together.
Reflection and Evaluation:
This recitation is about building the circuit and copying the code to make the circuit work. I gradually got accustomed to connecting the wires, but the coding still seemed beyond my reach. We did not successfully make the optional circuit work because we did not know how to alter the code especially when it involved the “if” sentence.
Answer to Question 1:
Interaction requires an input, an output and the processing in between. For example, when I use a remote control to turn on the AC, the remote control gives out an signal which is an input, and through the processing inside the AC, the machine turns on, which is an output. Also circuit 3 is a good example, as we push the button, we give an input, and the processing is our accumulation of points, and the output is one of the LED shining.
Answer to Question 2:
Because the 10K resistor provides larger resistance than the 220 ohm one, which is more suitable for the Arcade Button.
Answer to Question 3:
Since the LEDs are of any color, I would make a rainbow out of them. I can make each piece of the rainbow with same color LEDs. And since I have 100,000 of them, I will probably put the rainbow in the Power Station of Art in Shanghai and tag it “modern art,” so that its meaning is open to all kinds of speculation and interpretation.
*All the photos and videos in this post are shot by my partner Xu You.
great idea Feifan! I’d love to see that rainbow in an exhibition and I wonder how could you make it interactive.
Regarding to the question about the 10K resistor, we use it because if we don’t use it we would have a shortcut every time we push the button, without the resistor we would be connecting 5V directly to ground. Check out this video: https://www.youtube.com/watch?v=RqI9MqVRB5A