for this week’s recition we created a drawing machine by using an H-bridge to control stepper motors attached to mechanical arms.

firstly we assembled the circuit according to this diagram. one trick i learned is that when a voltage/ground line should be connected to multiple pins on the devices or arduino, it’s better to firstly connect it to the voltage/ground line on the breadboard and then connect to the pins reapectively.
when adding the 12 V DC power supply, we should keep it as far from the circuit of the motor as possible (i.e. as few wire connections as poeeible) in order to avoid any potential damage to the USB port on our computer or to ourselves. 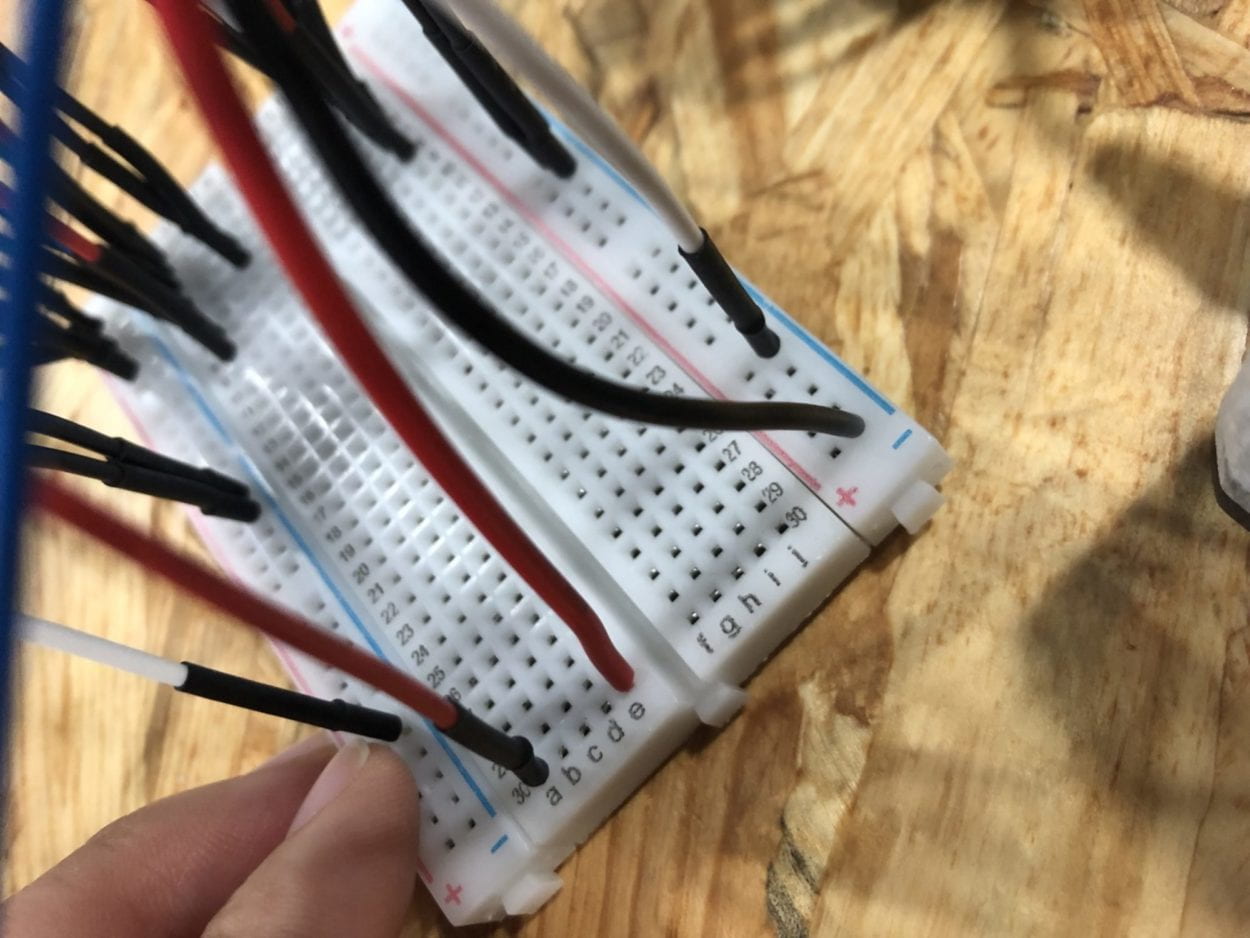
the power supply directly connected to the groung line on the bread board.
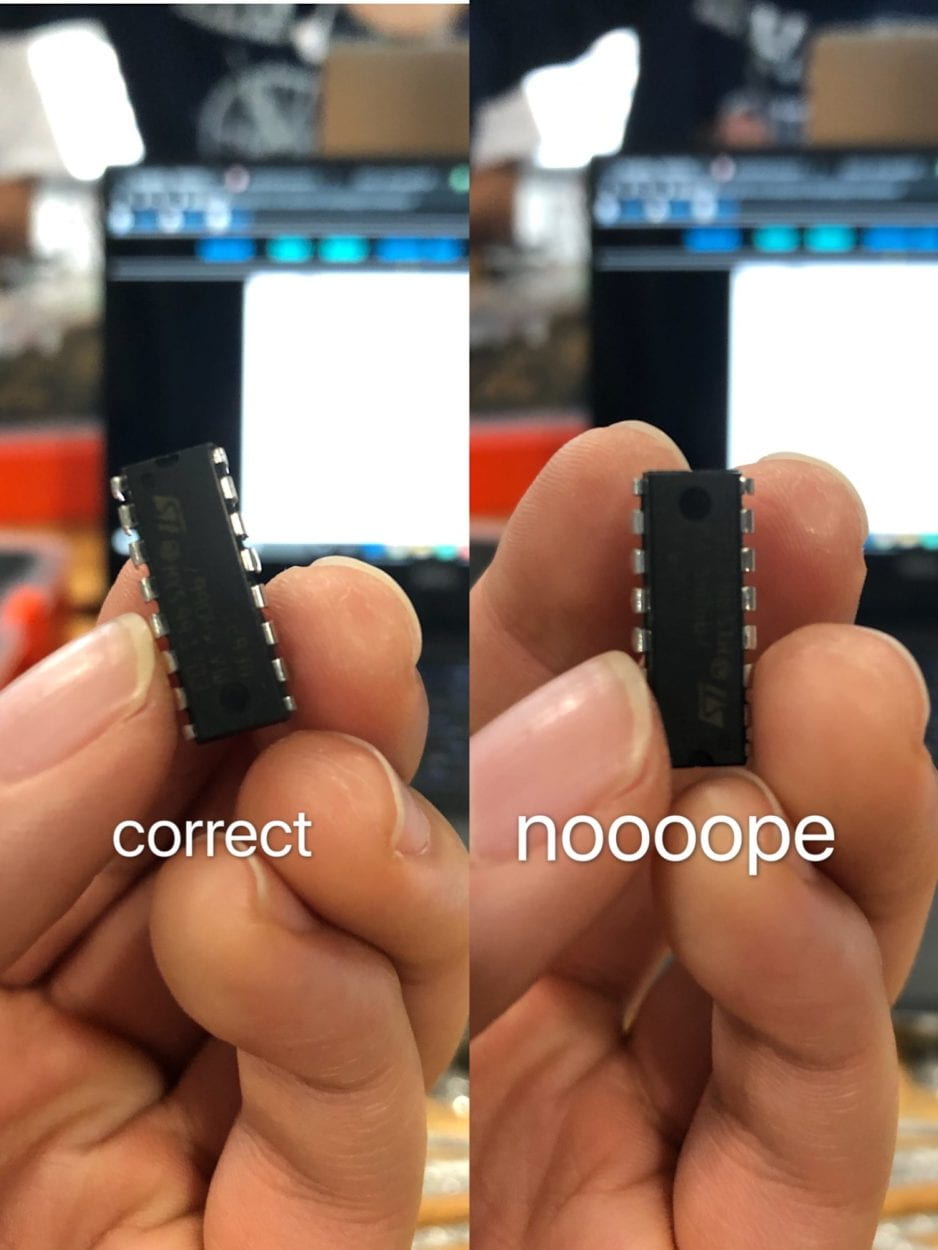
also, the direction of the h-bridge is very important.
after assembling the circuit, we added the potentiometer to the circuit. we could have organized the wires better so that it is easy for people to reach and control it. 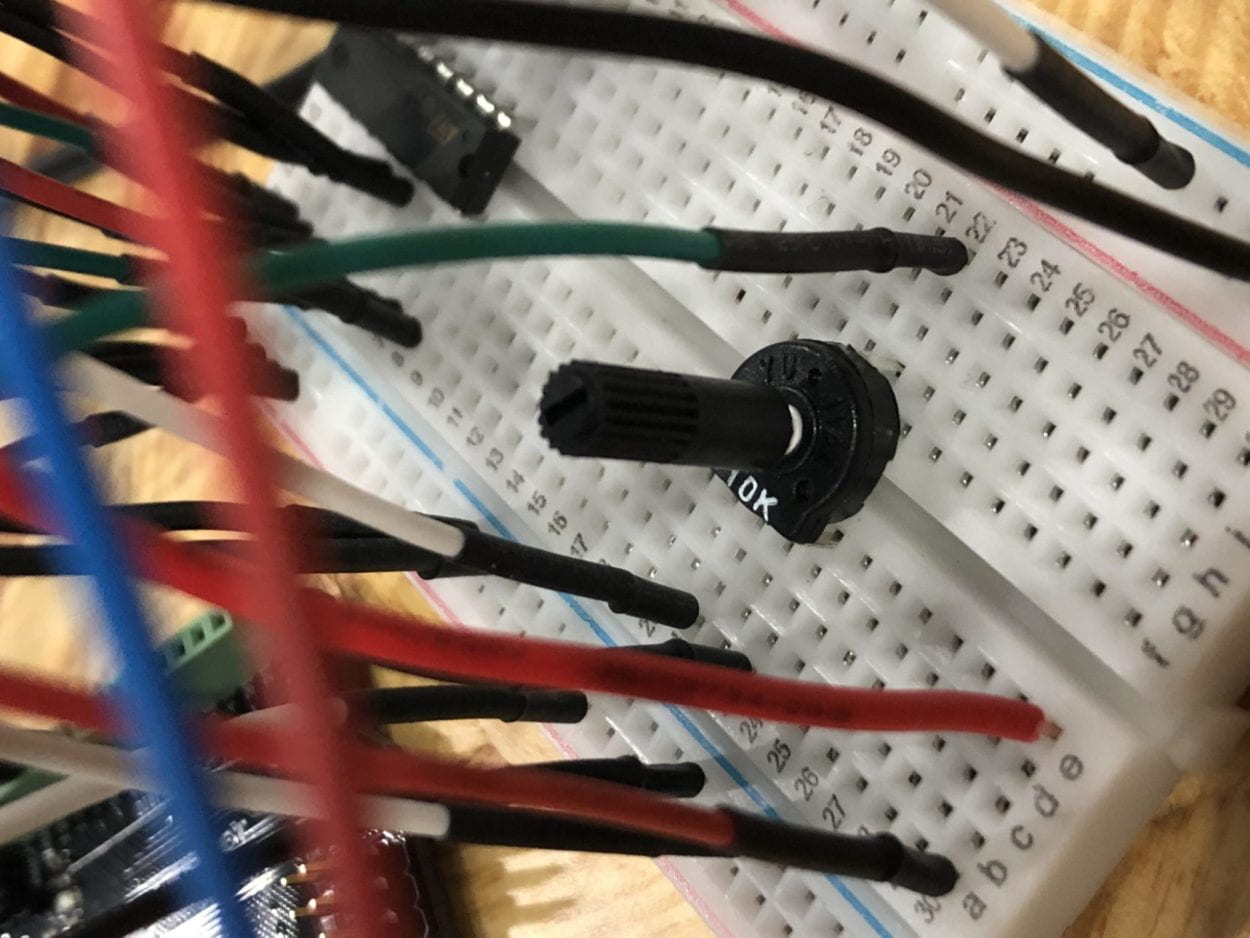
and then we added the motor and connected the arduino to the computer and uploaded the program. to my suprise nothing worked…… after round and round of checking, it turned out to be that i forgot to connect the ground on the arduino. 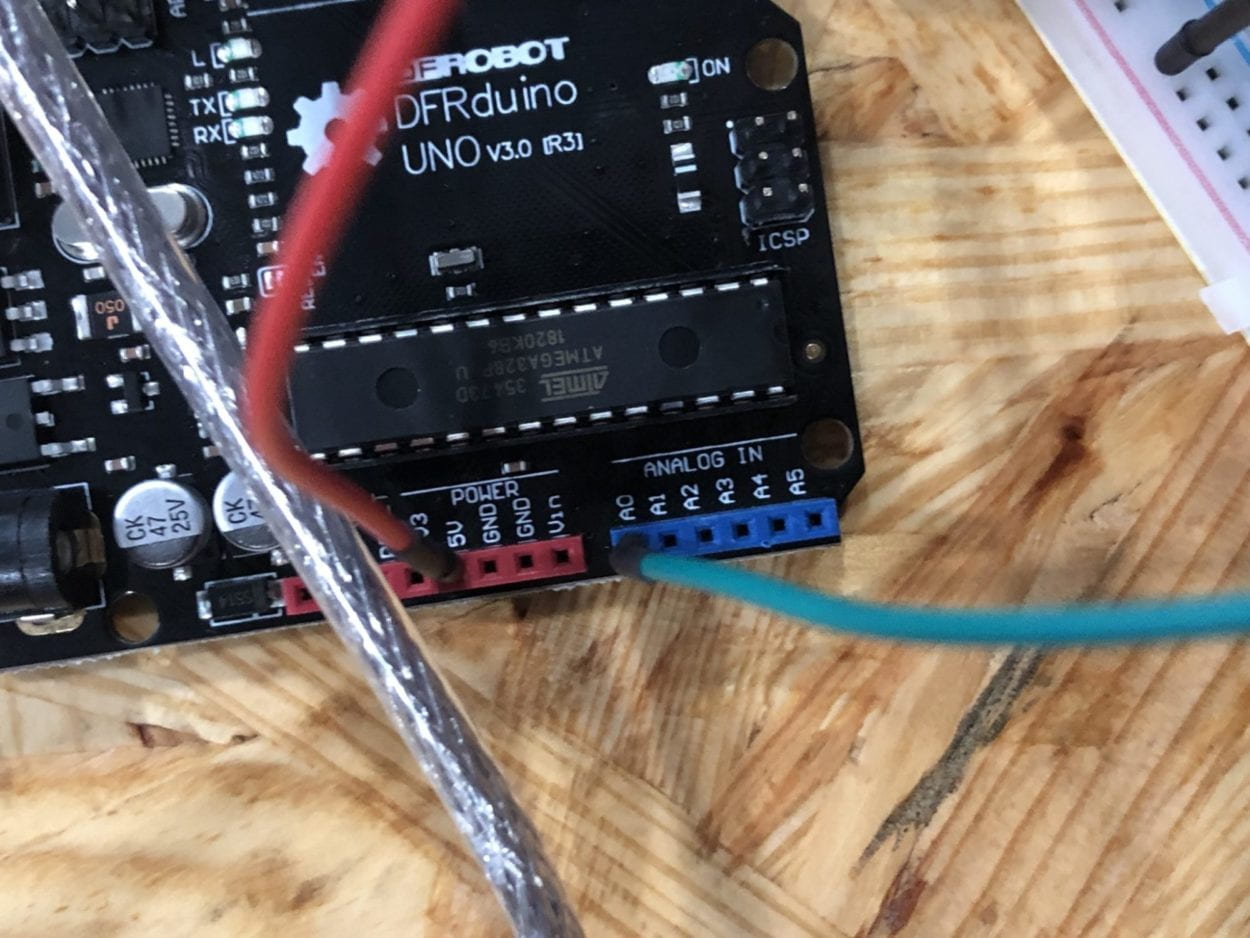
then we finalized out circuit, built our mechanical arms and modified the sample code in arduino, and the drawer is done.