Exercise 1: Making a Etch A Sketch
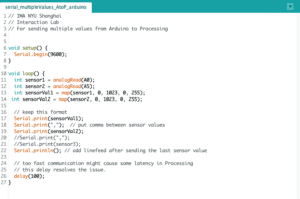
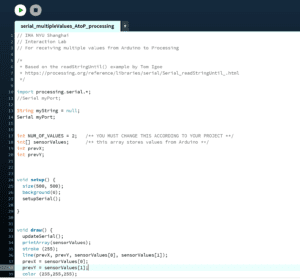
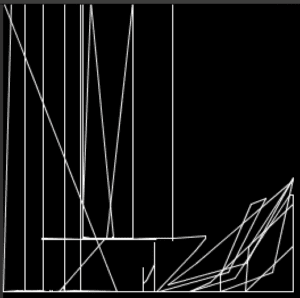
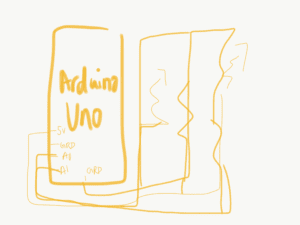
For this exercise, I used the AtoP function given in class to create the Etch a Sketch both using circles and lines. At first, I had trouble drawing the circles and moving the potentiometer to make my processing sketches because my potentiometer wasn’t connected well into my breadboard. Also, since there are 2 sensor values/serial prints to modify, I added an additional comma (in the original code file there was 3 serial print) which was why my processing wasn’t working. Then, I deleted the comma and then processing was reading my values from my Arduino and it worked! Then I just modified the circle to lines and added previous xy positions to the documents, and it was fun to play around with different sketches.
It was more tricky than the first one because the lines would have to follow previous x y values before drawing the lines, and it was confusing to figure out the x,y values but eventually, it worked out.
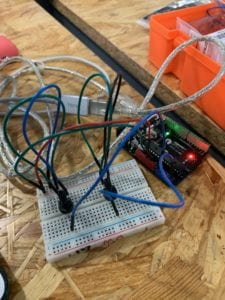
Exercise 2: Make an instrument with Arduino
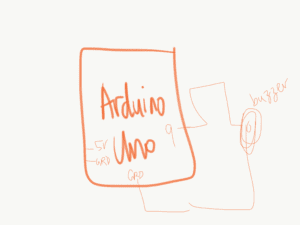
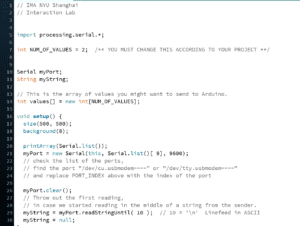
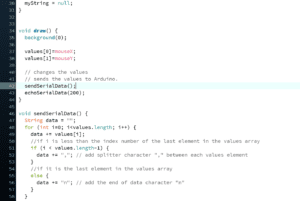
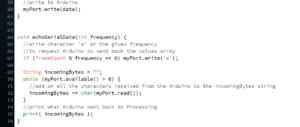
For the second exercise, it was to take Processing functions to send audio to the Arduino when the mouse moves. This exercise was more tricky because it was PtoA. The demonstration video helped a lot and I used the tone () function to execute this exercise. Since I worked with audio for my midterm project using the tone () function, this one was easier to manipulate because I know to #include pitches.h file into my PtoA file. Then by modifying the notes that I wanted to play, and editing the Serial.list number and adding the if, then statement, I was able to move my mouse and play the music note. It was tricky to understand where to put certain values at first since we are working with more than 1 thing (arduino and processing) but with the help of some IMA fellows, I was able to finish it.
