Video of our project: https://drive.google.com/file/d/16IL1Z1aCOD7yOWS5Cr3hIqZ6Rv9ISShh/view?usp=sharing
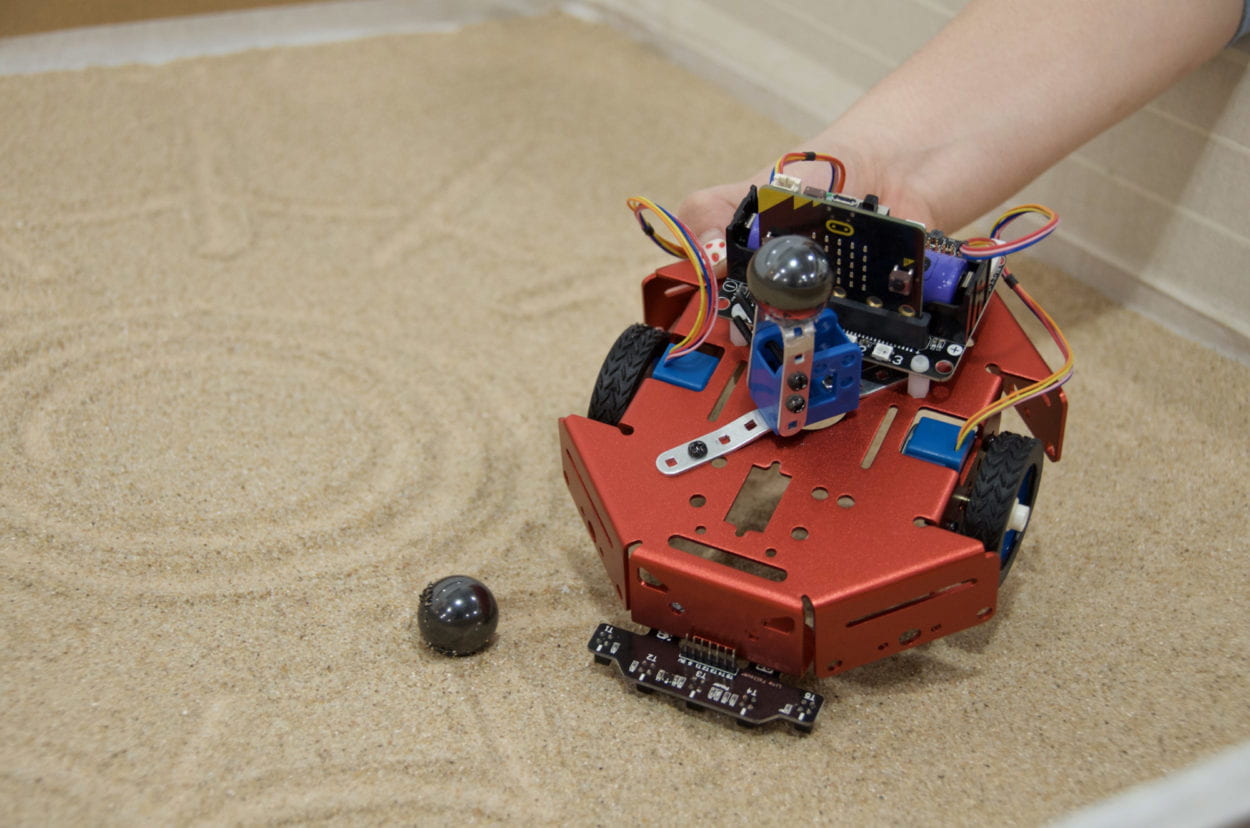
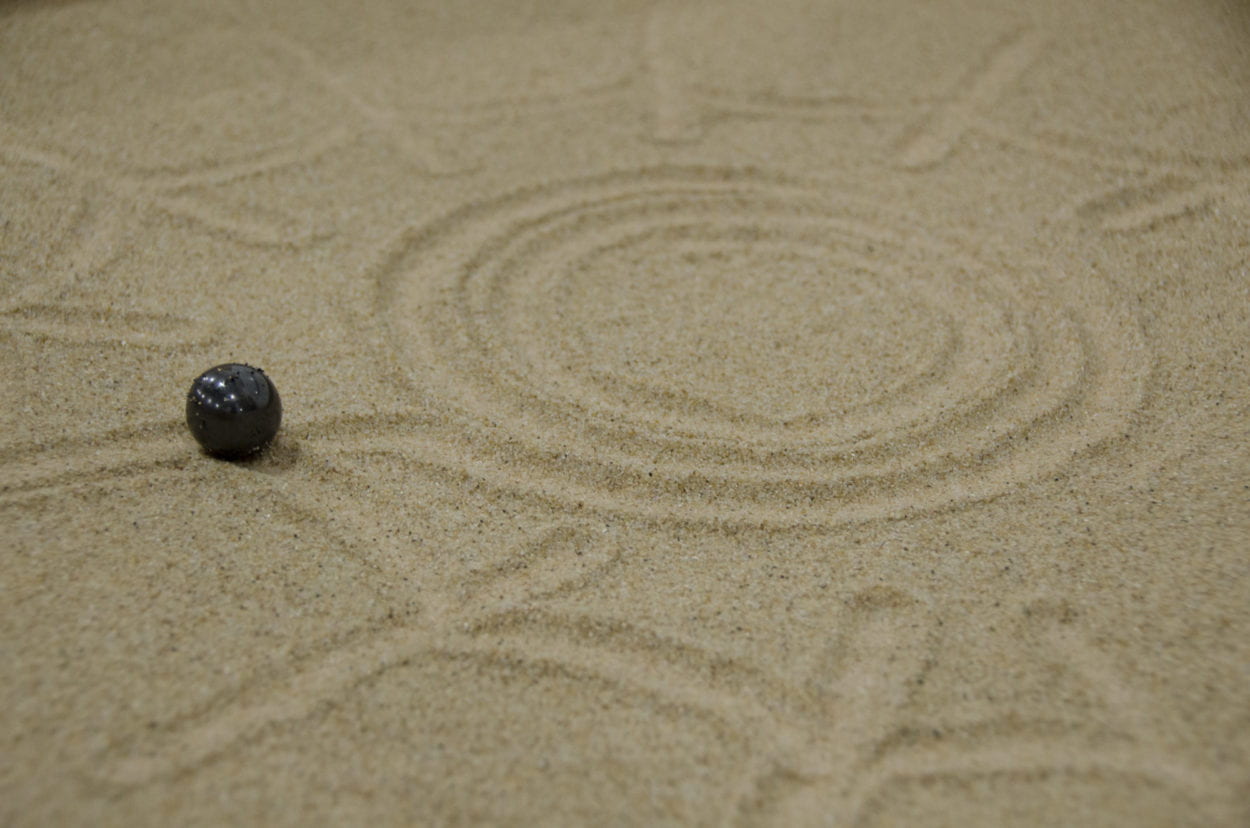
The purpose of this project is to simulate the biological behavior of a Japanese pufferfish: Male pufferfishes use their fins to draw nearly perfect sand patterns underwater in order to attract female pufferfish for reproduction. In order to re-create the sand patterns, we use the sand table and magnets for drawing. The inspiration for this drawing approach comes from the Sisyphus table: a marble rolls by itself on the table creating sand art. It uses a stepper motor that decides the direction and 2 Sisbot boards to control the magnet that pulls the metal ball.
References:
Role of Huge Geometric Circular Structures in the Reproduction of a Marine Pufferfish
Sisyphus Table: Where Art and Technology Merge
Documentation:
Step 1: Brainstorm
We both looked up some fun or impressive biological behavior and discussed the possibility of imitation and implementation. We finally decided to choose pufferfish. It took us only about 30min to make the decision. Once we started, the preparation went on smoothly. We consulted with Professor Rudi. He suggested us to look at the Sysphus table, which we later modeled on. We quickly ordered the magnets and sand on Taobao.
Step 2: Setup
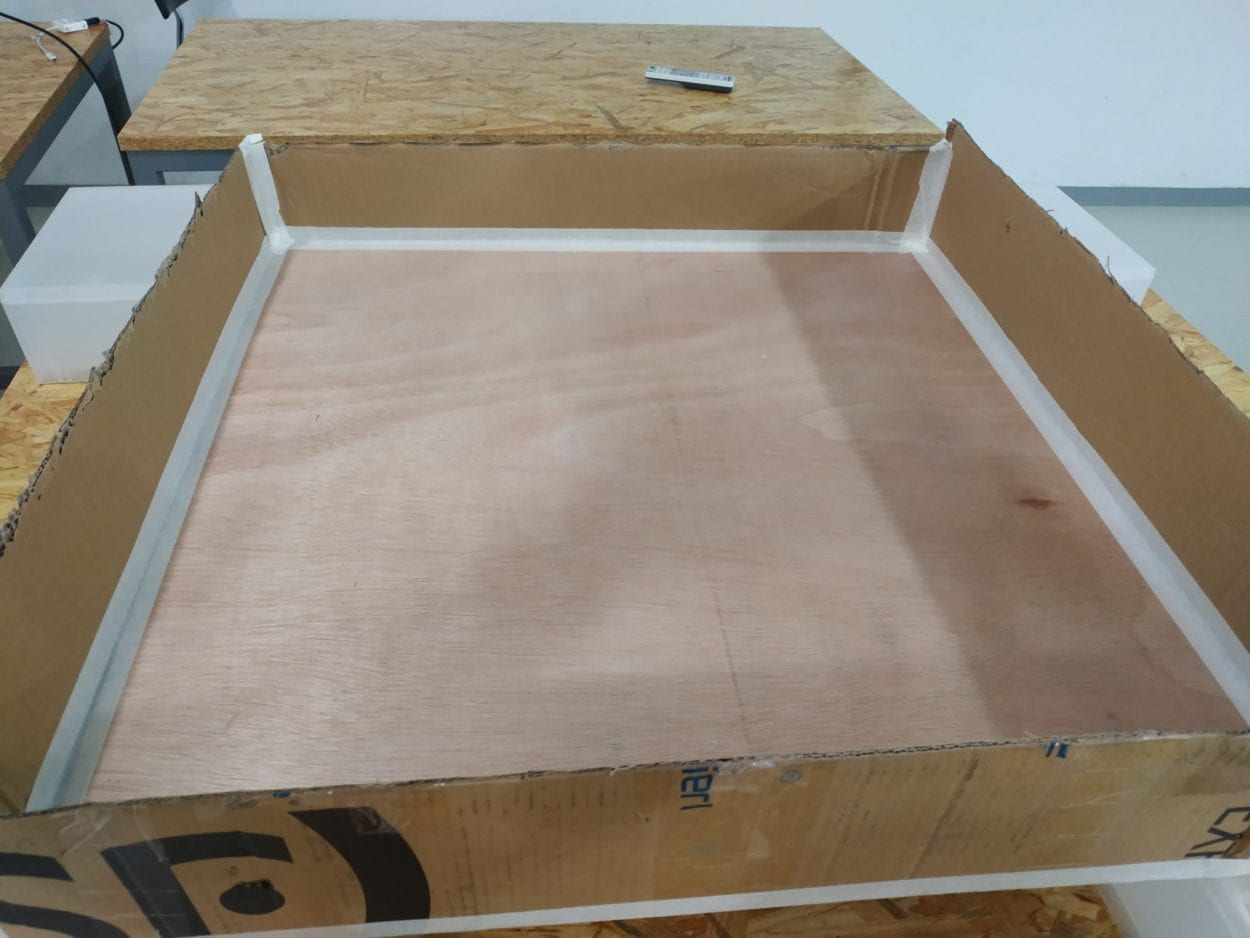
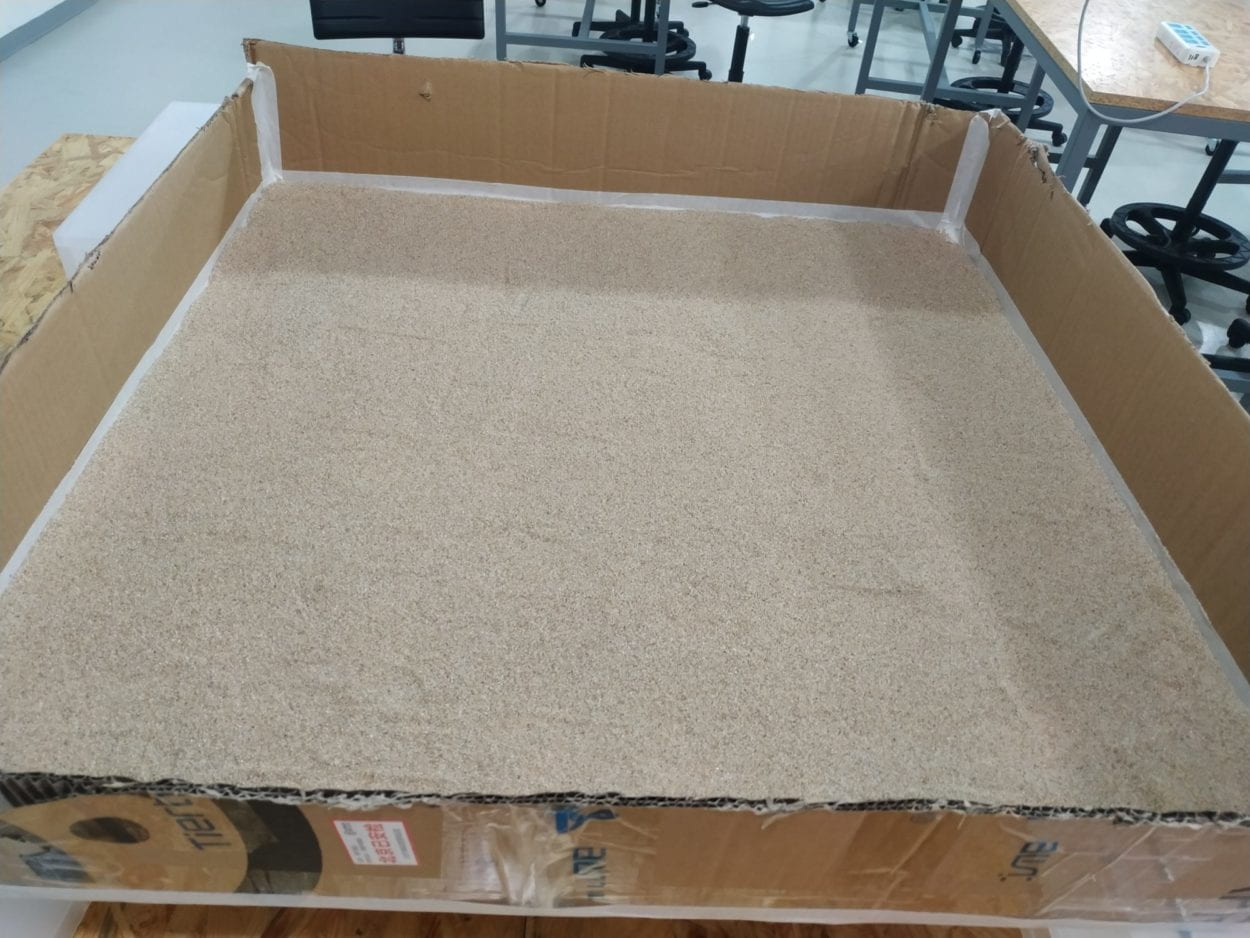
- Sand: We found a large thick wood to lay the sand on. (Hunting in different studios) I originally insisted to have the board 2 or 4 times bigger, but it turns out that the current size is enough for modeling and testing in such a short time. It is the technology and concept that matters the most, not the “impressive” result.
2. Pattern: We decided the pattern the robot should draw after a long decision process. Although it’s very different from what the pufferfish draws (we couldn’t control the depth of the strokes so far–maybe would try electromagnet in the future), this is the best we could do to make it symmetrical and similar.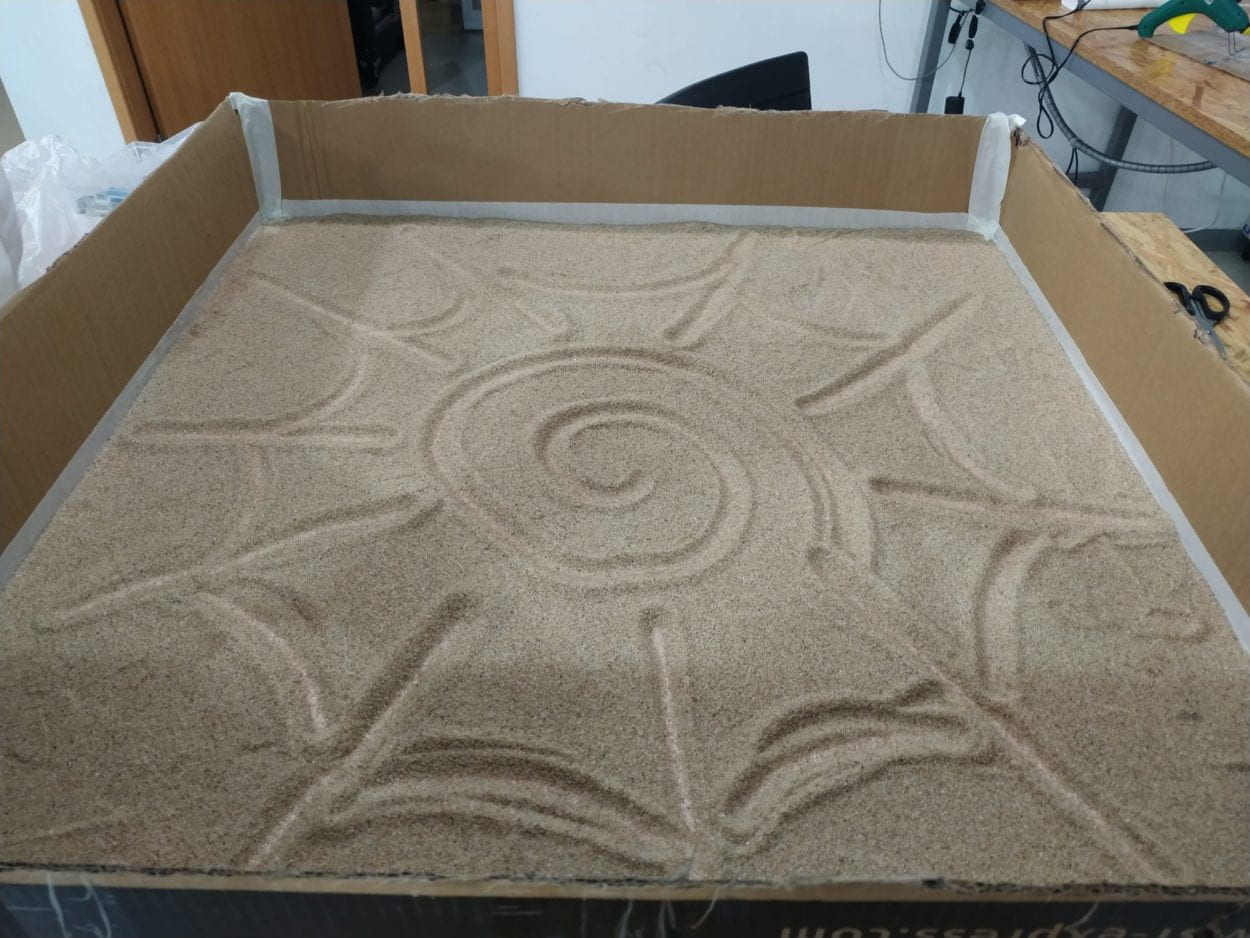
3. Robot: At first, some magnetic round plates were attached to the robot. After we figured out that the ball on the sand would be affected because the junction area is too big and make random moves, we changed them to an identical magnetic ball. Rudi’s tool kit is really helpful that help attach the ball in a “professional” way–otherwise, we would just use glue and random materials.

Step 3: Testing patterns
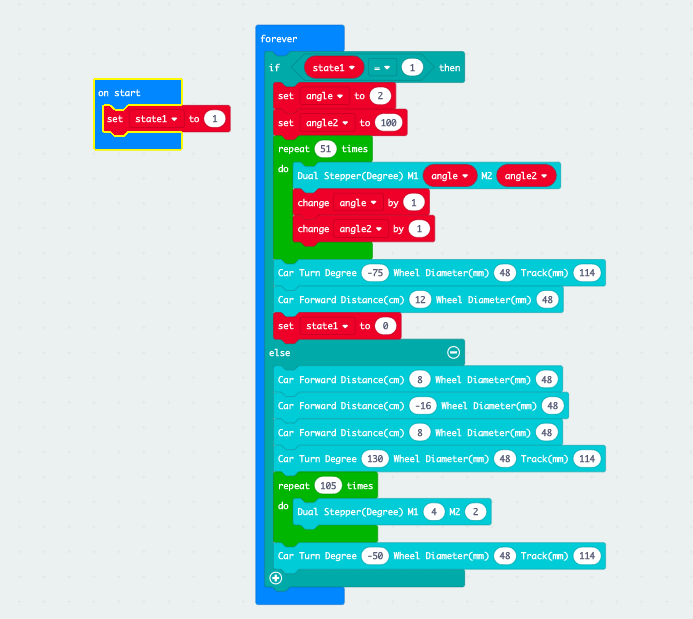
The first test of the outer part. Pretty excited to actually make the robot draw. Then we figured out that even if the code is the same, the toy motors would drive the robot to go different ways. We thought it to be the robotic error, therefore change to steppers. Previously, the motors were controlled by speed, now the steppers are controlled by steps –how to make the robot draw a circle or curve is different. See the code below. 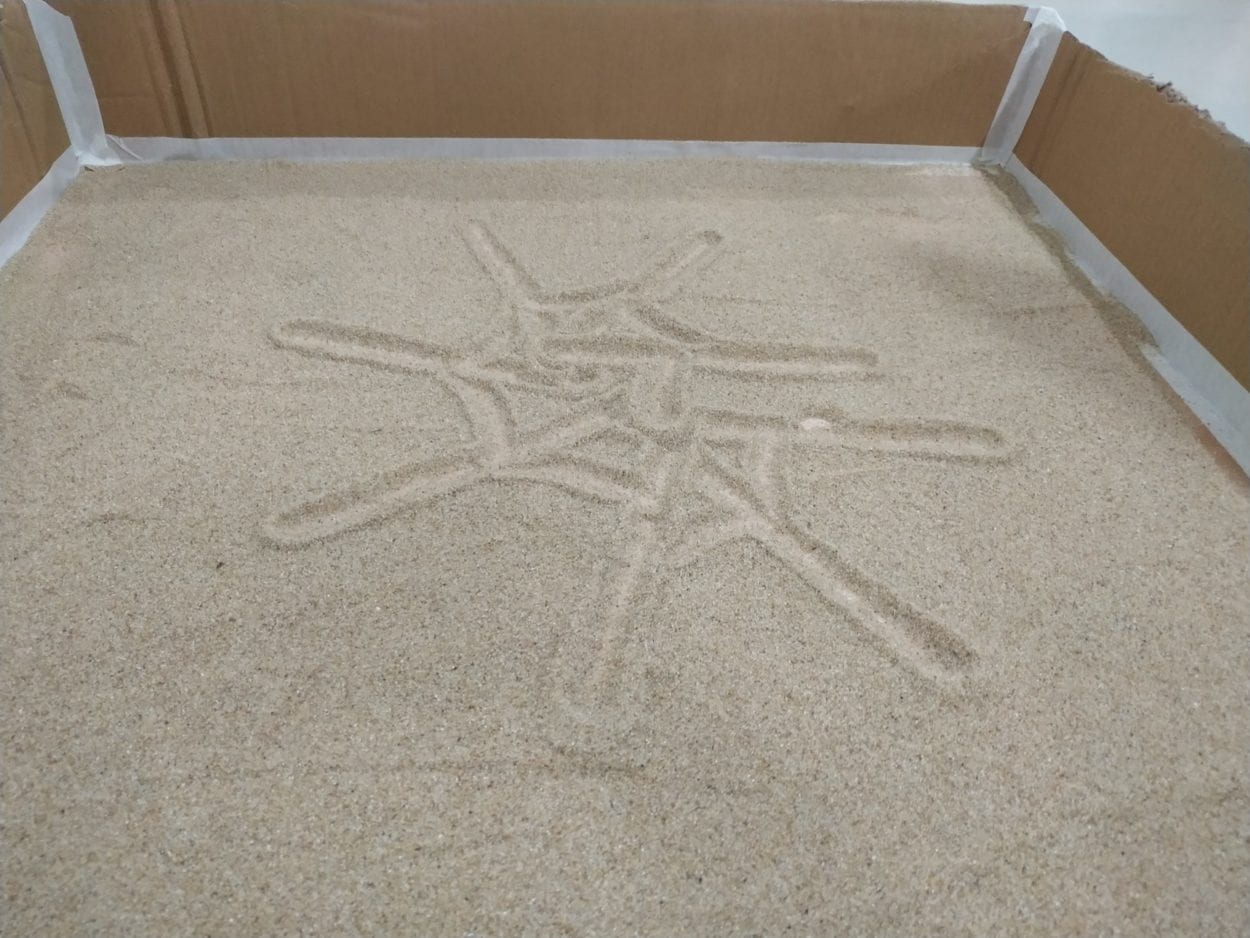
We tried to calculate the length and degree the robot should go to make it come back to where it started after drawing the whole pattern.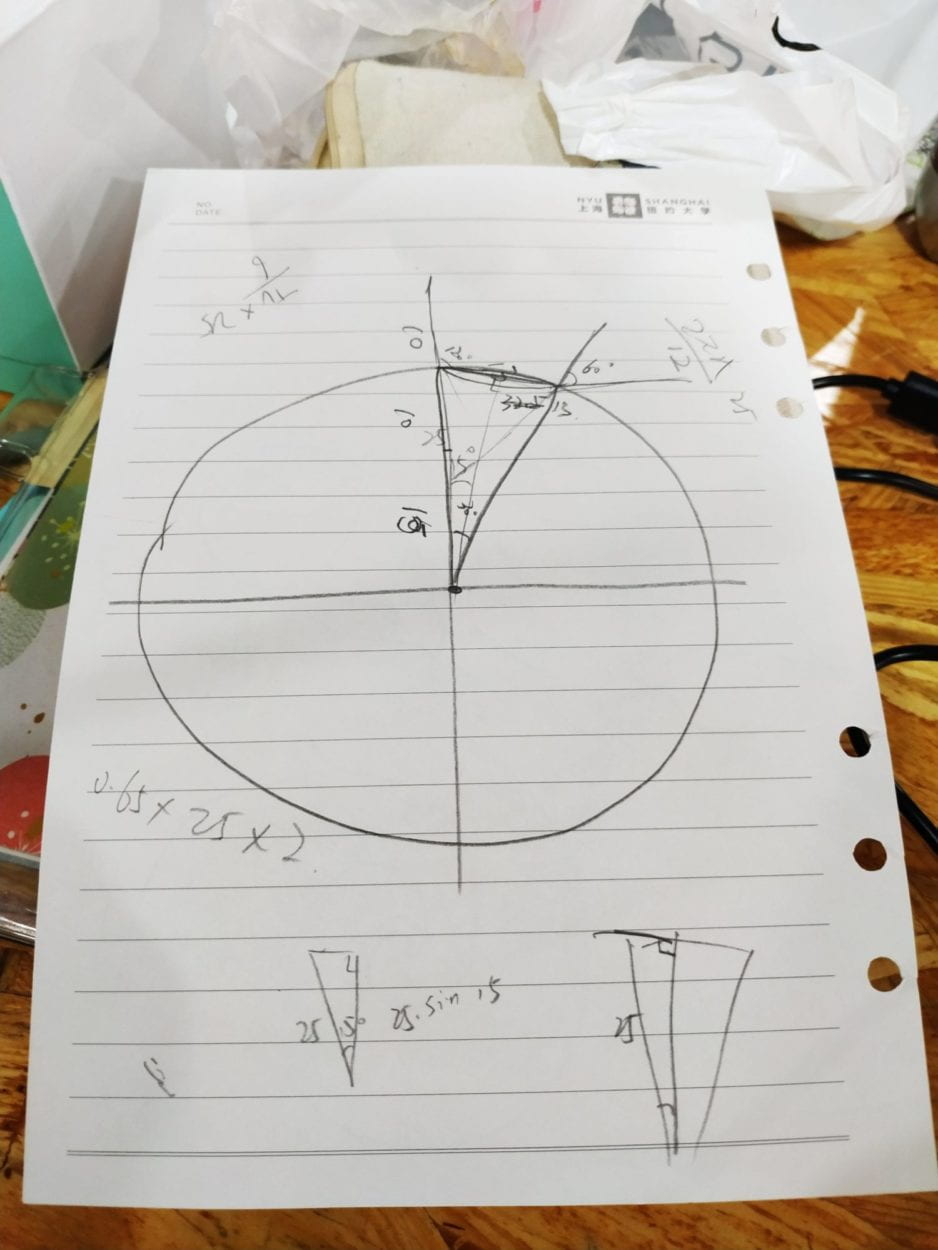
It worked when it only needs to draw the outer pattern. But later on, we added the spiral in the circle, it stopped working.
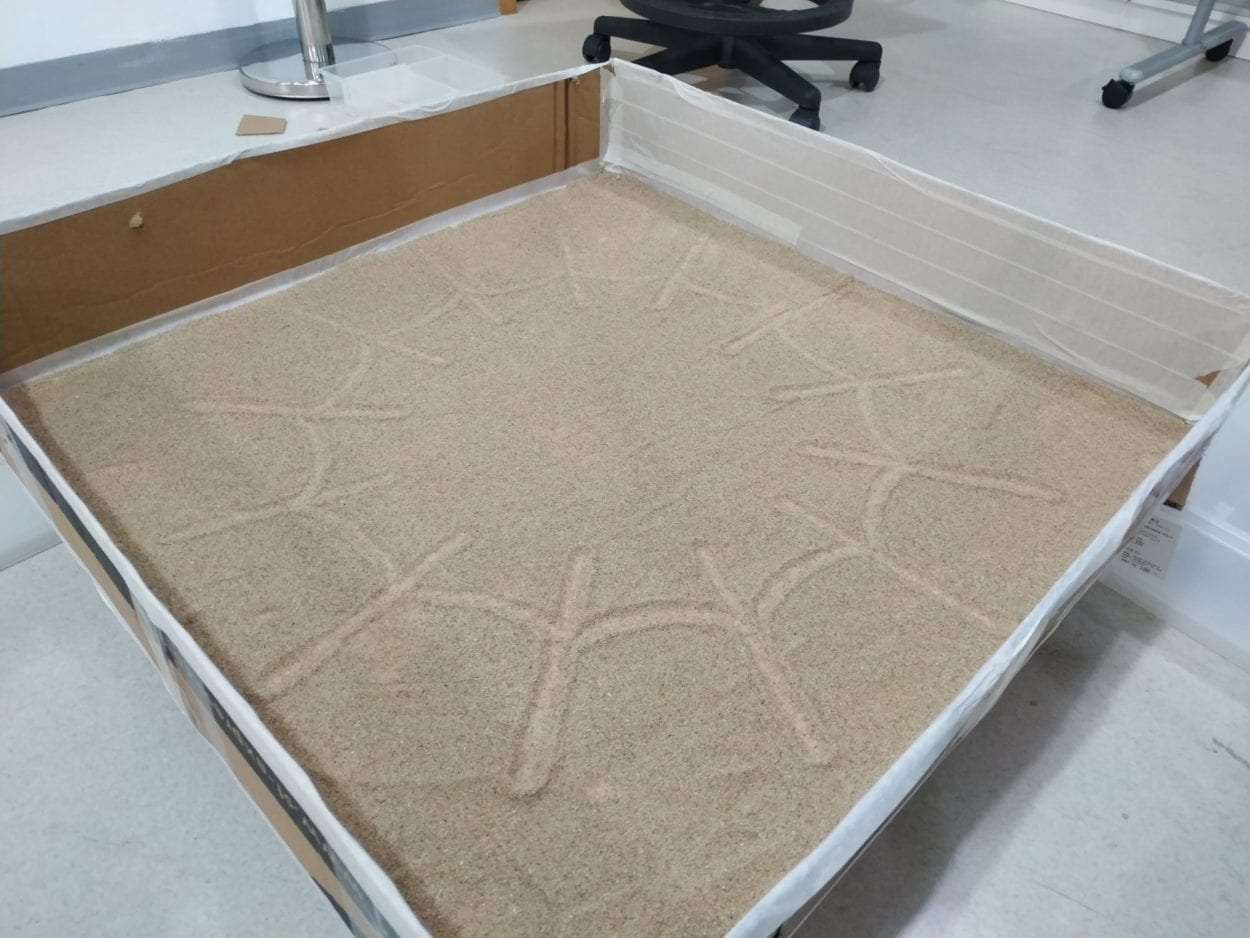
This is our final pattern. (You can see that the ending position is away from the starting point) We didn’t find out how the spiral actually worked. We just used the only code that could make it work. Some kind of luck for that.

This is our “construction site”. 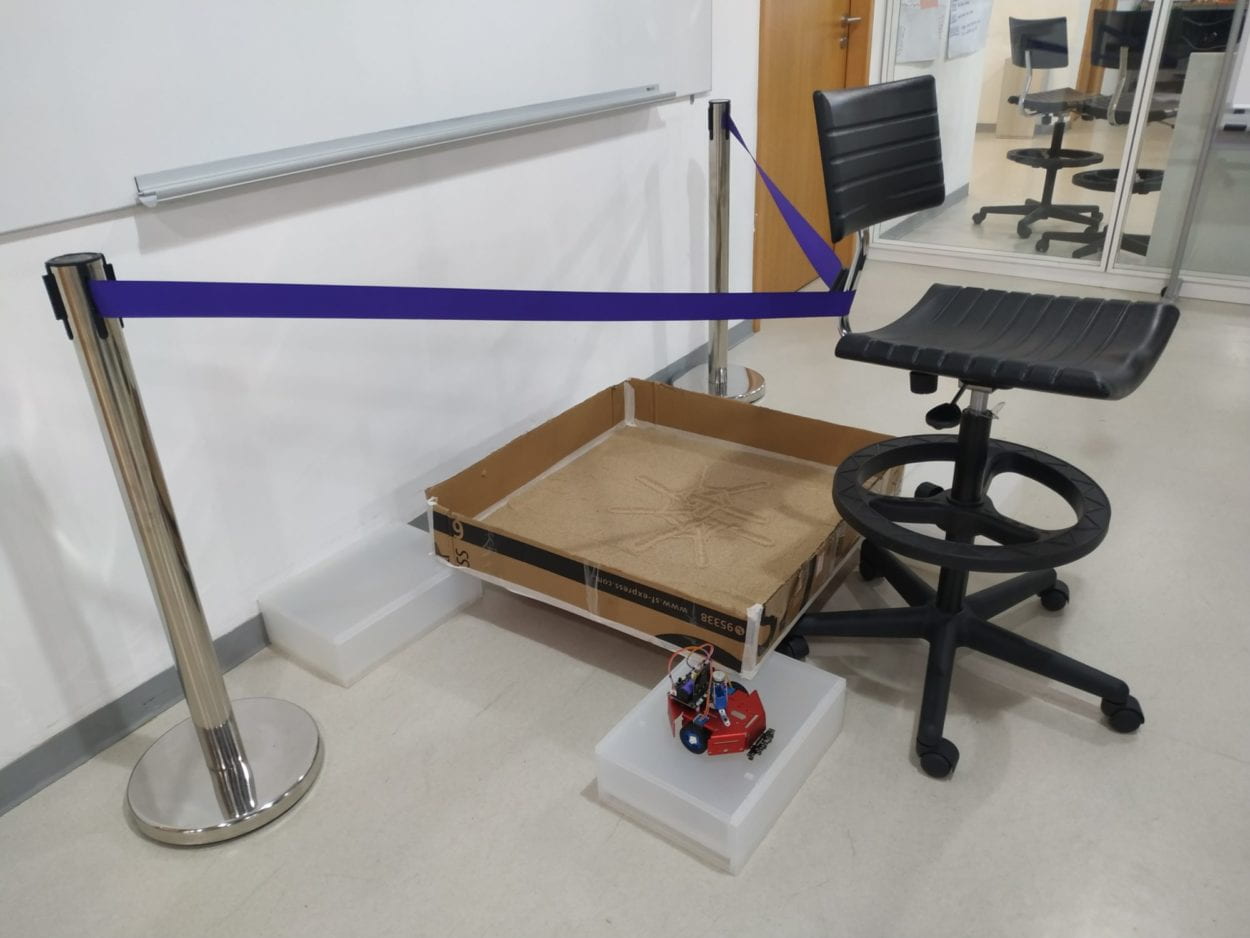
code: Changing “state” is important in this case. Those numbers basically lie on numerous tests.
Step 4: Thoughts and reflections:
- Buy more material than you expect to use. Maybe you will need it at some point. (To try and make adjustments, or the material would simply break down)
- This project is all about trial and error. Be patient and have a partner to make you through the project.
- The stepper motor is too slow! We spent most of the time to wait for it to draw. Moreover, it also has some robotic imprecision. To upgrade, we will try to use the encoder motor.
- We will continue to explore more about sand and robots. Upgrade considerations: make the area larger, control the depth of the sand, include interaction, turn the system into a way to express art …