Project Name: Control
Project Partner: Wei Wang (ww1110)
Code: link
- Concept
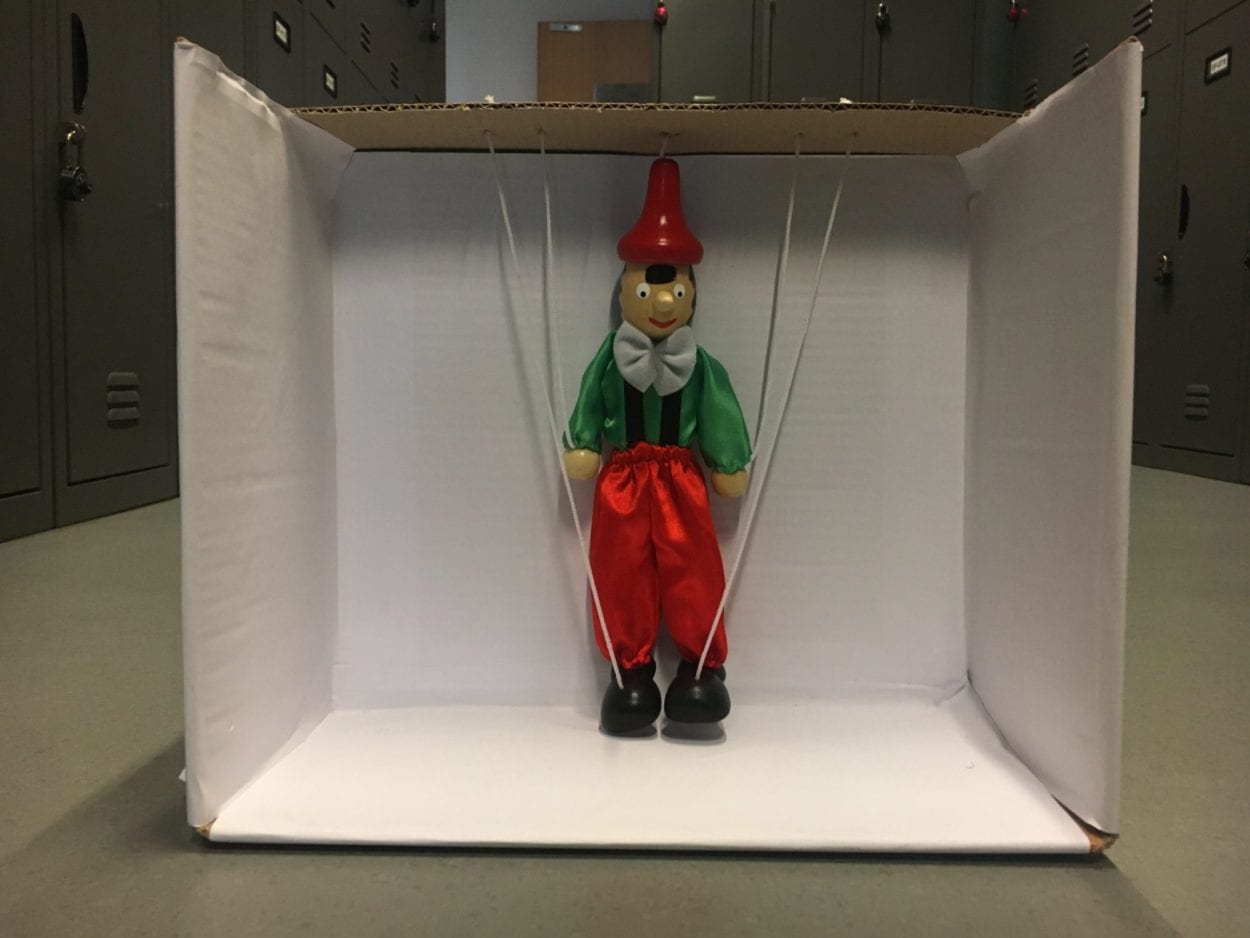
Nowadays, in society, people are always being controlled by the outside world, acting against their wishes. Some who tired of being cooped up struggled to free themselves from the control, but finally accepted their fate and submit to the pressure. Inspired by the wooden marionette, we came up with the idea of simulating this situation in a funny way using a physical puppet and machine learning model (bodyPix and poseNet).
- Development
1. Stage 1: Puppet Interaction
In the beginning, we drew a digital puppet using p5 and placed it in the middle of the screen as the interface.
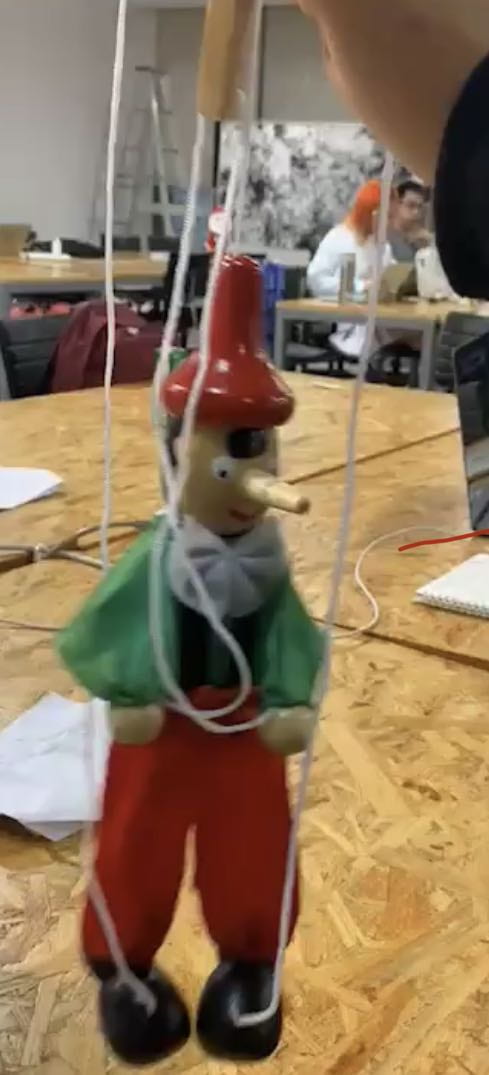
For interaction, users can control the movement of a physical puppet’s arm and leg using two control bars that connected to a physical puppet’s arms and legs.


By using the machine learning model poseNet, the body segment’s position will be detected accordingly and based on the user’s control, some protest sounds and movements will be triggered on the virtual one that showed on the screen. To be specific, the virtual puppet’s arm will be raised accordingly to the user’s control to the physical one, and this applied to the other arm and of course the two legs.
To simulated the protest, we created the effects that if the position of the arm is raised up to the level of its eyes, the segments will be thrown away in an attempt to get out of control but will be regenerated again after a few seconds. Here is the demo of this stage.
2. Stage 2: Human Interaction
After building up the general framework of our project, we moved on to revising the interface. After getting feedbacks, we decided to take advantage of the bodyPix, and redesign the interface using not p5 elements but pictures from the users. We first designed a stage to guide the user to take a webcam image of themselves with their full-body including head, torso, arms, and legs. We placed an outline of the human body in the middle of the screen and when the users successfully pose as the gesture, a snapshot will be taken automatically. By using bodyPix, different body segments of the user’s body will be saved based on the maximum and minimum values of x and y of different body parts. We then grouped different segments together, fixed the position of the head and torso while the user’s hands and legs can be moved accordingly with the user’s real-time position detected by poseNet. Here is the demo of this stage.
3. Stage 3: Puppet and Human Interaction
After the developed of the body the interaction we combined them together. After the user takes the snapshot, others can use the puppet to control their movements and if the movements are too intensive, the virtual image of the user will be angry and screamed some dirty words and thrown that part of its body away. However, since poseNet doesn’t really work well on the puppet, we did some manipulation which greatly increases the confidence score.

4. Stage 4: Further Development
We also continue to revise the interface by using bodyPix. We improved the image segmentation with pixel iteration. In this stage, different body segments are extracted out not based on the maximum and minimum value of x and y anymore, but just the pure segments image. Due to the time constraint, this version is not fully complete with the protesting sound and movements, so we exclude this from the final presentation. Here is a demo of this stage.
- Coding
The machine learning model we used for the first stage is bodyPix, and for the following stages, we used both bodyPix and poseNet. We haven’t encountered any difficulties when extracting positions (x and y value of different body segments), however, we have some difficulties when using those values.
1. Getting the user’s body segments image using bodyPix
Bodypix detects both the front and the back of the human body. As the id listed below, for instance, PartId 3, 4, 7, 8, 13, 15, 16, 19, 20 are all the back surfaces of the human body.
/*PartId PartName-1 (no body part)0 leftFace1 rightFace2 rightUpperLegFront3 rightLowerLegBack4 rightUpperLegBack5 leftLowerLegFront6 leftUpperLegFront7 leftUpperLegBack8 leftLowerLegBack9 rightFeet10 rightLowerLegFront11 leftFeet12 torsoFront13 torsoBack14 rightUpperArmFront15 rightUpperArmBack16 rightLowerArmBack17 leftLowerArmFront18 leftUpperArmFront19 leftUpperArmBack20 leftLowerArmBack21 rightHand22 rightLowerArmFront23 leftHand*/
Since we don’t want to keep the interface as clean as possible, we only want to get the segments we need. Based on this idea, we construct a new array with a group of 0s and 1s at the length of 24 (the length of the list that bodyPix can detect). When 1 at the corresponding index of the array, we take the segment and copy the image, while 0 means that this segment result can be ignored.
let iList = [1, 1, 1, 0, 0, 1, 1, 0, 0, 1, 1, 1 ,1, 0, 1, 0, 0, 1, 1, 0, 0, 1, 1, 1];Once we get the body segments that we want, we constrained the image and subtract out the image of a person with segments. We saved the values of minimum and maximum Xs and Ys to bound the segment as a rectangle, copied the image in the bounded area to a predefined square and then arranged the orientation after scaling them to the respective position.
2. Triggering sound and movement
To trigger the protesting sound and movement, we added a time count.
// time countlet countLW = 0; //leftWristlet countRW = 0; //rightWristlet countLA = 0; //leftAnklelet countRA = 0; //rightAnkle
In order to play the sound as an alert before the movement is triggered, we input two different if statements and with a different value ranges of the time count. For instance, here is an example of triggering the movement and sound of the right arm. Whenever the Y value of the right wrist is smaller than the Y value of the right eye, the time count started increasing on a plus 1 base. As the time count value reaches 3, the sound will be displayed, and when it reaches 5, the movement will be triggered.
// poseNet - check status for rightArmif(rightWristY < rightEyeY && rightArmisthrown == false){countRW += 1;// console.log("rightWrist");}if (countRW == 3 && rightArmisthrown == false) {playSound("media/audio_01.m4a");}if (countRW == 5 && rightArmisthrown == false) {rightArmisthrown = true;rAisfirst = true;}if(rightWristY > rightEyeY){countRW = 0;}
3. Movement Matching
To match the virtual image’s movement according to the physical movement, we decided to calculate the angles between the position of arms/legs and shoulders/hips. We searched online and used atan()(returns the arctangent (in radians) of a number) function in p5 to calculate the degree based on different x and y values that we got from poseNet.
// radias calculationradRightArm = - atan2(rightWristY - rightShoulderY, rightShoulderX - rightWristX);radLeftArm = atan2(leftWristY - leftShoulderY, leftWristX - leftShoulderX);// set leg to move within certern rangeradRightLeg = PI/2 - atan2(rightAnkleY - rightKneeY, rightKneeX - rightAnkleX) ;radLeftLeg = atan2(leftAnkleY - leftKneeY, leftAnkleX - leftKneeX) - PI/2;
We used translate() function to make the limbs follow users’ movement, rotate around shoulders and hips accordingly. However, this system of coordination doesn’t really work for the throwing process since they rotate around perspective center points. Therefore, we designed another coordination system and recalculated the translating center which point should be calculated from rotation with the midpoints with the simultaneous angle.
translate(width/2 - 100 * sin(radLeftArm/2), height/2 - 200 *cos(radLeftArm/2)); - Further Developments
Apparently our project has a large room to be improved, not only the interaction but also the interface. During the Final IMA Show, we also found out that the snapshot took too easily and the whole project needs to be refreshed constantly. We wound definitely like to add with a time count to make users sense the way of interaction and have enough time to make the pose in front of the webcam. Restart the project is another problem that needs to be fixed so that another gesture recognition should be added to the project for restarting the process.
- Reflection
We had learned a lot through this process and had a better understanding of both bodyPix and poseNet. Using a physical puppet really increase the user experience and during the IMA Show, we received a lot of resonance from the visitor of our project’s concept.