Project name: Re-shaping
Professor: Eric Parren
Documented by: Skye Gao
Date: May. 23rd, 2019
Project Description:
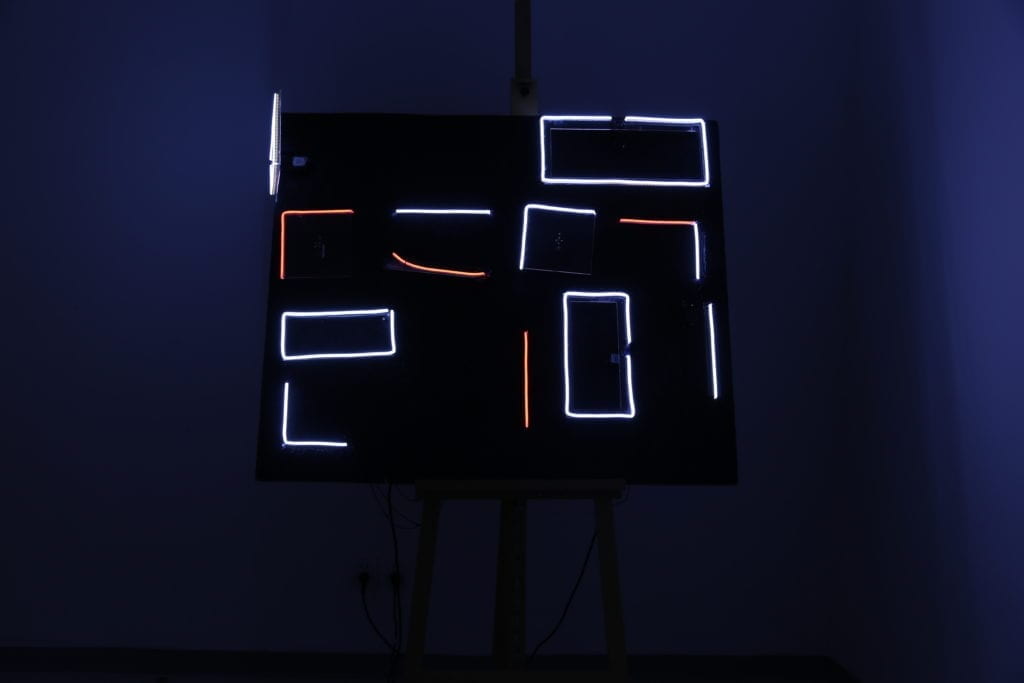
Re-shaping is a kinetic collocation of lighting components which creates generative motions with mechanical devices. Contours of geometrical shapes are sketched out on a black canvas by illuminated led neon tubes, and will revolve in space with certain degrees by servo motors. The project is designed to shape people visual perception of patterns by constantly modifying the collocation of grids. With motions from 2D dimension to 3d dimension, the project intends to extend of boundary of shapes and explores the perception of space.
The project idea is largely inspired by artworks of two contemporary artists, Esther Stocker and Sebastian Hempel.
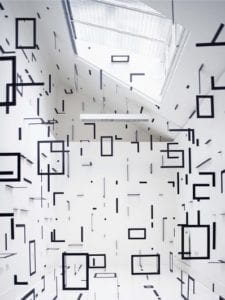
Esther Stocker creates spatial installations that manipulate people’s perception of space. Her ideas about space actually emerges from 2D paintings: in many of her words, the space are constantly reformed generated by perceiving lines or patched from different perspectives. In a reduced language of form consisting of black and white lines and grids, her works explore formal boundaries and spatial structures by creating a space where he viewer no longer can tell where the floor ends and the wall begins. Though her works are not kinetic, they demonstrate very well that the visual perception is a main factor for spatial experience, and is the main visual reference for my project.
The works of Sebastian Hempel are as full of movement as the spaces presented. In terms of works that concentrate on the motions with only installation. Those mechanical process have implications in terms of content, as all the aesthetic effects really on the motions of either installations or human movements. With a similar concept as Stocker’s work but demonstrate in a kinetic way, his kinetic light sculpture, Leuchtstabbild (Lightbarimage), is a representative way of how space can be reformed with motions.
Perspective & Context
Guy Brett approaches the concept of eye and body in his book by addressing that “the concentration on optic, the visual sense, as a vehicle for the exploration of movement and space/time, can be exploded, even from within visual are itself, by another tendency” (52). Such tendency, according to him, can be understood by and large as the separation of the visual form the other senses, or namely, the eye from the body. Through devices that “disturb, or manipulate, the body’s sense of space through a play the optic nerve”, kinetic art, allows for a “much more radical reorientation” of both out bodily experience and our thinking (52). In this sense, artworks by two contemporary artists, Esther Stocker and Sebastian Hempel, can be seen as various demonstrations of such concept of perceptual reorientation. Hence my project, drawn from the concepts presented by these artists, intends to be a experiment of both lighting and spatial motions.
Development & Technical Implementation
Materials:
- 1 * wooden background board
- 1 * painting easel
- 1 * Breadboard 144
- 1 * Arduino Uno
- 1 * USB A to B Cable
- 1 * 12V power adapter (350W)
- 1 * 5V power adapter
- 7 * flexible led neon tube (m)
- 8 * servo moto
- 8 * servo mount (small *large sizes)
- 8 * laser-cut acrylic grid
- N * Jumper Cables (Hook-up Wires)
Pre-construction tests & material preparation
According to my project plan, my project mainly includes two parts: lighting components and mechanical devices (servo motors & holders). The lighting will be attached to the laser-cut holders according to the shape, and the holders will be attached to servo motors by servo mounts, which will be stabilized to a background board.
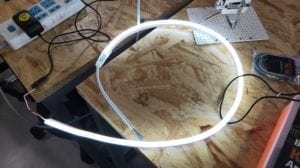
Since the lights only serve the purpose of illuminating shapes, I chose flexible led neon tubes as my lighting components. From my research, this kind of led lights can be easily formed into shapes and re-connected, and the lighting effect is suitable for display as it has a wrapper to diffuse the lights. I chose the thickness of 6mm considering the scale and effect of my project.
At the same time, I tested the servo motors that will carry and move the lights. There are two considerations for servos: the strength to hold and revolve the lighting units, and the components to connect attaching stuffs.
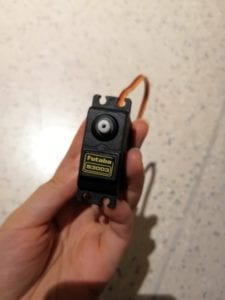
The servo motors I applied are 180 degrees Futaba S3003 and MG 996R since they have better strength and stability.
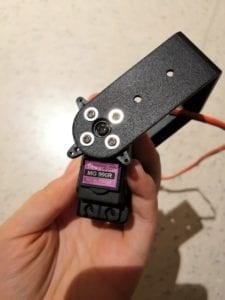
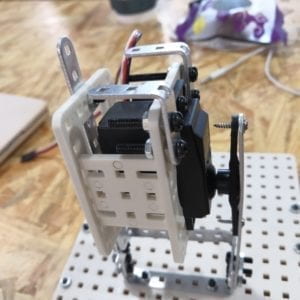
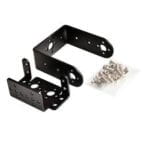
As for the attachment, I first build a servo mount prototype to test the strength and stability using robotic modules. The result turned out that the prototype was not very stable since it had too many attachment which could be loosen easily. Therefore, I took the suggestions from professor and fellows to ordered some servo motor as well as servo mounts online.
Latout design
While waiting for lights and servo motors, I proceeded to design the layout of my project. Drawn inspiration from Esther Stocker’s works, the idea was to using grids to divide the canvas and thus to reform people’s perception of space. Therefore, I only set some of the grids to be moving while others will keep still. It was a long process to settle down the positions for both moving and still parts with considerations that they will effectively change the formation of canvas and won’t interfere with each other at the same time.
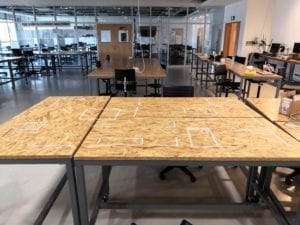
The design process goes from physical to digital as I firstly use paper-cut lines to roughly sketch the layout on table, and then proceeded to settle the specific positions within Illustrator.
The scale of the installation was originally 1.8 * 1.2 m. However, considering the time duration of this project as well as the availability of materials and space, I scaled down my project to the size of 1.2 * 1 m and changed the layout design accordingly.


Construciton preparation
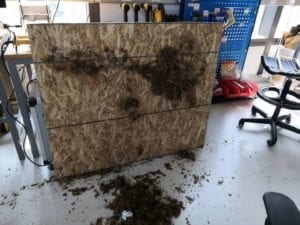
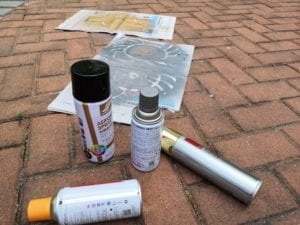
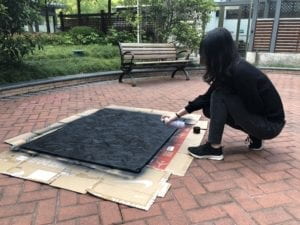
After settled on the design, I started to prepare layout materials (including background board and acrylic holders). I found a dumped wooden board in wood workshop which can fit the size. With the help of Andy, I got to clean and prepare the board and proceeded to spray it black (as a backdrop for lights). After the background was prepared, I used tapes to mark the position of lights and servo motors according to the design.
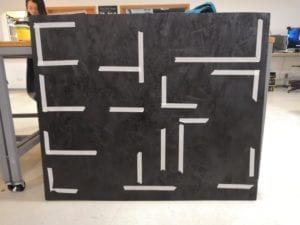
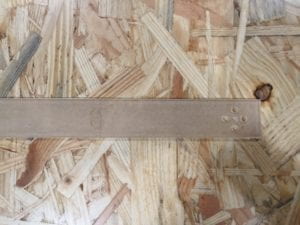
I then laster cut out the gird holders with acrylic. I set some of them to be only outlines of the shapes, while others a plan in consideration of the movement with servo motor. To better connect the holders with servo mounts, I also cut out the screw holes according to the hole sizes on servo mounts/motors to stabilize the whole assemble.
Also, as the led tubes had arrived, I cut out the tubes according to the full length of the each of grids
CONSTRUCTION of installation, programming & final result
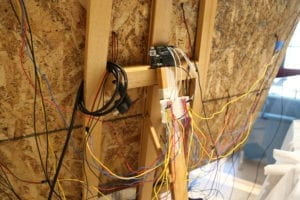
With all the materials prepared, I get to install all the components together to the background board. Firstly, I attached all the holders to the servo mounts, and attached them to the background board with hot glue. I also drilled some hole on the board the let the wires through.
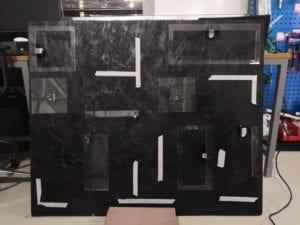
Then I attached all the lights to the corresponding girds with hot glue. However, the hot glue dried easily, so I further use super glue to attach them. The whole installation was placed on an easel for display.
With installation completed, I got to programmed the movement of servo motors. The movements were all 90 degrees based on their originally positions, and the order was designed to be perceived as random.
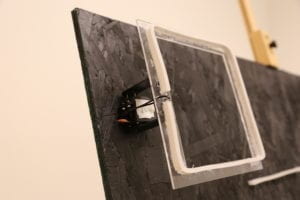
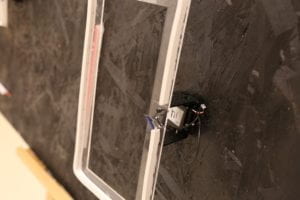
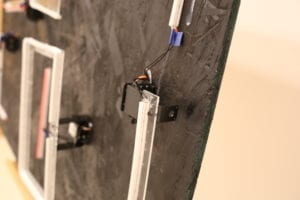
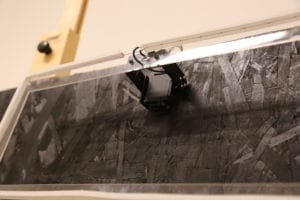
The final result was presented and documented within a totally dark space in Room 821. (Video shown as below)
Presentation
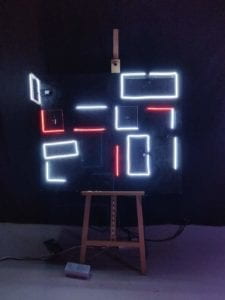
The final presentation took place in Room 823 during IMA show. Audiences were viewing the project from certain as expected. From my observation, audiences were very attracted to the lighting effects a as well as the periodic movements. They found the lightings very “beautiful” and the motions “unexpected”. Due to the dark environment and the strong lighting effect, the mechanism behind the lightings was hard to be noticed, which helped to concentrate on lighting effect and motions. Some audiences would approached to the installation to observe the mechanical movement, and would be surprised by some sudden moment as it was programmed to be random. Overall, audience could well perceive the changes of patterns, and the general idea was better delivered if with a little bit explanation.
Conclusion
The whole process of building this project went through a long time duration and was an integration of research, test, construction and modification. Overall I am satisfied with the outcome. Though it was not the scale as I expected in project proposal, I got my concept expressed to the most through this concentrated piece. In terms of the idea of motional space, there is much room for exploration based on this project. From feedbacks given by audience, it can be drawn that the perception of motion and space is not only influenced by shapes and lights, but can also be affected by speed and actions. For instance, with different moving speed of the grids, audiences had totally different feelings of space. Also, some different kinds of motions (e.g. smooth movement vs. shaking movement) add on different feelings of progress. Therefore, I feel like besides this project, there are many other perspectives for me to experiment in terms of motion and space.