Intro:
In the lab today we explored the basic functions of Microbit microprocessor: software programming, sensors and outputs, as well as a simulation of a basic animal behavior.
Exploration on Software and Hardware
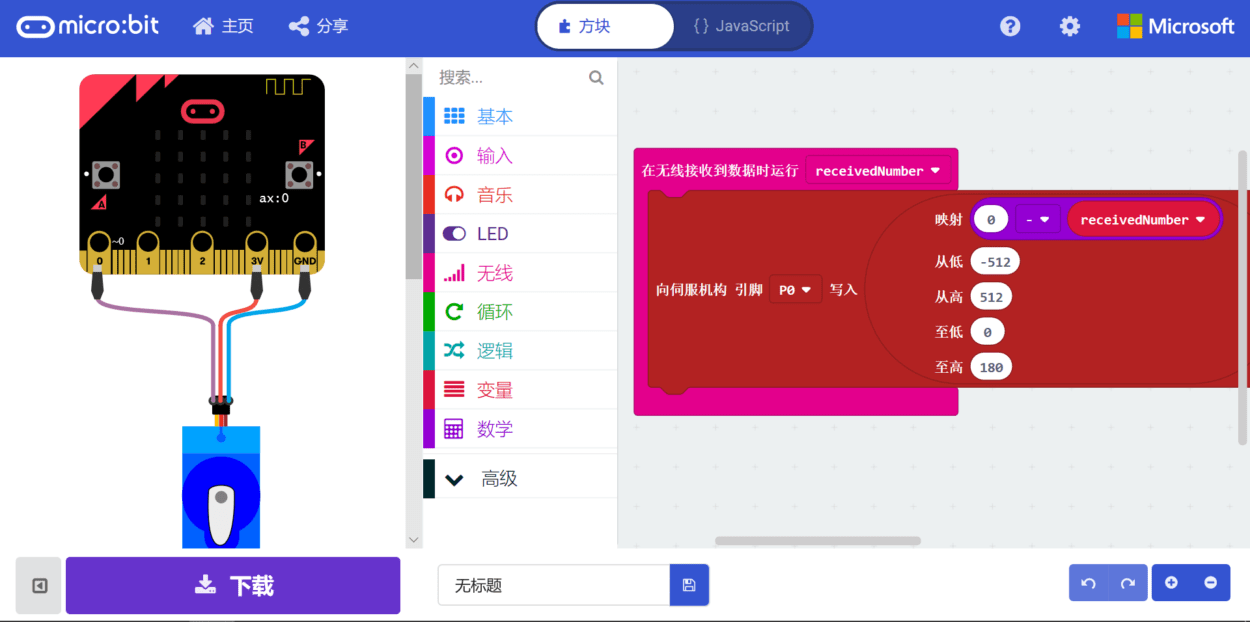
After reading the guides sent by professor, we firstly studied how to program the chip using various tools, including Microsoft-provided API support Scratch and JavaScript with a virtual simulation, we also tried python API provided by the chip company.
Enlarge

Enlarge
Enlarge
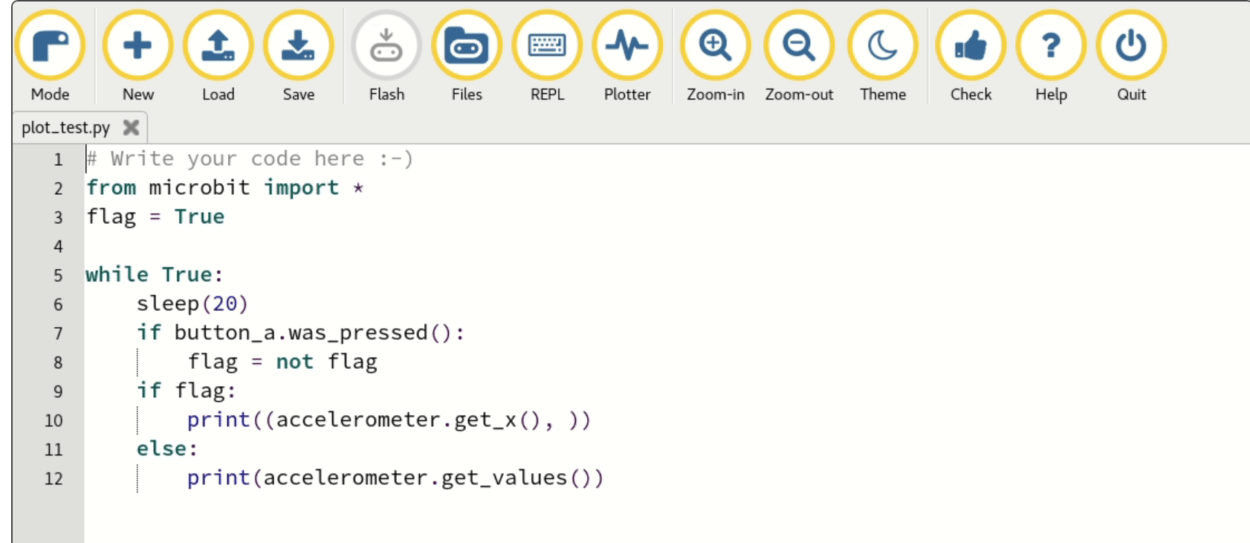
To explore the basic functions supported in the chip, my teammate and I tried different basic programming, including loops, playing music and LED lights.
Enlarge
Enlarge

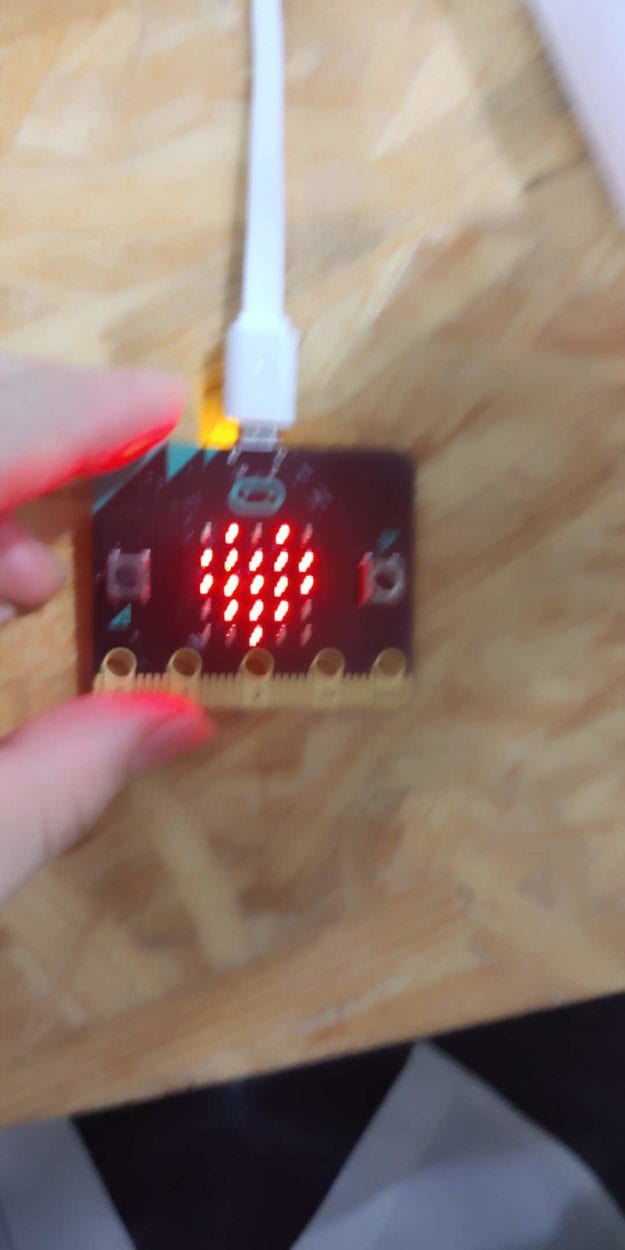
During the practice we successfully find the “Easter Egg”: when simultaneously press A and B button in the factory flash, we can launch the snake game. So far we found there was little difference between programming for the chip and for a computer (especially the screen).
By study the code blocks in the JavaScript API, we discovered that the chip integrates sensors as following: A light sensor, a temperature sensor, acceleration sensor (perhaps 3 gyroscopes), a magnetic sensor, a wireless card.
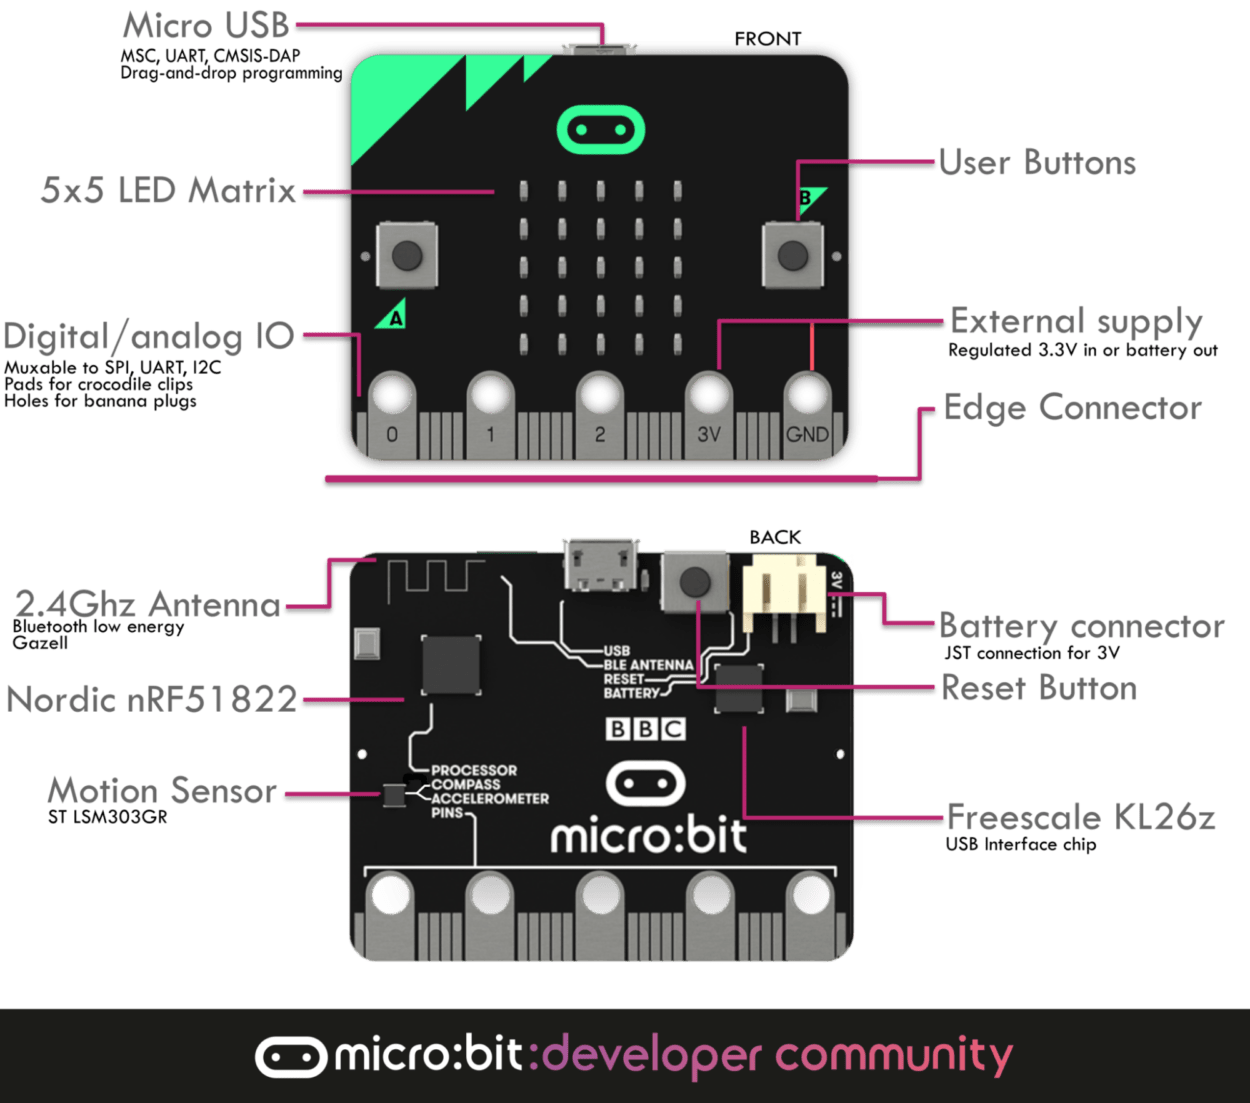
We also found a picture describe the pins, which deserves further knowledge and exploration:
Enlarge
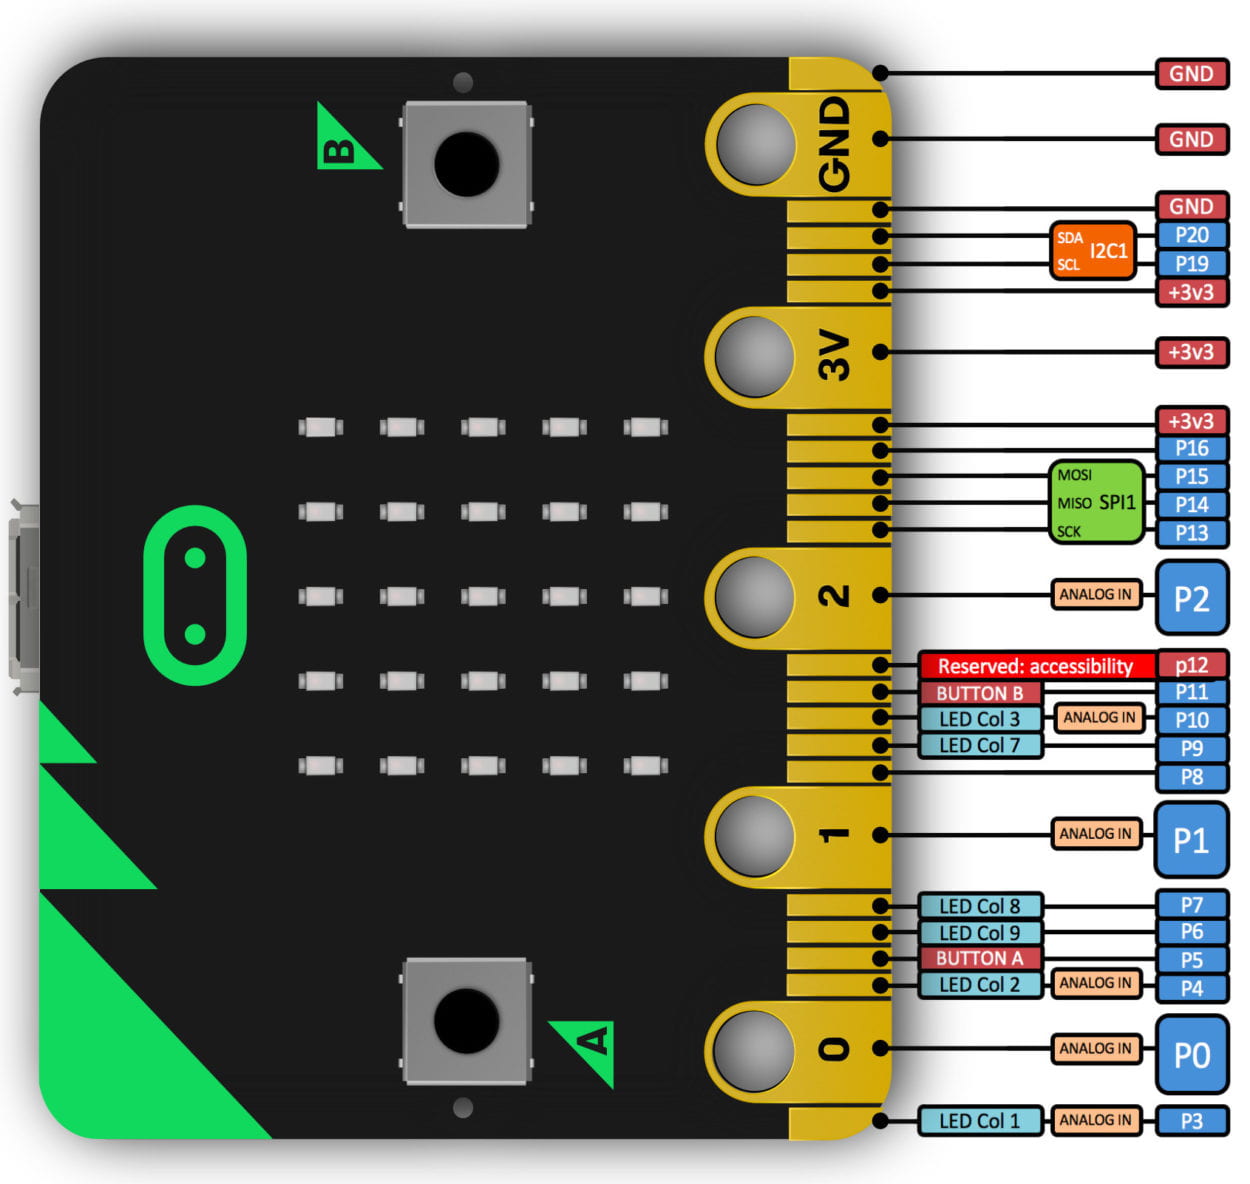
We used a oscilloscope to test the output pins, ad found an interesting result. We didn’t program any output code to the chip, but the oscilloscope showed a square wave on the 3V output pin, for which We researched online but found no explanation. At last we had to suppose it was the default output of the chip.
A general description of different compartment:
Final Build:
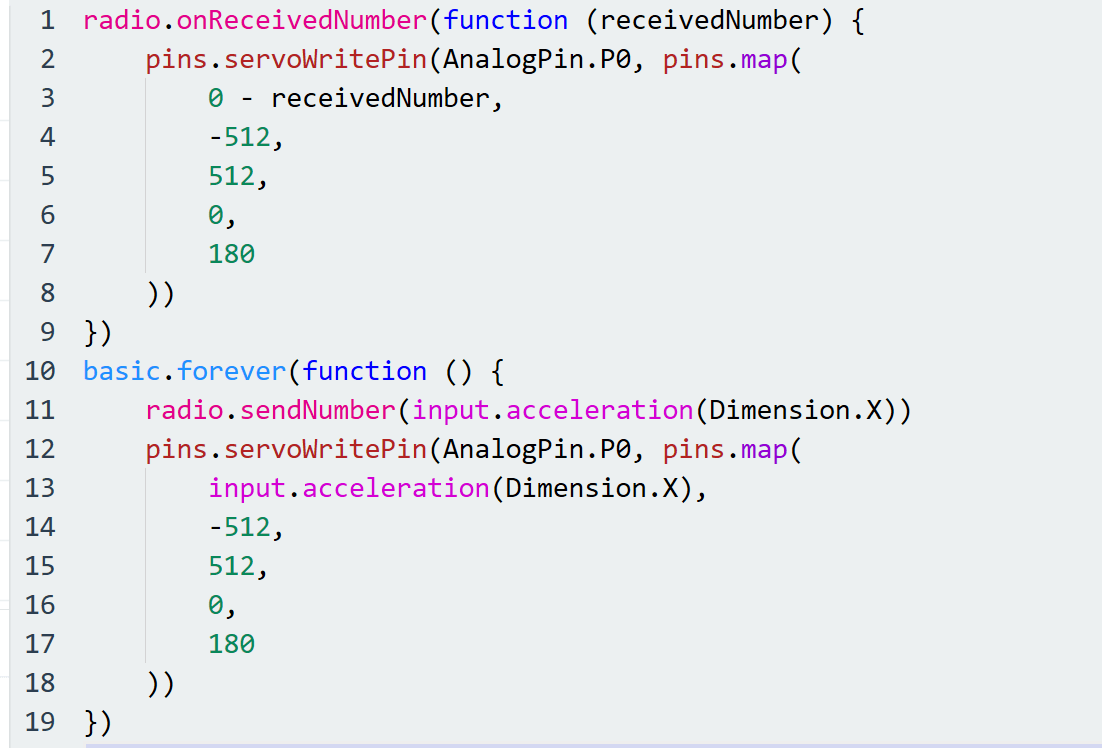
Firstly, we programmed the acceleration sensor, the wireless card and one pin on two chips. Then we connected the pins (0, 3V, GND) on each chip with a motor. When the acceleration sensor sensed a tilt around a certain axis, the motor it connected will turn in the opposite direction.
It is to simulate the neural reflex of an animal to stand still when receiving a force from the environment pushing it to one side. the chip represents the receptor, the wires are neuron fibers and the motor is effector (which would be connected to “muscles” in real robots).
We then programmed the wireless module to represent the communication between animals. When an animal(chip) senses the danger, it will notify other animals(chips) around it to prepare in advance, so that they can reduce the damage from the environment. we used a tiny turn in the motor to show the preparation.
Enlarge
Reflection:
There are still many improvements we can achieve. For example, we thought later that it would be better for us to use the buffer on the chips. When a chip receives a notice of danger from others, it can store the voltage output commands into the buffer, so that it will react quicker when facing its own danger. It would be a more accurate representation for the behaviors we simulated. We were also interested in the unsolved mystery of oscilloscope mentioned above, but sadly we were short of time. Generally speaking it was a very interesting lab, and there are more applications of it for us to explore.
Source:
Microsoft Scratch and JavaScript API: https://makecode.microbit.org
Firmware picture description: https://tech.microbit.org/hardware/
Chip pin picture description: https://microbit.org/guide/hardware/pins/
This experiment was very thoroughly thought through and the application of the motor was just plain cool 🙂 It is impressive how you looked into the built in sensors. The comparison to animal muscular behaviour was clear and well implemented. I am slightly confused has to how the communication works. I would be interested in hearing more from you on how that worked between the microbots.