Recitation 9: Media Controller (Rodrigo Reyes)

Last recitation we had to manipulate media (an image or video) on Processing by using a controller on Arduino. It was much easier to do this now since we did serial communication between these two programs the week before. 

HOW WE DID IT?

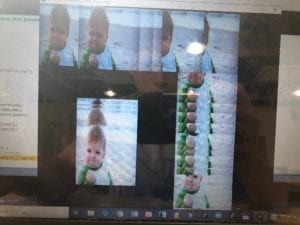
I had a potentiometer expand and contract an image on Processing. As one twisted the potentiometer to the right, the image became bigger. Likewise, when one twisted the potentiometer to the left, the image became smaller.  I added a meme picture, I mapped the values for the potentiometer, I added the prev x and y, and used the base code for serial communication that was given to us in class. 

READING

In the article β€œComputer Visions for Artists and Designers” by Golan Levin I found that as technology changes through time,  people’s use of it also evolves with it. Before people used to use technology to code things for businesses and create websites and new e-markets, however, today people are using coding and other technologies to create interaction through different means and designed for different actors. People now utilize technology to create art that does, in turn,  interact with other people or other things.  The reading resonates with my project because my project was designed to entertain and to facilitate social scenarios. It was meant to be a game played in large groups of people. It involved artistic vision in the design, and it involved wanting to look for ways to step out of the conventional use of technology as a means to facilitate human interaction.  

Video Bellow: 

IMG-8882

Recitation 10: Workshop by Eric Shen

In the first part of the recitation, we learned more about one of the most important functions in Arduino and Processing, which is map() function. After the detailed introduction and the examples provided by the fellows, I think that I have completely mastered this function. 

Later in the recitation, we chose one workshop among three workshops, and I chose the serial communication workshop in order to better apply it in my final project.  

In the workshop, we had two exercises, the first one is communication from Arduino to Processing, using a button and a potentiometer map( ) function was used in this exercise.

The code for Processing:

// IMA NYU Shanghai
// Interaction Lab
// For receiving multiple values from Arduino to Processing

/*
 * Based on the readStringUntil() example by Tom Igoe
 * https://processing.org/reference/libraries/serial/Serial_readStringUntil_.html
 */

import processing.serial.*;

String myString = null;
Serial myPort;


int NUM_OF_VALUES = 2;   /** YOU MUST CHANGE THIS ACCORDING TO YOUR PROJECT **/
int[] sensorValues;      /** this array stores values from Arduino **/


void setup() {
  size(500, 500);
  background(0);
  setupSerial();
}


void draw() {
  background(0);
  updateSerial();
  printArray(sensorValues);

  // use the values like this!
  // sensorValues[0] 
float posX = map(sensorValues[0],0,1023,0,width);
int size ;
if(sensorValues[1] == 0){
  size=50;} else {
    size = 200;
  }
ellipse(posX,mouseY,size,size);

  // add your code

  //
}


void setupSerial() {
  printArray(Serial.list());
  myPort = new Serial(this, Serial.list()[ 13 ], 9600);
  // WARNING!
  // You will definitely get an error here.
  // Change the PORT_INDEX to 0 and try running it again.
  // And then, check the list of the ports,
  // find the port "/dev/cu.usbmodem----" or "/dev/tty.usbmodem----" 
  // and replace PORT_INDEX above with the index number of the port.

  myPort.clear();
  // Throw out the first reading,
  // in case we started reading in the middle of a string from the sender.
  myString = myPort.readStringUntil( 10 );  // 10 = '\n'  Linefeed in ASCII
  myString = null;

  sensorValues = new int[NUM_OF_VALUES];
}


void updateSerial() {
  while (myPort.available() > 0) {
    myString = myPort.readStringUntil( 10 ); // 10 = '\n'  Linefeed in ASCII
    if (myString != null) {
      String[] serialInArray = split(trim(myString), ",");
      if (serialInArray.length == NUM_OF_VALUES) {
        for (int i=0; i<serialInArray.length; i++) {
          sensorValues[i] = int(serialInArray[i]);
        }
      }
    }
  }
}

The second exercise is to transfer data from Processing to servo motors in Arduino. And in order to make it more fun, we used the data from processing to make the fan of the servo motor to move back and forth. 

The code for Arduino:

// IMA NYU Shanghai
// Interaction Lab
// This code receives one value from Processing to Arduino
#include <Servo.h>
Servo myservo;
int val;

char valueFromProcessing;

void setup() {
Serial.begin(9600);
myservo.attach(9);
}

void loop() {
// to receive a value from Processing
while (Serial.available()) {
valueFromProcessing = Serial.read();

}

val = valueFromProcessing; // reads the value of the potentiometer (value between 0 and 1023)
// val = map(val, 0, 500, 0, 180); // scale it to use it with the servo (value between 0 and 180)
// myservo.write(val); // sets the servo position according to the scaled value
//Serial.print(val);
// // too fast communication might cause some latency in Processing
// // this delay resolves the issue.
delay(10);
}

The code for Processing: 

// IMA NYU Shanghai
// Interaction Lab
// This code sends one value from Processing to Arduino 
import processing.serial.*;
Serial myPort;
int valueFromArduino;


void setup() {
  size(500, 500);
  background(0);

  printArray(Serial.list());
  // this prints out the list of all available serial ports on your computer.
  
  myPort = new Serial(this, Serial.list()[13], 9600);
  // WARNING!
  // You will definitely get an error here.
  // Change the PORT_INDEX to 0 and try running it again.
  // And then, check the list of the ports,
  // find the port "/dev/cu.usbmodem----" or "/dev/tty.usbmodem----" 
  // and replace PORT_INDEX above with the index number of the port.
}


void draw() {
  // to send a value to the Arduino
  if (mousePressed) {
    myPort.write(mouseX);
  } else {
    myPort.write(0);
  }
 

Recitation 10. Workshops By Feifan Li

Introduction

In this recitation I first attended the map() workshop and then chose to go to the media manipulation workshop. The exercise for the workshop is to pick a tv show/music video/entrance video and recreate it using images and videos from the web. I chose a black-and-white music video from Vimeo and decided to do something creative about it.

Processing Code to play the original video:

import processing.video.*;
//import video library
Movie myMovie;
void setup() {
  size(1000, 600);
  myMovie = new Movie(this, "music video.mp4");
  myMovie.play();
//define the state of the video
}
void draw() {
  if (myMovie.available()) {
//read my file when it can be read
    myMovie.read();
//read the current frame of the video
  }
  image(myMovie, 0, 0);
//draw the frame
}

original video:

my code for speed manipulation and pixels:

import processing.video.*;
//import video library
Movie myMovie;
void setup() {
  size(1000, 600);
  myMovie = new Movie(this, "music video.mp4");
  myMovie.play();
//define the state of the video
}
void draw() {
  if (myMovie.available()) {
//read my file when it can be read
    myMovie.read();
//read the current frame of the video
  }
  image(myMovie, 0, 0);
//draw the frame
float speed =map(mouseX,0,mouseY, 0,4);
myMovie.speed(speed);

if(keyPressed){
  int rectsize = 20;
  int w = myMovie.width;
  int h = myMovie.height;
  for (int x=0; x<w; x+=rectsize){
  for (int y=0; y<h; y+=rectsize){
    int a = x+y*w;
    fill(myMovie.pixels[a]);
    rect(x, y, rectsize, rectsize);
  }
  }
}
}

The effect I want to create is faster speed and pixels. I used keypressed() to create rectangles with size of 20 to pixelate the video, which makes the video seem more flat and two-dimensional. Also I used map() to speed the video up according to the location of my mouse. The faster speed makes the video more exciting and the change of objects in the video more dramatic. This works well most of the times, but when it speeds up there is no sound, and sometimes the video would stuck at a scene. But the pixels and speeding up can work at the same time. Below is my recorded videos of the special effects.

Recitation 10: Workshops by Xueping

Slide:

https://docs.google.com/presentation/d/1caNLRobmOTDkGvQKPCULgM2MbfE6JPNQP8-Zk-_fBnk/edit#slide=id.g5705e94f86_0_4

import processing.video.*;
Movie myMovie;
int previousX = 0;
int distance;

void setup() {
  background(0);
  size(640, 480);
  myMovie = new Movie(this, "music.mp4");
  myMovie.loop();
}
void movieEvent(Movie movie) {
  myMovie.read();  
}
void draw() { 
  if (myMovie.available()) {
//read my file when it can be read
    myMovie.read();
//read the current frame of the video
  }
  image(myMovie, 0, 0);   
  distance = mouseX - previousX;
  float newSpeed = map(distance, -width, width, 0.1, 5);
  myMovie.speed(newSpeed);
  previousX = mouseX;
}  

Recitation 10 Documentation

For this recitation, we first explored the map() function, which changes a range of values into another a range of values. We were to use the map() function within the serial communication workshop. In Arduino, we could use map() for the potentiometers, while in Processing, we could use map() for the horizontal and vertical coordinates of mouseX and mouseY. 

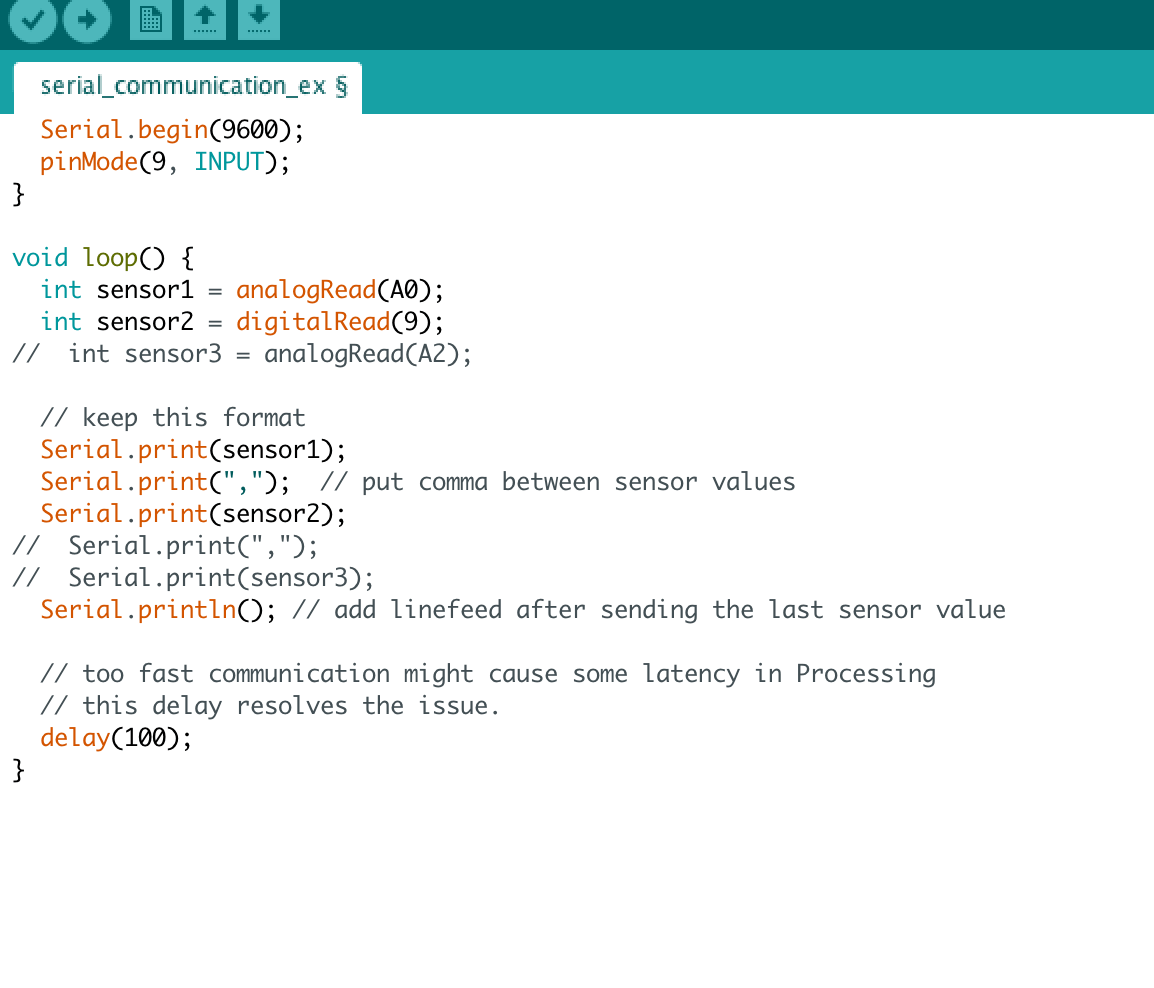
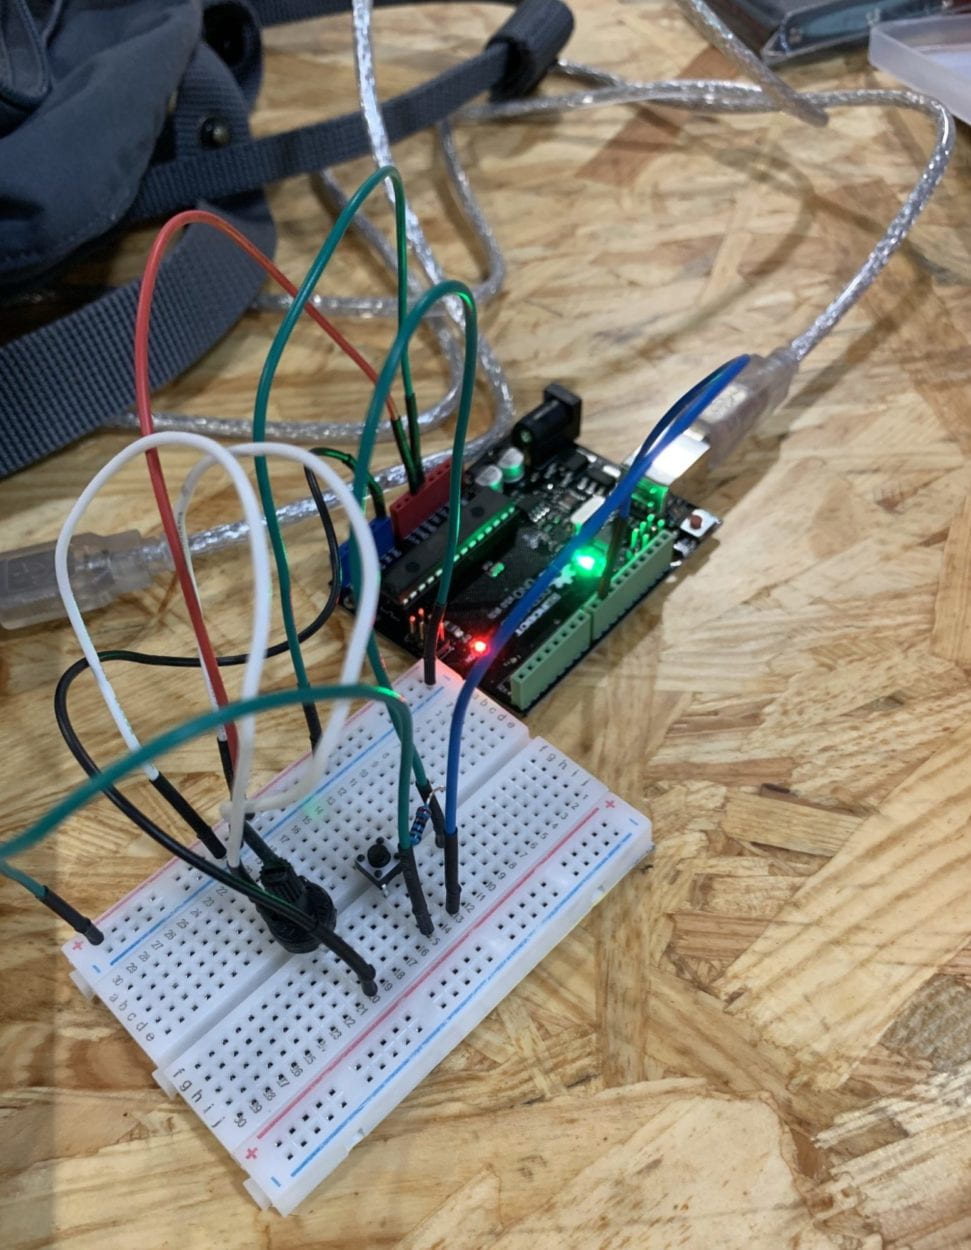
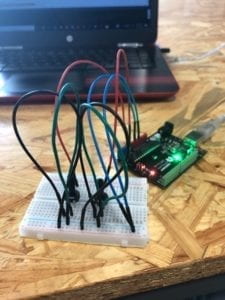
In the serial communication workshop, we first worked on an Arduino to Processing example using a potentiometer, a mini pushbutton switcher, and a resistor. We were to use the potentiometer and button on Arduino to control the location of an ellipse and the size of an ellipse on Processing, respectively. For this, we used the serial_multipleValues_AtoP example, modifying the second analogRead to read digitalRead and removing one Serial.print input. Then, we assembled the circuit with the potentiometer, button, and a resistor. We used float posX to designate the position of the values.

Arduino Code:

Processing Code:

import processing.serial.*;

String myString = null;
Serial myPort;


int NUM_OF_VALUES = 2;   /** YOU MUST CHANGE THIS ACCORDING TO YOUR PROJECT **/
int[] sensorValues;      /** this array stores values from Arduino **/


void setup() {
  size(500, 500);
  background(0);
  setupSerial();
}


void draw() {
  updateSerial();
  printArray(sensorValues);
  
  background(0);

  // use the values like this!
  // sensorValues[0] : pot 0 ~ 1023
  // sensorValues[1] : button switch 0, 1

  // add your code
  float posX = map(sensorValues[0], 0, 1023, 0, 500);
  int size;
  if (sensorValues[1] == 0) {
    size = 50;
  } else {
    size = 200;
  }
  ellipse(sensorValues[0], 300, size, size);
}


void setupSerial() {
  printArray(Serial.list());
  myPort = new Serial(this, Serial.list()[3], 9600);
  // WARNING!
  // You will definitely get an error here.
  // Change the PORT_INDEX to 0 and try running it again.
  // And then, check the list of the ports,
  // find the port "/dev/cu.usbmodem----" or "/dev/tty.usbmodem----" 
  // and replace PORT_INDEX above with the index number of the port.

  myPort.clear();
  // Throw out the first reading,
  // in case we started reading in the middle of a string from the sender.
  myString = myPort.readStringUntil( 10 );  // 10 = '\n'  Linefeed in ASCII
  myString = null;

  sensorValues = new int[NUM_OF_VALUES];
}


void updateSerial() {
  while (myPort.available() > 0) {
    myString = myPort.readStringUntil( 10 ); // 10 = '\n'  Linefeed in ASCII
    if (myString != null) {
      String[] serialInArray = split(trim(myString), ",");
      if (serialInArray.length == NUM_OF_VALUES) {
        for (int i=0; i<serialInArray.length; i++) {
          sensorValues[i] = int(serialInArray[i]);
        }
      }
    }
  }
}

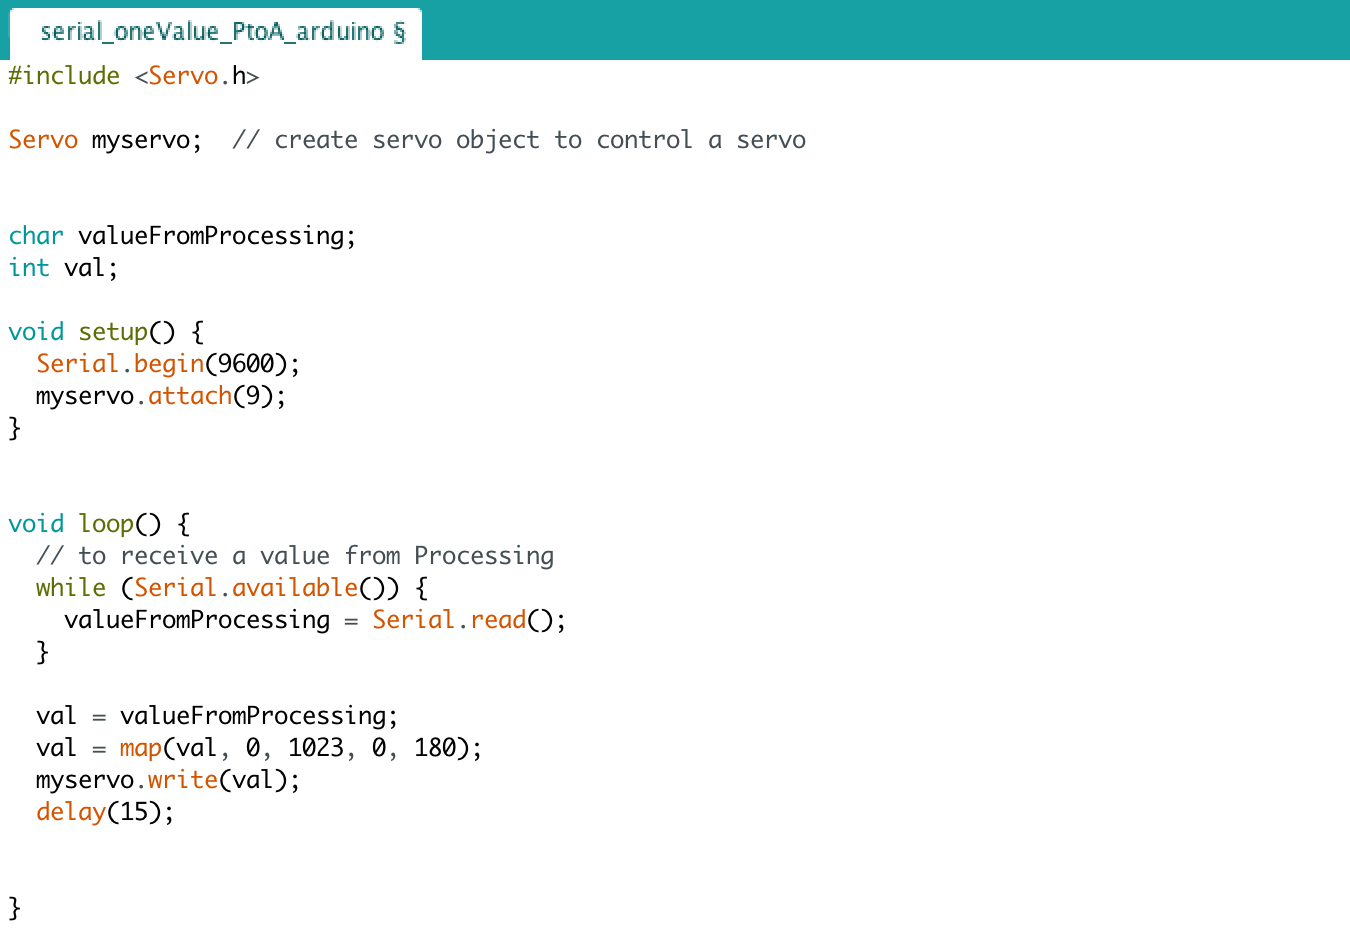
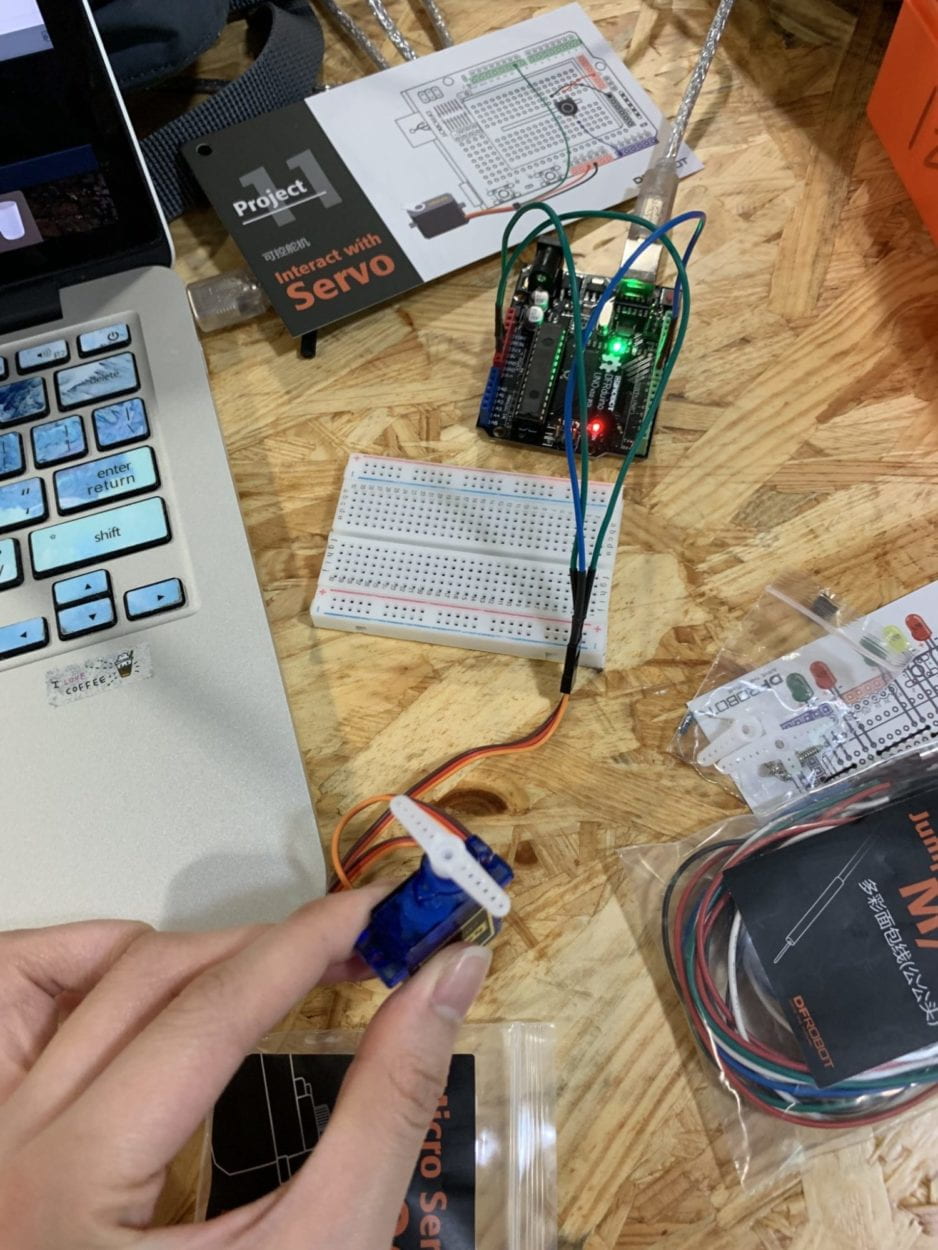
For the second example, we were to use a mini servo motor to be controlled by the keypad being pressed. For this, we used the serial_oneValue_PtoA example to read the input from Processing to Arduino. By pressing the keypard, the servo motor moves in response to its input. 

Arduino Code:

Processing Code:

import processing.serial.*;

Serial myPort;
int valueFromArduino;


void setup() {
  size(500, 500);
  background(0);

  printArray(Serial.list());
  // this prints out the list of all available serial ports on your computer.
  
  myPort = new Serial(this, Serial.list()[3], 9600);
  // WARNING!
  // You will definitely get an error here.
  // Change the PORT_INDEX to 0 and try running it again.
  // And then, check the list of the ports,
  // find the port "/dev/cu.usbmodem----" or "/dev/tty.usbmodem----" 
  // and replace PORT_INDEX above with the index number of the port.
}


void draw() {
  // to send a value to the Arduino
  if (mousePressed) {
    myPort.write(mouseX);
  } else {
    myPort.write(0);
  }
}