Recitation 10 Media Manipulation Chloe Wang

In this recitation, I decided to do the media manipulation workshop. For the workshop, we needed to choose a music video or any video clip and recreate it with processing.  I chose a clip of my favorite Chinese TV show as the original video to work on. I downloaded the video and renamed it to liuxing.mp4. Liuxing is one of the main character’s name. At first, I was confused because I didn’t know how to incorporate the map() function in the video. So my first action was to loop the video to make it play over and over again. 
I also wanted to make the video pixelated when mouse is pressed because this is a quite old TV series with low resolution. But when I watched it while I was young, I remembered it to have rather a high resolution. 
To use the map function, I made the video to change speed according to where the mouse is placed on the canvas. To change the speed, I used a float i function, i is the speed, and it is changed according to the map. 
float i =map(mouseX,0,mouseY, 0,4);
myMovie.speed(i);
Here is the final result of my media manipulation project:
https://youtu.be/erkvH7dAsC4 
Here is my code:
import processing.video.*;

Movie myMovie;
void setup() {
  size(636, 360);
  myMovie = new Movie(this, "liuxing.mp4");
  myMovie.play();
  myMovie.loop();
  //define the state of the video
}
void draw() {
  if (myMovie.available()) {
    myMovie.read();
    //read the current frame of my video
  }
  image(myMovie, 0, 0);
  //draw the current frame of the video
float i =map(mouseX,0,mouseY, 0,4);
myMovie.speed(i);

if (mousePressed){
int rectSize = 10;
  int w = myMovie.width;
  int h = myMovie.height;
  for (int y = 0; y < h; y+=rectSize) {
    for (int x = 0; x < w; x+=rectSize) {
      int a =  x + y * w;
      fill( myMovie.pixels[a] );
      rect(x, y, rectSize, rectSize);
    }
}}
}

Source:
 

Recitation 10—Tao Wen

The idea is when user clicks on each character in the picture, a picture featuring them is shown, like future-telling. If given enough time, I would make a flashing effect.

PImage image1,image2,image3;
float x=400;
float y=300;
float r=110;
int state=0;


void setup() {
  size(800, 600);
  image1 = loadImage("fox.jpg");
  image2=loadImage("dad1.jpg");
  image3=loadImage("dad2.jpg");
}
void draw() {
  background(0);
  imageMode(CENTER);
  image(image1, width/2, height/2);
  fill(235, 174, 52);
  ellipse(pmouseX,pmouseY,30,30);
  noStroke();
  fill(0, 0,0, 0);
  ellipse(x, y, r, r);
  if (mousePressed && ((mouseX-x)*(mouseX-x)+(mouseY-y)*(mouseY-y)<=r*r)) {
    state=1;
  }
  if (state==1){
  flash();
  }
  
    delay(30);
  }

  void flash(){
    imageMode(CENTER);
    image(image2,width/2,height/3,400,300);
  }


Recitation10 Object Oriented Programming by Hangkai Qian

To be honest,  I didn’t very understand OOP when I attended the lecture class though I have worked a long time on the example of Ball in the class, I still didn’t figure it out. So I attended the OOP class. In the class, I knew that the class has variables, constructor and functions. So I used them in my final processing game part: there is a helicopter flying up, and there are pillars worked as obstacles. I had very difficulties in building these blocks, because I couldn’t come up with a way to generate infinite blocks. Finally, referring to the example in the lecture class, I finally worked it out using ArrayList and add new  items every time and use for loop and i<p.size to generate different pillars.

Here is my code:

ArrayList<pillar> p= new ArrayList<pillar>();

void setup(){
size(350,800);

}

void draw(){

int m=millis();
stroke(40);

h.drawheli();
h.moveX();

for (int i = 0; i<p.size(); i++) {
p.get(i).drawPillar();
p.get(i).movePillar();

if (p.get(i).yPos==h.y) {
if (h.x>p.get(i).xPos && h.x<p.get(i).xPos+p.get(i).xh) {
end=true;
} else {
end=false;
}
}
}

if (m%1000<15) {
p.add(new pillar());
}
}

}

class pillar {
float xPos=0;
float yPos=0;
float xh;
pillar() {
xh=round(random(400));
yPos=0;
xPos=random(1400/3.7);
}
void drawPillar() {
stroke(252,0,0);
strokeWeight(15);
line(xPos, yPos, xPos+xh, yPos);

}
void movePillar(){
yPos=yPos+10;
}

}

Here is the video.

P.S. Above is only the code of the pillar. However in my video I included not only pillars
Recitation 10:Workshops —— Jiayi Liang(Mary)

In this week’s recitation, we have a workshop for map() and the fellows set up 3 more different workshops to further explore processing skills on different aspects. I choose the object oriented programming because I think the skill can really help me a lot on my final project. It helps me create lots of images in the similar format in a more effective way. Also, the skill is what I feel a little bit confused about during the lecture.

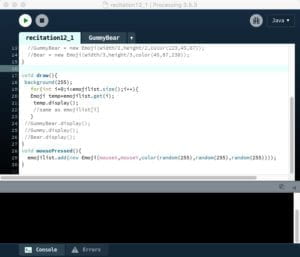
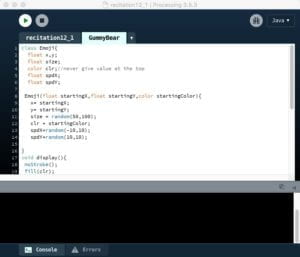
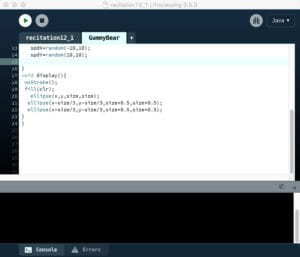
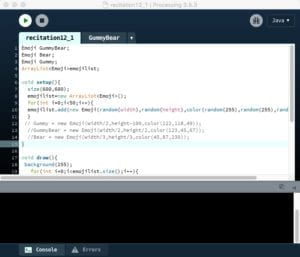
The basic principle object oriented programming is that you start two labels in a project. The second one is the framework. For example, I want to create a picture that is full of cartoon bears with different colors and positions. I use class() to write the code to create one bear. And then, in the first label, I write codes to display the bear by plugging in different exact numbers. This technique is quite useful and efficient, and also make the code displayed in a more clear layout.

During the process, I faced one question that although I have declared some X and Ys in the code, it failed to recognize the X and Ys in the subsequent codes. Tristan taught us that because it is common to face problems like this, it is better for as to write things like float x or int y at the very beginning of the code. It is not only clear for us, but also helps to decrease the risk of such errors.

After the 1-hour practice, I manage to understand how the object oriented programming really works. The skills are really useful when I want to create different images for each person. I think I can also include arrays to make the process even much easier.

Recitation 10: Workshops – Audrey Samuel

During this week’s recitation, we were required to attend two separate workshops, one on the map() function hosted by the learning assistants and another of our choice. I chose to attend the Media Manipulation workshop with Jingtian and Linda. I thought it would be helpful to learn more about video editing in Processing as my final project also incorporated videos/images/sounds in Processing. 

Media Manipulation

During the workshop, Jingtian went over how we can upload images and videos onto Processing and how we can manipulate these videos using the various in-built functions. After the presentation, we were asked to complete an exercise which required us to pick a tv show/video and recreate it, whiles also using the map() function. For this exercise, I decided to choose a clip from the Disney Pixar movie “Coco”. I made sure I imported the video library from Processing first and then typed in the code to import the video I had downloaded. Next I wanted to manipulate my video using the functions provided, so I first used the Pixels example code given to us in class. Using this code, I was able to create small  rectangles (size 6) for each Pixel in the movie frame. I had to use a for function for() this line of code and define my int variables as well. I then used the speed() function which sets the relative playback speed of a movie. I thought it would be good to incorporate the map() function here using mouse pressed. If the mouse went farther right within the screen the speed would increase but if it went left it would slow down. This controlled the speed at which the movie was playing, using my mouse. I finally decided to add one more line of code incorporating the jump() function. This function shifts the location of the playback head to a specific time within a movie, similar to the “fast forward” buttons on a t.v. remote. I used keyPressed for this function and so anytime I pressed a key on the keyboard the movie would fast forward. 

Video

Code

import processing.video.*;
Movie myMovie;

void setup() {
  size(640,360);
  frameRate(30);
  myMovie = new Movie(this, "coco1.mp4");
  myMovie.loop();
 
}

void draw() {
  if(myMovie.available()){
    myMovie.read();
  }
  tint(255,150,0);
  image(myMovie, 0,0);
  image(myMovie,width/4,0);
  noStroke();
  int rectSize = 3;
  int w = myMovie.width;
  int h = myMovie.height;
  myMovie.loadPixels();
  for (int y = 0; y<h; y=y+rectSize){
  for (int x = 0; x<w; x=x+rectSize){  
    int i = x + y*w;
    fill(myMovie.pixels[i]);
    rect(x,y,rectSize, rectSize);
  float newSpeed = map(mouseX, 0 , width, 0.1,5);
  myMovie.speed(newSpeed);
}
  }
  myMovie.updatePixels();
}
void keyPressed(){
  myMovie.jump(random(myMovie.duration()));
}