Documentation 3 Sensors by Christina Bowllan

Blogpost

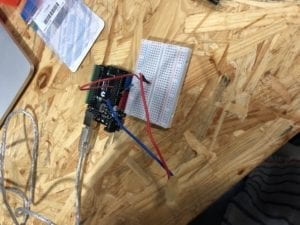
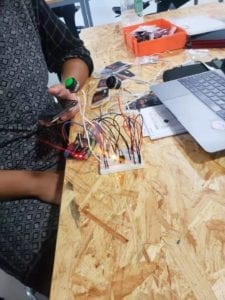
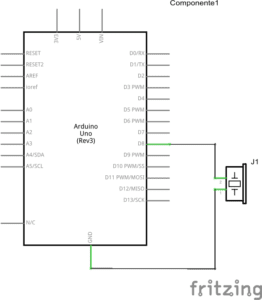
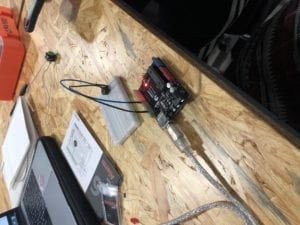
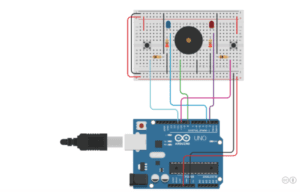
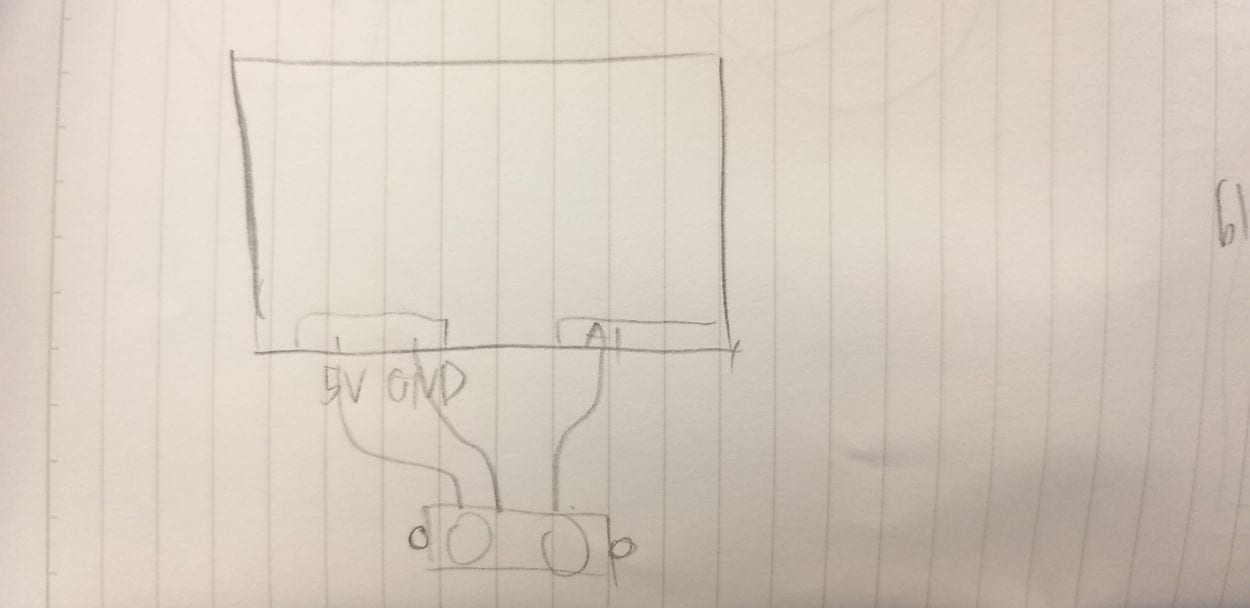
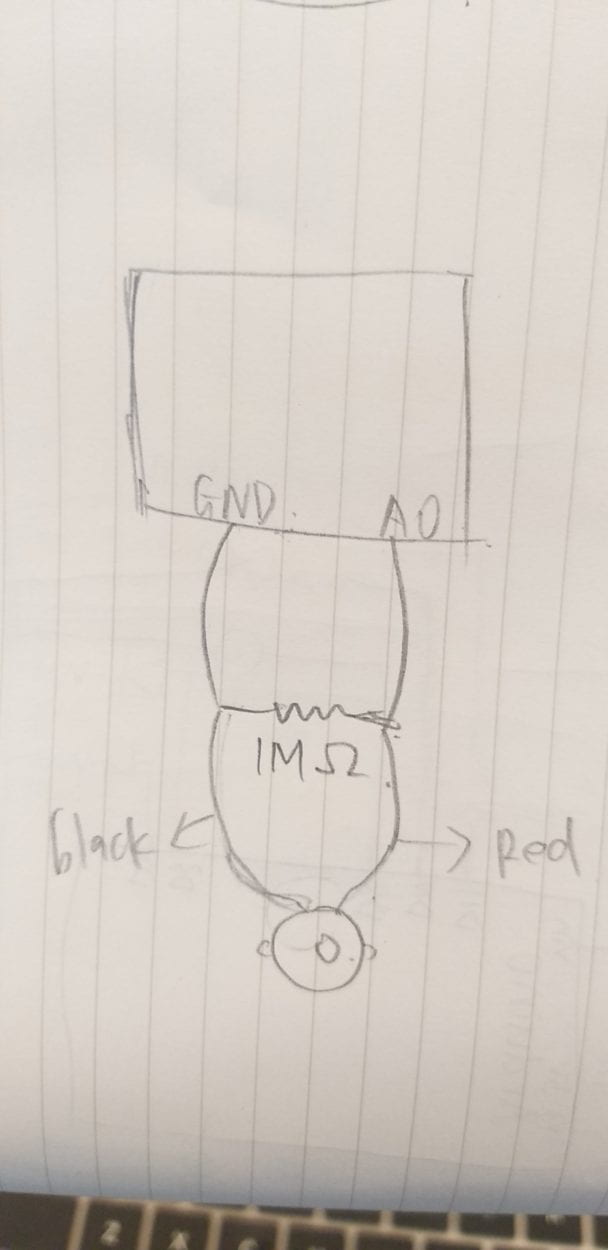
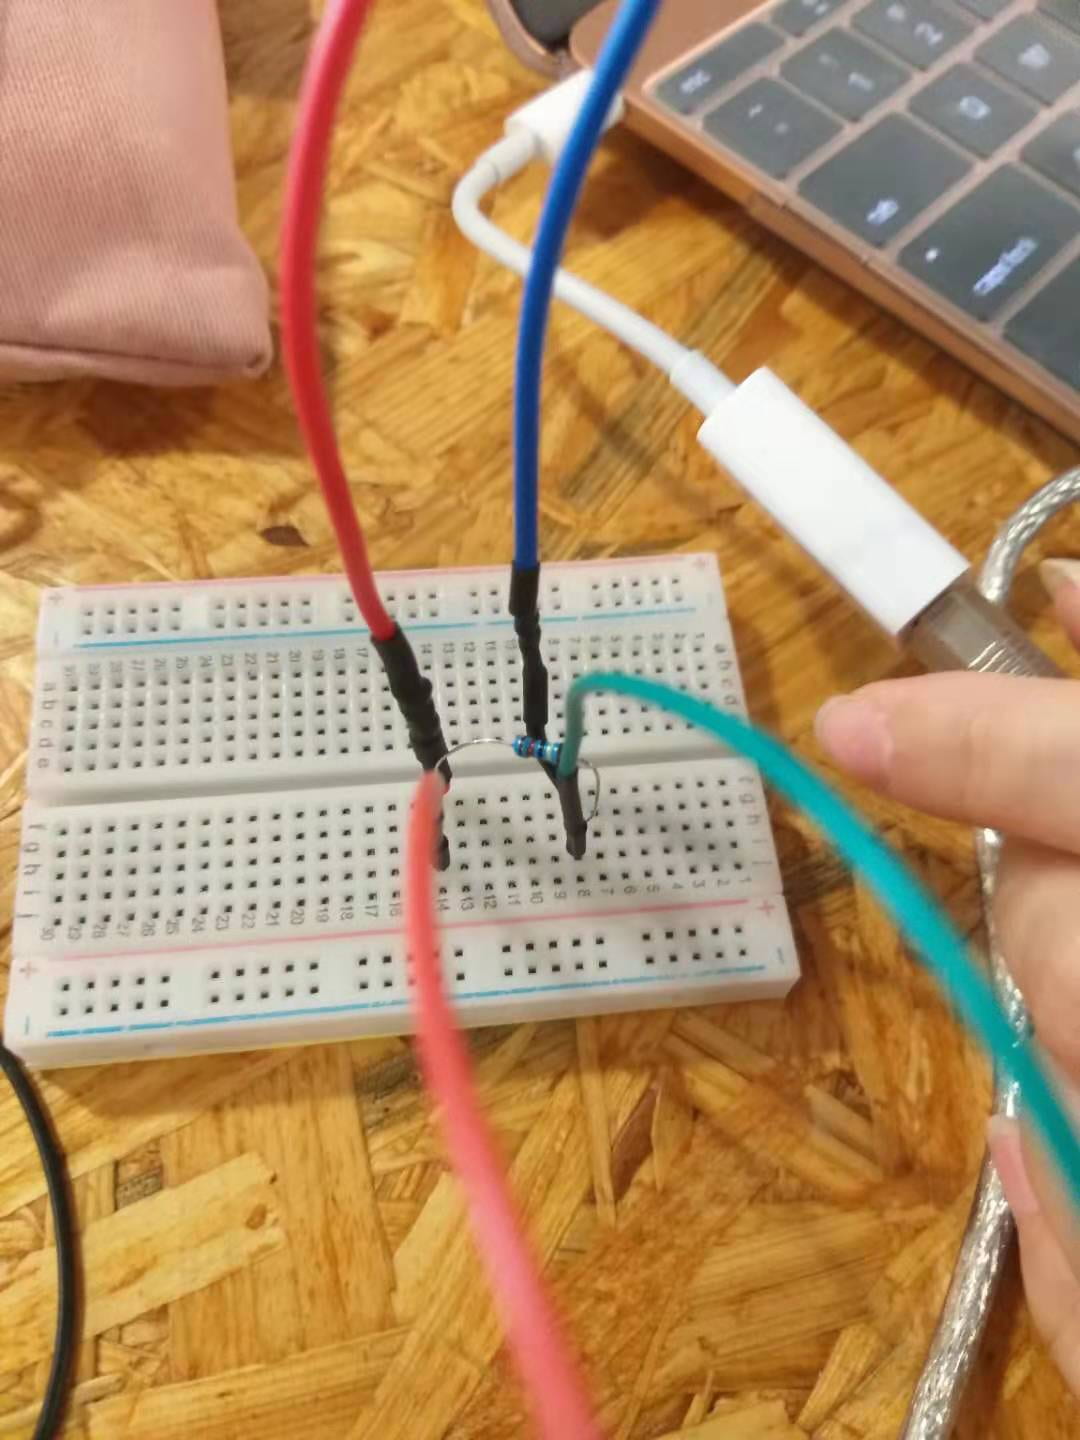
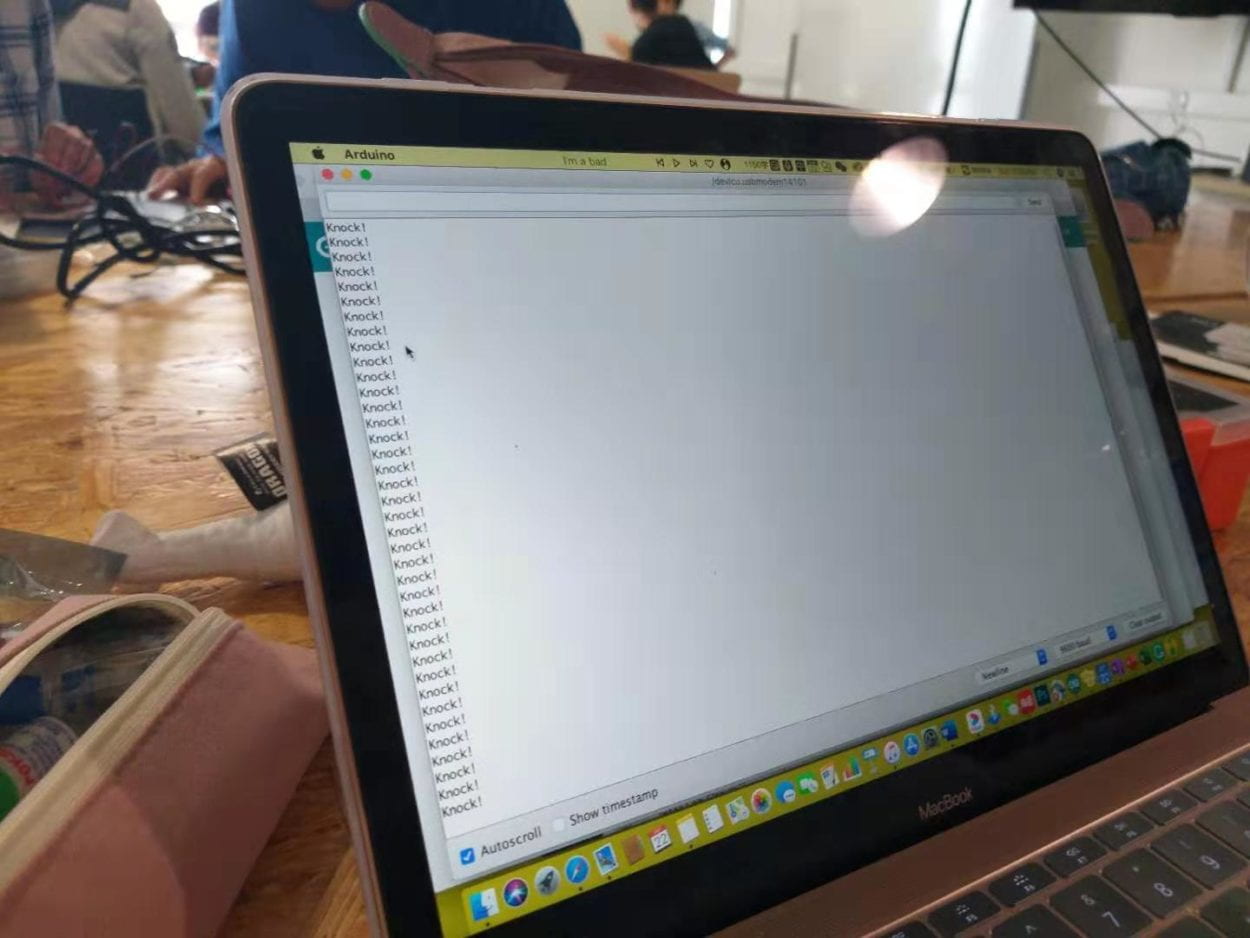
In this week’s recitation, my partner and I used the vibrator sensor to interact with the buzzer. It was fairly easy to assemble because there were not many jumper cables to connect, but the programming was more complex. We learned that we could control the volume and tone of the pitch by changing the code in the knock function. If we plugged in values for: tone (pin, frequency, duration), then the buzzer would just play a sound if we touched the sensor. However, if we used the code: tone (7, Sensor Value*x, 500), depending on how hard or softly we touched the sensor, this would translate the analog numbers into various frequencies because of the sensor value. 
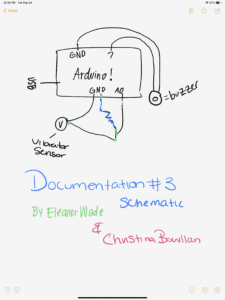
Question 1:

In this recitation, we intended to assemble a circuit where if you pressed the sensor with various pressures, different sounds would be produced. I think a museum could take advantage of a device like this, because they could install the sensor on different parts of the artwork, and if people end up touching it, then the buzzer will make a sound notifying security. 

Question 2:

If you want an output or product to come out correctly, then you need to add the right amount of ingredients, just like coding. If we want the buzzer to ring or light to turn on, then we need to follow the instructions of code. 

Question 3:

Manovich discusses how computers have caused new media objects to all be described numerically and expressed via algorithms. This influences our human behaviors because when we use various social media platforms, people’s approval of our photos are expressed in numbers and our friends are also shown in this way. When you put a numerical value to these social behaviors, it creates an obsessive culture or game to reach the highest amount of likes and followers. Also, since these numbers can be expressed like an algorithm, the companies use this addiction against us in order to make money. 
Documentation 2 Arduino Basics: Christina Bowllan

In this week’s recitation, we built three basic circuits using our new Arduino kits. The materials that we needed for these projects included the following:

From Arduino Kit:

1 * Arduino Uno

1 * USB A to B cable

1 * breadboard

1 * buzzer

2 * LEDs

2 * 220 ohm resistors

2 * 10K ohm resistors

2 * pushbuttons

A handful of jumper cables

From cart:

2 * arcade buttons

1 * Multimeter (optional)

CIRCUIT ONE: FADING 

In the first circuit, the goal was to make the LED light fade on and off. There were no problems with coding because we used the example ones on Arduino, but we had some trouble placing the jumper cables. At first the light was not turning on because we had the cables plugged into the digital portion, but we later realized that the power should come from the analog output. 


CIRCUIT TWO : toneMelody

In circuit two, the goal was to use the Arduino board to make the buzzer make a sound. We did not encounter any problems with this one because plugging in the jumper cables to pin 8 and ground was straightforward. 

CIRCUIT THREE: Speed Game 

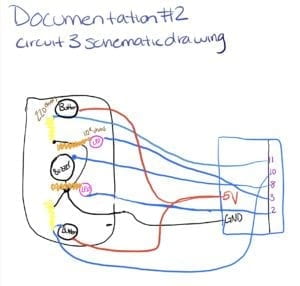
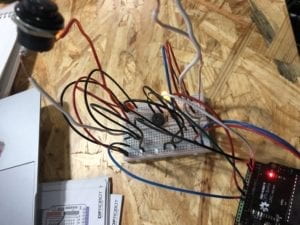
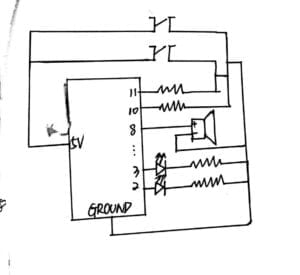
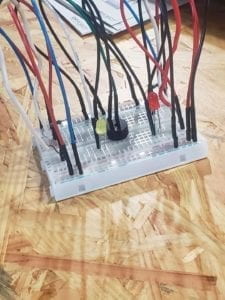
In circuit three, we used arduino to create a speed game. The goal was to use two buttons to play, and the person who clicked their button the most in 10 seconds won which meant their LED would flash on. While the concept of the game was easy to follow, we encountered many problems putting the breadboard together. Firstly, my partner was working on one half of the bread board while I was working on the other half so this meant we were mixing up which jumper cables we had used. We ended up starting over which helped because one of us worked on the breadboard while the other person interpreted the schematic, but then we had problems with the buzzer. We realized after a few trials that we had placed the jumper cables connected to the buzzer on both halves of the breadboard which meant it was not receiving ground or power.  The next time we do this, we will start by placing the cables vertically on the same half of the board and then putting in the buzzer. Another problem we encountered was we used a 220 resistor when we should have used a 10K resistor, so the LED would not turn on. 

Schematic:

Question 1:

Interaction, as defined by the text Physical Computing, is “ an iterative process of listening, thinking, and speaking between two or more actors” which in computer terms can be thought of as “input, processing, output.” In everyday life, I realized that it is impossible to avoid using technology— in fact, I am having to interact with my computer as I write this response. When I move my finger across the trackpad or type on the keyboard, this interacts with the computer and produces an output. 

Question 2:

We used a 10K resistor with the push button because we needed the right voltage to power it and this is a generic resistor to use when the output, like the button, is simple. 

Question 3:

If I had 100,000 LEDs of any brightness or color, I would create Shanghai’s best selfie station in People’s Square! People could pay 20 kuai for eight minutes and control the colors and brightness to take a great picture.

Recitation 3 Sensors–Ketong Chen

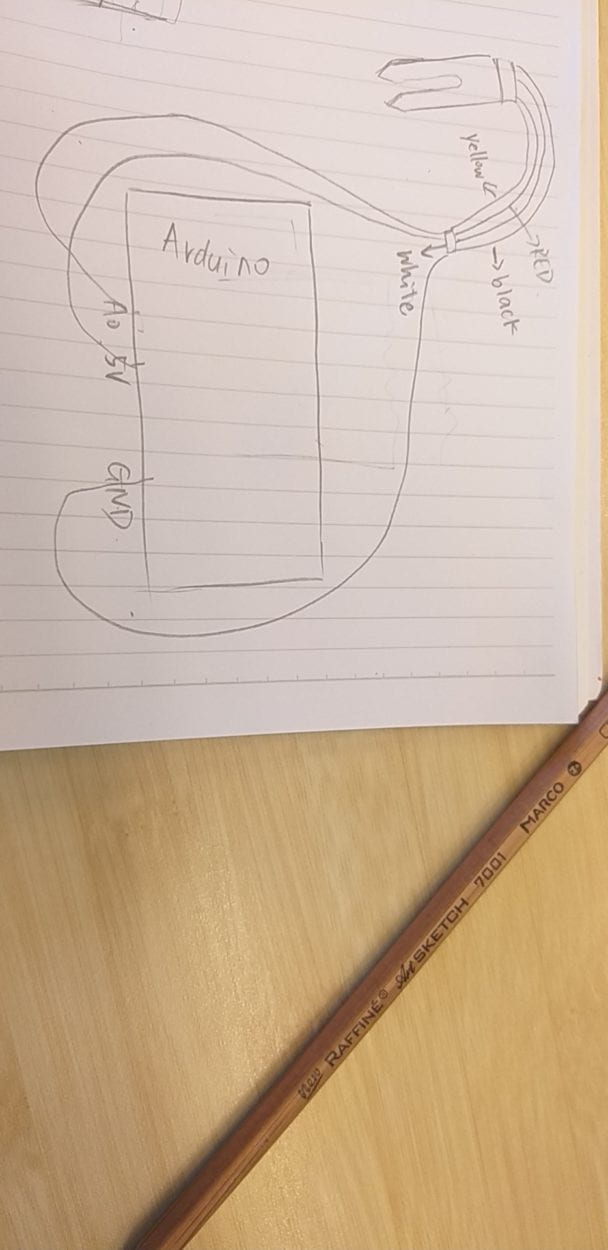
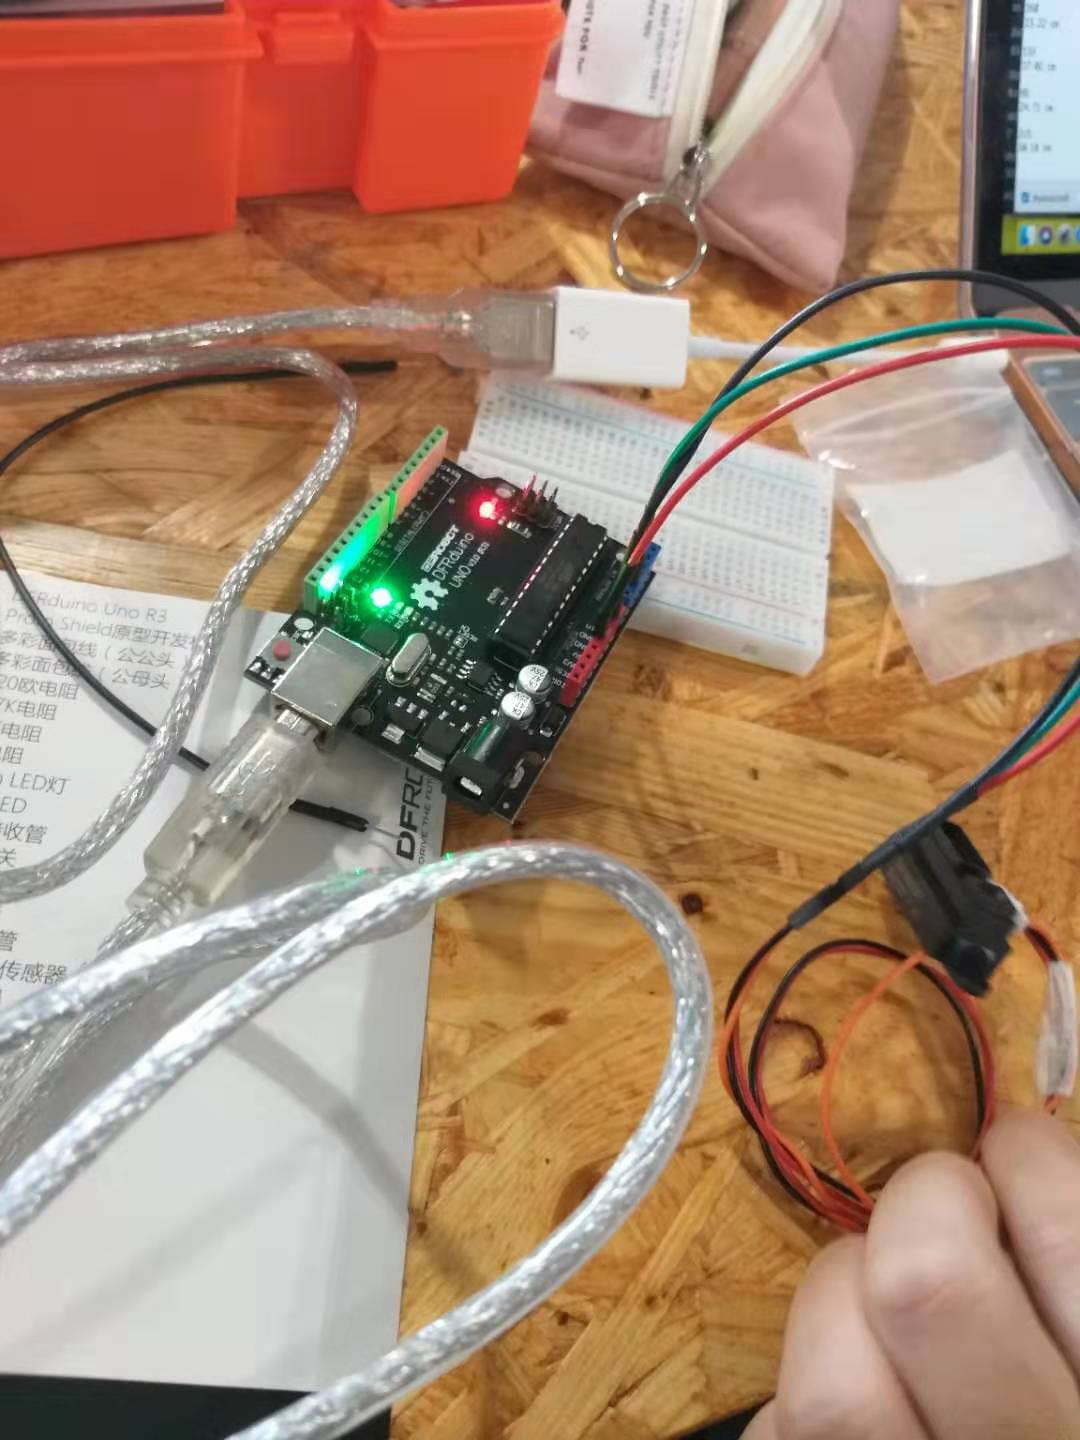
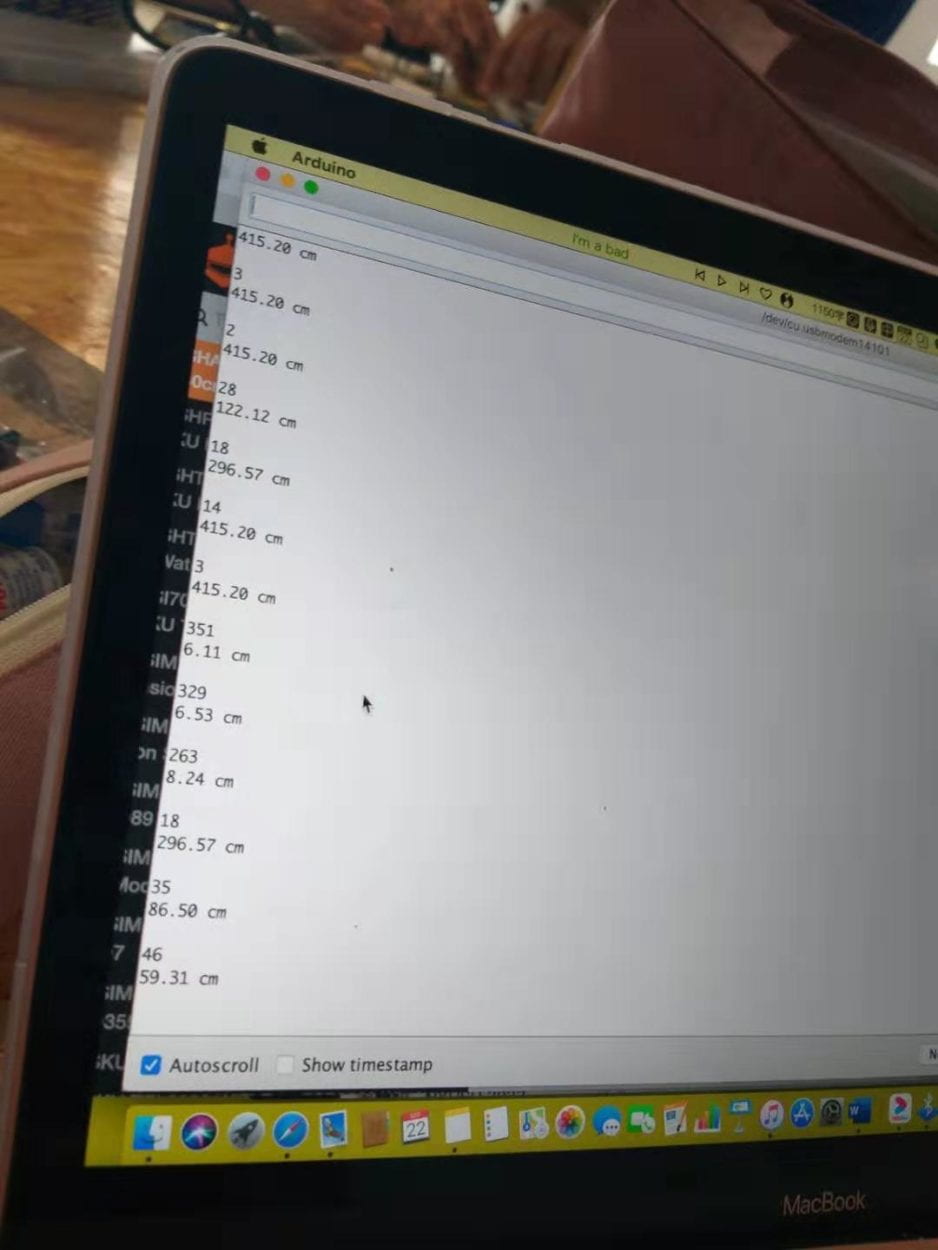
In this recitation, we built circuits with the Infrared Distance Sensor 

Here is the code

Q1: We want the LED light up when the object reaches a certain range of distance above the sensor. I think if we can have the device in the study room, the light can be turned on automatically when a student approaches and be turned off when the student leaves which can save energy by giving light in only a certain area when there is a few people and is no need to turn all lights on.

Q2; Coding is like cooking. While you look at the recipe, it tells you step by step how to cook a dish. It is same with codes because you need to tell the computer what to do by using the detailed language that it can understand. While codes need to be treated more carefully because it will not work if a tiny part is missing or wrong, cooking is less strict.

Q3: The invention of the computer begins a new era and it benefits human a lot for it allows us to create things that were only imaginary before. It also built platforms for people to share ideas and make progress faster than before. Those interactions become a necessary part of our life and it also bring side effects. People begin to be afraid of computers for its great power and the changes it brings make us worried about being left behind. The point is that we should grow up with the computer and accept changes and come up with new ideas as well.

Recitation 2 Arduino Basics–Ketong Chen

Outview

During the recitation, we were required to build 3 circuits with the Arduino.

Materials

From Arduino Kit:

1 * Arduino Uno
1 * USB A to B cable
1 * breadboard
1 * buzzer
2 * LEDs
2 * 220-ohm resistors
2 * 10K ohm resistors
2 * pushbuttons
A handful of jumper cables

circuit 1: Fade

When I build the circuit, I first make a small mistake that the resister and the LED were disconnected. After I found the mistake, the circuits worked.

Circuit2: toneMelody

We didn’t meet difficulties in this circuit and it worked.

Circuit 3: Speed game

This is the most complicated one and here is the schematic circuits.

the wires are complicated and we tried about 3 times and it was really fun. I learned that you need to be really careful when building the circuits and alwais remember to put semicolon at the end of the lines.

Answers

1)We interact with the computer and then the computer does what we want it to do and then interact with other people. Code builds a bridge between input and output and allows us to express ourselves and get feedbacks.

2) To control the current in a small level so it won’t cause a short circuit.

3) I want to create a dragon using the changing of the color and the movement of the LEDs. If possible, I want to put it in the water so it can show a vivid scene that a dragon is jumping through the water. 

Recitation3 Sensors Katie

the moist sensor: we made our hands wet to test how it works. 

The distance sensor:


The vibrance sensor: This is a little bit tricky since in the original diagram on the website, there’re two wires inserting into the same hole on the Arduino board. But it’s impossible for us to do this. So we need a bread board to help us. The resistor and the vibrance sensor are in parallel connection.


Q1:The moist sensor can be used in farming to text if the crops have enough water and be connected with a water sprinkler. The distance sensor can be used as measuring the height of a person. The vibration sensor can be used as measuring the pressure. 

Q2: Because computer has its own language, you first follow the tutorial and then make your own variations upon that.

Q3: Computer changes people’s way of thinking, way of learning and way of socializing. For example, we are thinking more about privacy. Since we are doing almost everything online: shopping, buy tickets, order food, posting blogs, sending emails etc, our personal information is exposed to the public. The way how we learns also changes. Children now can learn piano in on a computer app, there are also online courses for students of all ages. In terms of socializing, we are now talking to someone via online chatting even more than face to face.