Final Project Process – Stephanie Anderson 006

SORT YOUR TRASH; SAVE THE WORLD

Stephanie Anderson and Salome Demangeot

Eric Parren

Concept and Design

I think a component of this project that made it so fun to work on is that our project ended up looking completely different from how we initially began working on it.  
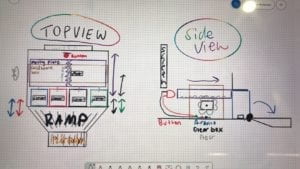
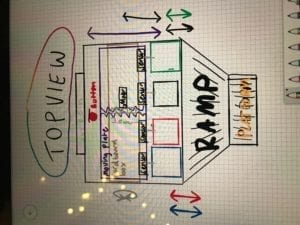
Original design for the physical component of the project
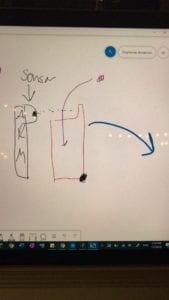
Concept design for how the sensors would recognize if you were sorting trash

When we first began working on this project, I started to design it coming from a robotics background. The original design incorporated elements that would involve numerous robotic processes and give this project a physical interface like an arcade game. There would be gears, buttons, and many other physical pieces that would all need to be created in order to make this interaction successful. Another element of the initial designs were that we would use chips (like tokens) and you would put a chip in the correct bin in order to “sort your trash”. As I was creating various design, Salome was giving feed back and she suggested that we use light sensors as a means to record how the user sorts his or her trash. 

Once we agreed on using the light sensors, the design began to evolve. When starting to work on our final, I knew that I wanted to create a project that would have a practical, real-world use.  When we were starting this project, I took reference to the current games that China has available to help people learn how to sort their trash.  A popular version that I found included one that had four physical bins labelled according to the four sorting bins, and it had a deck of cards that contained images of items to sort. We were going to try and make four individual bins, but ended up just making the tops of each bins. This allowed us to save materials, conceal the wires and Arduino, and prevent extra variables that might have posed a problem with the user. For example, if we had physical bins with chips, how would we get the chips out of the bin at the end? This process would probably prove to be clunky for the user so we scrapped the idea of having the user use physical pieces. 

We ended up having a physical component that mirrored what a user would actually be doing with a trash bin which is to open it. This proved to be logical, and the most straight-forward approach to this project. 

Fabrication and Production:

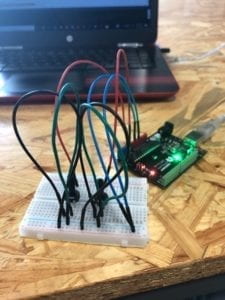
In terms of the Ardunio, the process was fairly straight-forward. We created our circuit with 4 photo-light sensors. We did not required too many additional components and we were able to use the wires provided from the kit because they did not require extra length. 

One of the main parts of our project included the cards. I used the Shanghai Government’s Trash Sorting poster as a reference, and I chose 40 items to make into cards. Some of the items that the poster offered I felt were repetitive, so not every object got a card. I used Photoshop and was able to cartoonize each card. 
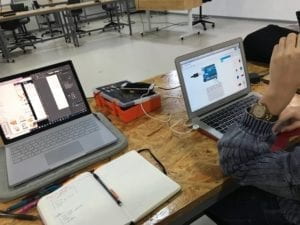
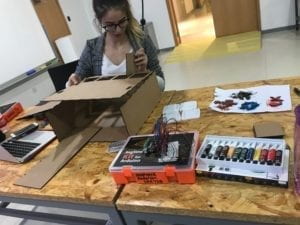
Stephanie creating the cards in Photoshop while Salome creates the circuit

I created the physical interface using Makerbox.com to generate a laser cut box. When I had this schematic in Illustrator, I was able to put in my own design features such as the bin openings, Arduino upload cable openings, laptop space, and the insides of the box which made the “bins”.  Salome found trash bins online which were already 3D models, so we used those as our tops and we proceeded to cut the rest. 
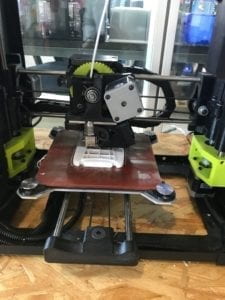
3D Trash Bin Lins
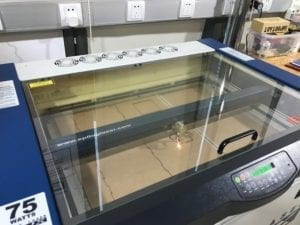
Laser cutting our box and logos
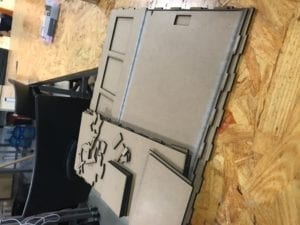
Finished laser cuts
Assembly

The code was probably the most exciting part of the project!! We included various classes, for loops, if and while statements, and long nights of thinking! The basis of our code lies in boolean statements that were necessary in the first part to being the progression of the game.  We originally were unsuccessful in our attempts to create a “intro sequence”. We went everywhere from if statements where it would read the sensor values, to switch cases, and then eventually to boolean statements at the suggestion of Eric. It was so rewarding and satisfying once we were able to finally bring all of the pieces together!!

User Testing

This project was very important to me and Salome, not just because it was our final, but also because of its practical use. Moving forward with it, I would like to make it available to our students and community at NYUSH so that people can better understand how to sort his or her trash. With that said, with such a sort amount of time, the success of this project was based in checklists and things to do!
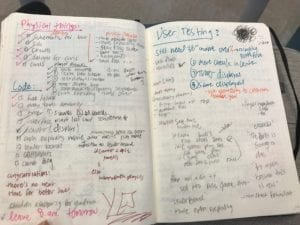
as
Checklists for daysss
and usertesting.notes

Going into user testing there were things that we knew that we needed to improve/ work on. To start with, we had not really decorated our box or knew what we wanted it to look like yet. We taped together our best design and found that the users would appreciate having labels and more clear signs of what bins were what on top. This was helpful because originally we would have assumed that the users want this on the front face so that they could see these as they walked up. Another big task that we needed to finish was the starting sequence. We were not really sure how to properly code that as our previous attempts had not been working. I think that the basis of this problem had been that we were making the code too complicated and including too many statements which ended up confusing the computer and us. 

By the time we go to the final presentation day, I was really happy with our progress especially with how much that we had done. There is always more to do, but I was really proud of the fact that our project will work every time and we do not have to hope that one wire is plugged in or that the code will work this particular time or anything. It just works. It is reliable. I really appreciate this because growing up when I had robotics projects or coding projects, it would not always work 100% of the time, so I am really proud of how far I have come as well. 

Final Product

To get to the final product from user testing, we were able to debug our existing code to make it 100% reliable and create the boolean sequence that allowed the user to get used to how the game worked and understand the instructions. We were also able to construct that the code would reloop and restart as soon as the user had finished his or her own turn. 

Working through the code: https://drive.google.com/open?id=1m7EKRfjvRmtbmeqrjS6lo03qv6IH6gI8
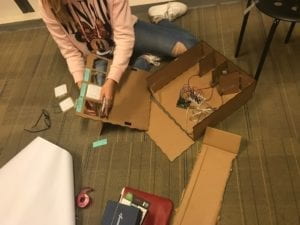
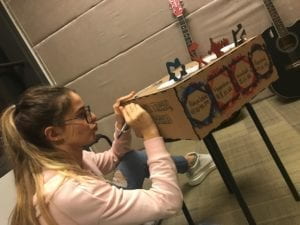
Putting together the painted pieces
The finishing touches on our final!

As far as the physical components, we painted and decorated our box. We also finalized the design for the bins by using our logos at the handles for our bins. In addition, we labeled and color coordinated the tops and bottoms of the bins in order to make it as clear as possible to the user where everything should go. It was also suggested to us that we have some sort of “cheat sheet” so that people could be studying while a friend was going. We included which cards should be sorted where on the insides of the bins. This works two fold: they can look at it while they are reading the instructions, or, at the end, they can open all of the lids and practice before they start again. 

Final product: https://drive.google.com/open?id=1IDJdS__sR7KRQ9HmcXO98l8x6TSF6mU_

Conclusion

This project was successful because of the teamwork and chemistry that Salome and I had. I can honestly say that I have never worked on a more efficient team. We were both on top of our game and equally shared the responsibilities and took initiative for what we needed to get done. There were several parts of the code and other steps in the process that I was really thankful to have Salome as my teammate, and I hope I can work with her again in the future!!

Once the project was actually over, it was fun to see how people originally thought an item should be sorted and see where it actually goes. I  think that with our project we were able to create a meaningful interaction that allowed users full control of their destiny. I hope that this also translates into real life when the next time they are thinking about just throwing everything into the residual waste bin. I think that once a user has completed their experience with our project, they are able to reflect on some of the “out-of-the-ordinary” cards. From interacting with our project, I think that people are able to learn about how to more appropriately sort their trash, and also pay attention to certain items they normally sort incorrectly. For example, I would have though that glass should be sorted as hazardous waste when it is, in fact, supposed to be sorted into recyclable waste. I think an important part of the end of this project is that it starts a conversation. Whether it is with me or Sass or it is with people around them, people are able to have a conversation about how they have been sorting their trash, or how they intend to do so from now on. In our society, people sorting their trash in correctly, or not at all has been a huge problem. When you do it once, you will not start to notice it, but in 20 years when you are seeing trash all over the streets and in our communities, you do not need to look far when you start asking who to blame. 

Moving forward, I would like to include leader boards where people can include their names and grade/staff.  I would like to be able to make this available for freshman to play during orientation or for RA’s to use as a game to see who gets free boba. Not only does creating this into a game give people an incentive to win, but, practically, it gives them a platform to learn how to do these things. I think one of the biggest challenges we face when it comes to sorting our trash correctly is a combination of not knowing where something goes and also using the excuse that it takes too much time. With “Sort Your Trash; Save the World,” you not only learn where to sort your trash, but that it only takes a few seconds to save the world from exploding. 
Recitation 10: OOP

These two videos are the particles that I have made for the oop workshop, the idea is to let the videos firstly randomly generated on the screen and then follow the cursar wherever it is and orbit around it.

I use map() function in the first video example to declare the randomly generated position of the particles, in the second example the function is used to set the opacity of the particles in terms of their distance from the cursar.

The following code is for the first video, including three files.

Particles 

ParticleSystem ps;

void setup() {
size(1920,1080);
ps = new ParticleSystem();
ps.addParticle();
}

void draw() {

background(0);

ps.run();

}

Particle1

class Particle1{

PVector curPosition;
PVector accelerationX;
PVector accelerationY;
PVector position;
PVector velocity;
int r = 2;
color c;

Particle1(PVector curPos, PVector pos, PVector v, color parc){
//acceleration = new PVector(0.05,0.05);
position = pos.get();
velocity = v.get();
curPosition = curPos.get();
accelerationX = new PVector(random(0,2),0);
accelerationY = new PVector(0,random(0,2));
c = parc;
}

// Method to update position
void update() {
if(position.x <= 0){
velocity = new PVector(velocity.x*=-1,velocity.y);
float prey = position.y;
position = new PVector(1,prey);
}
if(position.x >= width){
velocity = new PVector(velocity.x*=-1,velocity.y);
float prey = position.y;
position = new PVector(width-1,prey);
}
if(position.y <= 0){
velocity = new PVector(velocity.x,velocity.y*=-1);
float prex = position.x;
position = new PVector(prex,1);
}
if(position.y >= height){
velocity = new PVector(velocity.x,velocity.y*=-1);
float prex = position.x;
position = new PVector(prex,height-1);
}

velocity.mult(0.99);//slowing particles down

if(position.y < curPosition.y - r){
velocity.add(accelerationY);
}
else if (position.y > curPosition.y + r){
velocity.sub(accelerationY);
}else if(position.y >= curPosition.y - r && position.y <= curPosition.y){
velocity.add(accelerationY.mult(2));
}else{
velocity.sub(accelerationY.mult(2));
}
if(position.x < curPosition.x - r){
velocity.add(accelerationX);
}
else if (position.x > curPosition.x + r){
velocity.sub(accelerationX);
}else if(position.x >= curPosition.x - r && position.x <= curPosition.x){
velocity.add(accelerationX.mult(2));
}else{
velocity.sub(accelerationX.mult(2));
}
position.add(velocity);
}

void run() {
update();
push();
display();
pop();
}

void push() {
pushMatrix();
}

void pop() {
popMatrix();
}

// Method to display
void display() {
noStroke();
fill(c);
translate(position.x,position.y);
ellipse(0,0,8,8);
}

PVector getPos(){
return position;
}

PVector getV(){
return velocity;
}

}

ParticleSystem

class ParticleSystem {
ArrayList<Particle1> particles1;
PVector position;
PVector velocity;
color c;
color[] co = new color[10];
PVector[] pos = new PVector[10];
PVector[] v = new PVector[10];
int pNum = 10;

ParticleSystem() {

particles1 = new ArrayList<Particle1>();
for(int i = 0; i<pNum; i++){
position = new PVector(random(width*1/4,width*3/4), random(height/4,height*3/4));
velocity = new PVector(random(-5,5),random(-5,5));
c = color(random(0,255), random(0,255), random(0,255));
pos[i] = position;
v[i] = velocity;
co[i] = c;
}
}

void addParticle() {
for (int i = 0; i<pNum; i++){
float x = map(mouseX,0,width,500,600);
particles1.add(new Particle1(new PVector(x,mouseY), pos[i],v[i],co[i]));
}
}

void run() {
for (int i = 0; i<pNum; i++) {
Particle1 p1 = particles1.get(i);
p1 = new Particle1(new PVector(mouseX,mouseY), pos[i],v[i],co[i]);
p1.run();
pos[i] = p1.getPos();
v[i] = p1.getV();
}
//printArray(particles);
println(particles1.size());
}
}

Recitation 9: Media Controller (Rodrigo Reyes)

Last recitation we had to manipulate media (an image or video) on Processing by using a controller on Arduino. It was much easier to do this now since we did serial communication between these two programs the week before. 

HOW WE DID IT?

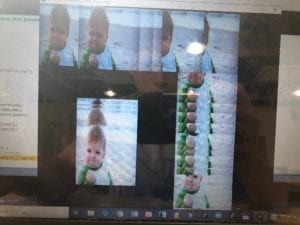
I had a potentiometer expand and contract an image on Processing. As one twisted the potentiometer to the right, the image became bigger. Likewise, when one twisted the potentiometer to the left, the image became smaller.  I added a meme picture, I mapped the values for the potentiometer, I added the prev x and y, and used the base code for serial communication that was given to us in class. 

READING

In the article “Computer Visions for Artists and Designers” by Golan Levin I found that as technology changes through time,  people’s use of it also evolves with it. Before people used to use technology to code things for businesses and create websites and new e-markets, however, today people are using coding and other technologies to create interaction through different means and designed for different actors. People now utilize technology to create art that does, in turn,  interact with other people or other things.  The reading resonates with my project because my project was designed to entertain and to facilitate social scenarios. It was meant to be a game played in large groups of people. It involved artistic vision in the design, and it involved wanting to look for ways to step out of the conventional use of technology as a means to facilitate human interaction.  

Video Bellow: 

IMG-8882

Recitation 10: Workshop by Eric Shen

In the first part of the recitation, we learned more about one of the most important functions in Arduino and Processing, which is map() function. After the detailed introduction and the examples provided by the fellows, I think that I have completely mastered this function. 

Later in the recitation, we chose one workshop among three workshops, and I chose the serial communication workshop in order to better apply it in my final project.  

In the workshop, we had two exercises, the first one is communication from Arduino to Processing, using a button and a potentiometer map( ) function was used in this exercise.

The code for Processing:

// IMA NYU Shanghai
// Interaction Lab
// For receiving multiple values from Arduino to Processing

/*
 * Based on the readStringUntil() example by Tom Igoe
 * https://processing.org/reference/libraries/serial/Serial_readStringUntil_.html
 */

import processing.serial.*;

String myString = null;
Serial myPort;


int NUM_OF_VALUES = 2;   /** YOU MUST CHANGE THIS ACCORDING TO YOUR PROJECT **/
int[] sensorValues;      /** this array stores values from Arduino **/


void setup() {
  size(500, 500);
  background(0);
  setupSerial();
}


void draw() {
  background(0);
  updateSerial();
  printArray(sensorValues);

  // use the values like this!
  // sensorValues[0] 
float posX = map(sensorValues[0],0,1023,0,width);
int size ;
if(sensorValues[1] == 0){
  size=50;} else {
    size = 200;
  }
ellipse(posX,mouseY,size,size);

  // add your code

  //
}


void setupSerial() {
  printArray(Serial.list());
  myPort = new Serial(this, Serial.list()[ 13 ], 9600);
  // WARNING!
  // You will definitely get an error here.
  // Change the PORT_INDEX to 0 and try running it again.
  // And then, check the list of the ports,
  // find the port "/dev/cu.usbmodem----" or "/dev/tty.usbmodem----" 
  // and replace PORT_INDEX above with the index number of the port.

  myPort.clear();
  // Throw out the first reading,
  // in case we started reading in the middle of a string from the sender.
  myString = myPort.readStringUntil( 10 );  // 10 = '\n'  Linefeed in ASCII
  myString = null;

  sensorValues = new int[NUM_OF_VALUES];
}


void updateSerial() {
  while (myPort.available() > 0) {
    myString = myPort.readStringUntil( 10 ); // 10 = '\n'  Linefeed in ASCII
    if (myString != null) {
      String[] serialInArray = split(trim(myString), ",");
      if (serialInArray.length == NUM_OF_VALUES) {
        for (int i=0; i<serialInArray.length; i++) {
          sensorValues[i] = int(serialInArray[i]);
        }
      }
    }
  }
}

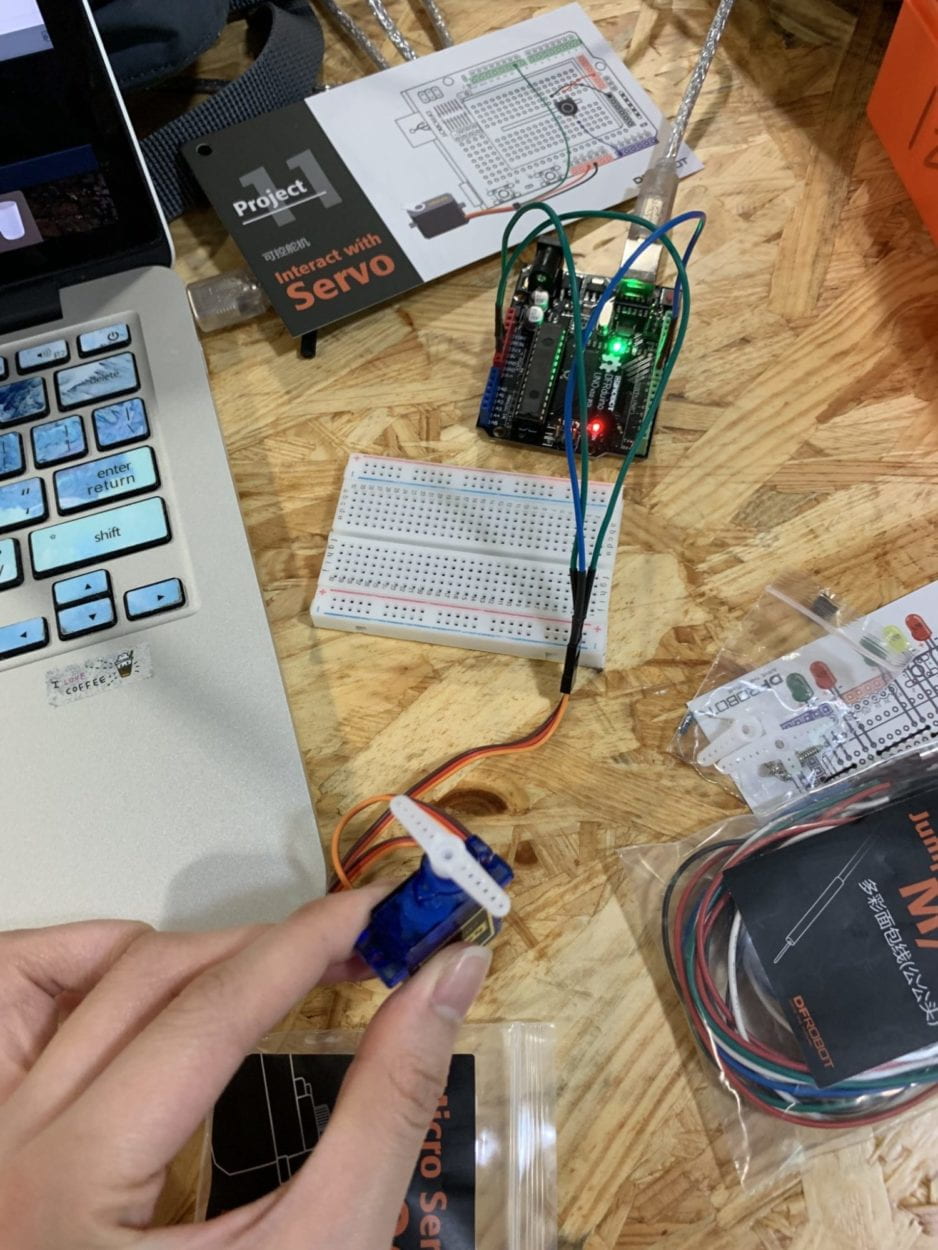
The second exercise is to transfer data from Processing to servo motors in Arduino. And in order to make it more fun, we used the data from processing to make the fan of the servo motor to move back and forth. 

The code for Arduino:

// IMA NYU Shanghai
// Interaction Lab
// This code receives one value from Processing to Arduino
#include <Servo.h>
Servo myservo;
int val;

char valueFromProcessing;

void setup() {
Serial.begin(9600);
myservo.attach(9);
}

void loop() {
// to receive a value from Processing
while (Serial.available()) {
valueFromProcessing = Serial.read();

}

val = valueFromProcessing; // reads the value of the potentiometer (value between 0 and 1023)
// val = map(val, 0, 500, 0, 180); // scale it to use it with the servo (value between 0 and 180)
// myservo.write(val); // sets the servo position according to the scaled value
//Serial.print(val);
// // too fast communication might cause some latency in Processing
// // this delay resolves the issue.
delay(10);
}

The code for Processing: 

// IMA NYU Shanghai
// Interaction Lab
// This code sends one value from Processing to Arduino 
import processing.serial.*;
Serial myPort;
int valueFromArduino;


void setup() {
  size(500, 500);
  background(0);

  printArray(Serial.list());
  // this prints out the list of all available serial ports on your computer.
  
  myPort = new Serial(this, Serial.list()[13], 9600);
  // WARNING!
  // You will definitely get an error here.
  // Change the PORT_INDEX to 0 and try running it again.
  // And then, check the list of the ports,
  // find the port "/dev/cu.usbmodem----" or "/dev/tty.usbmodem----" 
  // and replace PORT_INDEX above with the index number of the port.
}


void draw() {
  // to send a value to the Arduino
  if (mousePressed) {
    myPort.write(mouseX);
  } else {
    myPort.write(0);
  }
 

Recitation 10 Documentation

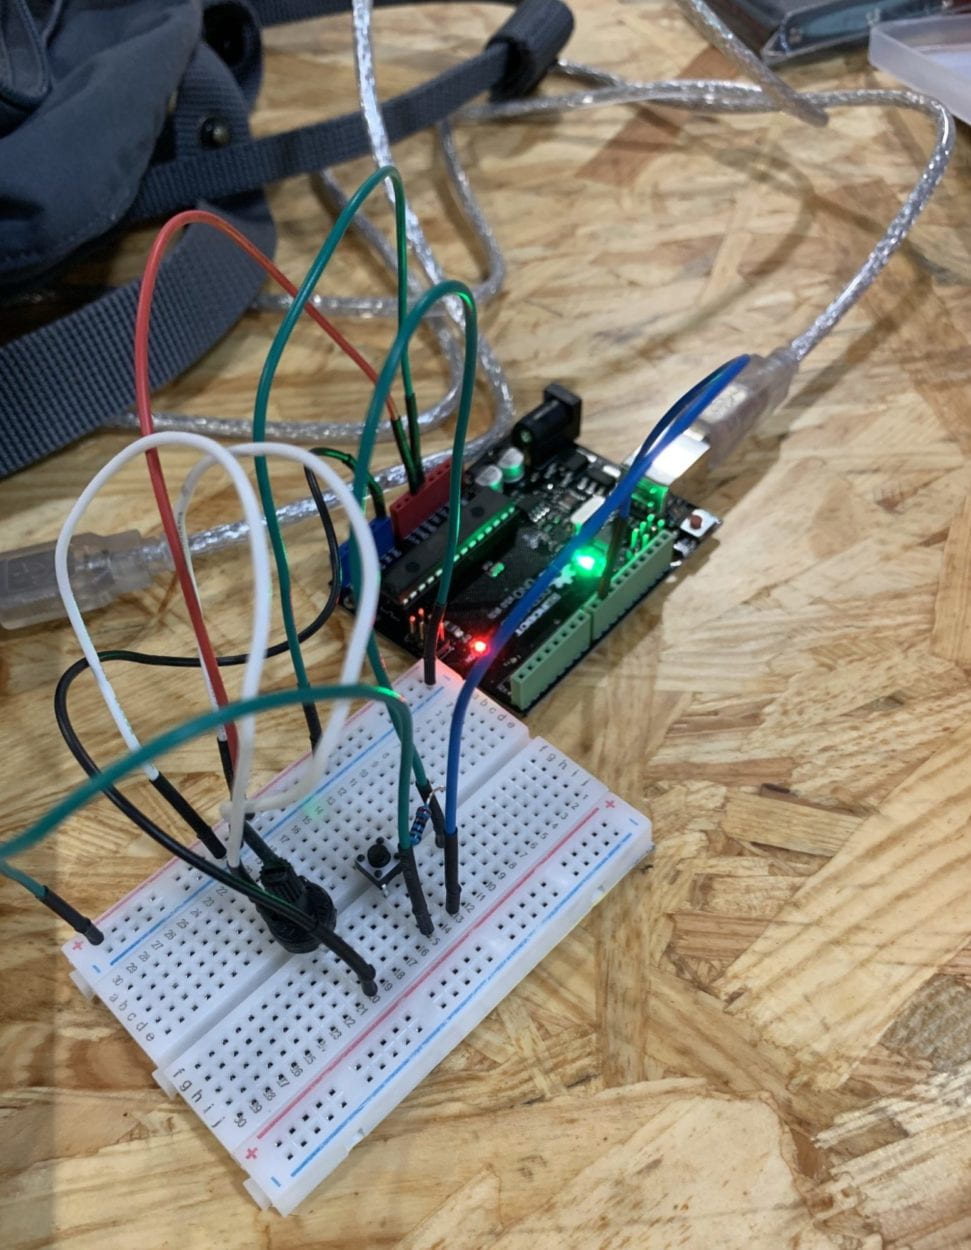
For this recitation, we first explored the map() function, which changes a range of values into another a range of values. We were to use the map() function within the serial communication workshop. In Arduino, we could use map() for the potentiometers, while in Processing, we could use map() for the horizontal and vertical coordinates of mouseX and mouseY. 

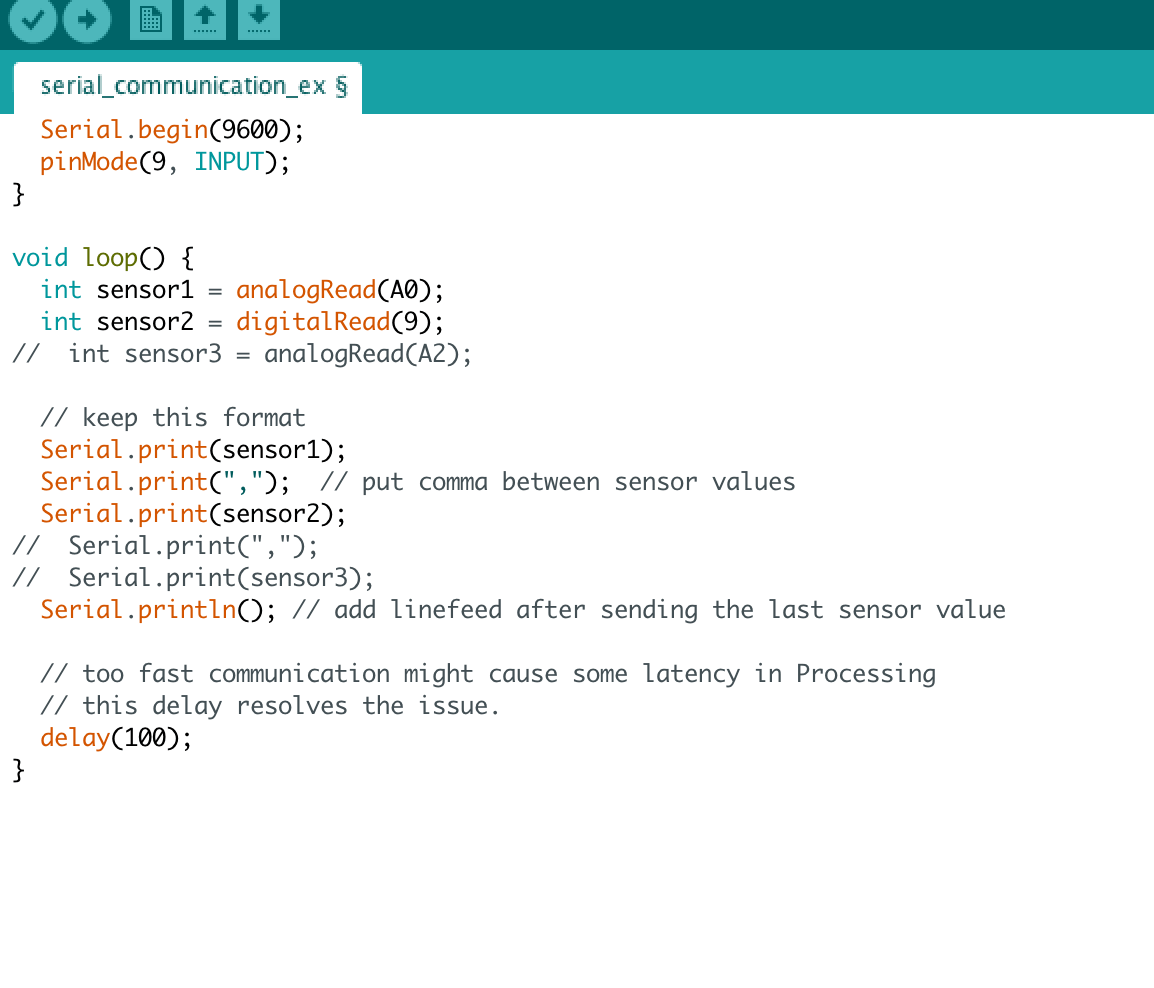
In the serial communication workshop, we first worked on an Arduino to Processing example using a potentiometer, a mini pushbutton switcher, and a resistor. We were to use the potentiometer and button on Arduino to control the location of an ellipse and the size of an ellipse on Processing, respectively. For this, we used the serial_multipleValues_AtoP example, modifying the second analogRead to read digitalRead and removing one Serial.print input. Then, we assembled the circuit with the potentiometer, button, and a resistor. We used float posX to designate the position of the values.

Arduino Code:

Processing Code:

import processing.serial.*;

String myString = null;
Serial myPort;


int NUM_OF_VALUES = 2;   /** YOU MUST CHANGE THIS ACCORDING TO YOUR PROJECT **/
int[] sensorValues;      /** this array stores values from Arduino **/


void setup() {
  size(500, 500);
  background(0);
  setupSerial();
}


void draw() {
  updateSerial();
  printArray(sensorValues);
  
  background(0);

  // use the values like this!
  // sensorValues[0] : pot 0 ~ 1023
  // sensorValues[1] : button switch 0, 1

  // add your code
  float posX = map(sensorValues[0], 0, 1023, 0, 500);
  int size;
  if (sensorValues[1] == 0) {
    size = 50;
  } else {
    size = 200;
  }
  ellipse(sensorValues[0], 300, size, size);
}


void setupSerial() {
  printArray(Serial.list());
  myPort = new Serial(this, Serial.list()[3], 9600);
  // WARNING!
  // You will definitely get an error here.
  // Change the PORT_INDEX to 0 and try running it again.
  // And then, check the list of the ports,
  // find the port "/dev/cu.usbmodem----" or "/dev/tty.usbmodem----" 
  // and replace PORT_INDEX above with the index number of the port.

  myPort.clear();
  // Throw out the first reading,
  // in case we started reading in the middle of a string from the sender.
  myString = myPort.readStringUntil( 10 );  // 10 = '\n'  Linefeed in ASCII
  myString = null;

  sensorValues = new int[NUM_OF_VALUES];
}


void updateSerial() {
  while (myPort.available() > 0) {
    myString = myPort.readStringUntil( 10 ); // 10 = '\n'  Linefeed in ASCII
    if (myString != null) {
      String[] serialInArray = split(trim(myString), ",");
      if (serialInArray.length == NUM_OF_VALUES) {
        for (int i=0; i<serialInArray.length; i++) {
          sensorValues[i] = int(serialInArray[i]);
        }
      }
    }
  }
}

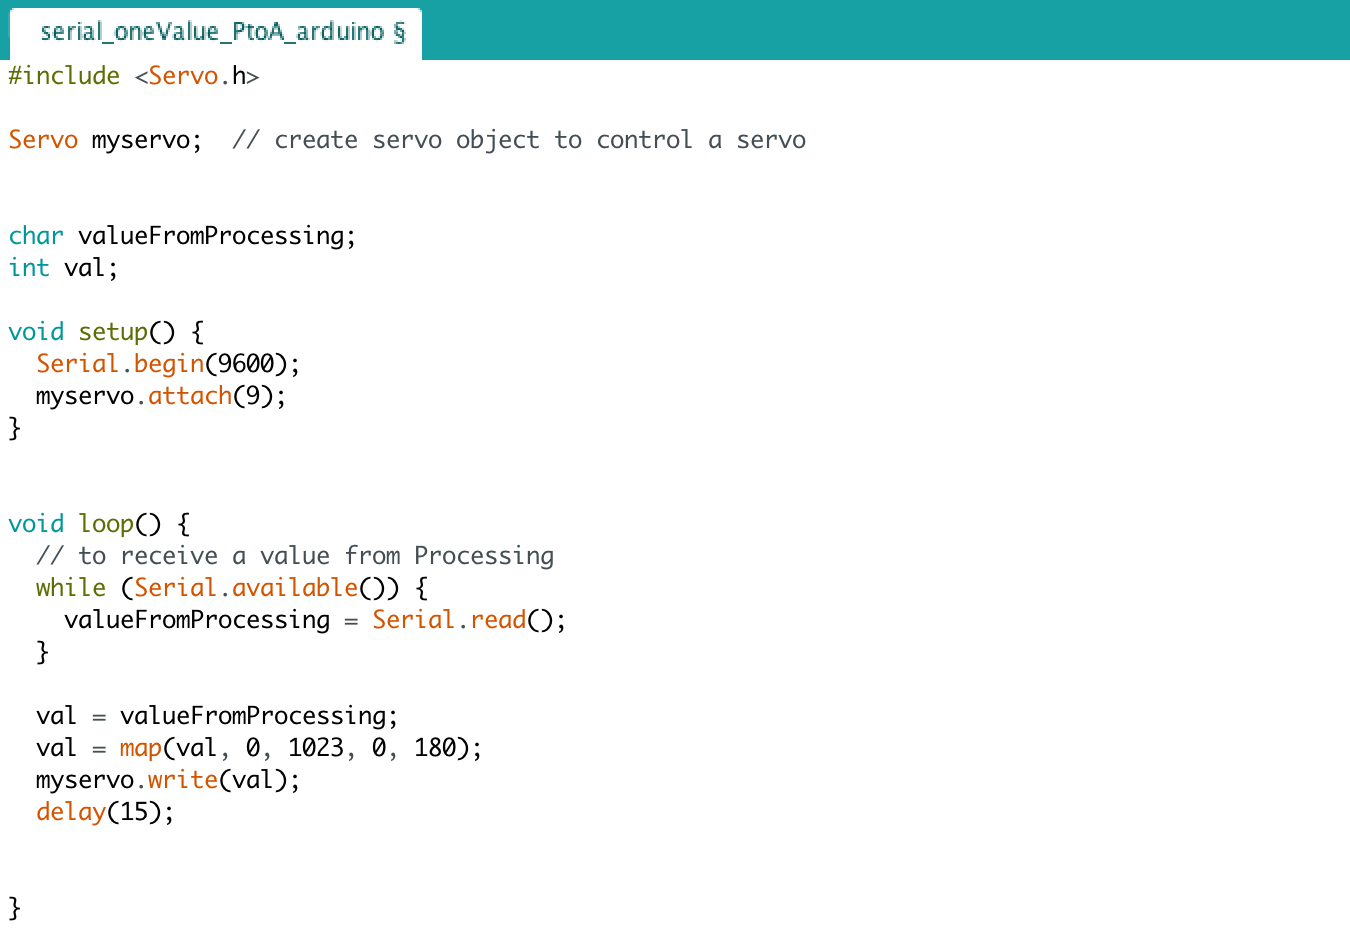
For the second example, we were to use a mini servo motor to be controlled by the keypad being pressed. For this, we used the serial_oneValue_PtoA example to read the input from Processing to Arduino. By pressing the keypard, the servo motor moves in response to its input. 

Arduino Code:

Processing Code:

import processing.serial.*;

Serial myPort;
int valueFromArduino;


void setup() {
  size(500, 500);
  background(0);

  printArray(Serial.list());
  // this prints out the list of all available serial ports on your computer.
  
  myPort = new Serial(this, Serial.list()[3], 9600);
  // WARNING!
  // You will definitely get an error here.
  // Change the PORT_INDEX to 0 and try running it again.
  // And then, check the list of the ports,
  // find the port "/dev/cu.usbmodem----" or "/dev/tty.usbmodem----" 
  // and replace PORT_INDEX above with the index number of the port.
}


void draw() {
  // to send a value to the Arduino
  if (mousePressed) {
    myPort.write(mouseX);
  } else {
    myPort.write(0);
  }
}