Final Project Documentation 1-Laura & Susie

Link: http://imanas.shanghai.nyu.edu/~ys3041/final/index.html

Partner: Susie

Description:

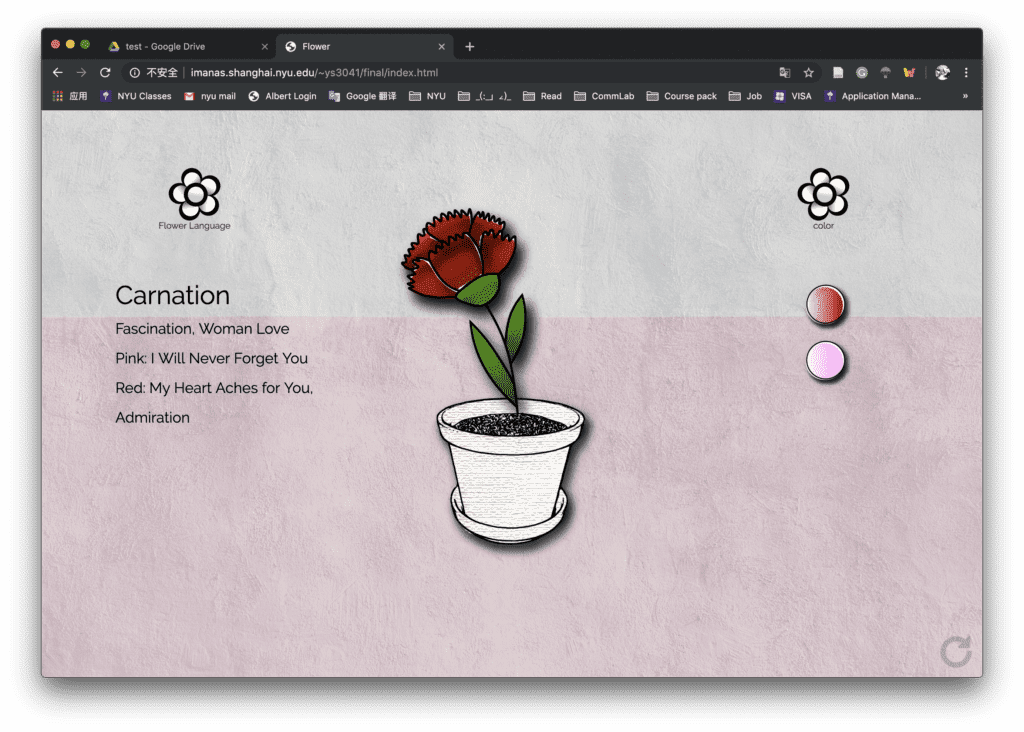
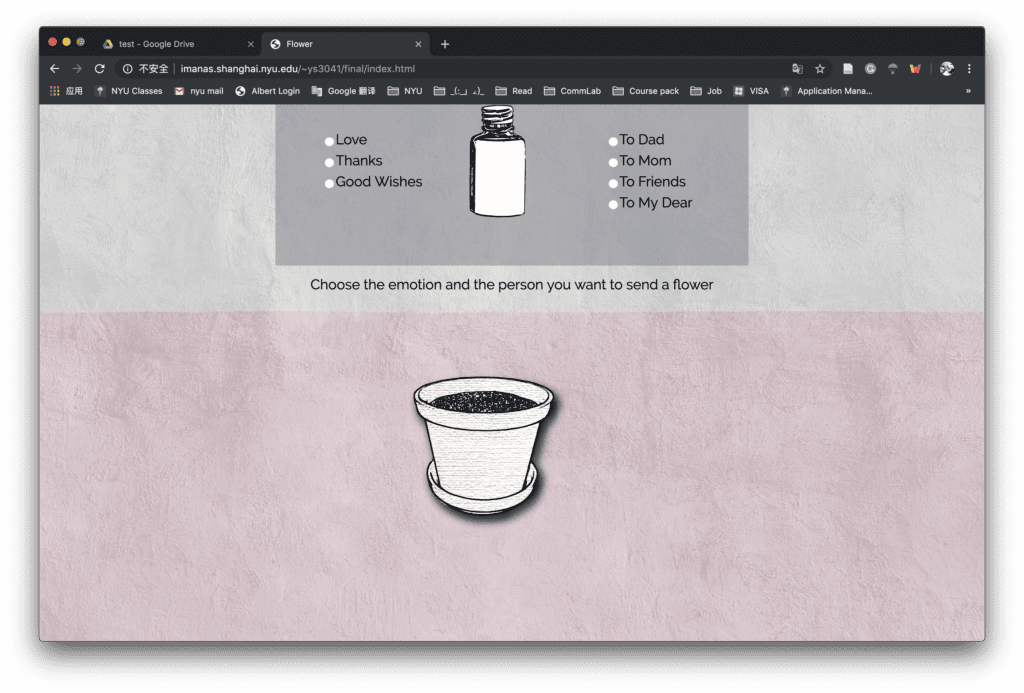
Our project is a website which the user can generate a unique flower by choosing the emotion and the specific person they want to send to. They will choose by clicking the checkbox and follow the instructions of clicking the bottle. After the flower is generated, they can open the color choices or check the meaning of the flower, or refresh to create the flower again.

Process:

We came with this idea because we want to create something related to flower and color and customizing your own flower by adding the emotions and filling the colors seems feasible. I was responsible for all the visual parts and helped Susie with the code. At first, we want to make the color filling on every petal and small parts so that each flower can be different and unique. I first did some research on the p5 drawing and found some functions like curvevertex. I tried to load the original image first and draw the stroke based on those images. However, since we related flowers with their specific meanings, the flowers have to be more distinct and based on some real-world models. In this case, the curvevertex may not achieve this goal as it requires a lot of work on recording the points on each petal if we want to make it more natural and delicate. I also tried Bézier Curves but it can only draw ellipse-based curve which might not imitate the flower naturally and successfully.

Therefore, we choose to draw the flowers in the illustrator which is also easier to make adjustment in the later stages. I added different layout and exported all the combination of colors and flower petals for preparation.
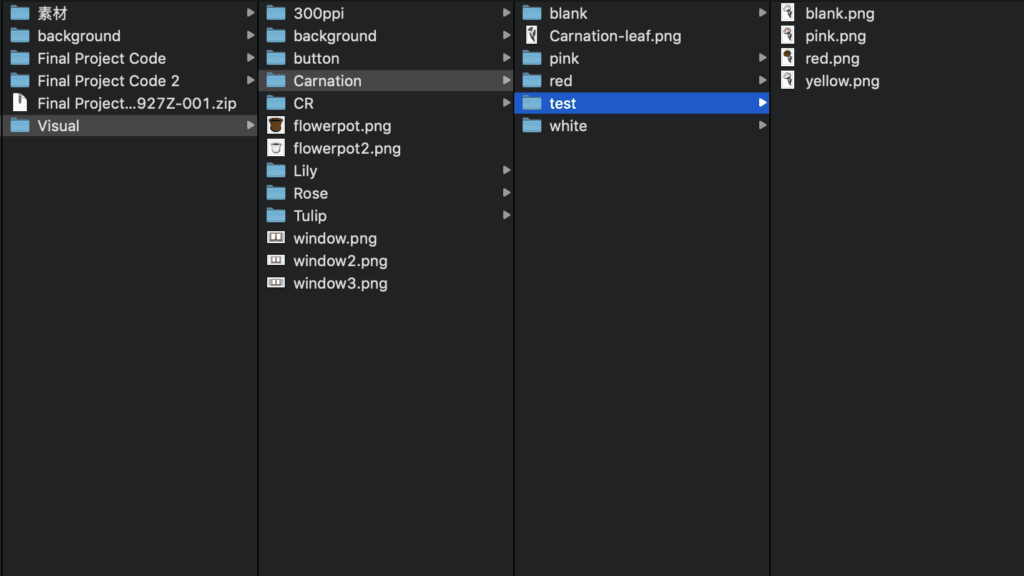
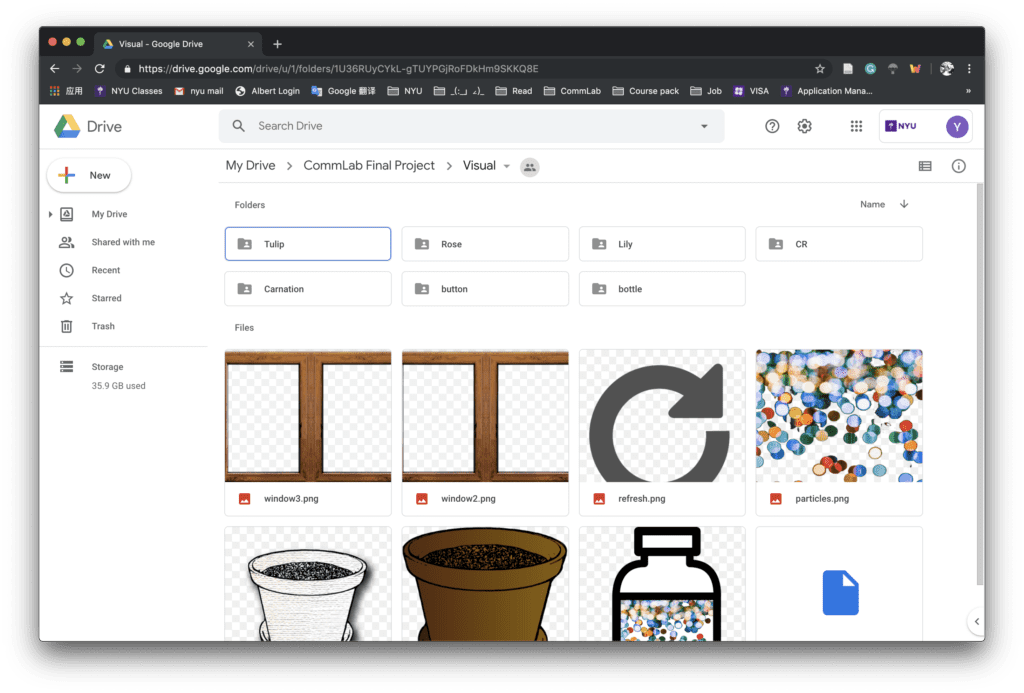
While I was painting in the Illustrator, I explored some different brushes and ways to stylize the images. Inspired by the professor, I also found ways to make the picture less stiff and bored, we can totally add some artistic effects and details intentionally to make it more vivid. So the final design of the flower is more hand-painting and comic style. I also add the shadow effect to all the elements to make them more solid after we change the original background-selecting idea and use textures as the background. 
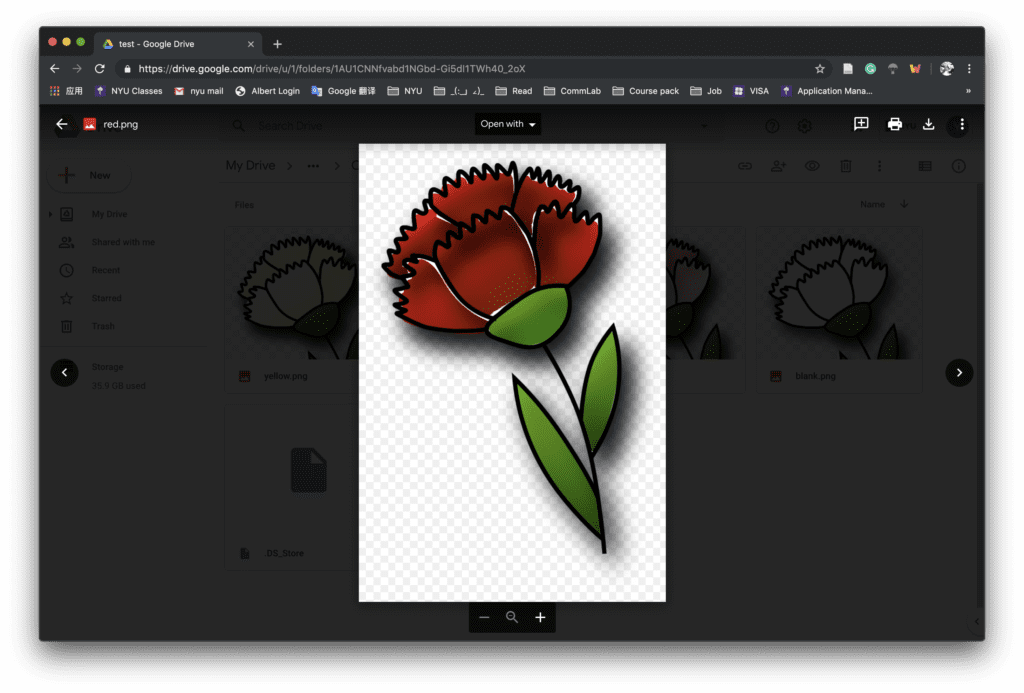
When we come to the coding part, we met some problems deciding the way of filling the color. One problem is that we can’t confirm the position of each petal to constitute a complete flower. Although we tried different positions and divs, they didn’t work very well. Due to time limitation, we decided to change the whole color of the flower instead which will be more stable for the project.

As for the layouts, at first, we want to place the flower pot on the window sill and change the outside view through mouse scrolling right and left. After I draw the images of the flowerpot and put all the design into the webpage, we found the background is a little bit distracting to the whole visual experience, which is also suggested by the professor that it’s better to eliminate the elements and only emphasize one point at a time. Since we already two functions of choosing the color and flower language, changing the background is indeed difficult to match the whole style and design. So we move the background selecting part and only focus on the main object of flower and two functions.

When writing our code to realize the function of select one emotion and one person to generate the corresponding flower, we spent a lot of time struggle with the value that we get from the checkbox, which later turns to be more efficient using the array and the radio checkbox.  The rotation of the bottle is realized by the keyframe function in CSS and I also added the hover effect to the selection button to signal the user to click them.

The  final version of the project is shown below:
Reflections:

We make many adjustments in our process of this project but we also explore much on different ideas, layout designs, and coding.

We also received a lot of feedback for future improvements. For the design of the website,  a good and important suggestion is the choices of texture. Although we explore different styles and backgrounds for several times, there is still some inconsistency in the texture, which is a direct effect on the user’s visual experience.  We may want to change the style of the two buttons related to color and flower language to make them more coherent.

Other improvements may be a further development on the interaction. The choosing color part, as we wrote in the proposal, can be further developed into the palette and enable the user to select more patterns. We may also want to add the share choice at the end or just add the screenshot hint.

Overall, Susie and I made a lot of effort on the project and we’re happy to finish it within a limited time. We’ll still work on the suggestions and explore more approaches and possibilities of this project.

Credits: 

Background image and bottle references:

https://unsplash.com/photos/P8XV99FyzCk

https://pixabay.com/vectors/bottle-jar-pills-medicine-954645/
Final Project Reflection Post (Winny)

Project Reflection

LINK

Design

Our project presents a recreation of The Perfect Humanbased on the university life here in NYUSH. The Perfect Human is a short film in the 60s; its style is very simple and abstract, showing the “perfect” side of a human. We draw the concept of “perfection” from this short, and we shoot a new version trying to convey the idea that “perfect is impossible”.

Our project contains two parts, one is a reflection back on the original film and the other one is our videos. By clicking on buttons, users can check a series of videos depicting three “perfect” NYUSH students. Through this series of videos, users can have a sense that the image of a “perfect student” doesn’t exist; a real human’s life contains both positive and negative parts.

Process

Sebastian and I first write our script and prepare what scenes we want to shoot. For this part, we first find three volunteers who would like to be filmed, then based on their personality and interests, we create three characters of “perfect human” and develop the script too.

Then we start shooting. Since the characters are designed based on the real student, our actors don’t really need to “act” and our job is to capture the scenes we need. Unfortunately, we are not professional enough to produce high quality film, some of our films are not so stable and some of them have lighting problems. If we can start over, I would first learn about how to adjust the light input to avoid such problem.

Afterwards, we distribute our work into two parts: website setting and video editing, and I’m responsible for video editing. The process of editing goes well, generally we have all the scenes that we plan to have. One problem in this process is the narration. When we first record narration I use a Tascam but there is echoing in the background. So later I record again outside in the air. But due to limited time, we record the second time using our phone. So some of the audio also have problem. If we start over, this time I learn that we can borrow a microphone from IT that works better than Tascam in this situation.

Last, we put all the elements together and set up our website. We have some confusion on the style of the website. If we start over, we would first be more specific on the style that both of us like.

Future

In the future, I would like to reshoot some parts of the video/audio, using better equipment. This project is video-based; I think it would be much better if the video quality becomes much better. I also want to spend more time design the website. I want to implement a clear, artist layout of the website.

Another part that I want to explore more is the music. This time, I tried with traditional Chinese Erhu. I want to mimic the original sounds a little but also has our own style. If I have more time for research and another try, I think music will give our project a big upgrade.

Week 14: Net Art Project Documentation – Ruby Kim (Moon)

Partner: Anica

Link: Tokio –  http://imanas.shanghai.nyu.edu/~sk7383/netArtProject/coding/index.html

Description: Our project is based on the novel ‘Tokio’ by Higashino Keigo. The theme-circulation, redemption-gave us the inspiration, and since the original storyline is relatively long, we extracted the main plots. The basic story is about Tokio, son of Takumi, going back to the past and help his father realize the misleading perceptions about his family background.

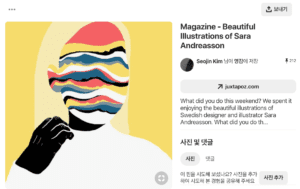
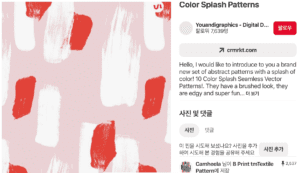
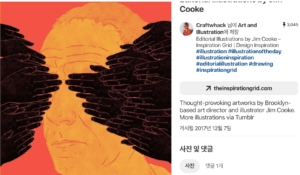
Process: As mentioned above, we first tried to extract important scenes of the story. After, In terms of the way of delivering the story, we tried to create our images abstract-which Professor Moon helped us getting inspired–and then concentrate more on illustrations and audio elements. The ‘abstract’ illustrations were inspired by some drawings that I found in ‘Pinterest’ website. 

Example of Illustration Inspiration_1
Example of Illustration Inspiration_2
Example of Illustration Inspiration_3

In terms of the division of labor, we did not have a complete distinction, but Anica focused more on the visual illustrations and I focused more on the coding.  While discussing the aesthetic parts, we decided to narrow down our color scope so that we effectively keep the gloomy ambiance throughout the project. 

When beginning the coding, I kept trying to think of which layout would best deliver the content to the users. (What kind of design would let users read easily, in other words.) One of the decisions I made was to highlight some keywords in a different color. Also since I wanted the users to feel as if the characters are talking, I added a typewriter effect to the quotes. 

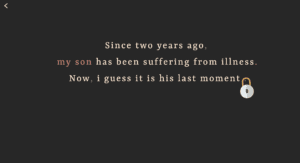
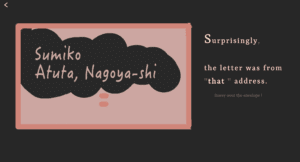
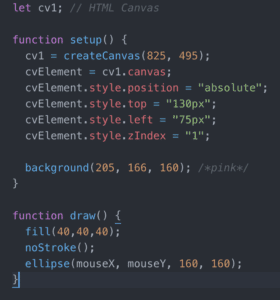
The most difficult part was definitely the interaction. First of all, it was really challenging to think of other interactions rather than merely adding the next button to each page or scrolling. Even though we still adopted the clicking method, I wanted to offer other ways that users could interact. For example, I created a ‘lock’ image button, implying that the users should unravel some questions. In addition, as the image attached below, users can hover over the envelope to see the address. In order to achieve this effect, I used p5.j. With the professor’s help, I first created another canvas and positioned it under the envelope image, by adjusting z-index and background colors. 

Lock button
When hovering over the envelope
Javascript for the envelope

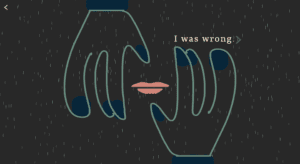
Furthermore, in the scene where Takumi realizes that he misunderstood his parents, I wanted to create rain-falling animation in the background, which could contribute to emphasizing his emotion. While doing so, I referred to this youtube video and changed a few details afterward. 

The scene including rain effect

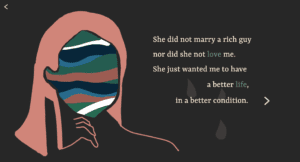
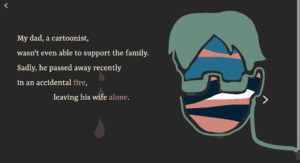
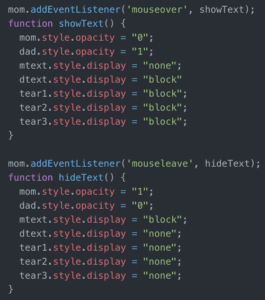
The below pictures are actually the screenshots of the one page.  Originally, they were separated into two pages. However, since we thought it would be better if the user can simply hover to see both mom and dad scenes, I used ‘mouseover’ and ‘mouseleave’ function in Javascript so that when the user hovers over mom’s image, both image and text of the mom would automatically change into those of dad.

Scene – Mom
Scene – Dad
Javascript of the above page

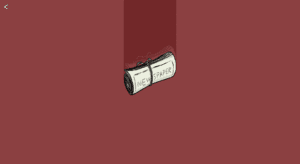
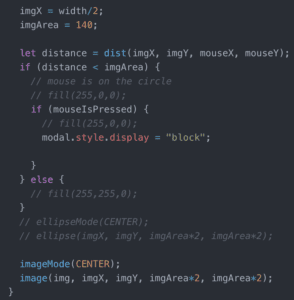
Lastly, one of the biggest things that I have learned was dealing with images in p5.js. Basically, when the page is loaded, the newspaper is falling down from the top. When Anica was trying to create an animation, we found out we need a server to load images in p5.js. So, from professor Moon, we solved the problem by creating the local server in our own laptop, using ‘terminal’. After, I tried to make the image as a button leading to the following page. I first tried a pure Javascript syntax and it definitely did not work in p5.js.  After asking for help to the professor, I learned that I need to detect whether the distance between the element and the mouse is bigger than the image’s diameter.

P5.js for the newspaper image

Reflection: One thing I really wanted to improve was the audio element as we did not manage to include it. We found out ‘autoplay’ is also prohibited for the audio, which meant we need a certain kind of interaction to play the music. In terms of time, we couldn’t create more interactions. So if time allows, I would definitely try to improve it. Also, I did not use p5.js as much as I planned to, so this is the part what I want to learn more. However, overall I am definitely happy that we made it and feel really attached not only to this project but also my other projects that helped me learn so many things throughout this semester.

Project Reflection – Madi Eberhardt

Project Reflection:  World Music Playlist 

Link: http://imanas.shanghai.nyu.edu/~mne234/FinalComLabProject/startingpage.html

A. Design

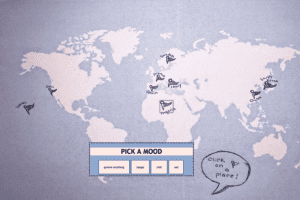
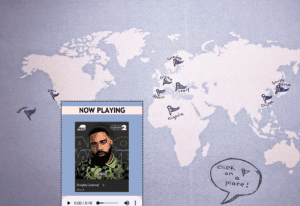
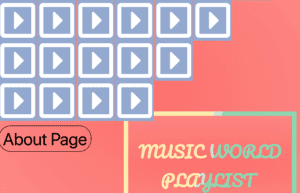
When you first open my project, there is a simple introduction page to offer quick insight into what the rest of the project will be about with a title and a start button. After clicking this start button, you will be taken to a hand-drawn/edited map of the world with specific locations marked with a flag. When you click on one of these places flags, a pop up will appear asking you about the mood you are in. Once you decide on a mood and input your answer, a song will appear in the corner and you can play it. This song will not only represent the mood you are in, but also the place and culture in which you chose before. You can pause and play the song to your liking and then begin the process again by clicking a new place to explore the music too. 

B. Process

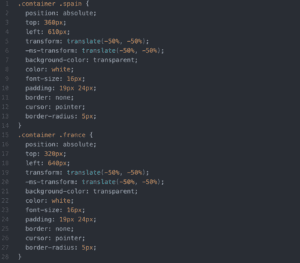
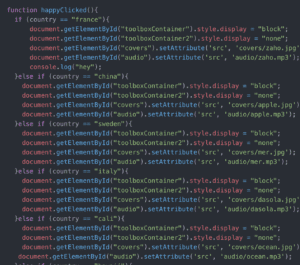
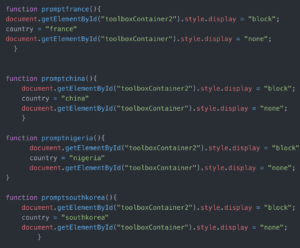
When first beginning the production of this project, there was trouble with the idea of how to simply go about it and put my ideas into reality. An interactive map that one could click and navigate through was ideally what I wanted, specifically one that I created myself. Although, my artistic skills are not the best and neither is my extensive knowledge in coding past what has been taught in class. So the project had to be critiqued in some places to make everything work. The creation of the map as an image and allowing the user to click on certain places actually worked quite well. Initially, I was worried about this aspect of the project, but was able to easily figure it out with some guidance and looking up coding techniques. The coding for the transparent buttons over the places looked like this.


One aspect that didn’t work as well was the music player pop up. With more time spent in coding, I believe this could’ve turned out in a better style and design. I had trouble making this and the mood player pop up according to the specific place (such as block and none in the coding aspect). This took a lot of time to understand. The code ended up being written like this. 

    C. Future

Given more time to complete the project, there are a few aspects I would like to add and change in order to further improve it. One of the first things I would like to change is the music player. I would like this to be more interactive with maybe more of a selection of songs (not just one per mood) that you could scroll through by album cover. In the future, I would change the overall style of the about page/introduction start page in order to apply more to how the project was more personal to me. The styles were different and didn’t cohesively match, as the critics mentioned, so this is something I would like to fix and work on in the future. For example, I should in the future make sure every aspect of the website (buttons, fonts, backgrounds, etc) all follow a similar aesthetic. Also, I would love if every capital city could be clicked on. Instead of just the selected countries I chose, I wish I could’ve had every capital in the world available for people to navigate music through.