Final Project Documentation – Ying

<NATURE IN MOTION>

<Link>

<Description>

For the final project, I will be working with Murray to create an interactive image gallery. We wanted to utilize our resources and my partner had a lot of pictures on nature. Our idea is focussing on a topic like nature and to showcase and to bring expression through images. After looking through all the images that Murray had taken. We decided to settle on five different categories: forest, mountain, beaches, sunrise, and temple.

<Process>

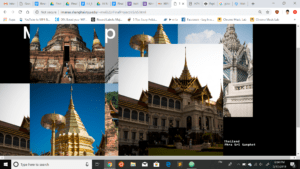
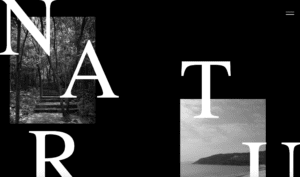
The aesthetic and the layout of our project was inspired by azab.es which I found during the research for the net-art assignment. I loved how the web creator utilizes the texts perfectly with animations and color change. The web layout is simple with black and white color. Users can move around the image as they move around the mouse cursor. When you click into the picture you will get more details about that image with texts and more images.

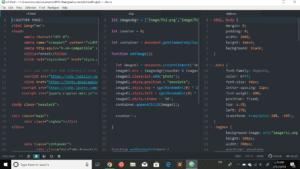
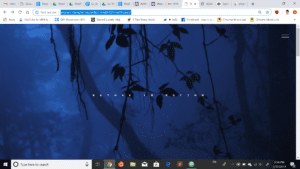
To start the process, I made the main page that began with an animated video. We found this cool short clip of blowing tree leaves from motion-places, a free online video stock that we can use for free. For convenient, I found this jQuery library called vide which allows you to plugin video as a background.

Then I wanted to introduce our five different categories. To introduce our categories, I wanted to follow the same style as my comic project with parallax. For convenient I used a jQuery library called Rellax. This allows me to control different elements at a different speed. The clickable images that will link to its own page will be fixed. The parallax effect will be assigned to the big white text, NATURE-MX throughout the page. To blend the text into the page more as a background, I added the no-select style that disables text highlight.
For the individual pages, we added the pictures which are featured on the main page at the center. On the right bottom corner, we added the location of where the picture is taken and the name of that specific picture. We added a water ripple effect to the picture whenever you click on it and move around the picture with the mouse cursor. To distribute the work equally, I suggest several tasks for my partner to complete on his part. We came up with the idea to make the individual pages like a canvas that allows us to mix-match different images of the same category. We thought that it can have an influence on emotions. These images match well because they have a similar tone in color. But the different shots of the image allows us to create a completely new image. To make the image appear we created an on click background on both sides of the main image. This allows the user to add and erase images.

<Reflection>

At the end, I wasn’t so satisfied with our result. Although the website looks nice overall, it lacks in content. To avoid this problem in the future, I should have made a thoughtful plan and having a purpose while creating a project. In regard to this project, we should have made the interaction more obvious such as adding a mouse indicator whenever it hovers to the invisible buttons. Last but not least, there is some work to improve in partnership. I felt that there is a lack of communication and collaboration. Sometimes, I felt that I took the task on my own.       


<Credits>
Vide Plugin

Parallax Plugin


Week 14: Final Project Reflection – Ruby Kim (Moon)

[Tokio]

Partner: Anica

Instructor: Moon

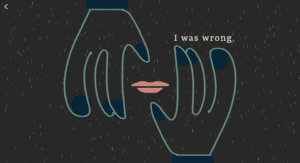
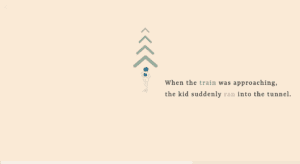
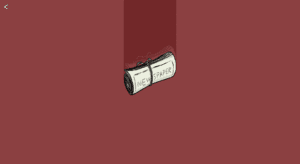
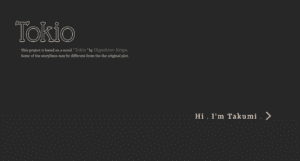
Design: The project is a website that takes users through a story of a novel ‘Tokio’ by Higashino Keigo. Based on the original plot, several storylines are altered as we tried to simplify the text and maximize the use of visual elements. The story is delivered from the perspective of Takumi-father of Tokio. Takumi recalls the memory, back in his high school when he finally discovered his true family background. Here, Tokio’s contribution is crucial as he is the one who helped his father. 

Below are the screenshots for several pages of the project.

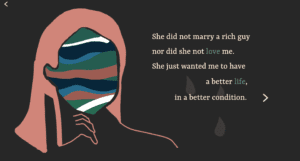
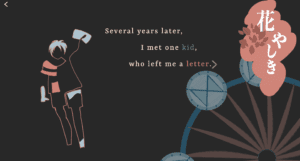
First page of the website
Screenshot of the webpage_2
Screenshot of the webpage_3
Screenshot of the webpage_4

Process: From the beginning, especially until we submitted the proposal, we did not have a concrete idea for our project. As one of the concepts of the project was an abstraction, it was challenging to extract the main scenes, but having minimal details at the same time. 

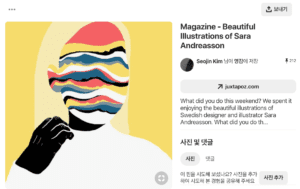
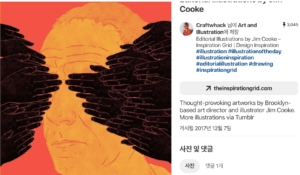
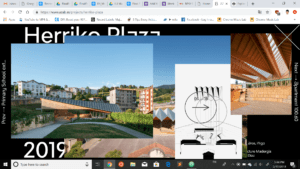
Regarding the aesthetics, we thought ‘abstract’ illustrations would perfectly fit our project. Therefore, the style of our visual elements is mostly inspired by the illustrations I found in ‘Pinterest’. Also, the advice from Dave to narrow down our color scheme helped a lot to keep the ambiance consistent.

Example of abstract Illustrations found on ‘Pinterest’_1
Example of abstract Illustrations found on ‘Pinterest’_2

In terms of coding, creating image buttons and linking those to other HTML pages was relatively easy as I have already done in previous projects. Also, when using CSS, I could see myself having a deeper understanding of ‘position’ and that helped me a lot when designing the layout.  Furthermore, regarding ‘addEventListener’ in Javascript, I also felt more comfortable using it instead of creating a function in HTML and triggering it in Javascript.

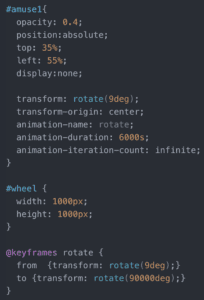
One of the struggles I went through was fixing the origin of the Ferris wheel while it is rotating. At first, it was floating around even though I applied ‘transform-origin: center’. However, in the end, I realized the problem was that I did not have the exact pixel values for the image size and the effect was applied in the ‘div’, instead of the ‘img’ tag. Thus, after I created another ‘id’, ‘wheel’, for the image and gave specific pixel values, the image rotated in its original position. 

CSS to fix the origin of the image

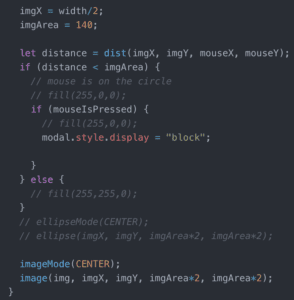
My final problem was linking the image loaded in p5.js to another HTML page.  At first, I tried a pure Javascript syntax(grabbing element and link by window.location.href) and of course it did not work in p5.js. After asking for help to the professor, I learned that I need to detect whether the distance between the element and the mouse is bigger than the image’s diameter.

P5.js for the newspaper image

If I had to work on this project again, I would change the way of interaction to scrolling, instead of clicking. In the beginning, we actually planned to implement the scrolling effect. To be specific, we wanted to let users scroll and make all the visual elements to appear in a timely manner.  However, due to the limited time and our technological skills, we decided not to change our plan into clicking. Also, more than ten pages of HTML and the animations made more difficult to implement the effect. My personal reason was since the previous projects that I have done are mainly utilizing click function, I wanted to explore different method.

During the process, I also learned the importance of ‘feasibility’ of the project. Even though we have fantastic ideas, if we do not consider how much time we have and our skill limitations, the final result would not be polished. Thus, when discussing the idea with the professor, we decided not to include some of the animations and focus more on the overall perfection of the project. 

After the presentation, we received three main critiques, which contained lack of audio elements, non-responsive layout, and several vague instructions for the users. Regarding the audio, we also wanted to include background music and several sounds that could enhance the animation effect. However, we discovered that the ‘autoplay’ function is no longer in use and must create at least one interaction to play the audio. Therefore, due to the limited time, we were not able to add at the end. Additionally, I also agree that the responsive layout would make our project more refined. During the in-class presentation and IMA show, I experienced the positions for some elements were being altered depending on the screen resolution, which again taught me the importance of flexibility of the website. Lastly, although most of the interactions were hinted by the arrow button, adding scrolling and changing the button into another image confused the users. 

Future: Taking the criticisms I received into account, I want to improve my future works by focusing on making a responsive webpage.  Also, I want to learn more about p5.js as I still do not have a complete understanding of it and thus my skill is limited. I think the final project especially taught me a lot of what I can improve and the importance of admitting my mistakes and trying to reflect them in future work.

Week 14: Final Project – Murray Lu

Project Link:

http://imanas.shanghai.nyu.edu/~mwl323/FinalProject/

Project Proposal:

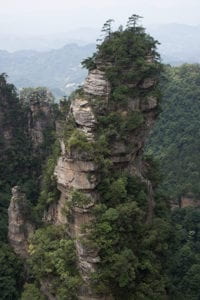
For this project we wanted to create an interactive photo gallery that would partially be inspired by Google Earth Studio and would tell us the location of the places captured in these regions. During my gap year that I did prior to NYU Shanghai, I lived in Wuhan, China by myself where I learned Chinese with other foreigners and would travel around Asia during my spare time with friends. During these travels, I went to places that I never thought I would of been able to go to when I was back in America and I ended up going to Korea, Thailand, Taiwan, Hong Kong, Macau, and many parts of China that I hadn’t been to before: Zhangjiajie, Shenzhen, Gansu, Jiangsu, and many more. Throughout these trips, I would bring my dslr camera with me to take pictures of the scenery and the people while documenting my travels and would also talk with the locals so I could learn more about their own personal experience living there and to learn more about the place’s culture. So based from this experience, I decided that I wanted to use the pictures that I’ve taken and create a interactive photo gallery that would be able to list the details and location.

Design:

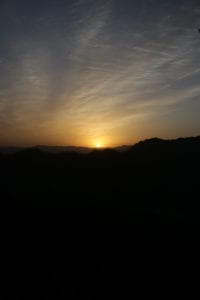
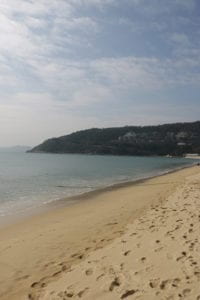
To best display the photos that I had, we decided to select photos that were related to nature so we categorized the photos into 5 segments: Forest, Beaches, Mountains, Sunrises, and Temples.The next step was to develop the aesthetic of the page. Ying found a real cool photo website called azab.es which was perfect for our project.

For this website, wherever you clicked on the screen, it would generate new photos from that area however after repetitive clicking, the website would stop generating new photos per click. I thought that it would be more interesting if the website would never stop generating new photos and perhaps play the photos through reverse which is what I did for the code.

In terms of coding, Ying created the home layout for our website while I created the buttons such as how one button would generate new photos per click while a different button would delete the photos on the screen. While the website that we used for inspiration would generate photos wherever you clicked, we wanted to differentiate our website from what we were inspired by and instead make the clicks on the screen generate the photos in random locations throughout the page.

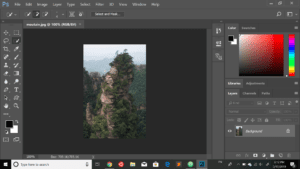
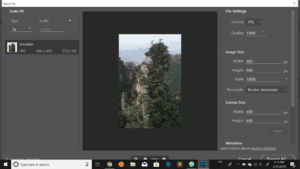
One problem that we faced in the project was the size of the photos that I was using for the project because the photos were too big and when implemented into the website, the photo would cover the entire page rather than a small portion that we were trying to get when clicking on the screen. To fix this, what I did was through Adobe Photoshop, I changed the sizing of the photos through the export settings by changing the image size and canvas size by width: 400 and height: 600 which then solved the problem.

This project was really challenging for me because for the prior projects that I did, I didn’t have a big coding role since I had never coded before but I did have a lot of experience in other aspects that could benefit the projects we did. For the audio project, I used to record and produce music and songs that I had written in my bedroom back in high school so I used by music recording and production experience to voice out my character in the project. For the video project, I had a lot of experience doing photography and handling a dslr so I used my own camera for the project instead of the dslr’s the school offered (mostly cause I was already really used to the functions on my own camera and it was more convenient since I wouldn’t need to rent a dslr every time from the school) and I used my knowledge in photography to help film the project and direct the camera angles and shots that were used. For the Final Project, I suddenly had to go back and catch up on the coding I learned in the past throughout Communication Lab and try my best to create what I could with the best of my capabilities. After pulling an all-nighter at the IMA Lab as well as getting a lot of help from friends and the lab fellows, I would able to create the buttons that would generate new photos on the screen and remove them.

Future:

Even though I grew up in an environment where everyone around was did computer science (such as my brother, my father, and most of my friends in high school), I had always struggled learning how to code and I remember taking an Intro to Computer Programming course in high school but dropped out after a week later since I struggled too much with coding. However, Communication Lab really showed me a whole new aspect of coding that I had never thought of before. I have always been a lover of art myself and prior to Comm Lab, I had never thought art and coding could come together until I had taken Communication Lab.

Communication Lab was probably one of the most enjoyable courses that I had ever taken at NYU Shanghai and because of Comm Lab, I now have a much deeper and new perspective towards coding. 

Final Project Reflection – Daisy

Link

http://imanas.shanghai.nyu.edu/~qc532/final/grey/

Design

Covering topics like data breach, cyberbullying and also computer virus, our project called “The Grey Net” aims to explore the topic of the “dark side” of the internet. The word “Grey” indicates the grey zone on the internet which the laws and regulation in the real world may not be able to cover. This project serves as an awareness-raising project which reminds people of the crimes and other negative things happening on the internet instead of just recognizing the good impact brought by the internet.

On our website, the user can explore the information of cybercrime, cyberbullying and also computer virus happened in different years using mouse hover. The whole layout and style including the index page are designed to imitate the internet environment. For example, the hex shape indicates the network and connection built on the internet, the small squares assembling together is implies the fragmental information we get from the internet. The floating sphere also serves as a similar metaphor of the internet. The information of events will not appear until hovering on the sphere also echoes our title – “invisible chaos” – which can only be seen when taking a deeper look into it.

-Final Version

Taking into account the feedback we get from the class presentation, we also added some adjustment to our project including giving credits to the source of information, adjusting the instruction position and also removing the 3d model.


Process

Looking back to the development and the final version, I think the general layout design is better than our expectation. We managed to change the texture of some specific spheres, the arrangement of the spheres and also explored the light and camera in p5. To give better visualization, I edited all the texts in photoshop with the glowing effect.

At the proposal stage, we initially tend to make a game for this topic. But when starting to build the website, I found that it’s difficult for us to write a game with p5 in 3d form.

We’ve met lots of constraints and limits with 3D in p5. Many p5 libraries are just for 2D and many things in 3D is much more complicated than in 2D. For example, to load images we need to create a geometry and attach that image as texture instead of just locate it somewhere. We’ve tried our best to make the most of the 3D features in p5 by playing a lot with 3D properties including texture, camera, perspective and different types of light. And the “class” also helped us create and modify different elements.

If I had to do it again, I would probably spend more time categorising the information I found. If I were given more time to do this project, I would try to implement our idea of making a game using more powerful libraries like three.js and A-frame.

Future

I really like the concept of “the grey net” for this project and would like to explore more in the future. Since our initial idea is to present the negative things happening on the internet as a way to raise people’s awareness, I would try to find a more effective way to visualize or present the information for further improvements.

In terms of the content, so far the number of spheres and events is limited and if we have more time we can add more into it and use different methods to convey the message. As the guests suggested during the class, for, example, I can try to categorize the events so that the users can see the type of certain issues(e.g, cyberbullying, data breach) and also the history of it. Data visualization can also be added to it to make more meaningful interactions. 

In terms of design, we can also improve that by adding more features highlighting the current position. For example, adding different colors to the sphere the user is hovering on so that they can clearly see where they are. 

Generally speaking, I think our goal for future improvements would be to find a more effective way to communicate with the user in order to achieve our goal of bringing attention and raising consciousness.

Final Project Documentation 1-Laura & Susie

Link: http://imanas.shanghai.nyu.edu/~ys3041/final/index.html

Partner: Susie

Description:

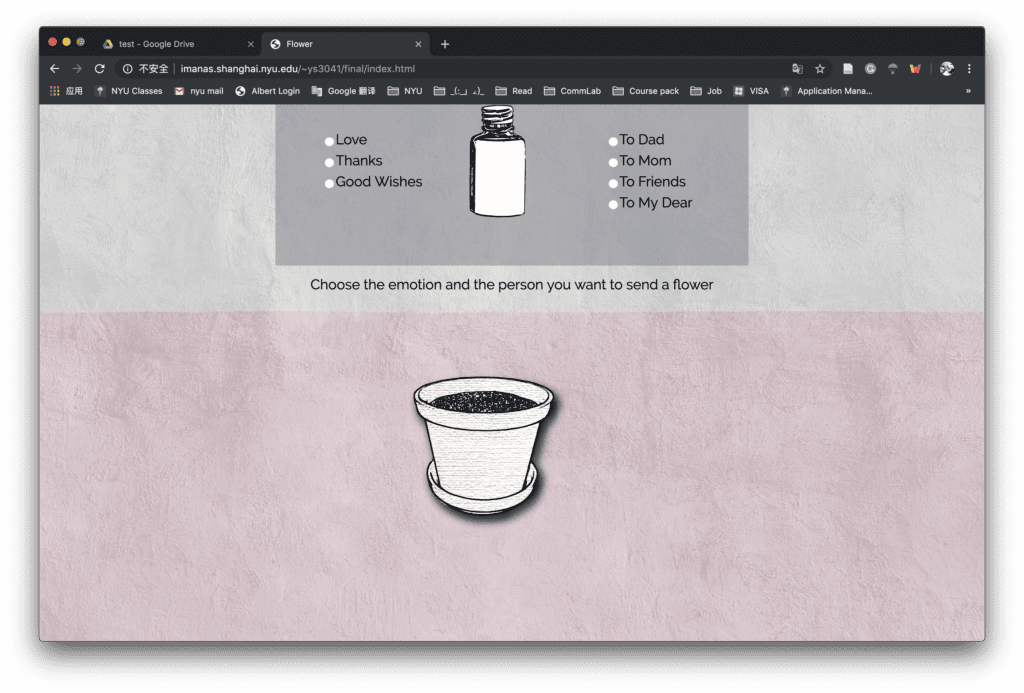
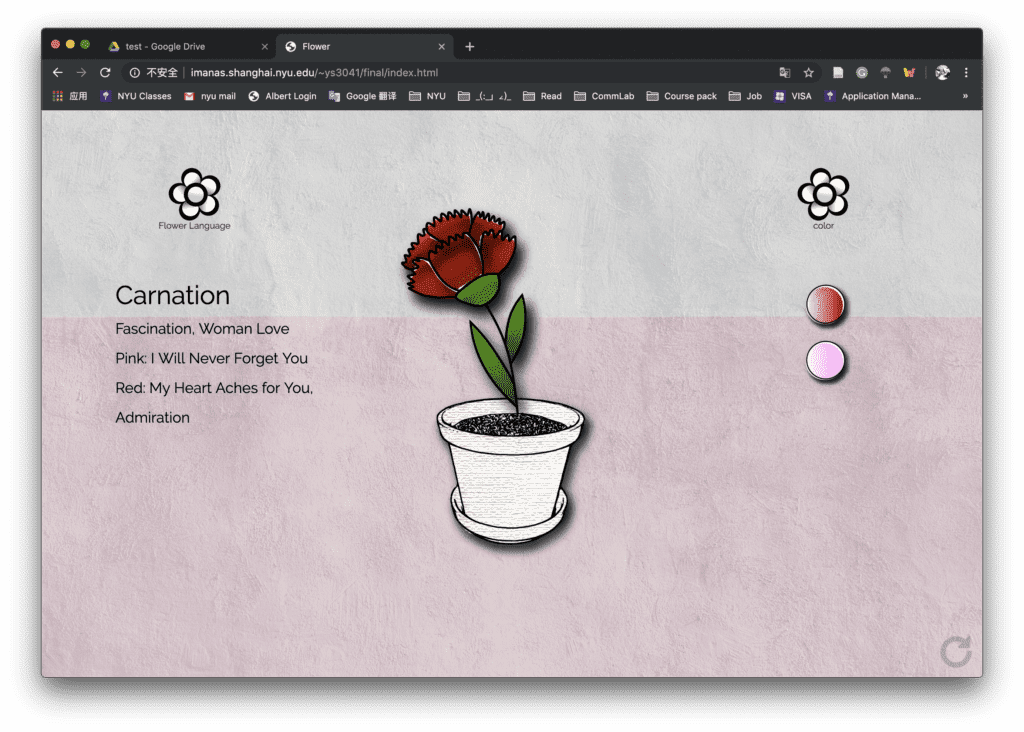
Our project is a website which the user can generate a unique flower by choosing the emotion and the specific person they want to send to. They will choose by clicking the checkbox and follow the instructions of clicking the bottle. After the flower is generated, they can open the color choices or check the meaning of the flower, or refresh to create the flower again.

Process:

We came with this idea because we want to create something related to flower and color and customizing your own flower by adding the emotions and filling the colors seems feasible. I was responsible for all the visual parts and helped Susie with the code. At first, we want to make the color filling on every petal and small parts so that each flower can be different and unique. I first did some research on the p5 drawing and found some functions like curvevertex. I tried to load the original image first and draw the stroke based on those images. However, since we related flowers with their specific meanings, the flowers have to be more distinct and based on some real-world models. In this case, the curvevertex may not achieve this goal as it requires a lot of work on recording the points on each petal if we want to make it more natural and delicate. I also tried Bézier Curves but it can only draw ellipse-based curve which might not imitate the flower naturally and successfully.

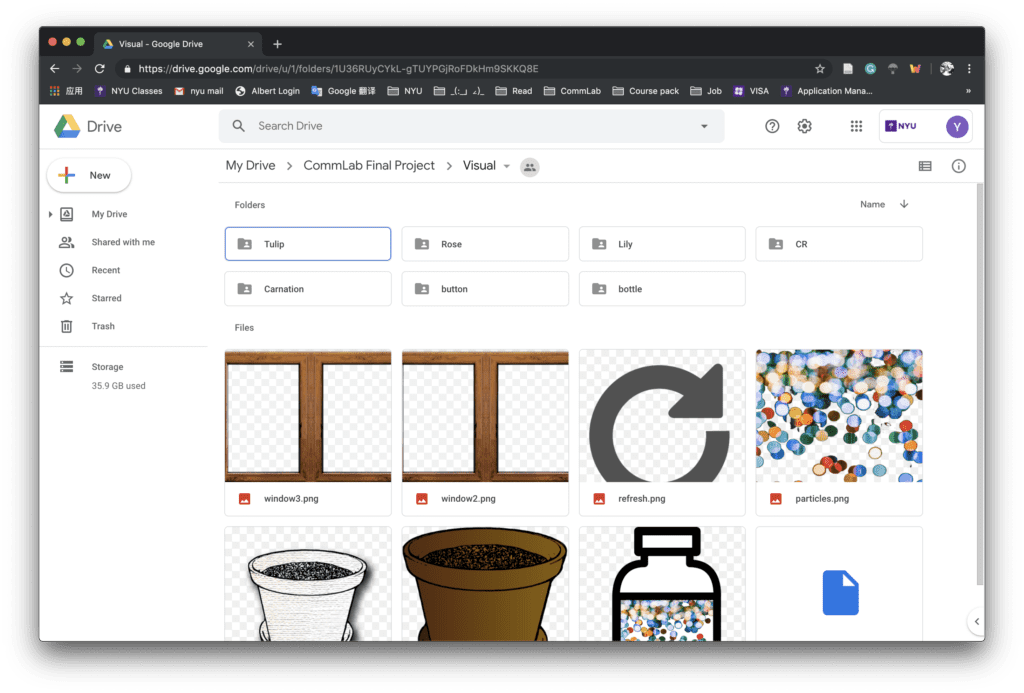
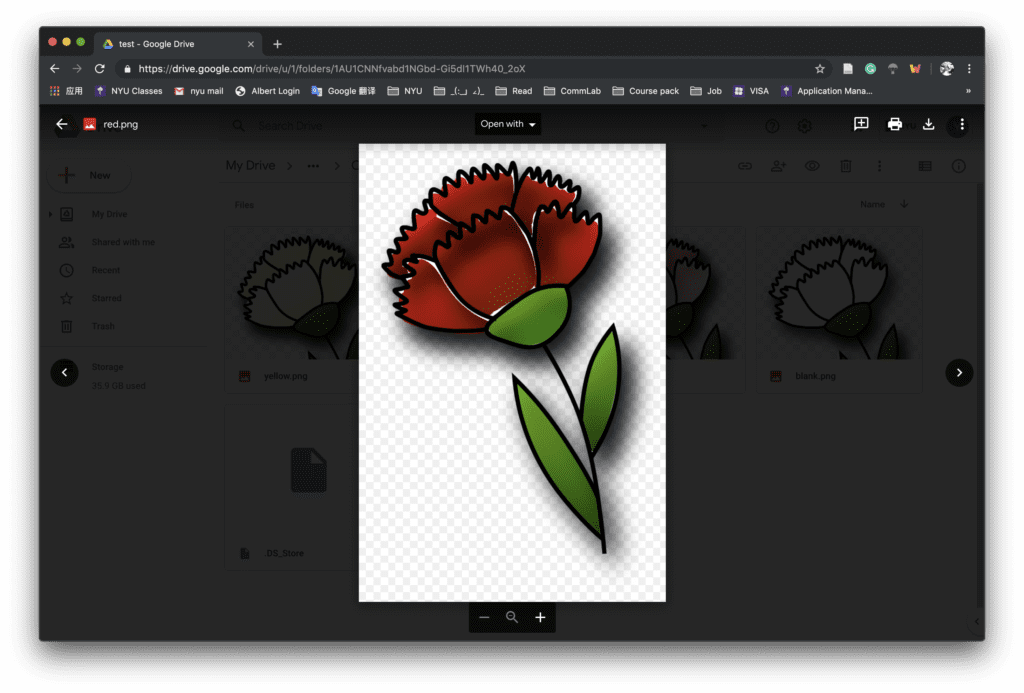
Therefore, we choose to draw the flowers in the illustrator which is also easier to make adjustment in the later stages. I added different layout and exported all the combination of colors and flower petals for preparation.

While I was painting in the Illustrator, I explored some different brushes and ways to stylize the images. Inspired by the professor, I also found ways to make the picture less stiff and bored, we can totally add some artistic effects and details intentionally to make it more vivid. So the final design of the flower is more hand-painting and comic style. I also add the shadow effect to all the elements to make them more solid after we change the original background-selecting idea and use textures as the background. 

When we come to the coding part, we met some problems deciding the way of filling the color. One problem is that we can’t confirm the position of each petal to constitute a complete flower. Although we tried different positions and divs, they didn’t work very well. Due to time limitation, we decided to change the whole color of the flower instead which will be more stable for the project.

As for the layouts, at first, we want to place the flower pot on the window sill and change the outside view through mouse scrolling right and left. After I draw the images of the flowerpot and put all the design into the webpage, we found the background is a little bit distracting to the whole visual experience, which is also suggested by the professor that it’s better to eliminate the elements and only emphasize one point at a time. Since we already two functions of choosing the color and flower language, changing the background is indeed difficult to match the whole style and design. So we move the background selecting part and only focus on the main object of flower and two functions.

When writing our code to realize the function of select one emotion and one person to generate the corresponding flower, we spent a lot of time struggle with the value that we get from the checkbox, which later turns to be more efficient using the array and the radio checkbox.  The rotation of the bottle is realized by the keyframe function in CSS and I also added the hover effect to the selection button to signal the user to click them.

The  final version of the project is shown below:

Reflections:

We make many adjustments in our process of this project but we also explore much on different ideas, layout designs, and coding.

We also received a lot of feedback for future improvements. For the design of the website,  a good and important suggestion is the choices of texture. Although we explore different styles and backgrounds for several times, there is still some inconsistency in the texture, which is a direct effect on the user’s visual experience.  We may want to change the style of the two buttons related to color and flower language to make them more coherent.

Other improvements may be a further development on the interaction. The choosing color part, as we wrote in the proposal, can be further developed into the palette and enable the user to select more patterns. We may also want to add the share choice at the end or just add the screenshot hint.

Overall, Susie and I made a lot of effort on the project and we’re happy to finish it within a limited time. We’ll still work on the suggestions and explore more approaches and possibilities of this project.

Credits: 

Background image and bottle references:

https://unsplash.com/photos/P8XV99FyzCk

https://pixabay.com/vectors/bottle-jar-pills-medicine-954645/