MLNI Midterm Project – Alex Wang

For my midterm project I decided to create a interactive game with a focus on sound and pitch recognition using the ml5 crepe model.

Inspiration:

There have already been multiple games on the market that utilizes audio as opposed to normal mouse/keyboard interaction.

don’t stop eighth note

utilizes the amplitude of the sound as the control for a platformer game

Image result for don't stop eighth note

Yousician/Rocksmith

utilizes pitch recognition to learn musical instrument

Image result for yousician

Twitch Sings

utilizes pitch recognition to score singing in real time for streaming purposes

Image result for twitch singsApplication of this Project/Why I chose this Topic:

Perfect Pitch/ Ear Training

Interactive games are the best way to train skills in a fun and interactive way, keeps the user more engaged and also gives realtime feedback on performance. Visual aspects of the game also gives the player more information and helps with the learning process.

Entertainment

A game that does not require traditional mouse/keyboard interaction is really fun to play because the traditional interactions are not natural to the human touch and takes away the fun. Which is why playing on an actual instrument as the controller, or even using your voice can get rid of the barrier of bad controls and get the player in the mood of the game.

I decided to give this game a little spooky feeling because it fits really well with the discord and harmony element of music. A intense mood for the game can also enhance the immersiveness of the overall experience,  also because halloween is coming up at the time of this projects deadline.

Final Product Demo Video:

Development Process:

Setting up the pitch recognition system:

The first part of the Process is to set up the  pitch recognition system, this process includes the importing of the ml5 crepe model. After crepe is set up, it accurately returns the frequency of mic input. But since it only returns frequency value, I have to convert frequency value to note value. This is achieved by using modulus% , I modulus the frequency by the base values of the note and if the modulus value is very low, then it means the frequency value is very close to a multiple of the base note frequency.
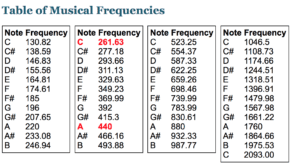
for example the low frequency of the note C is 261.63, the C on the higher octave will be 261.63*2 and so on. So by using the modulus% we can find the remainder of the division process and decide whether the frequency corresponds to a note.

Filtering the ML output to increase accuracy and stability:

there is a problem with detecting pitch due to the affect of harmonic overtones, where when you play one note, a higher resonation of another note will also be present in the frequencies. The pitch detection model sometimes gets confused by that so I have to set up filters to make sure the recognition is accurate.

First Filter: accepting frequency range of +- 10 hz

first I added a filter of only detecting pitch that is within 10hz range of the expected note. For example if frequency%noteexpectedfrequency <= 10, then the frequency is accepted as that note. This enhances the performance of the game though it is not as forgiving for out of tune instruments or singing.

Second Filter:  Only registering notes when it remains a certain frame count

The second protection procedure I took is to only register the note as being played by the player when it is played for more than a few frame counts. This way small flickers in the frequencies detected will not affect the series of notes being detected. 

Third Filter: Trigger when detected amplitude exceeds threshold

The level of volume can be detected without using the machine learning library, and could be used at the same time along with pitch detection. By setting the threshold of registering sound, we can be sure whether a sound is meant to be played, or just something that is picked up by the surroundings.

Sound Designing/Ambient Sound/Background Music:

when I am creating the sounds that are used in this project, I payed a lot of attention to the details of the feeling of the game. I named the project “Discord” and I really want to highlight the emotions that sound can bring to the project.

Lead melody sound:

I created this flute like sound by layering 3 different flute like sounds at multiple different octaves. Then I processed them with a equalizer and reverb to change the texture of the sound.

ambient sound and sound effects:

I decided to use an ambient eerie sound in the background to add to the mood of the game. I also included multiple sound effects that triggers upon certain actions in the game. breathing and percussive sounds get louder as the hp of the player goes down to add to the tension, giving players the pressure to play correctly.

I also experienced a lot with harmony and discord, making the winning music and losing music the same melody but one with harmony and one with discord

Harmony:

Discord:

Game Structure:

I designed the game with multiple levels, scaling in difficulty. An HP system so that the player can feel nervous when playing the wrong notes, clearing a level restores small amount of health to make gameplay smoother and more sustainable.

I also implemented a menu page and win/lose page each with its own background music that fits the overall theme of the project.

Attribution:

background music:

menu – Hellgirl Futakomori OST – Shoujo no Uta

win/lose page – Jinkan Jigoku – Anti General
MLNI midterm Project (Shenshen Lei)

Shenshen Lei (sl6899)

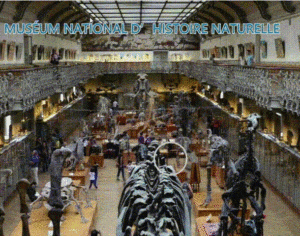
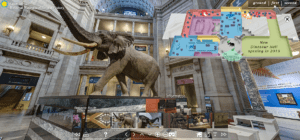
For the midterm project, I intended to create a museum viewer imitating 3d effect. After researching on the current online museum, I have found that there are mostly two types of online museum viewing interaction: the first is by clicking the mouse, which is discontinuous, and the second is using the gravity sensor on the mobile phone, which asks the user to turn around constantly.

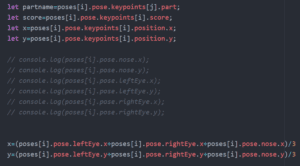
In my project, I want the user to have an immersive and continuous experience of viewing online museum without busy clicking and drugging the screen. To mimic an immersive experience, I used Postnet (the Posenet reacts faster than Bodypix) to track the position of the user’s eyes and the nose. These three-point form a triangle that can move when facing different directions. The coordination of the background picture move following the position of the triangle. In this process, one thing bothered me is that the user’s movement caught by the camera is mirror side, so I have to change the x-coordinate by using the width of canvas to subtract detected x. I calculated the coordinate of the centroid of the face triangle so I could use one pair of variables rather than six.

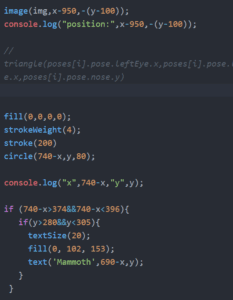
To show the position of detected face, I drew a circle without filing color. Also, I added a function that when the circle of gaze moved on to the staff, the name of the thing will display in the circle. (While I  initially believed that the circle can imply the users of the viewing process, but it seems confusing sometime.)

So my current project works as the following gif:

After presented my project to the class and guests, I have received many valuable suggestions. For the future improvement of my project, I will make some changes.


Firstly, with the suggestion from the professor, I will use the ratio of sides of the triangle rather than calculating the centroid, because using the vector as the variable will save the moving distance of the user. And that will also smooth the moving of the background picture. It may also improve the immersive experience from changing coordinate to changing viewing angles, as suggested by my classmates. Another thing is that I will add a zoom-in function that when the user moves closer to that camera, the picture will turn bigger. The method to solve it is to measure the distance of the user’s two eyes detected by a computer camera. Finally, for the instruction part, I will add a signal before the item introductions jump out. For example, when the camera detects the user’s hand and then will show the introduction in a few seconds.. I was inspired by Brandon’s projects for employing the voice commands, but the accuracy of voice command should be tested. There will be more thoughts on improving the user experience of my project. I am considering to keep on working on the project and show a more complete version in the final project.


Thanks to all the teachers and assistances and classmates who helped me or gave out advice on my project.

MLNI Midterm Jessica Chon

Project

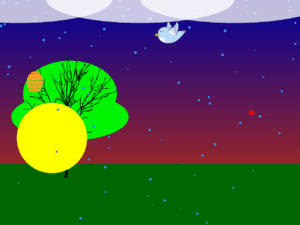
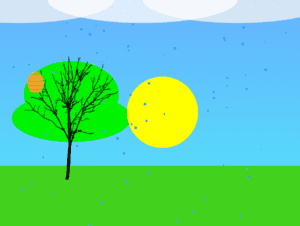
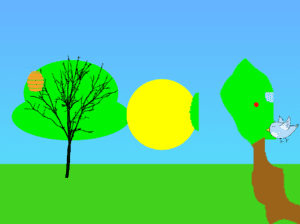
For my midterm, I wanted to make an interactive landscape where users can manipulate the time of day, weather, season, and animals/insects using their body.

Controls

  • Sunrise/sunset– head position on either the left or right side of the screen
  • Bird & beehive– hands and arms; when raised, the right arm becomes smoke that gets rid of the beehive and the left arm becomes a tree which the bird flies to
  • Rain and clouds– raising either of the arms makes the rain and clouds disappear
  • Winter– cross your arms across the chest makes the screen change to a winter scenery.


A link to the video demonstration can be found here

Inspiration & Process

The inspiration for this project came from a previous homework, where I had a much more basic version of this project. The initial project was just that when you raised your arms, your body would change colors to look similar to either tree or blend in with the environment. 

I used bodypix for this project to track the body movements of a user to manipulate the environment. In terms of coding, the way I created the functions listed above was closely related to designating the position of certain body parts, finding the center average area of the hands, and turning on/off functions with many if/else statements. Continue reading “MLNI Midterm Jessica Chon”

MLNI – Midterm Project (Wei Wang)

The Concept

For the midterm project, I looked at the concept of social labels. Nowadays, people are overly influenced by the social labels that are passively thrown on themselves. And sometimes even those labels with positive labels would be a burden that push people to shift their behavior in order to match the mode of labels, therefore, have no chance of respite to see the true self.  For this project, I want to enable people to physically get rid of the labels by pushing the texts on the screen with their hand. And once the labels get pushed out of the scree, real figure of the person in front of the camera will show up. I would use Chinese Characters with the meaning of “optimistic”, “pessimistic”, “lazy”,  to get the visual more organized with fixed length of words.

Continue reading “MLNI – Midterm Project (Wei Wang)”

MLNI – Midterm Project (Cherry Cai)

Balance Between Nature and Human

  • Project Demo

I want to explore the balance between human society and nature. This concept is inspired by Zhengbo, an artist committed to human and multispecies equality, who recently exhibited his project Goldenrod in our Gallery. I want to use the machine learning model to simulating a project that can be able to raise people’s attention to protecting the environment.

For the interface, I was inspired by the project called Transcending Boundaries by Teamlab. By projecting the flowers and other natural elements on the human body, it is not only beautiful to look at but also interactive.

  • Machine Learning Model

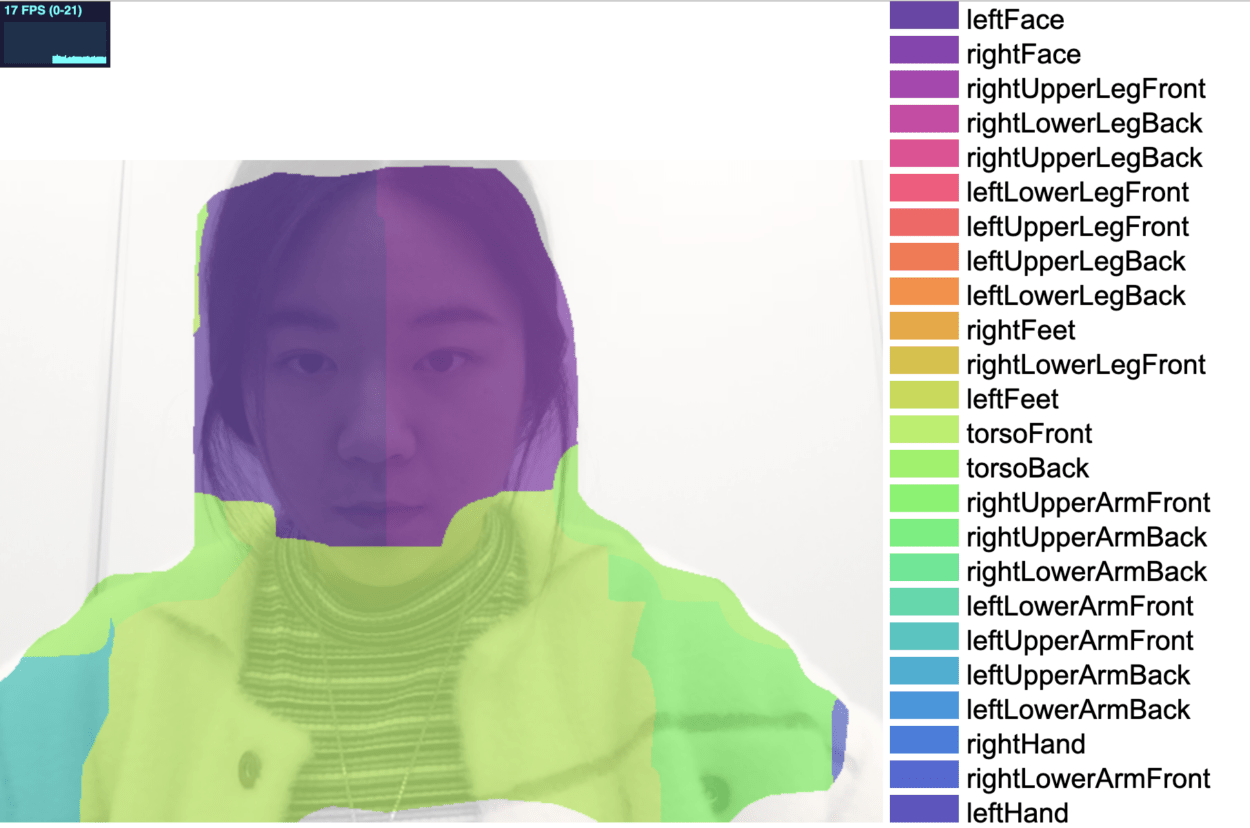
The machine learning model I used is bodyPix. Since bodyPix is Real-time Person Segmentation in the Browser, it allows me to separate the different segments of the body and applied my idea of revealing the importance of keeping a balance between humans and nature. The body segments I used include: the leftFace (id: 0); the rightFace(id: 1); and the torsoFront (id: 12). 

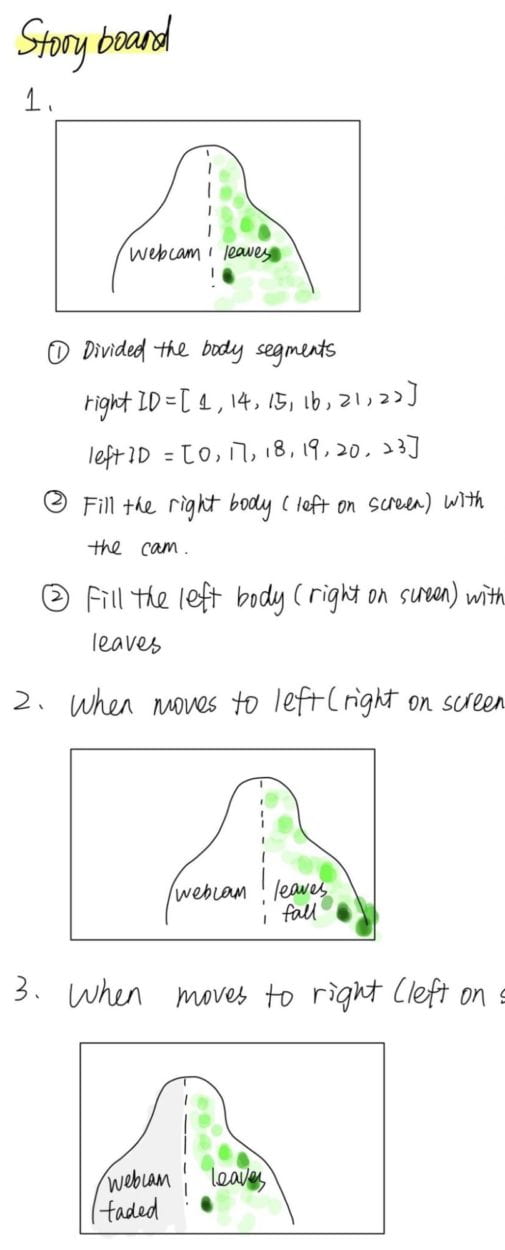
  • Storyboard

Before initiating this project, I draw a storyboard. To imitate the human side, I first decided to use the real-time camera image from the webcam. For the nature side, I decided to use different ellipse to imitate the leaves.

The interaction embedded in this project is simple. The interface will change accordingly to the position of the user while different effects will be triggered as the user reached a certain position. 

  • Coding
    1. Hiding the background

In order to track the different segments of the human body, I needed to use

bodypix.segmentWithParts(gotResults, options);

However, it was not able to apply a maskbackgroud to this model. Alternatively, I added with an if statement so that only the needed segments will be displayed, otherwise, a white background will be added.

if (data[index] != 1 && data[index] != 0 && data[index] != 12) {
   img.pixels[colorIndex + 0] = 255;
   img.pixels[colorIndex + 1] = 255;
   img.pixels[colorIndex + 2] = 255;
   img.pixels[colorIndex + 3] = 0;
}

  2.  Speed

As more and more elements added to the project, the speed of detecting the movement was slow down. After I discussed with Moon, I did the following manipulation to my code. 

First, I was calling the machine learning model in the draw function, so that the machine learning model was run every second when drawing the new interface. To call the machine learning model just once, I put it in the gotResult function and the project speeded up a lot.

Second, I reduce the resolution of the image by adding a scale. 

video.size(width/scaling, height/scaling);
img = createImage(width/scaling, height/scaling);

 After these effective manipulations, the project is much more smooth and improved the user experience.

3. Separated the torso

Since the model cannot detect the left and right side of the body, I need to separate the body by tracking the minimal x position of the left face and applied to the torso. 

I first create an empty array called posXs = [ ]. After running the machine learning model, I pushed all the x position of the left face into this array. Then I find the minimum value within this array and applied to the torso. To limited the length, I also wrote an if statement to splice the first data in the list when the length reaches the limit of 80. 

if (posXs.length < 80) {
posXs.push(x);
} else {
posXs.splice(0, 1);
posXs.push(x);
}

  4. Pixelization

After realizing the concept of this project, I reconsidered the interface since using the webcam seems a little bit inconsistent and distractive. 

After inspiring by peers and Moon, I decided to capture the color from the webcam and with it for doing some pixel manipulation. I created another class for the human side and used the color from the video.

let face = new Face(mappedX,mappedY);
    r = video.pixels[colorIndex + 0];
    g = video.pixels[colorIndex + 1];
    b = video.pixels[colorIndex + 2];
    face.changeColor(r,g,b);
    faces.push( face );
  • Reflection

Overall, I think the final deliverable meets my expectation and the interaction is intuitive and easy to be understood. For future improvement, I think I will probably add more elements to imitate nature, at the same time, make the human side more realistic. More movement can be added into this project to trigger more effects in the future.