MLNI – Body Flow (Billy Zou)

Body Flow

This week I developed a generative animation program utilizing BodyPix in ml5.js and p5.js.
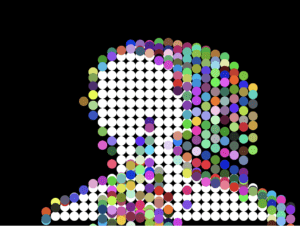
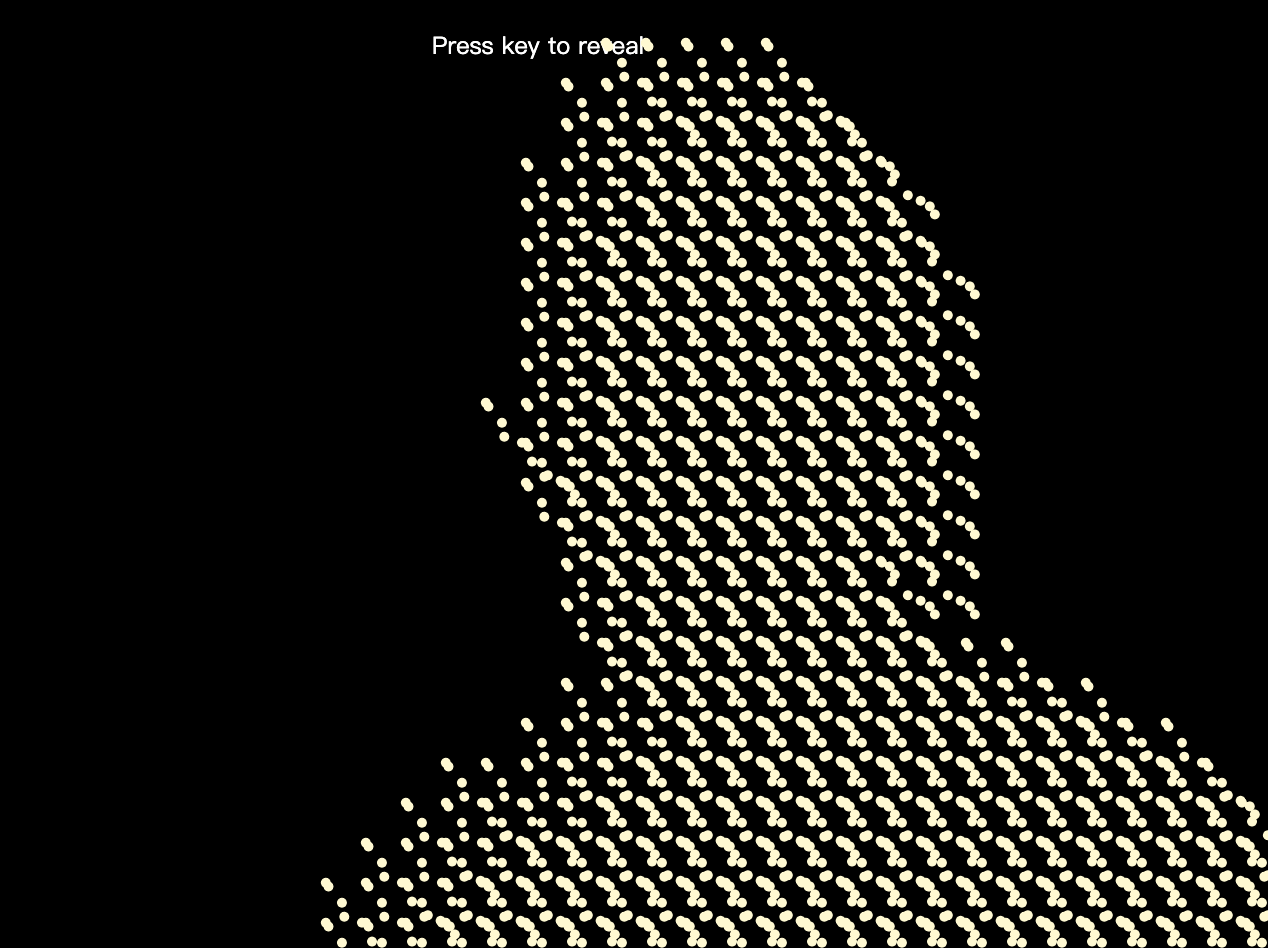
Basically it reads data from BodyPix and stored points contained by the body. To improve performance, I chose grids of 20 pixels. It will draw white circles in areas covered by the body detected. If a circle area was covered by body in the previous frame but not the current frame, a falling circle of random color will be generated. In short, if you move fast in front of the camera, abundant colorful circles will appear on the screen. Also if the area covered by body is large enough, the canvas will be magnified.

Store BodyFix data

I created some classes to store the results. Instead of using a global variable to constantly track results from the model, I directly store the data into an instance of my class.

Here class BodyMap is a singleton, quite similar to the global variable in the class example. It can draw white circles representing the body, and at the same time keep track of changes of the body.  Every time it finishing updating the data, it will compute the ratio between body covered area and the uncovered area. If the index is large, a CSS transform: scale(n); attribute will be added.

Difference between sequential frames

A grid has a boolean attribute active . If the attribute is previously true and currently false, a colorful particle is generated. It will also draw a white circle to represent areas covered by body.

An array of particles is stored in a grid object. The way to clean particles is also very simple. Just check whether a particle’s y-position is larger than the canvas height.

Colorful particles

This is a very simple class. I used a constant number to simulate the gravity.

In practice, since I did not directly modify pixels of image, the rendering process is a little slow. That is the reason why I chose 20 as grid size.

Conclusion 

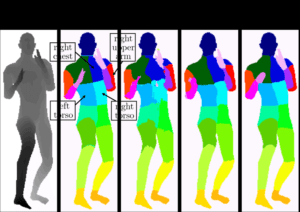
BodyPix is a very powerful tool. I found apart from drawing the whole body, it can also recognize different parts of the body. I think this is a useful feature to develop something interesting. I will learn more about it and maybe utilize it in my midterm project.
MLNI Week 5 HW Tiger Li

To complete this assignment I had to completely understand what the demonstration code was doing. 

To decipher the parts of the code I don’t understand I had to resort to the fellows at the IMA lab. 

The main part, I did not understand about the body pix code was how the rectangles were displayed not by the X and Y value of the canvas but by the index generated from body pix using the camera. 

After figuring that out I was able to brainstorm more ideas on how to make an interesting game based on it. 

As I played around more with the code, I realized that the white rectangles from the original code over a black background are almost like a mouse cursor moving on a black screen. That’s when I had the idea of making a “searching “game.

The goal of the game is to let the users find a red dot using their hands. 

MLNI: Week 5 Interactive Portraiture – Samantha Cui

For this week’s homework, I used bodyPix in p5 and created a project called “light”.

My idea for this project was, first, it would start off with a black background with nothing, once someone yelled, the background would suddenly appear in a yellow color and a hundred ellipses will show the shadow of the user. I was inspired by the sound control lamps I have in the hallways of my house. It was a common thing in our neighborhood were people just yell “a…” instead of clapping their hand to turn on the light. I thought it was very interesting.    

Through programming, I found that this was not an easy task because the audio input is very strict on using a local internet browser. It didn’ t work no matter how I tried. In the end, I had to change the interaction from audio to pressing a key. Since my plan failed to use a mic audio input, I thought I would just switch the background into continuing black and just change the color of the ellipse.   

Link to code

Week 5: Interactive Portriture – Eszter Vigh

Week 5 I was inspired by the style of the in class code and decided to cycle through the symbols on my keyboard, also experimenting with Chinese characters to see if they also work within the symbols. 

Body Pix

Using BodyPix is really interesting since you have to think about all the body parts as segments as opposed to X,Y coordinates. In my case I made a right hand wave yield one result and a left hand wave to yield another. There was also a base state with the symbols. 

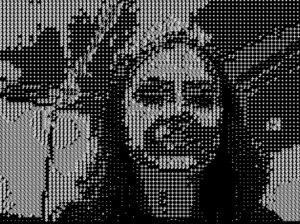
base

The base state is the same as in the class example.

Interesting Error to Note here is that when launching heavy files in the draw function, atom-live-server will actually crash! It’s kind of terrifying because the camera will work live, but the console will be blank regardless of console.log. 

Final Product:

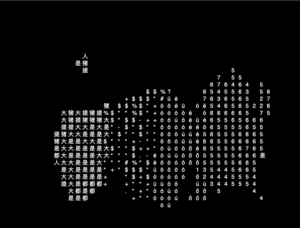
final

What this is… 4 separate character sets are used to represent the lightness and darkness of the image. The detection is the two sides of the face, and the left and right hand. It preserves the entire theme and feeling of the original sample while also conveying the bodypix abilities.

Interesting things I learned: 

  • Putting the function outside of draw makes the actually identification of images faster, however drawing lags behind as the image is not updated frame by frame.
  • Putting the functions in draw makes the updating/realization of changed information slower, but the drawing of the image is faster, which is what the user sees. 
  • I also made the grid size larger to make the text more clear (especially the characters) 

MLNI Week 5 Interactive Portraiture HW (Jessica Chon)

Summary

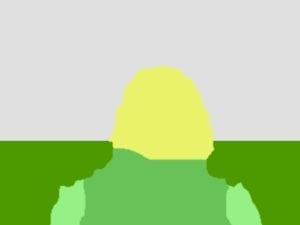
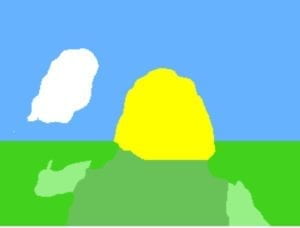
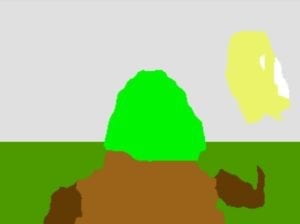
For this assignment I decided to go back to one of my earlier homeworks and revamp it to make it more interactive. The portraiture is the user who blends in as part of nature. The head is supposed to be the sun, and the rest of the body is supposed to symbolize bushes. If the user raises their right hand, the hand turns into a cloud, the sun gets brighter, and the rest of the environment also. If the user raises the left hand, then the hand becomes the new sun and the rest of the body changes into a tree. 


Process

Initially, what I had in mind was for the image to look like it’s raining and then the rain would stop if the user raised their left hand. However, I found that I was really enjoying changing the color and my friends who tried using my homework also had more fun seeing the color changes. 

Regarding how I changed the colors, I wrote code that said if the camera detects a certain  body part and if that body part is in a certain area within the screen, then change the colors. My code itself was just a lot of if, else statements and creating variables. 

Reflection

I didn’t really have as much difficulty with this assignment compared to previous assignments. Rather, I still need more clarification on what the specific coding means such as what the segmentation and threshold does. But I did receive more clarification after having an office hour with Professor Moon and I will continue to do more research on my own time.