Louis Veazey – Kinetic Light Final Project – The Light of Hypnosis

Project Description

For this project, I really wanted to move away from what many of my classmates used, such as the LED strips, and work on a piece that uses light and shadows. From the beginning stages of my ideation, I wanted to work with the DMX lights to create interesting patterns of color, light, and shadows. Additionally, as we had to incorporate some form of movement into our projects, for example by using a servo motor, I really wanted to implement circular motion into my project, by either using a stepper motor or a DC motor. 

To start I conducted a bit of research into past works by world renown modern and kinetic artists, and I found my original inspiration Olafur Eliasson’s and Willem Van Weegel’s usage of circular motion and how what the audience sees changes as the artwork moves,  presenting ‘new’ pieces of art each time the artwork moves or shifts one way or another. Thus for my first proposal, I wanted to create a piece that had a rotating canvas in the middle, painted completely black, along with several black strips hanging loosely along the outer edge of the canvas free to rotate and move as the canvas rotates.
Perspective and Context

As I mentioned in the last section, I was heavily influenced by Eliasson and Van Weegel’s kinetic artworks. The circular rotation and the free moving strips were both inspired by some of their previous works, and as I was researching many different kinetic artists, what they had created was what really gave me my Eureka moment. Both Van Weegel and Eliasson’s usage of movement, and particularly Eliasson’s usage of light contributed a lot as well. These two artists inspired more of the tangible parts of my project, the rotating canvas and the free moving strips.

For the more intangible parts – the lights, shadows, and colors – I wanted to make use of the DMX lights and really use what we learned at the beginning of the semester about color theory. By having 3 different DMX lights shining at the canvas from different angles, and as each light’s brightness changes, there would be different sets of shadows and color shadows appearing either on the canvas itself or behind the canvas onto what the canvas would be set on (in earlier stages I was hoping for a wall, at the end we placed the canvas on a wood board). I was hoping this would create many different interesting patterns, especially in the background behind the canvas.

Development and Technical Implementation

Stage 1: At the beginning, I planned to have a canvas painted completely black with black strips along the outer edge. Thus I got to work on coding for the DMX lights and spent a few hours working on different patterns of light and colors and fading them in and out to see what kind of resulting color combinations I would get. I ended up with a few combinations such as yellow, blue, green, the classic red, green, blue, and a couple of others.

Stage 2: After receiving my canvas in the mail, the first one I received was broken, so I had to re-order a second one. However, I still made use of the first canvas and painted one half of the canvas black to see what it would look like when painted black. I did like this design at first, but upon seeing it multiple times, I thought that a completely black canvas would be a bit boring, almost as if there was something missing that could be there with a different design. So I asked the professor for his opinion on changing the design to something else, something similar to François Morellet’s artworks. I thought that this design would be much more interesting, particularly as different colors change the white areas of the painting, and the color shadows would show other colored lines on the canvas as well. I ended up deciding to use something similar to the far-left painting of Morellet’s, and changing it a bit to fit more with the kind of design that I would like to have.

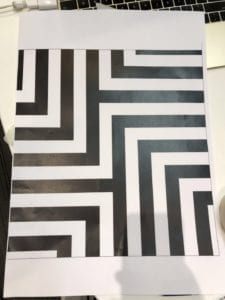
Stage 3: So I went into Adobe Illustrator and created a mock-up of what I would like to create, and this is what I came up with. I thought that this fit perfectly with what I was trying to do and quickly got to work on painting the newly arrived, unbroken canvas. I used tape to cover up the areas that I would like to leave as white and left the areas to be black uncovered. I used regular black spray paint in the garden area outside the canvas and ended up with exactly what I imagined.
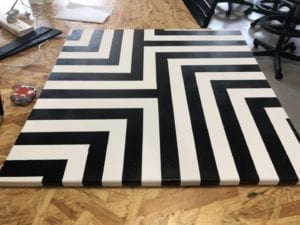
Stage 4: Then I got to work on implementing the strips that would be along the outside edge of the canvas. I decided that I would laser cut the strips using a 3mm MDF board, and then paint each of these with the same black spray paint to maintain the white and black aesthetic. After laser cutting, and painting, the strips looked like this on top of the canvas. I used a screw to hold each of the strips in the place where you see them in the picture and kept it loose enough so the strips can move about on its own as the canvas rotates. 
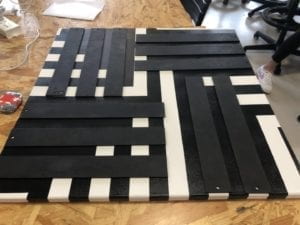
Stage 5: Afterwards, I got to work on connecting the canvas to the stepper motor itself, and how to keep the motor in place when setting the entire piece on the wall. For this, I also used 3mm MDF and laser cut multiple different pieces to put it all together.

In this picture, though it is hard to see, the two strips on the far left and bottom of the picture are part of what the held the shaft of the stepper motor to the canvas. I drilled a hole into the center of the back of the canvas (the beam that runs along the middle of the frame of the canvas) and used the two strips with holes in the middle to provide additional support by hot gluing the strips onto the beam so the holes lined up perfectly to hold the shaft. The two square pieces on the right with a square hole in the middle, along with the identical pieces below were what I used to hold part of the stepper motor. Plus the large piece in the center of the picture above, which held part of the stepper motor and was to hold the entire piece on the wall. The smaller squares were hot glued together and onto the large piece and the stepper motor went into the smaller center square.
After putting it all together and attaching the canvas onto the shaft, I moved onto implementing the artwork onto the wall with the help of my professor.

Stage 6: We learned that we couldn’t drill into the wall on campus, and since it would be hard to install it to the wall without screws, professor and I decided that we would use a large wooden board to install the piece, and then place the large board onto an easel, which would be much easier to move around and install for the final IMA show. However, since I needed the canvas to lean slightly forward to keep the outer strips from hitting one another too much, I had to fabricate something to hold the wooden board forward without letting it fall over. I decided to laser cut this: From the right edge of the middle square in the left to the right edge is approximately 48 cm which allowed the large wooden board to lean forward enough to keep the strips from hitting one another. The small square on the left was installed onto the back beam of the easel and the right side of the laser cut ‘board holder’ was screwed into the top of the large wooden board. After placing it all together onto the canvas, and letting the motor run its code, it looked like this.

The stepper motor’s wire ran over the top of the large wooden board, as we weren’t allowed to drill through the board itself, and I had my breadboard and Arduino set up on the easel behind the board, out of sight.

At this point the set up was complete.  The canvas was falling off of the stepper motor a bit, so I used some hot glue to attach it a bit better and left it for the night for the final presentation.

Github Link for DMX and Stepper Code: https://gist.github.com/veazeylt/ecfda6ce8b3290b7390e7130b95b312d

Presentation

For the classroom presentation, I used the same set up as in the previous picture and used the 3 DMX lights to project from different heights and angles towards the canvas. Unfortunately, I don’t have any photos or videos from the in-class presentation. The audience liked the spinning canvas and the strips along the outside – at one point one of the strips got caught on a screw and flung around violently and that got a reaction out of the audience. However, the different colored lights didn’t work out as well as I had hoped, and upon suggestion by the professor, for the IMA show I decided that I would use one light to illuminate the canvas, kind of like a spotlight, making even more use of the white and black aesthetic through single color shadows. The stepper motor’s wire was also a point of criticism, and the professor explained that since we can’t drill through the wooden board we can’t exactly hide it entirely, but one of the fellows suggested that I use tape to hide it as much as possible. One point that was really liked was that there was almost no wires or any kind of breadboard or technological piece visible to the audience and that was really pleasing to see.

So for the IMA show, I set it up to have one light shining onto the canvas and let the canvas rotate just as I had planned. The result was very beautiful and felt like a great culmination of my efforts. However, something went wrong, as they unfortunately always do for these kinds of projects. The hot glue didn’t hold the stepper motor’s shaft to the canvas well, and the canvas fell a bit multiple times throughout the show. After the first time, I changed the steppers code to just keep rotating one way, but the canvas still fell again, so I had to resort to just leaving the canvas hanging by itself without rotating. This was unfortunate, but the only way I can display it.
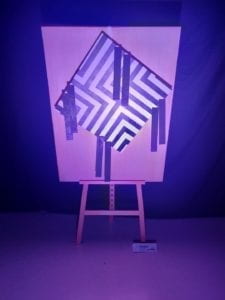
Other than that hiccup in the IMA presentation, the project went the way I had hoped, and I was very happy with the resulting piece of art that I had created.

Conclusion

Overall, I believe that my final creation was almost exactly how I had originally planned. Although I did make a change in the design choice for the canvas, and I had the error at the final showing of the artwork, all in all, I was satisfied with how I executed my original design. I hope that in the future I would be better prepared from this experience, and think of what possible errors could occur as things move around. I should have 3d printed or laser cut an additional piece to hold the canvas to the shaft, and I regret that I wasn’t able to just let the canvas rotate back and forth continuously like how I had intended. 

This was one of the most fun projects that I had gotten to work with so far in my college career, and I hope I will have as much fun in further projects to come! I have always liked working with my hands and building and putting things together, so this project was practically a dream come true for me. To be able to piece together what I learn with what I like has inspired me to create more pieces like this, and this summer I plan to work with what I had learned this semester to create some side projects back home. Lastly, I would like to thank Professor Eric Parren, the IMA Fellows, and my classmates for helping me not only on this project but other projects and assignments throughout the semester. Thank you!
Kinetic Light: Final Project Documentation – Ivy Shi

Title
“The Wheels of Fate” 轮回

Project Description

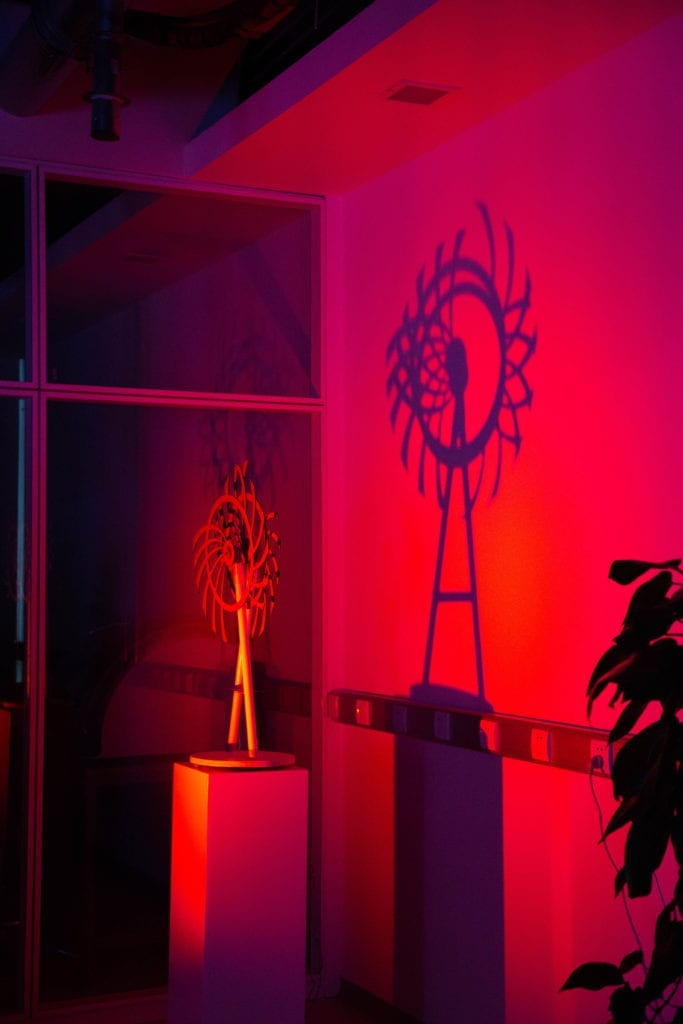
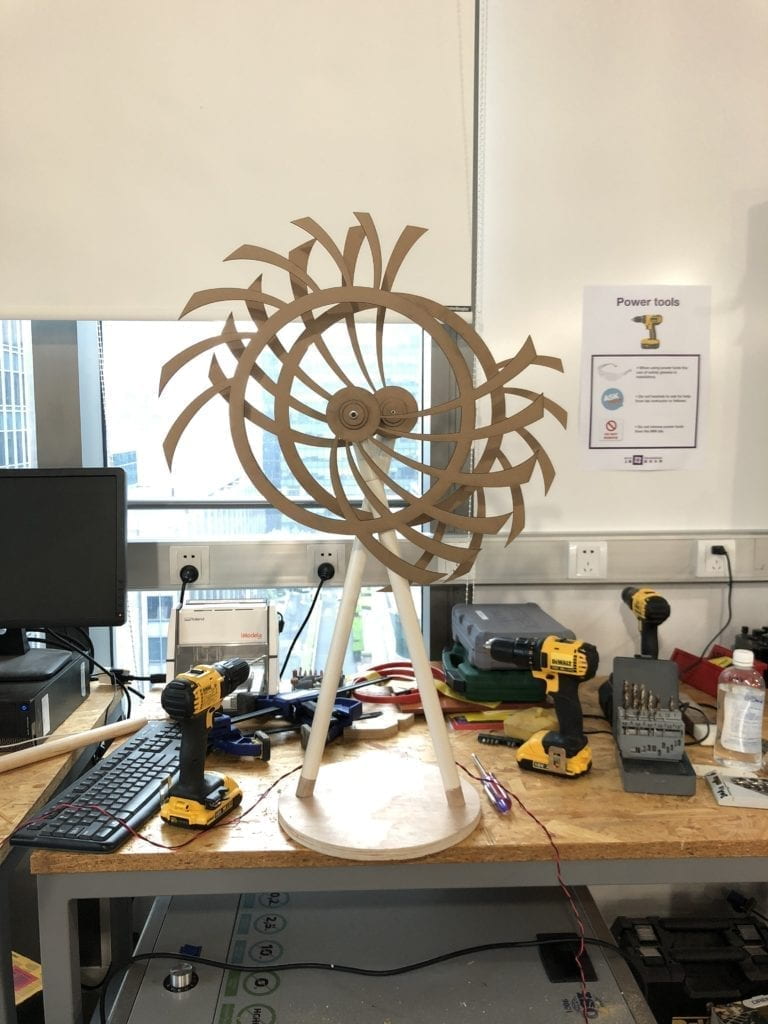
My project “The Wheels of Fate” is a kinetic installation of two overlaying wheels showcased in combination with DMX light composition for achieving synergy of light and motion. 

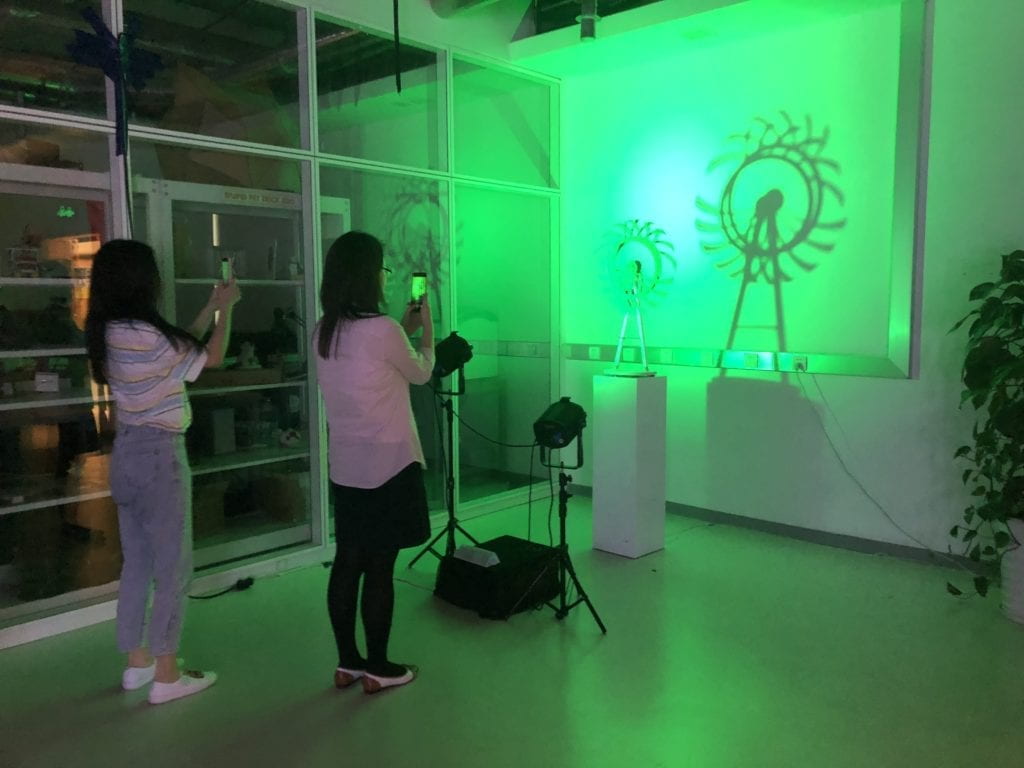
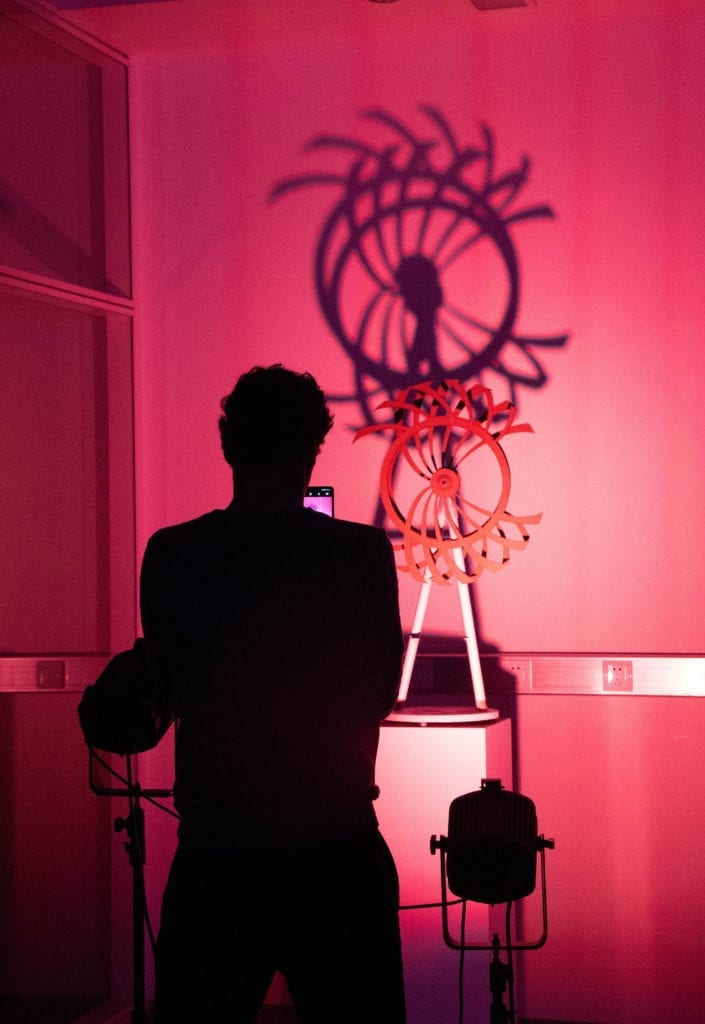
I took major inspiration from David Roy, specifically his piece “Duality” for constructing the main body of my piece. For the final setup, the two wheels, each moved by motors to create patterns, are assembled together on a base which is then put on a pedestal. Two DMX lights face towards the kinetic structure at an angle, creating “ever-changing” shadows on the back wall

While David Roy created his work on the principles of three balances – visual, simple and patterning, I had a different take. I see the mesmerizing patterns generated by the interactions of two wheels as the central focus of the project that needs to be emphasized, repeated and highlighted. Thus light compositions are used to amplify such movements on the backdrop, and even contribute to part of the change in movements. The patterns resemble the cross-over of human experiences – how people come into play, interact with and then ultimately leave from each other’s life. The unavoidable cycle of appearance and departure captures the characteristics of fate. 

With this project, I want to create a captivating experience for audiece with visual complexity created by overlaying simple repeating shapes. The two panels of the piece have the exact same design but because of the way they are positioned, the speed they rotate, and the time at which they overlap, distinctive patterns are created. This is a metaphor for even though we are all humans alike but due to the differences in our experiences and the time and space in which we meet, our interactions generate diverse. During this generative composition, audience might see one, three and/or five wheels depending on when they see and how long they stay. In part, they become components of the piece to feel and experience fate. 

Perspective and Context

I tried to render what we learned about color theory into the DMX light composition of the project. Specifically, there are different selections and grouping of colors that aims to stimulate people’s senses and perception. Some of the choices include using complementary colors to create high contrast, playing with colors and black-out time to generate afterimages. 

In terms of how this fits into the context of kinetic and/or light art, artists nowadays try to present the best of light and motion by blending them in the most balanced way visually. Christopher Bauder’s piece “Circular”  composed of three moveable lighting rings suspended from the ceiling is a great example. But what is more important is that Bauder once said in an interview “It[one of his piece GRID] amazes mind as well as emotions”. Especially that light and movement are such interesting medium to work with, we sometimes tend to focus on the technical, digital aspects too much and forget about the feelings and experience such art form evokes. Therefore for my piece, I want audience to not only inspired by what they are seeing, but also experience what they are feeling.  

Development & Technical Implementation

The fabrication process was quite smooth with much help from Andy and some fellows, however I faced some difficulties when combining light and motion, and had to switch my idea from using EL wires to DMX lights at the end. 

Motion:

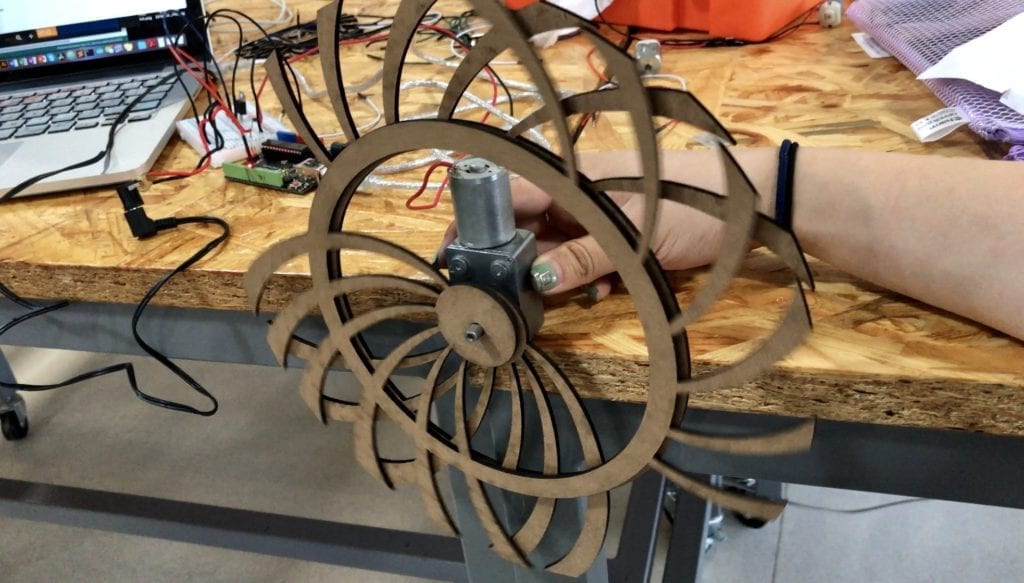
I started out with creating the two wheels using laser cutting with MDF 3mm. When they are manually attached to the motors, the motion created is quite nice.

Then I went on to laser cut the wheels in large scale. I attempted to use MDF 5mm to get more texture and depth to the objects, but laser cutting 5 mm was a major failure. For some reason, the laser just cannot cut through. 

I could not directly put them together because the two wheels are supposed to move at different directions and speeds powered by separate motors. The next step is to attach the two wheels to their own motors and create a structure base to hold them. This is achieved by these steps: 

1) attach the motor with the wheel

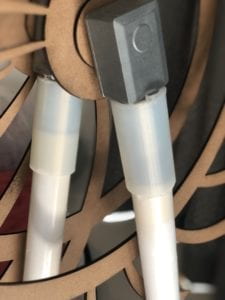
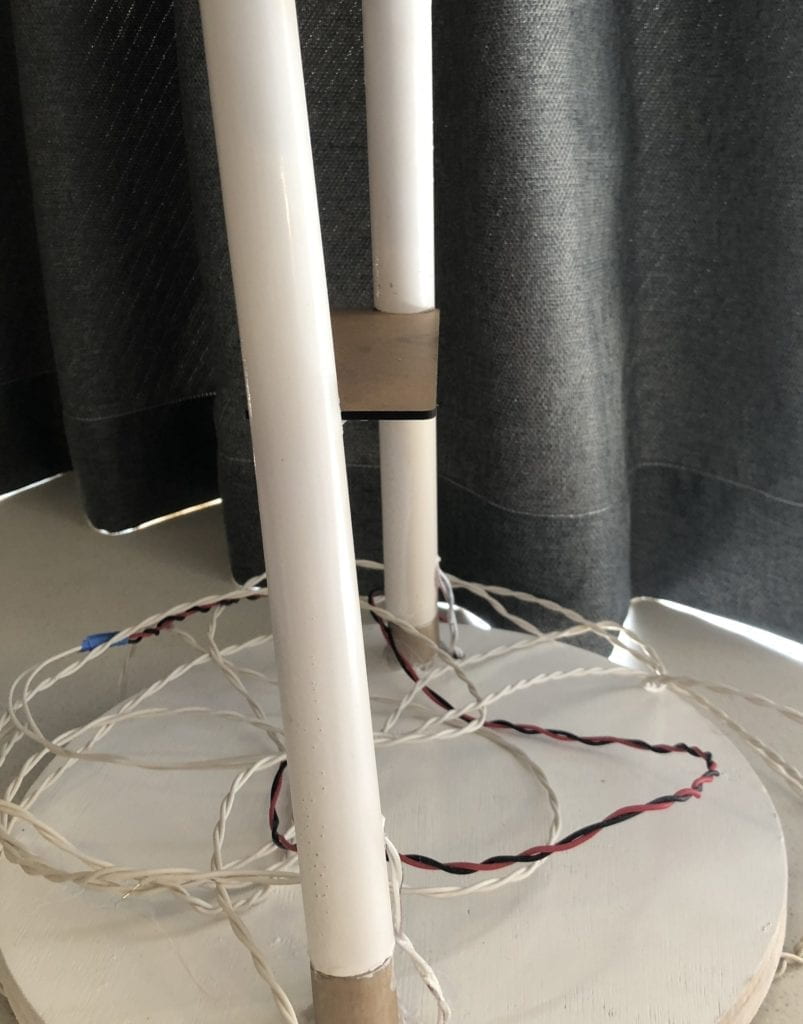
2) attach the motor to a tube. In the process, because the motors do not fit into the inner diameter of the tubes I bought, I had to 3D print a hollow cylinder shape to slip on top and connect them together. 

3) attach the tube to a wooden base

The main structure looks like this. 

Wires of the motors come out from the bottom to connect to the Arduino that control the speed and direction of the movements. The code for the wheel movement is attached here: https://gist.github.com/ivyshi98/d8f21f249cb1513fad1323bf4e5682d8

Light: 

In terms of the light aspect of the project, I originally wanted to use EL wires to circle around the whole wheel. Each wing of the wheel will be controlled separately so they don’t just turn on and off at the same time. I imagined patterns like turning on in sequence, blink two by two and so on to create more variations and dynamism. However, because the wheel is also spinning, I need to use a slip ring to connect the wires of the EL wires and the motor, otherwise they will get tangled in the motion. However, there are twelve wings on each wheel and getting a slip ring that connects to 12 components at a relatively reasonable price is quite impossible. As a result, I had to change my plan. After some discussions with Eric, he suggested me to use DMX lights to shine lights directly towards the main structure to create shadows on the wall. I was initially unsure about this idea but after some experimentation with DMX lights, I was convinced by the effects created. 

The light composition was quite time-consuming. My concept is to start out simple with only one light at a time. The next part is light interacting with each other from different directions. The speed also varies spanning from smooth, slow motion to fast blinking. In terms of colors, I chose complementary colors to leave an afterimage effect in some cases. 

Light Testing: 

When composing lights, I encountered a problem with using milis( ) in Arduino. In my loop() function, it specifies the actions of the lights depending on the time starting from 0. However since millis() is a timer that starts from the beginning and never goes back to 0, the loop only runs once and never repeats itself. In order to solve this problem, I had to add a simple line: 

The code for DMX light composition is included here: https://gist.github.com/ivyshi98/eb52524739c03db415ca31e9add47229

Presentation

I first presented my project in class. In general, people enjoyed it and liked the interactions of light and motion. Since I did not explicitly state my concept behind the main structure, people had different interpretations of it. Some of the guesses include fan, ferris wheel, devil’s eye and etc. 

Some areas for improvement I got was: 1) The two wheels did not align properly in the center which makes the shadow in the middle a little bit off.  2) The light composition could be enhanced especially the strobing part. The effects were not too obvious as too many lights are flashing at the same time. Having more black-out time in between would hugely improve the viewing experience. 

After getting some useful feedback, I made some adjustment for the IMA show. I fixed the center alignment issue by putting in another screw at the base to secure the positions of the fans. In terms of the light composition, I flashed one light at a time and alternate between lights for each strobe. Additionally, I increased the delay time a little bit so the effects are more noticeable. The end results turned out to be really good. On top of that, based on the suggestion from Professor Eric, I tried to hide the wires of the DMX lights and connections to the Arduino boards in the best way possible. I also moved the lights close to the wheel structure to enlarge the shadows on the wall. 

Overall, I am really happy with the end results shown at the IMA show. Huge thank you to Professor Eric, Andy, Nick and all of my fellow classmates for all the help, support, advice along the way. Here is a video of audience enjoying the project: 

Here is the final presentation: 

Conclusion

This is my very first time putting together an Art project starting from the very initial conception to the fabrication phase and eventually to the showcase. The process was filled with learning and some challenges. I want to first recognize myself for having a much better production schedule than the midterm and being smart about down-sizing of my prototypes to save materials. I took lessons from the midterm in mind and improved in the fabrication process. Additionally, I was more diverse in terms of the fabrication methods I utilized including laser cutting, 3D-printing and wood sawing (with the help of Andy). This time, I also took more considerations into how I want to present my project including having a base structure to put on a pedestal and hiding the wires coming out from the motors. However, there were still areas I missed as pointed out during the class presentation. 

Another aspect I was not super successful at was the light composition (before modification for the IMA show). I spend too much time on getting the structure and motion looking nice that I neglected the light part until the very end. There were not enough thoughts and experimentations went into the light compositions itself. Although the modifications made for the show improved the effects, I could still enhance it even further. This gives an important takeaway that composition is as important as fabrication. We should be smart about distributing time properly to every aspect of the production process, thus why having a well-planned schedule is vital. If I were to have a chance to work on another project next time, this is definitely something I will keep in mind. 

Future Improvement

Lastly, in terms of potential future improvement, I received a suggestion from Young to add human interactions to the project. I think there are two ways to go about making it interactive: 

1) Create an interface that allows audience to generate their own light compositions. In my code, I would need to adjust some of the functions to take in parameters as the color and time duration inputs. 

2) Allow audience to interact with and be part of the shadows. This would take some rethinking about the backdrop and the spatial relationship between the wall, the structure and the lights. 

Kinetic Light – Project 3: Floral Clock🌸 – Yang Gao

 TITLE
Floral Clock🌸 
 
PROJECT DESCRIPTION
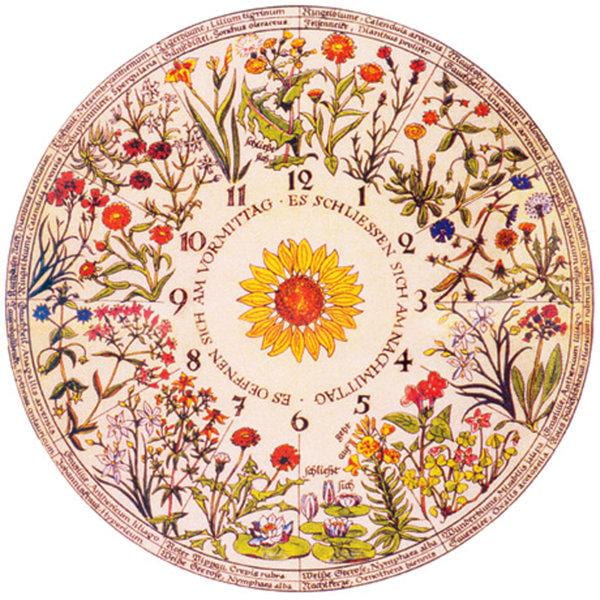
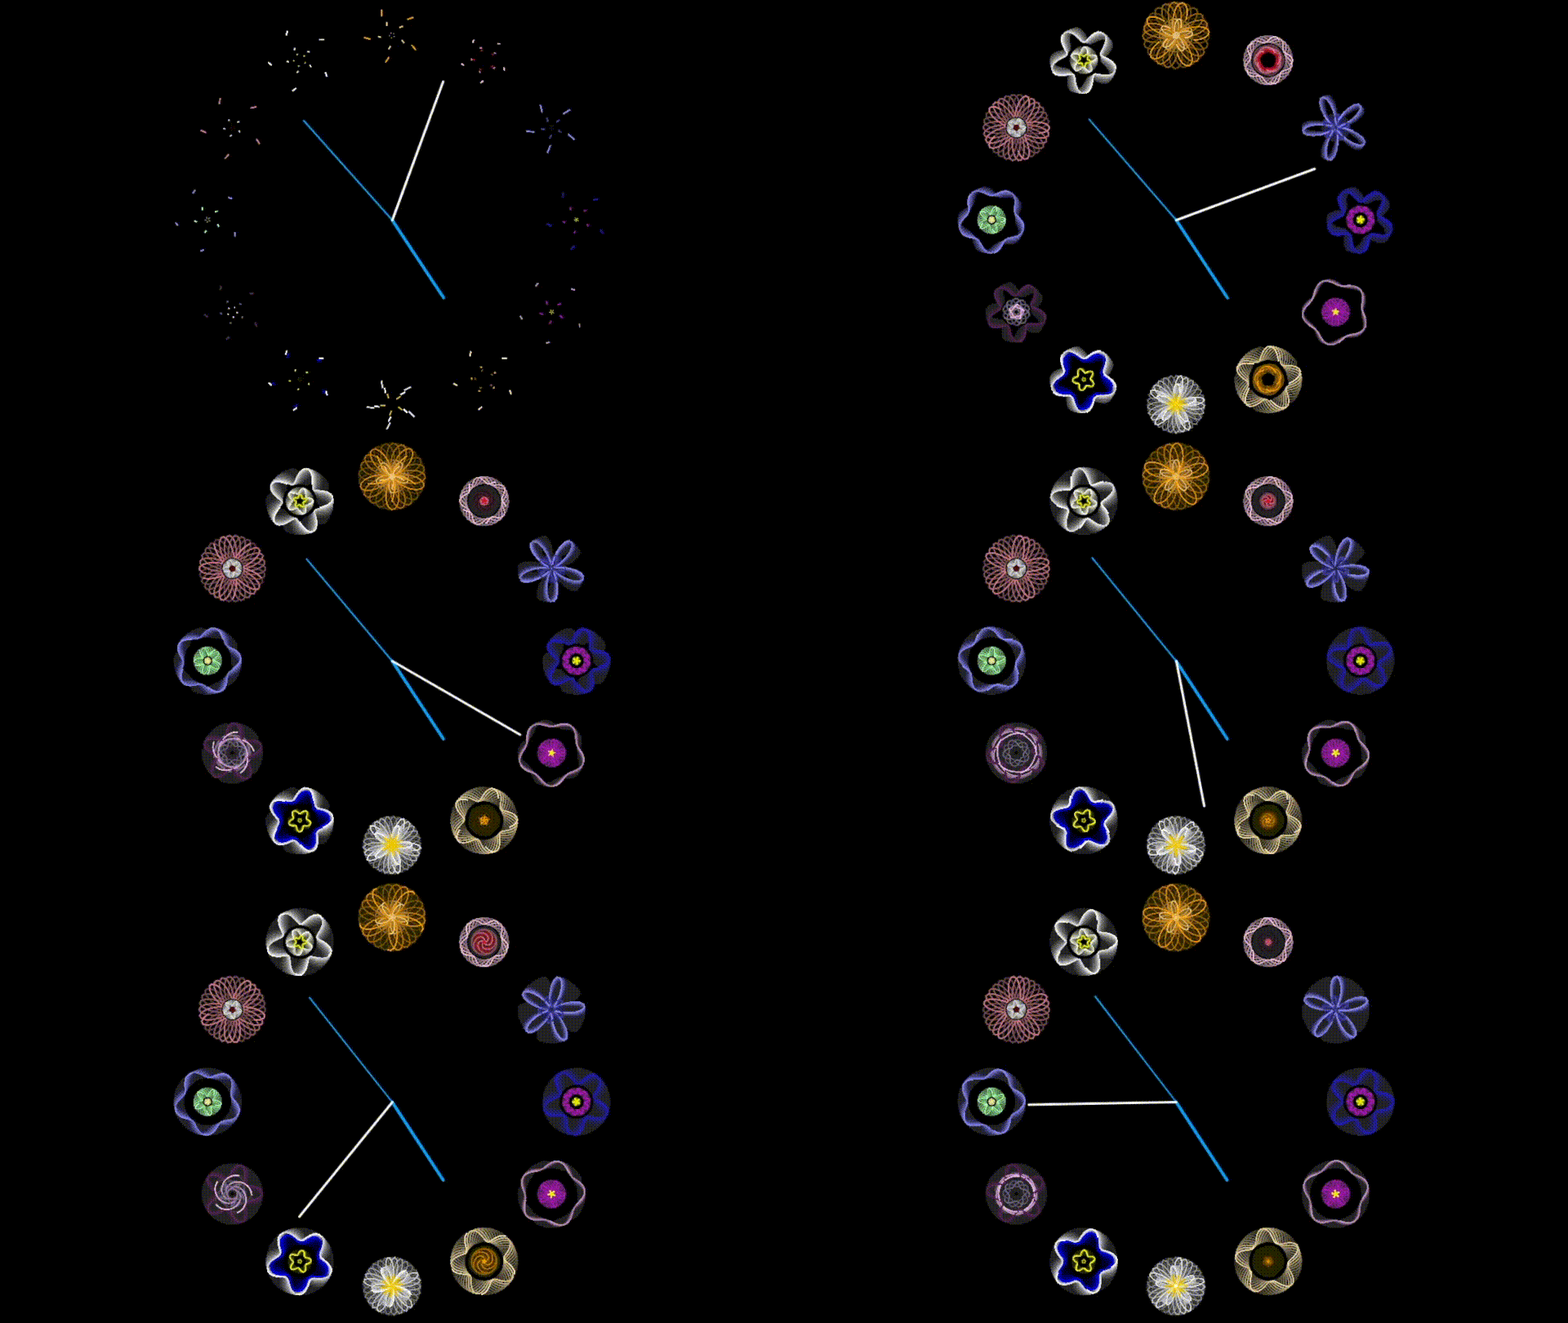
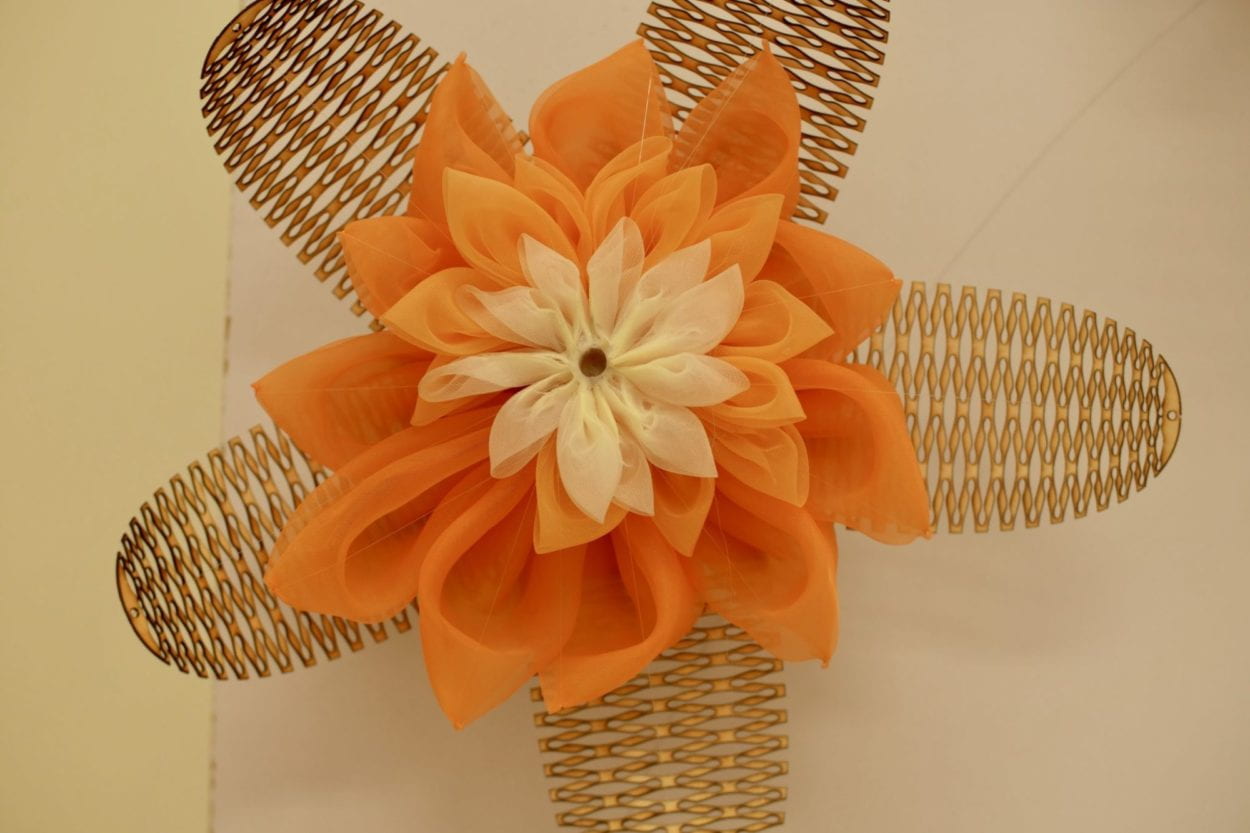
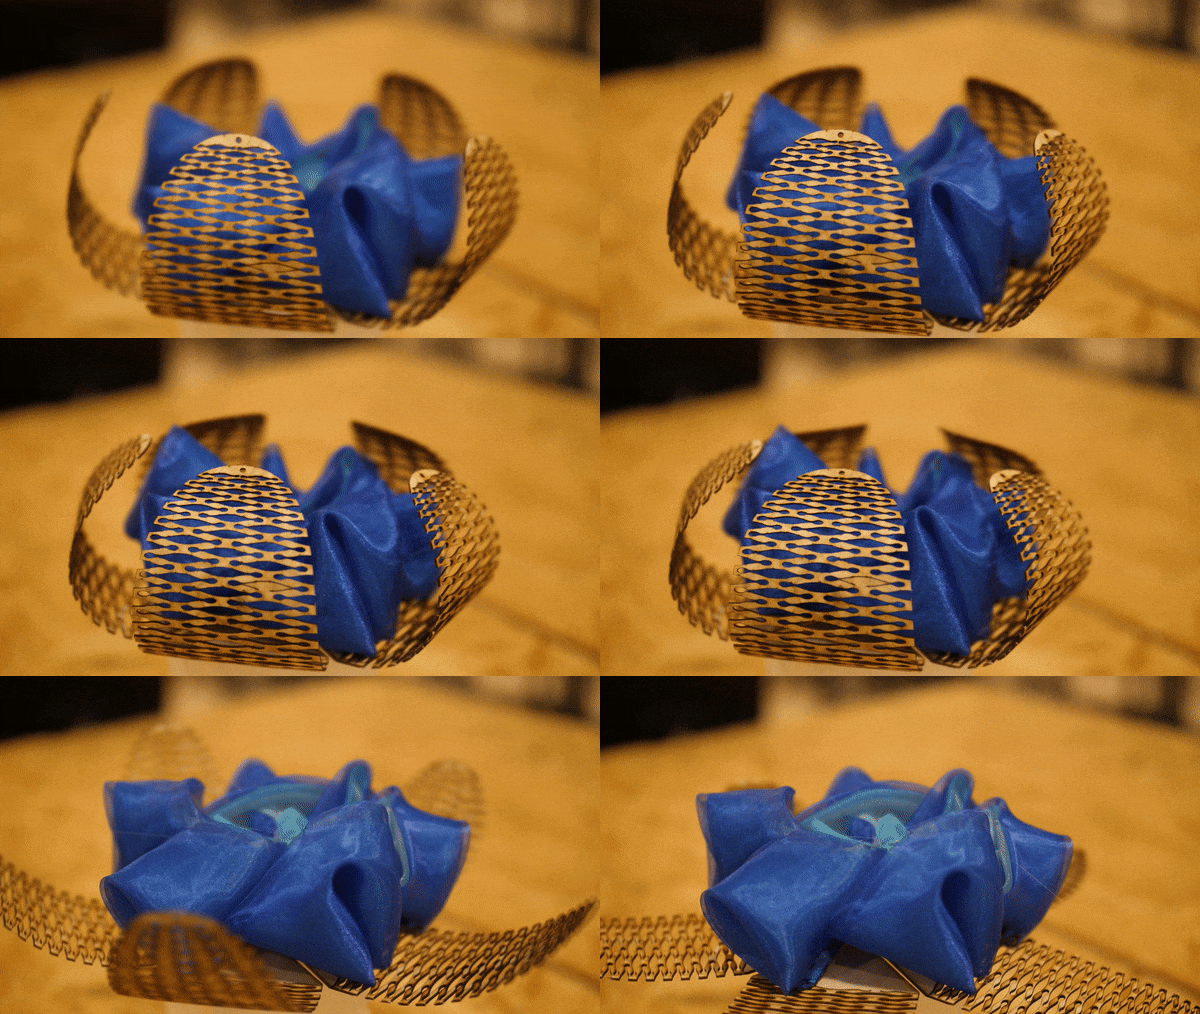
Floral clock is an installation that mimics the flower blossom. There’re twelve different kinds of flowers, each of them represent a natural flower. They form as a clock and open at twelve different times. The clock is based on Linnaeus’s flower clock: the flowers open and close at particular times of the day to accurately indicate the time.
Linnaeus’s flower clock
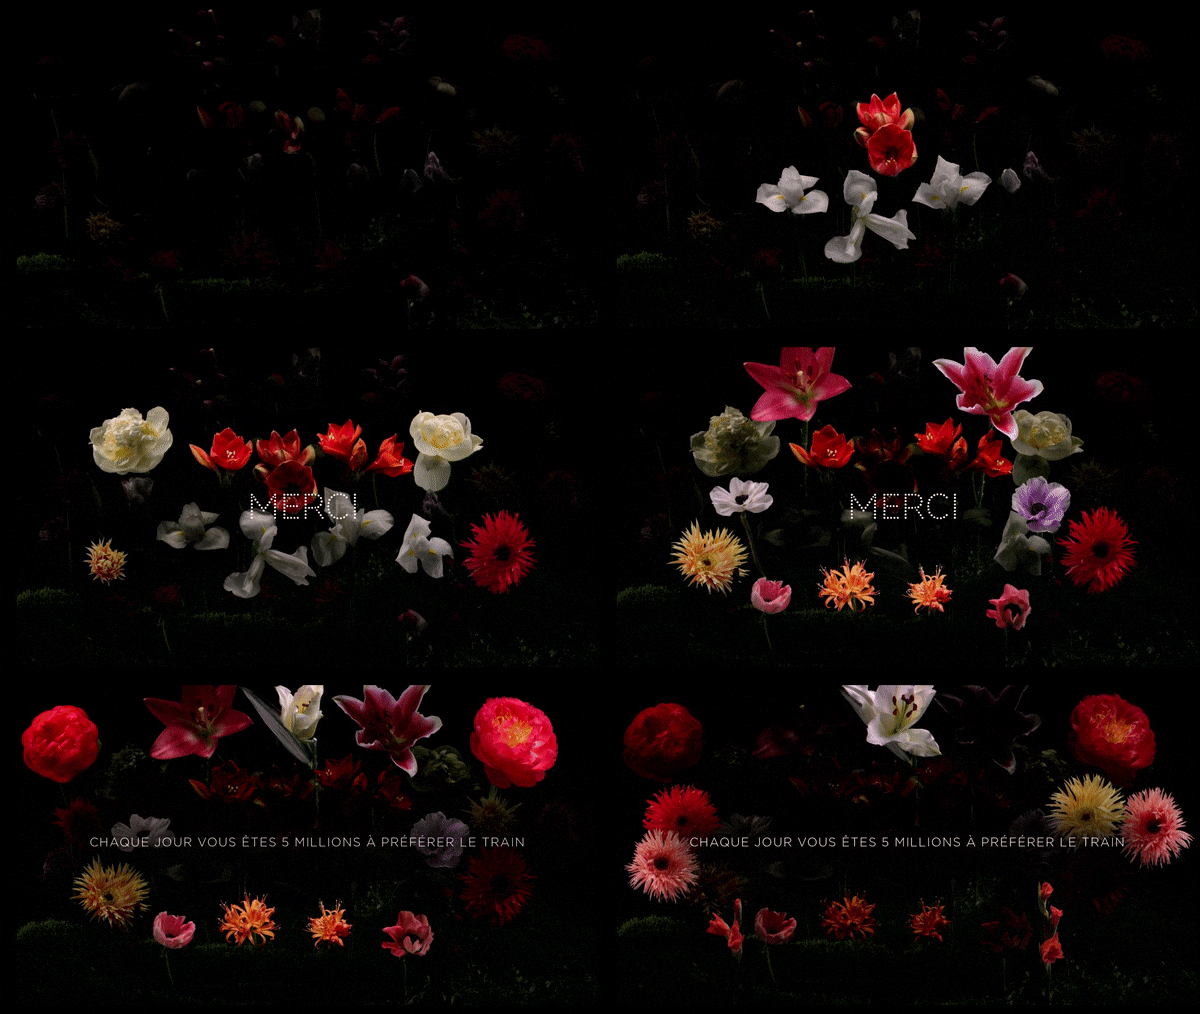
When I saw a time-lapse of flower opening video for the first time, I was deeply impressed and considering to make it real. I first tried with coding for my Nature of Code class and turned out as I expected. Then I thought about making it physical. 
Timelapse SNCF Flowers by Caravane
Nature of Code
`
PERSPECTIVE AND CONTEXT
In The Century of Kinesthesia, Guy Brett mentions that Calder once states that: 
From the beginning of my abstract work, even when it might not have seemed so, I felt there was no better model for me to choose than the universe … spheres of different sizes, densities, colours and volumes, floating in space, traversing clouds, sprays of water, currents of air, vicosities and odours – of the greatest variety and disparity.”
 The universe and nature help art come into being.
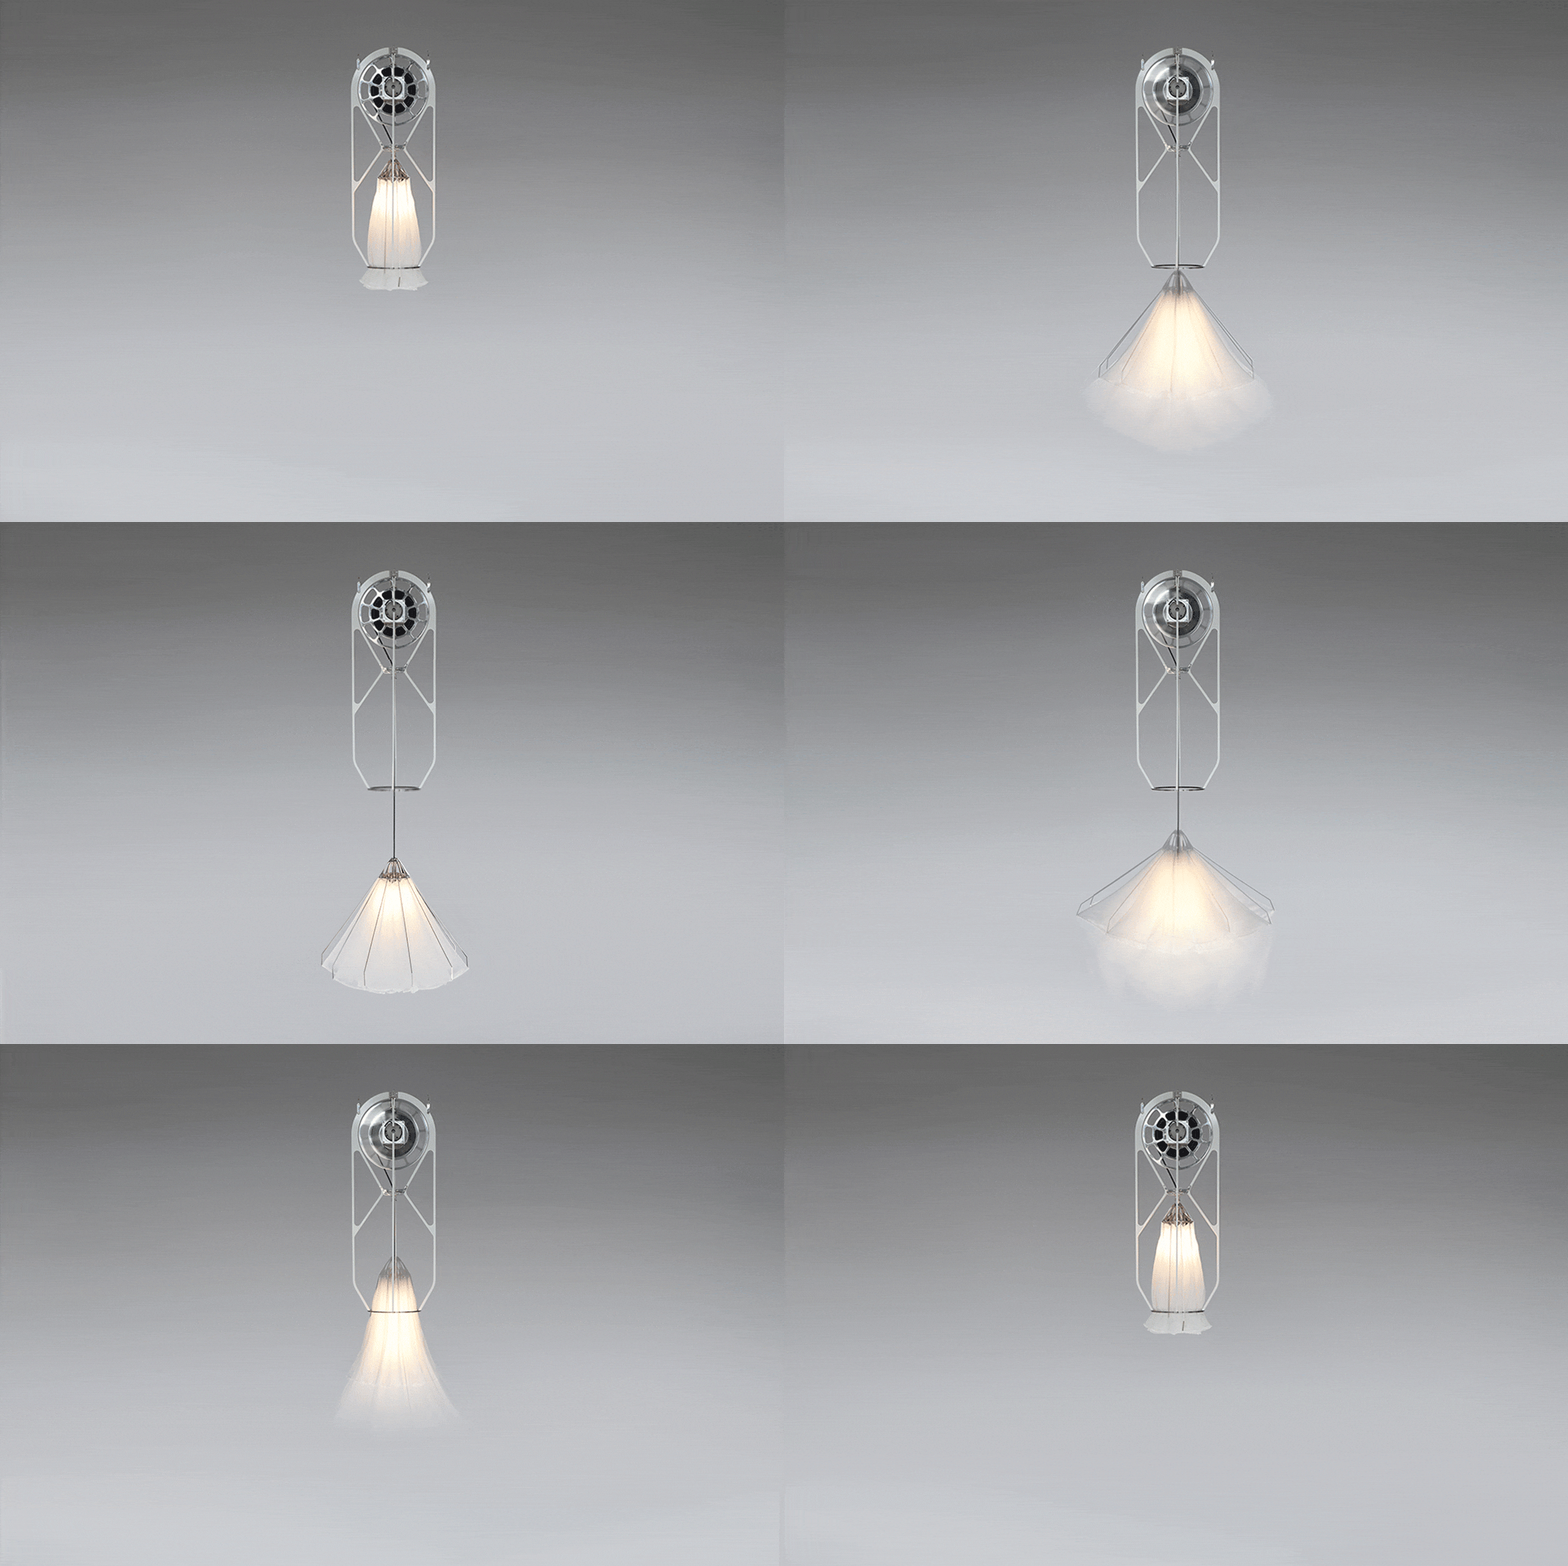
I’m also impressed by Shylight created by Studio Drift and how they achieved mimicking the flower blossom, which introduces the audience to a new world with nature and technology. 
Shylight
Several projects from U-Ram Choe also created and displayed his work with the aesthetic choices to show nature forces, which also inspired me of making the flowers. 
Una Lumino Callidus-Sprirtus
 
 
DEVELOPMENT & TECHNICAL IMPLEMENTATION
 
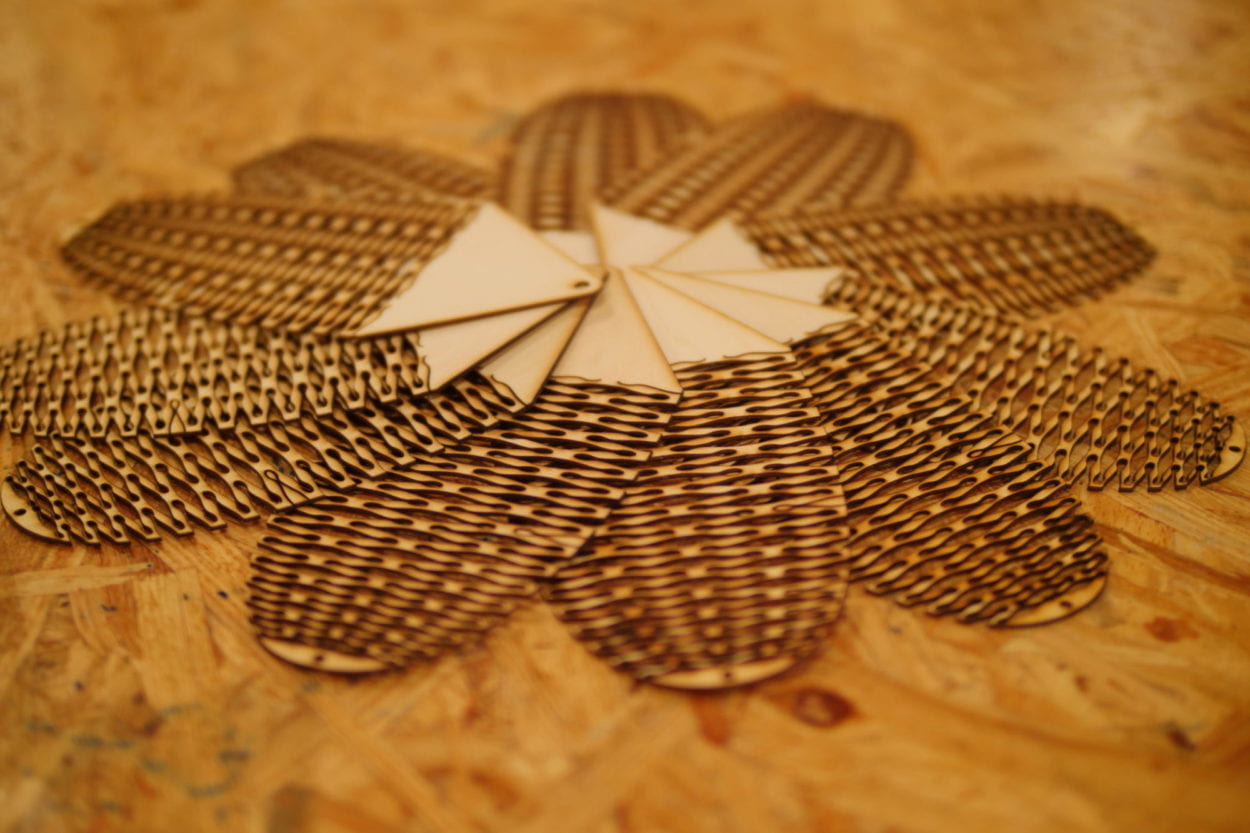
1. Outside Petal:
I first tested with different materials, patterns and sizes.
 
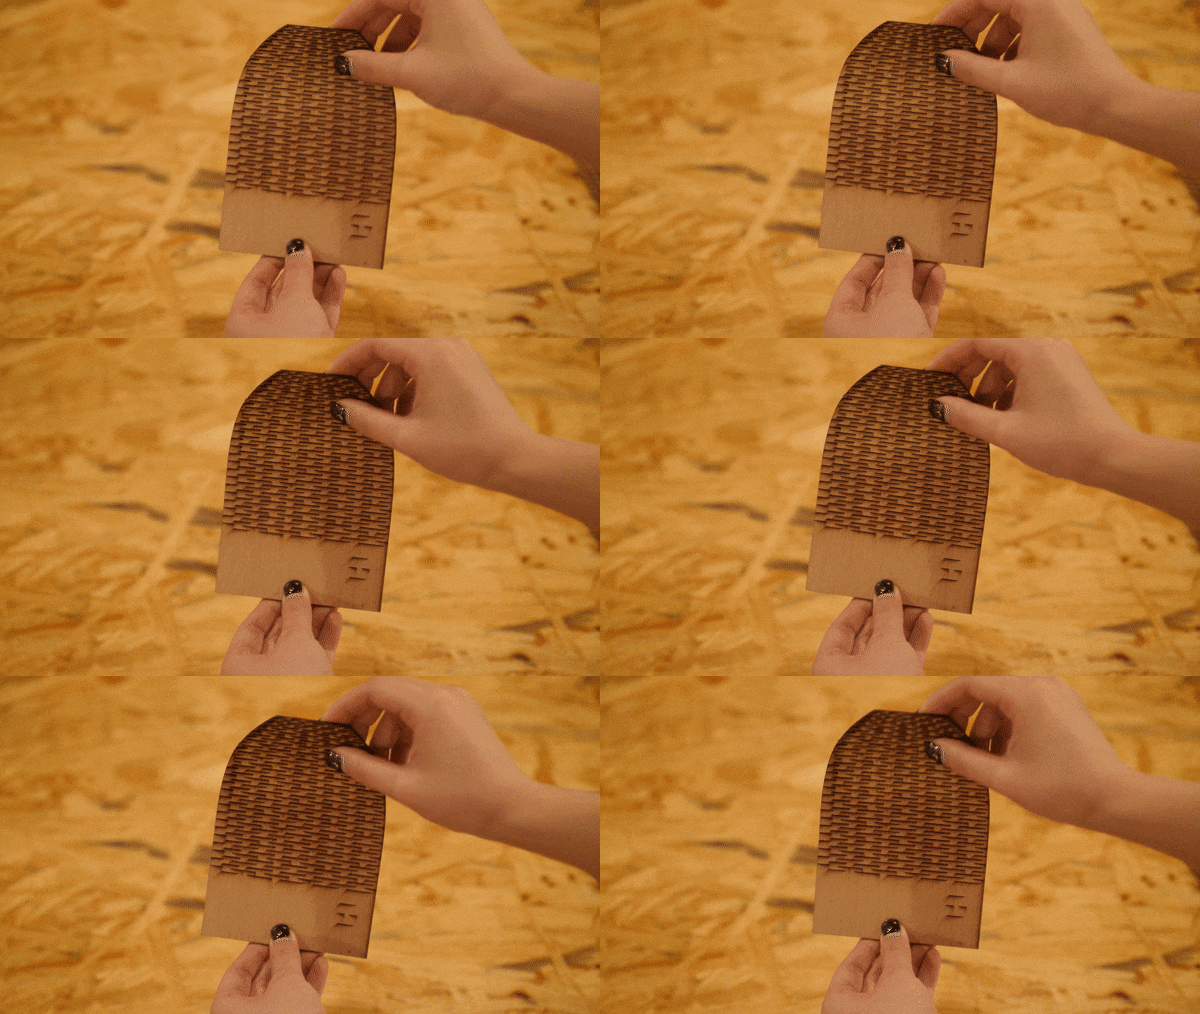
Patterns (from the most flexible to the least flexible): 
 
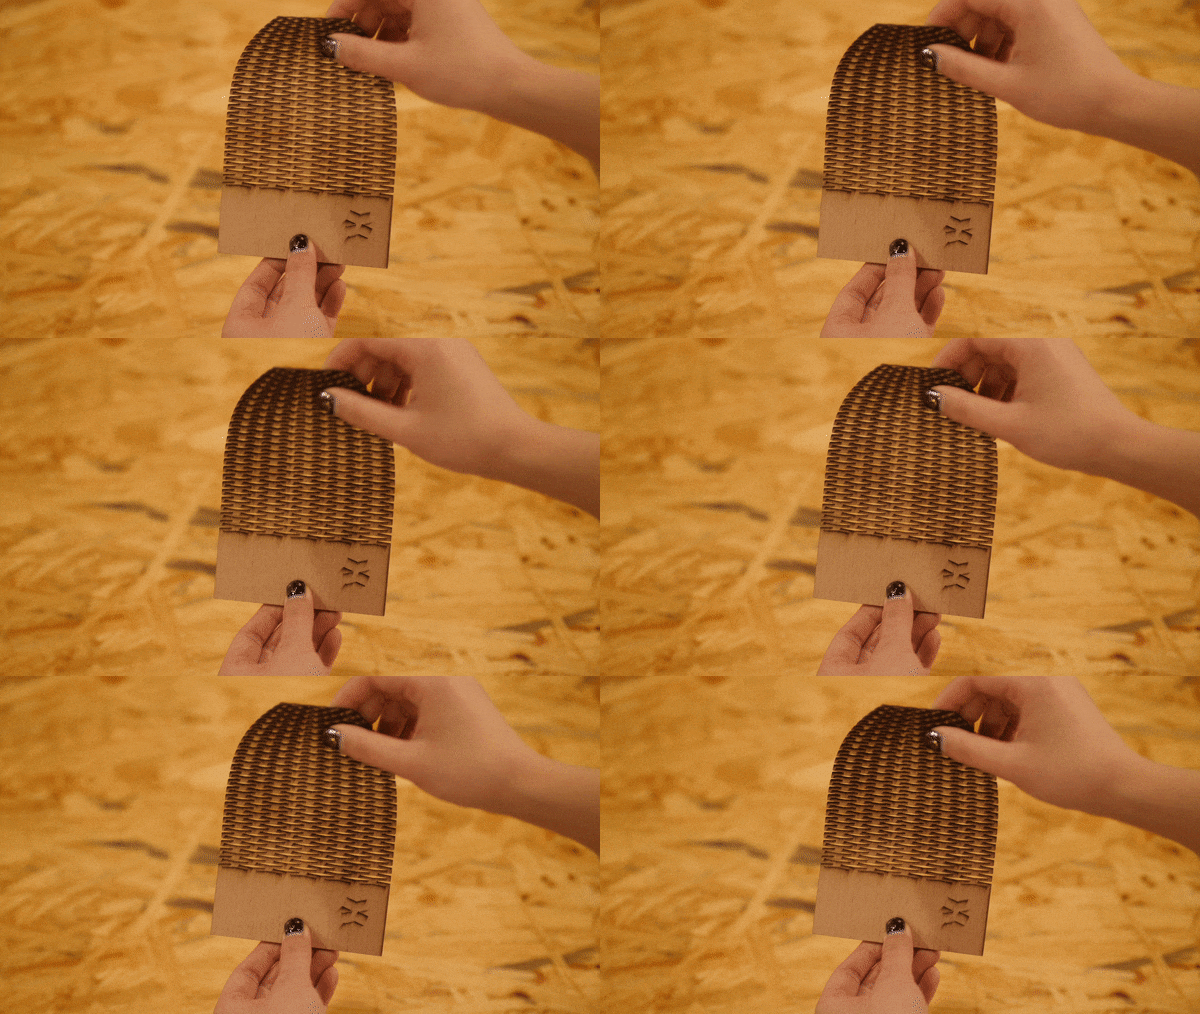
1
2
3
4
5
6
Materials:
I tried with 3 cm Wood, 2 cm Wood, 1.5 cm Wood, 1 cm Wood, and 3 cm Acrylic. To make sure that the petal is both supportable and not fragile, I chose the 1.5 cm Wood in the end. 
 
Size: 
I printed the pental in 10 cm length, 15 cm length, 20 cm length, and 25 cm length. To make sure that the petal has the best shape(not curl if I place it vertically), I chose the 20 cm length in the end. 
 
1.5cm Wood, 20cm length, Pattern 1

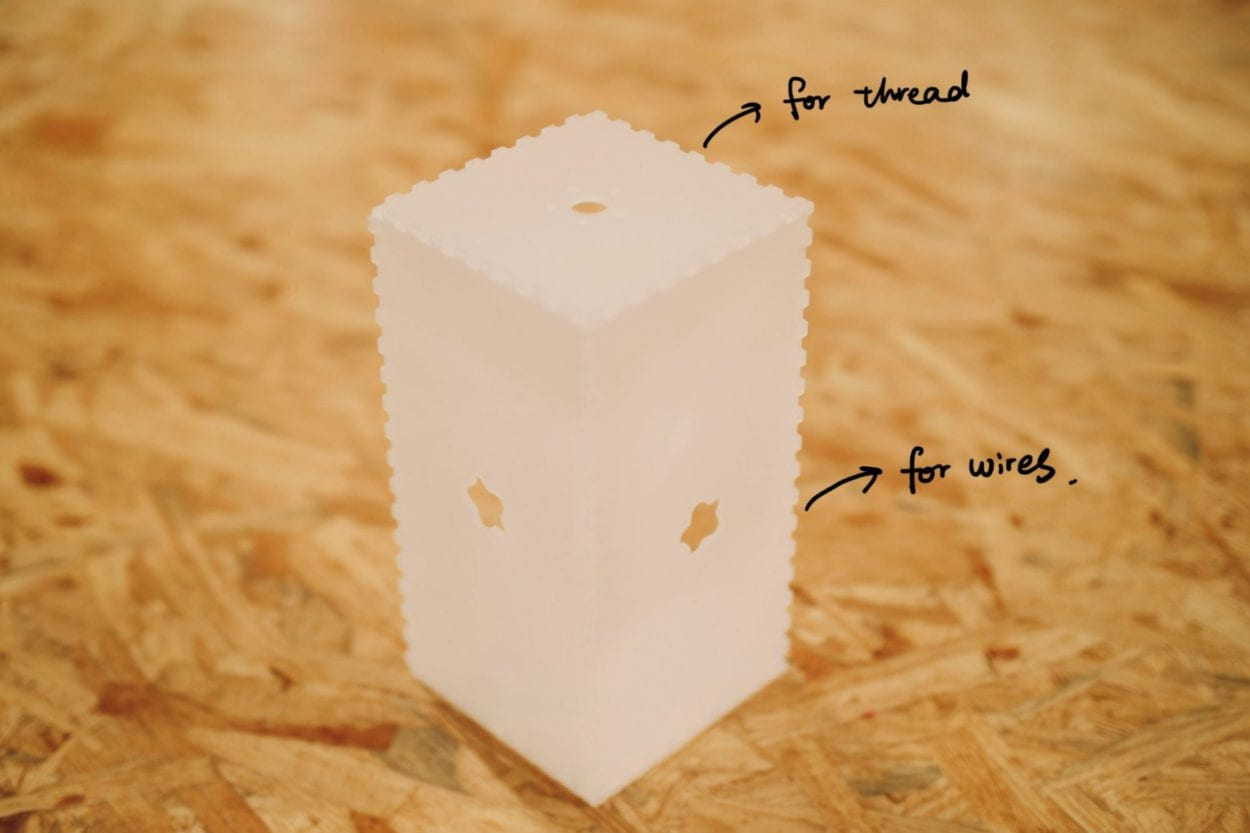
2. Motor Box

I made a motor box to hide the motor. Since the range of the petals’ movement is quite big, so in the end, the motor box is 10 cm * 10 cm * 20 cm so that it can contain the motor and the horns. 

3. Flower

Material

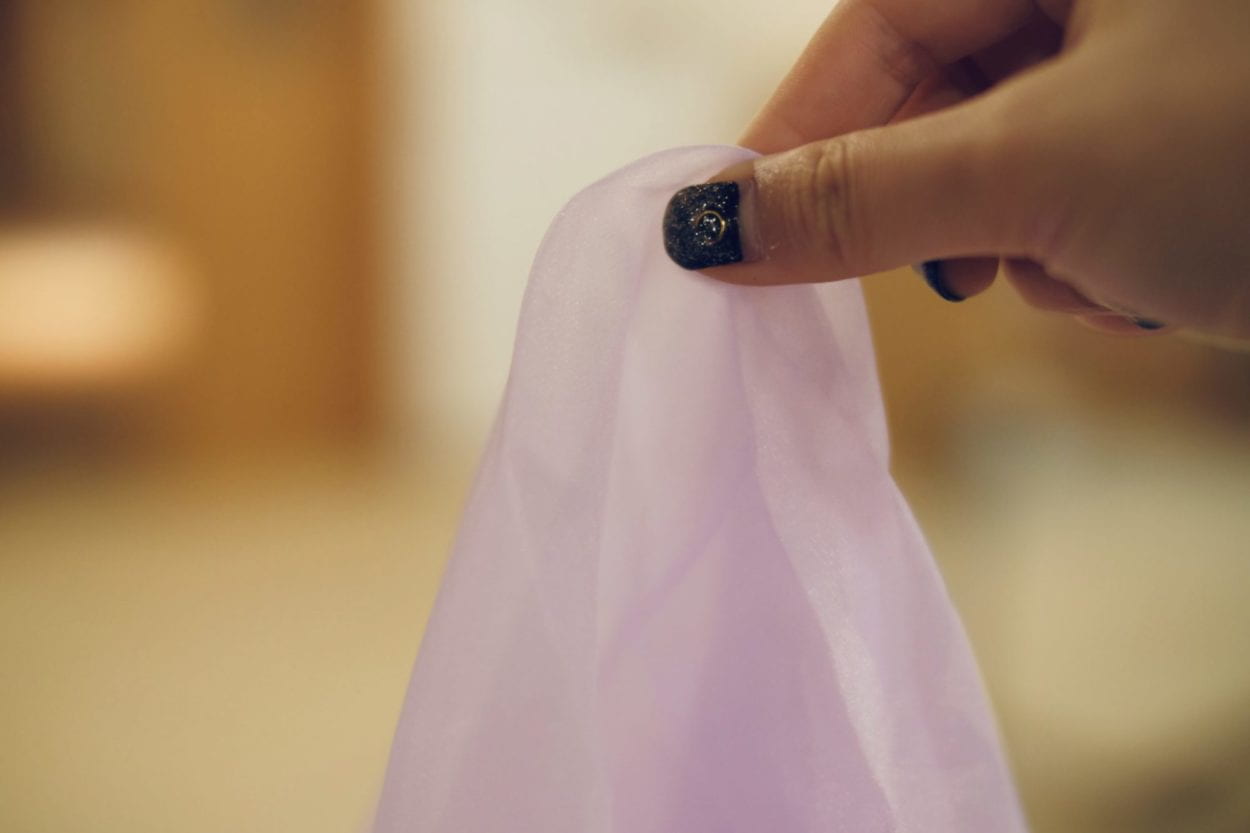
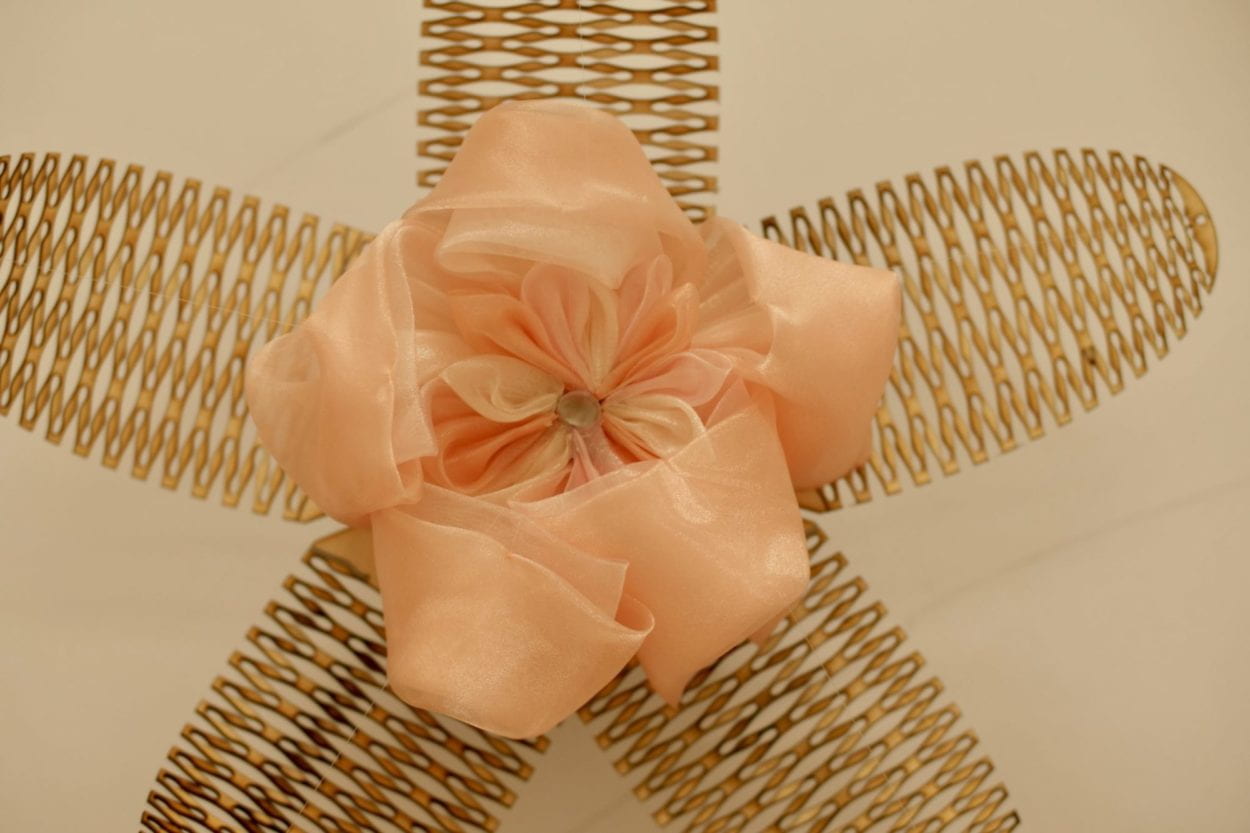
I tried 3 different fabric: silk-like fabric, organza,  hard organza.

Because I want the petals to have the ability to go back to the original position, so the more shapable the fabric can be, the better. 


From left to Right: silk-like fabric👎 – organza – hard organza👍

Shapes

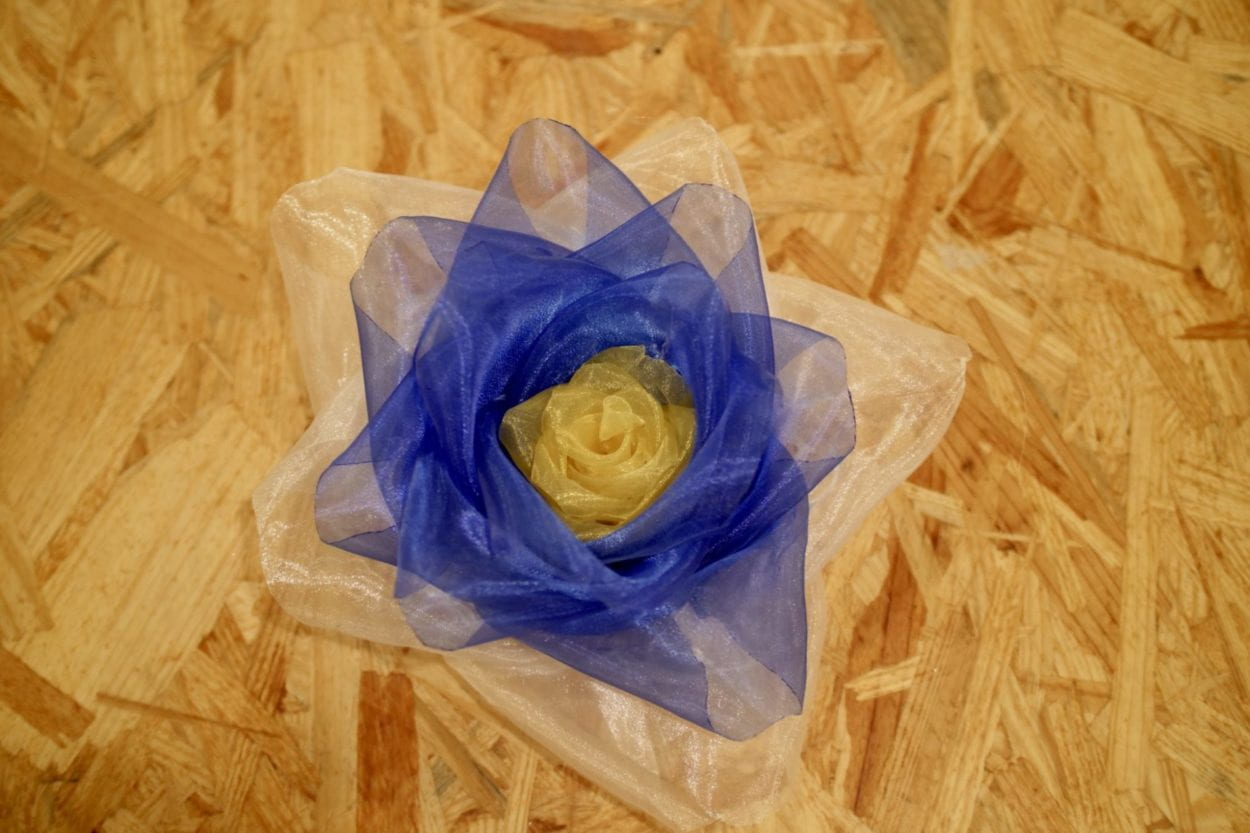
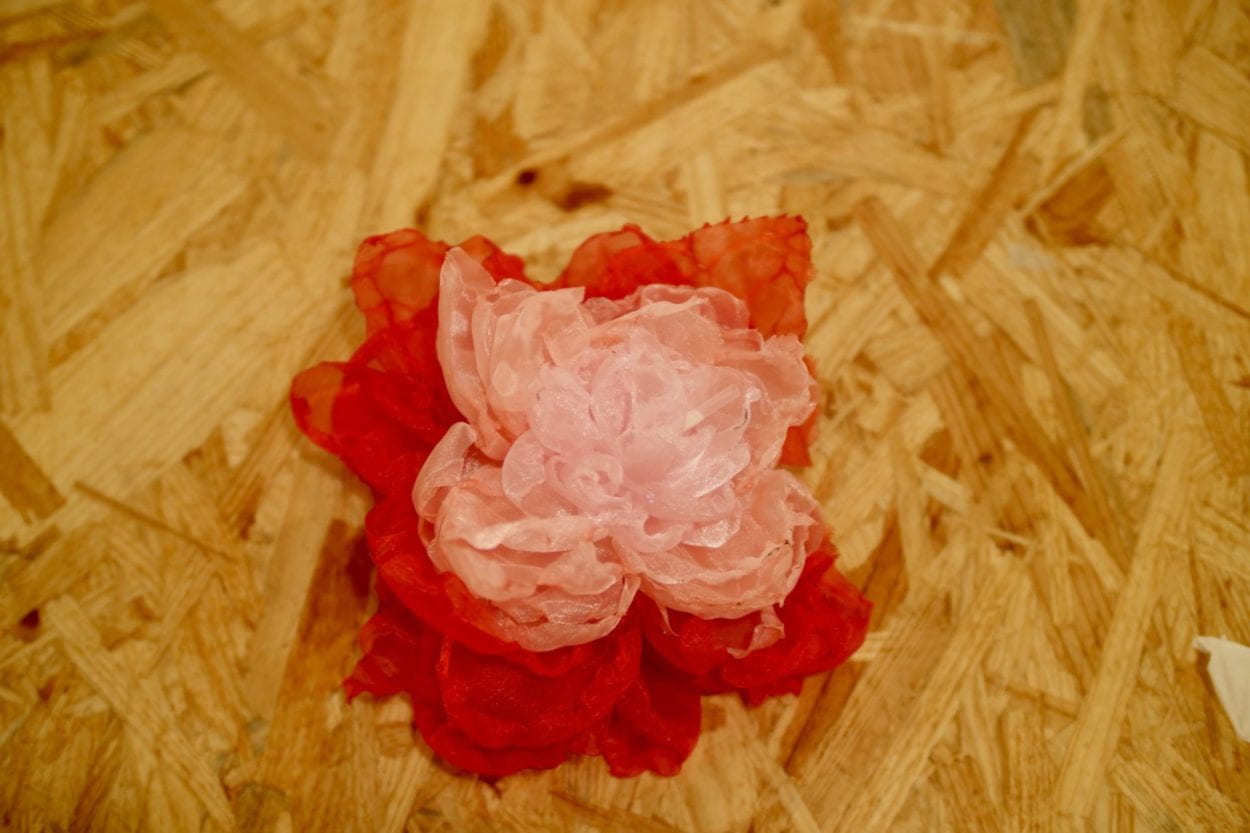
To mimic the real flower shape, I studied different petals-making ways. 

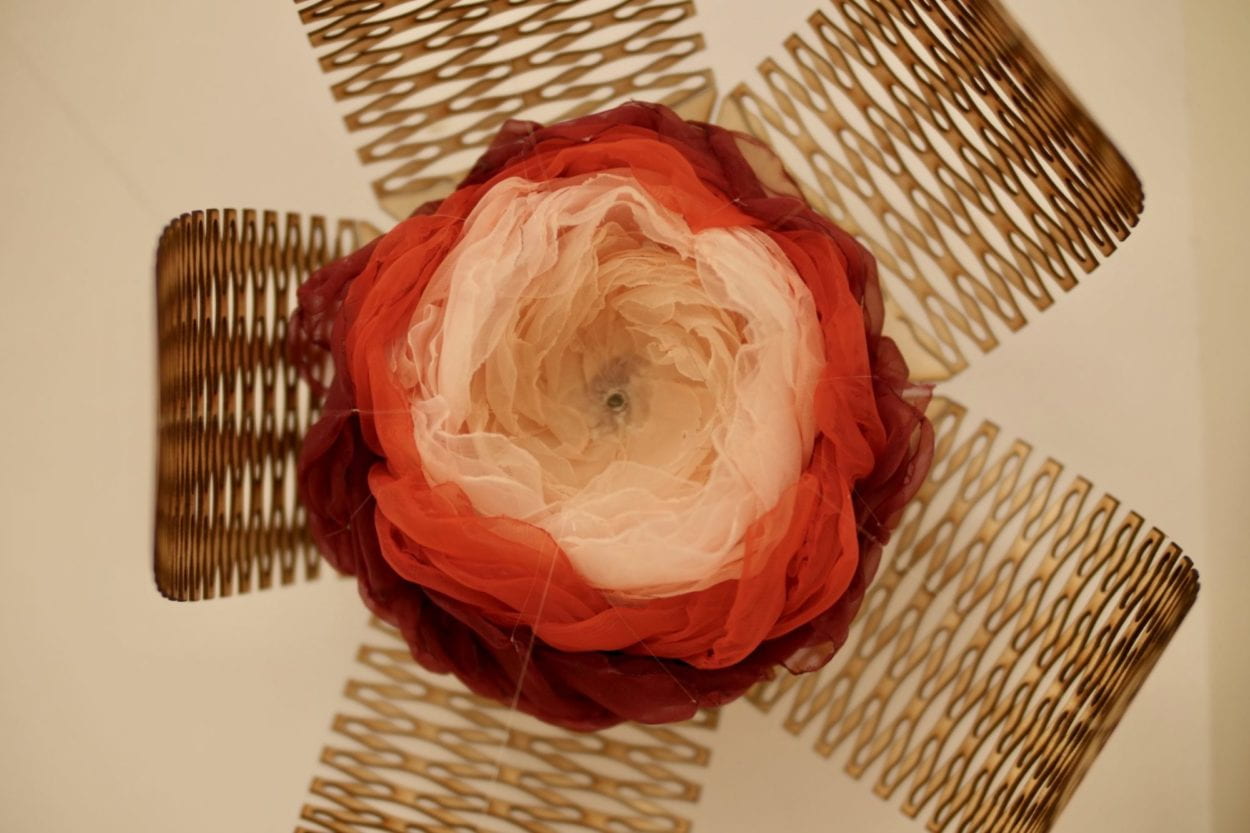
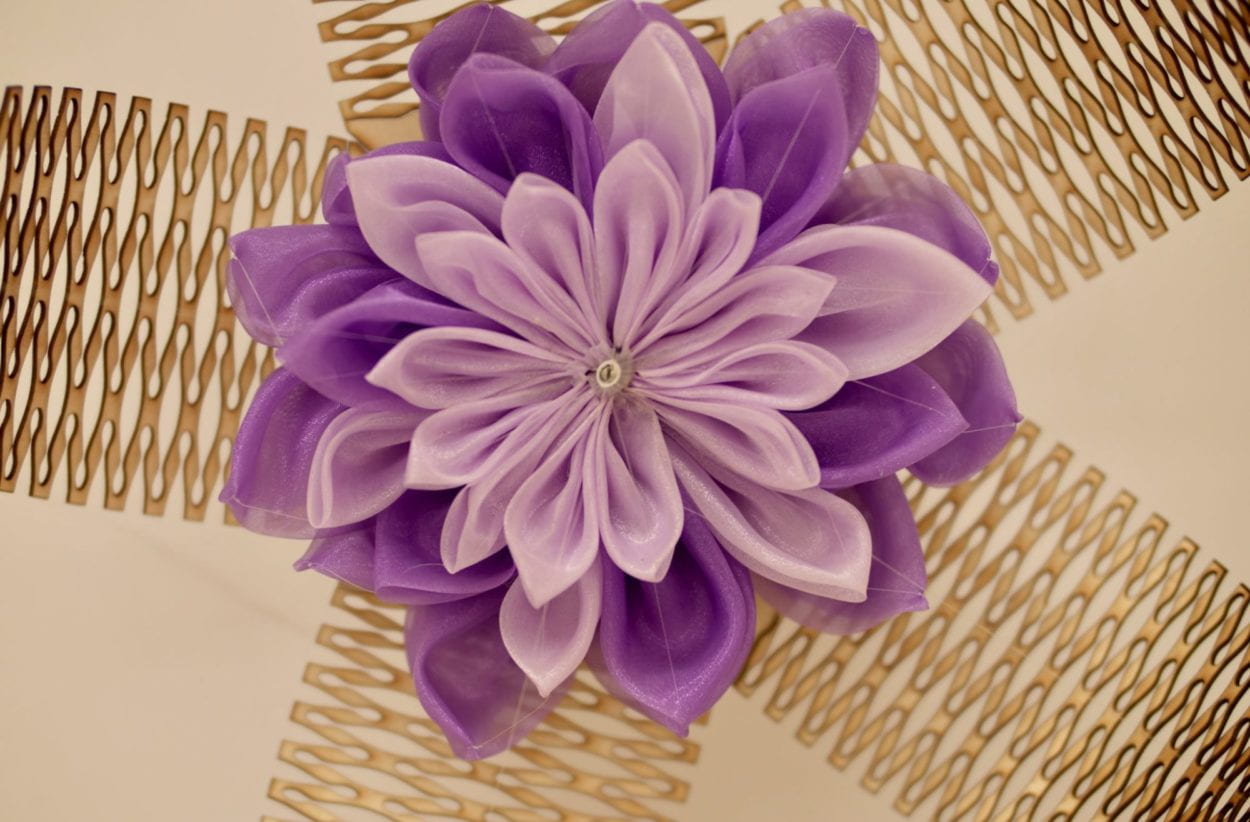
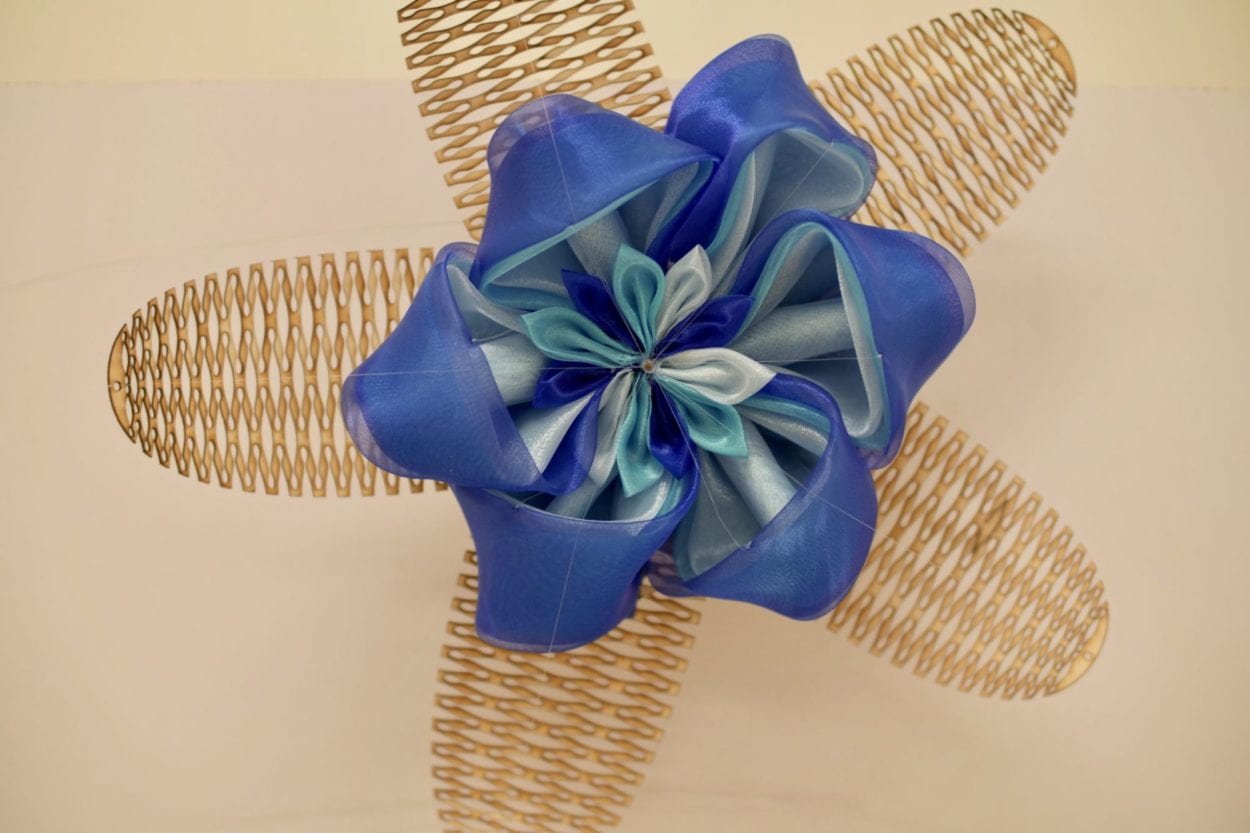
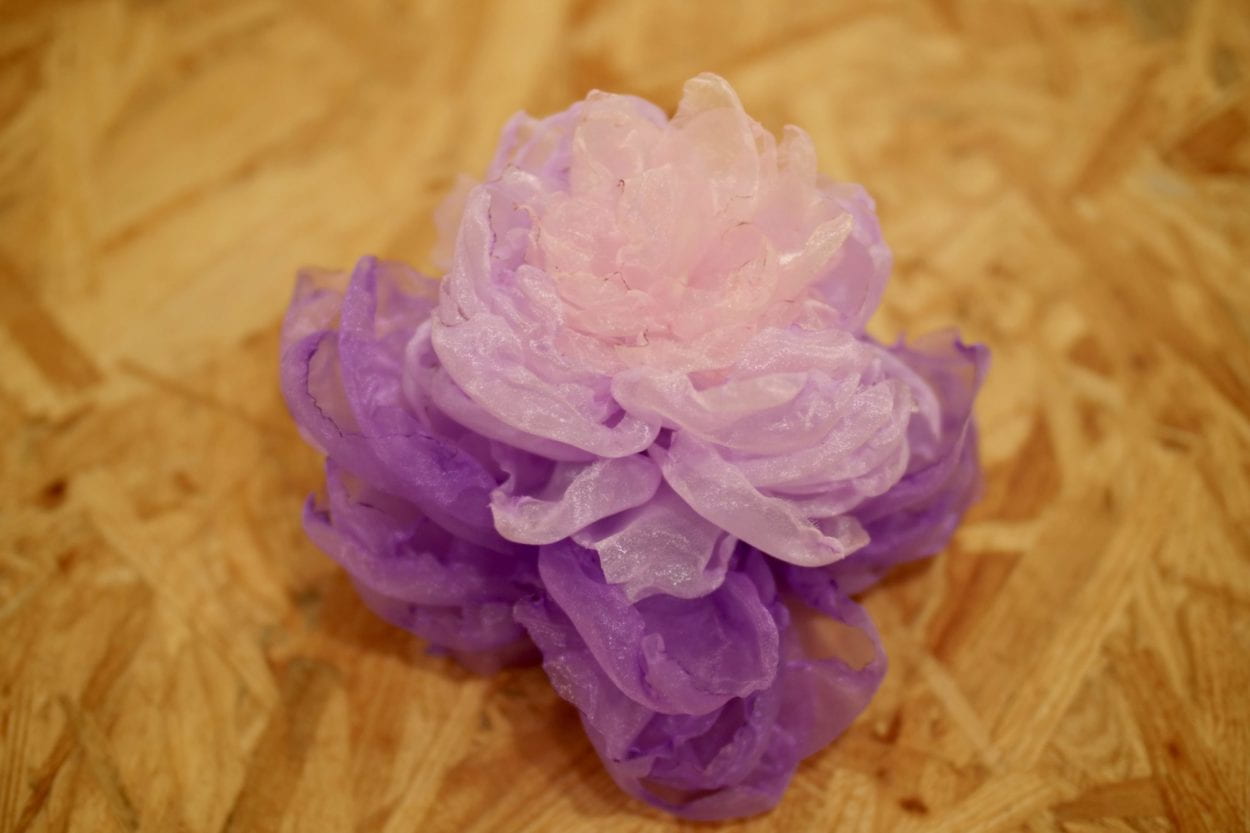
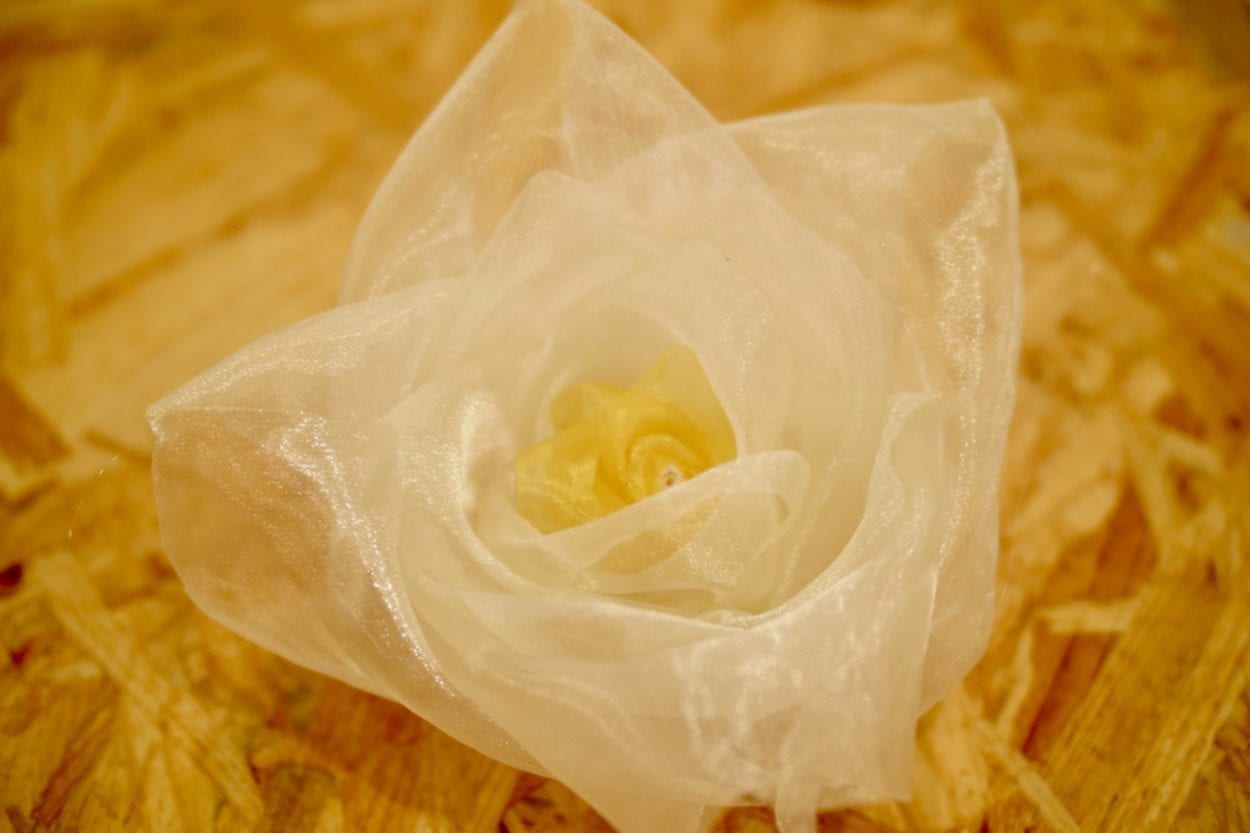
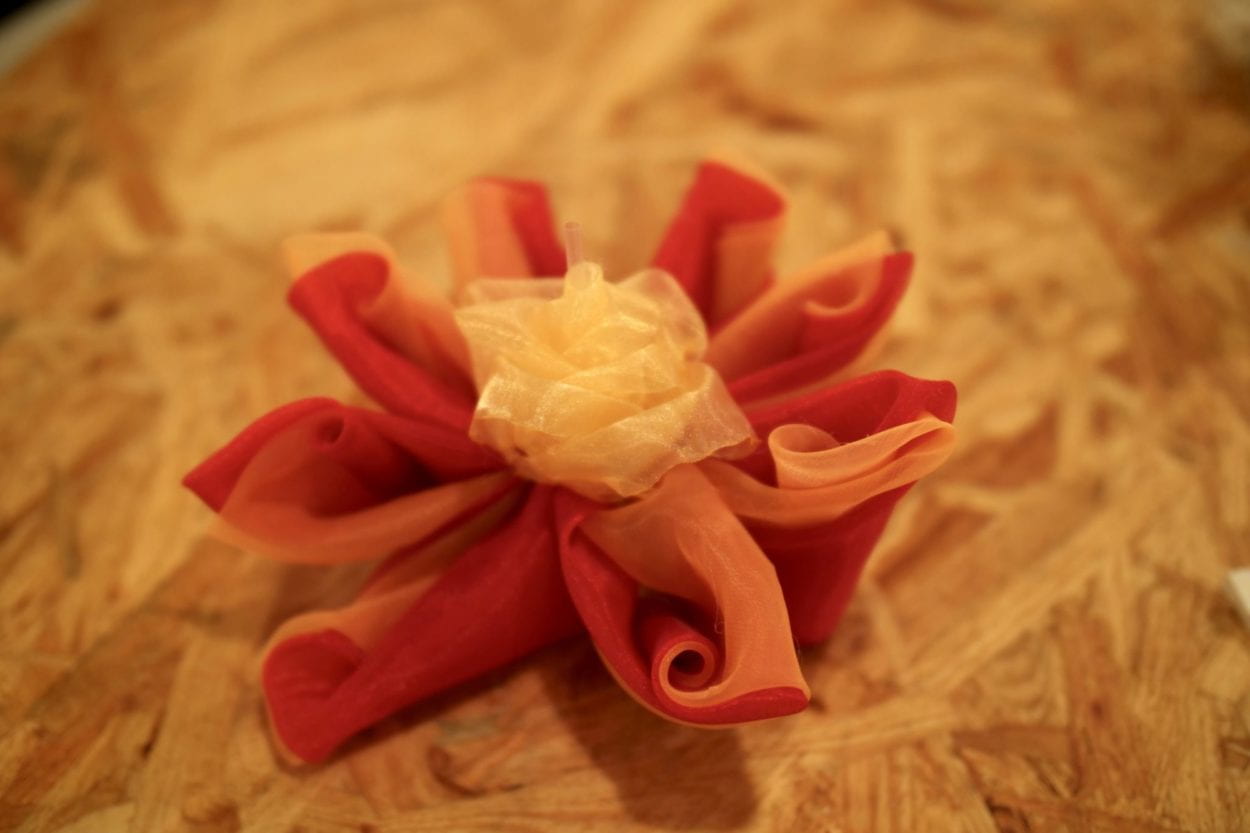
12 Flowers

1. Carnation
2. Afternoon Squil
 3. Scarlet Pimpernel
 4. Four O’Clock
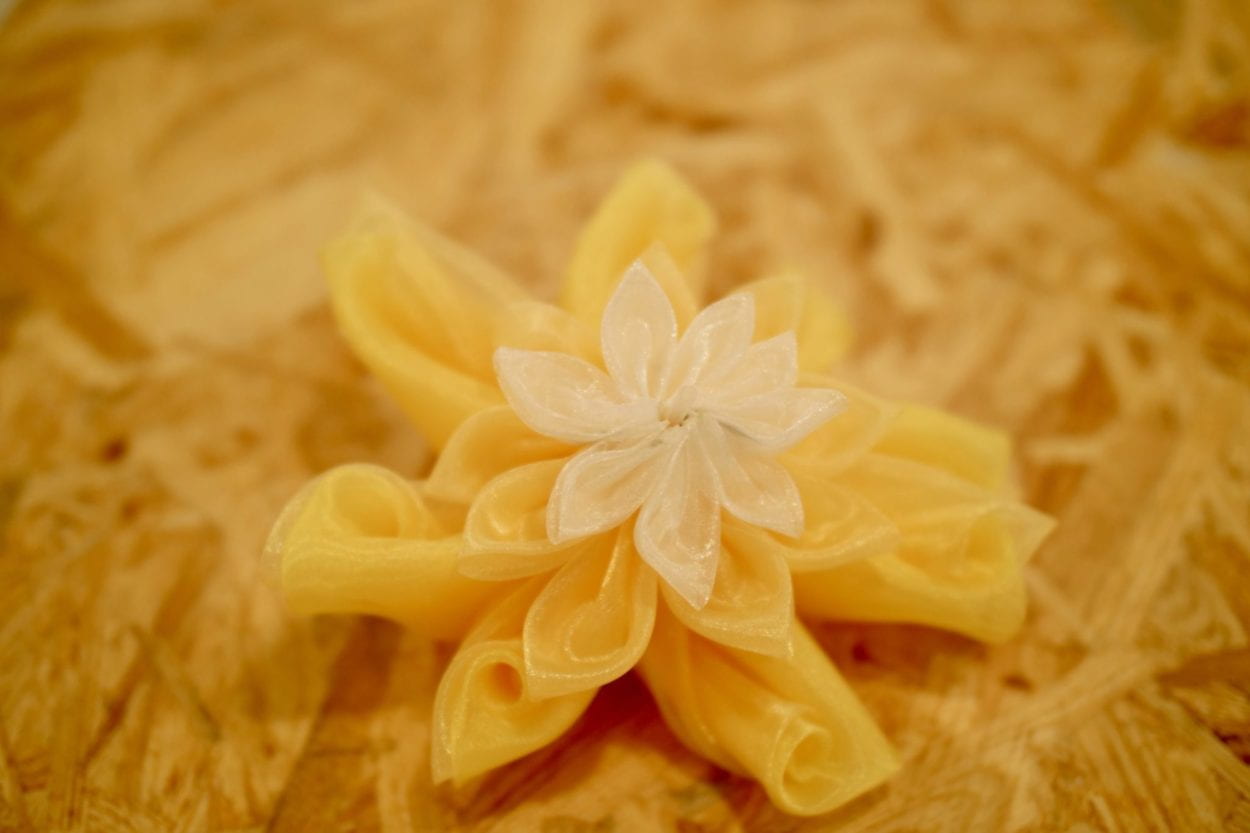
6. Hawkweed
 7. Evening Primrose
8. Proliferous Pink
 9. Smooth cat’s-ear
10. Ice-Plant
 11. Star of Bethlehem Flower
 12. Common Marigold
4. Build Everything together
1⃣Stick the outside petals on the motor box.
2⃣Attach the thread to the outside petals.
3⃣Put the neon pixel under the first layer of the flower.
4⃣Attach the thread to the flowers’ outside petals.
5⃣Put the flowers on the wood petals.
6⃣Put all the thread into a straw that is in the middle of the flower(low friction).
7⃣Stick the motor to the motor box.
8⃣Tie all the thread on the motor horns. 
9⃣Close the box.
🔟Program the motor and light.
 
 
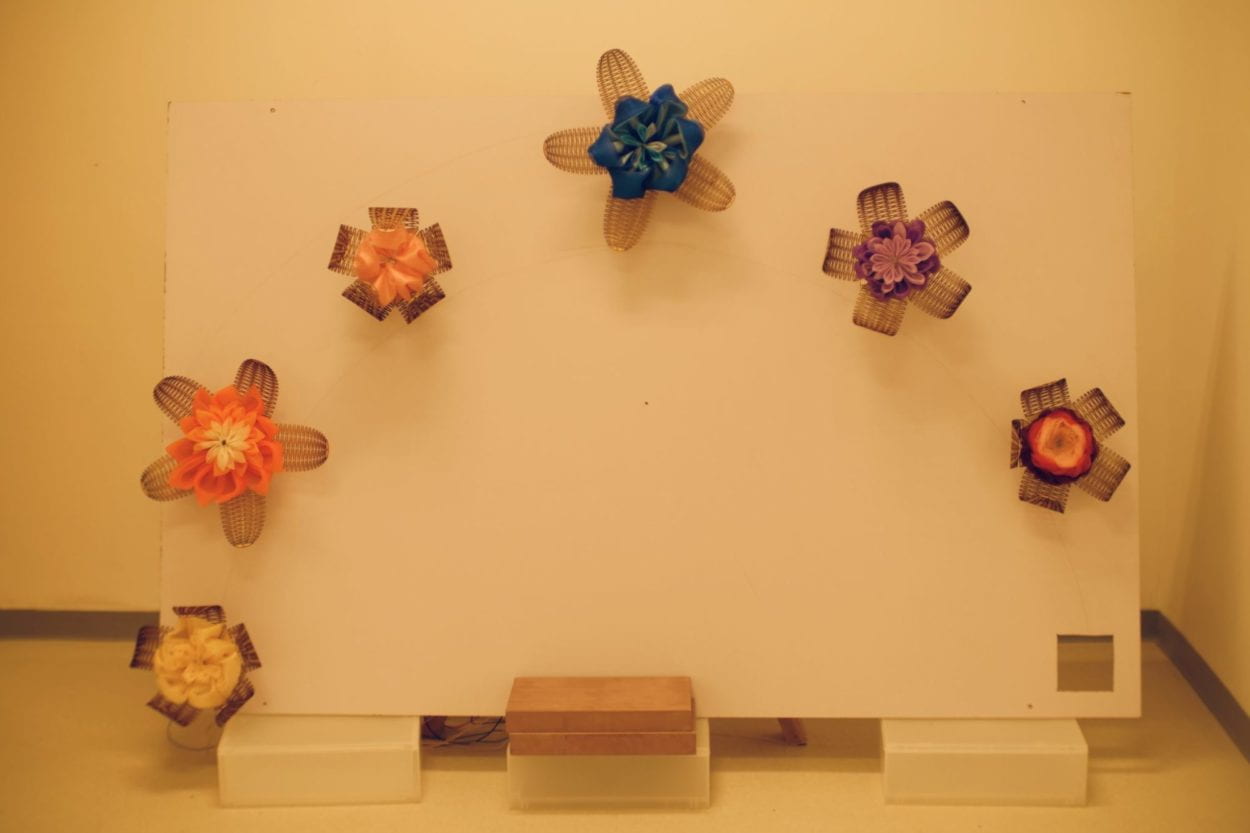
My original idea is that the project is hanging on the wall and user can view it as a clock(or on the ceiling face the bottom), but I also find another way to view it by chance. I can place the flower on the ground and face top, so it invites people to come closer and it also conforms to the natural rule. However, I did not find a good way to hide the wire if I put it on the ground, (use a big piece of wood might help but it might also prevent the user to step on it). So in the end, I chose to put them on a whiteboard and put the board against the wall.


PRESENTATION
 
Presentation/IMA Show: The audience understands the project as a flower blossom, but since I did not finish all the 12 flowers (takes around 12 hours to finish one), it did not like a clock that much. And since I do not have time before the IMA Show to finish it, the flower can open and close but not open and close according to the time. 
But they did react as I expected when I show one flower blossom, which is the same as I watched the time-lapse video.
Present Way: I feel like putting all the flower on the same big board might end up minus the effect on each flower. this problem might be solved if I can have 12 flowers shown and let them open one by one according to the time.
The wood pental: might be introduced in a better way. I do like the fact that they make the flower blossom more obvious, maybe painting in them in different colors that are consistent with the flowers?
Light: The light will be more obvious in the total dark place. My original idea is that the light will light up after sunset. I think I still need a better way to present the light during the day time. 


CONCLUSION
 
I did not finish my project completely as I planned, but I learned so so much from this project. Needless to say that the mechanism behind a moving object was so fun to explore and making flowers was like art therapy.
 
From making mistakes this time, I also learned: 
 
1⃣ALWAYS HAVE PLAN Bs FOR EVERYTHING
Even though I had plan B on many steps during making the flower, such as using alternative material to do the petals,  but I did not have a plan B for the final result, which ended up that people did not see my whole project in the end and did not know how it works. 
This time I did not spend that much time on having a plan b for the final result, because I did not want to give myself a retreat. However, in the end, I realized, no matter how much you like the idea, you should at least estimate the time appropriately and make the adjustment when necessary. 
 
2⃣TIME MANAGEMENT
We had a time schedule at the very beginning and it was one week before the IMA show I realized I’m a little behind my schedule and might be more and more behind. However, I did not adjust the time or my plan (and did not want to admit it but just want to finish the project), which I should probably do.
 
3⃣BE ORGANIZED
Since I have too many small stuff this time, like fabric, motor, needle, candle, etc. it’s hard to carry them from one place to another place and be organized at the same time. so I laser cut a box for them and made my life much easier. I think next time the can be with more organized categories.
 
4⃣DOCUMENT EVERYTHING WHILE MAKING IT
 
POTENTIALS
After finished the project, for further development, I think I can try to rotate the flower while opening. And for the fabric making the flower, I also saw some videos using ribbon to make the flowers, which might also be a good way to try.
 
 
François Truffaut says, ‘At first you want to make a brilliant film, in the end, you just wanna finish it’.I guess it’s the same for installation.
However, when you finish it (in a way), your heart is still full of joy. When you recall everything, it was so fun and worth it.
 
And there were so many people offered help and I really really appreciate it.  I can never finish this project by myself, thank you so much for all of your help:
Eric Parren, Andy, Vicky Chen, Stan Gao, Ava Hu, Sylvia Lee, Cindy Hu, all the fellows helped me with laser cut and all the kind people that put flower-making tutorial videos online.💗


Project 3 Flower Road- Max

Title : 꽃길 (Flower Road)

Project Description

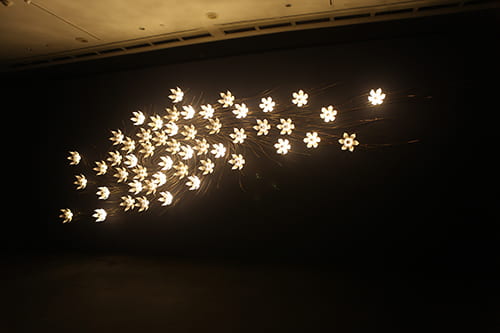
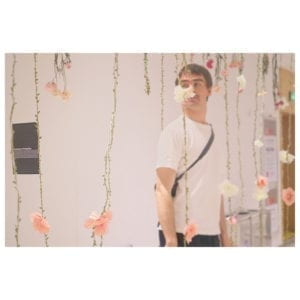
꽃길 is a light installation project. Back at home, we have thousands of Chinese Rose growing in our garden during springtime. When I moved to Shanghai and live in Pudong, studying at a building, I always feel pity for not being able to see many flowers during springtime. Then I thought about bringing in this flower project into the campus, to make people feel the liveliness and beauty of flowers. Therefore, the initial idea is just to bring spring back through the creation of blossom of flowers.

Secondly, there’s a music piece I enjoyed a lot called 봄날에 만나자 (Let’s Meet in Spring).https://www.shazam.com/track/346438630/lets-meet-in-spring

The song is saying people meet their loved ones when spring comes. The loved one makes people feel like a flower is blooming in their heart. I am also trying to make people feel in love when they interact with my project.

Besides, as a senior, we are graduating this semester. There’s a traditional Asia metaphor called 花路 (꽃길 aka Flower Road), saying the bright future is just coming forward. We like to congratulate each other “wish you could walk the flower road. 祝你走花路” Therefore, I think it would be cool to make a flower road. 

Development & Technical Implementation

I first had the idea of just using real flowers. I bought four types of different flowers, not sure which ones are good for hanging. I need to make sure that the flowers would be durable for hanging and become dried flowers. With one week’s test, only one breed survived. 

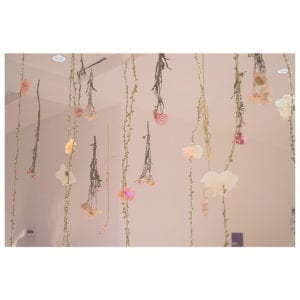
I first hung all the fake vines and real flowers onto the support frame. I know I need to incorporate light into this project in a nice way, by using the light to enhance the blooming of flowers. I used the EL wires to act as the vines, but it didn’t work quite well. Then I decided to focus on the flower. 

What I did with each flower is to first solder one neon pixel with 3 white wires, and using the glue gun to cover the neon pixel with the petals. And I also wired all three wires together, so it’s neat for later installation. There’re so many times that when I tested the neon pixel’s, it worked fine when I wired up everything, the neon pixel stopped working. I spent a lot of time making sure all the flowers are shining well.

I programmed the flowers with two sets of codes. The white flower with the yellow change code, and the pink flower with the purple change code. This took a huge amount of time in the way of trying to figure out how to make one work, as well as number each of the flowers and make them work together. I also had two codes, because I divide all my flowers (total 4 meters) into 2 meters vs 2 meters.

https://github.com/maxxiongchen/project3/tree/master

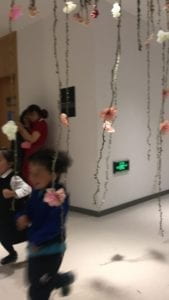
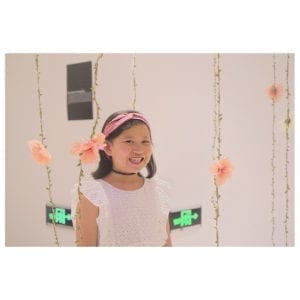
The final implementation didn’t show until hanging it for the IMA show. And people were quite actively walking through and interacting with it.

Presentation

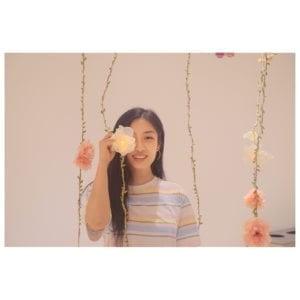
The presentation in the IMA show went quite well. (Better than I expected)I could see people were quite happy with me bringing all these flowers into this working building. None was unexpected except one student said this is just a project good for taking pictures, which is not my intention at all. I did see many people taking pictures, filming with my project, but I do not think that is a bad thing.

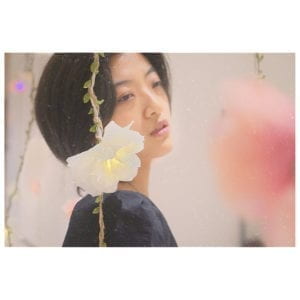
Most of the people seem to appreciate the idea of bringing back spring and walking the flower road. I also got feedback from one art history professor saying she enjoyed my project, as an IMA work, the good mention of art aspect (the use of real flowers) is great.


Conclusion

I learned about the use of flowers. I also am more aware of the time needed for installations. When I started for this project, I thought it might take around 30 hs maximum to finish, but then it ended taking much more than that. Besides, always check the voltage. I borrowed 5v from ER, but they gave me 12v, I didn’t double check and that ruined half of my lights. Be careful with that. One last thing, the breadboard is not the best choice for installation like this. 

In general, I succeeded in bringing back spring through my project. 

Week 14: Kinetic Light Final Project – Tiger Tian

Title   Disco Fever

Presentation Date   05/17/2019

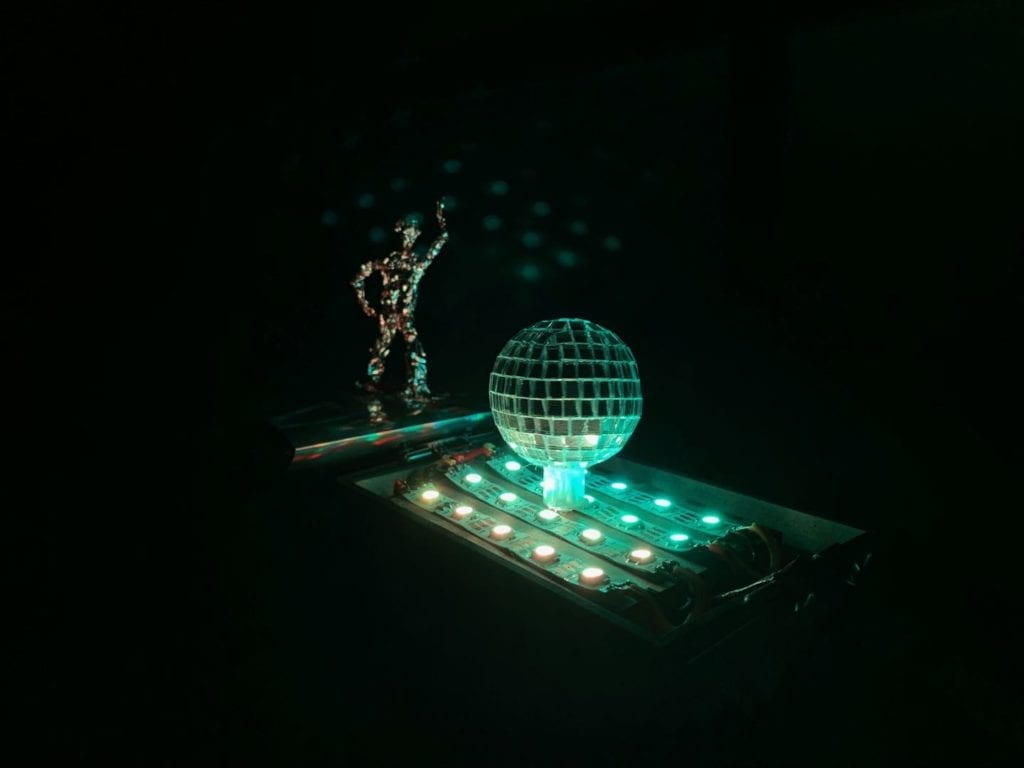
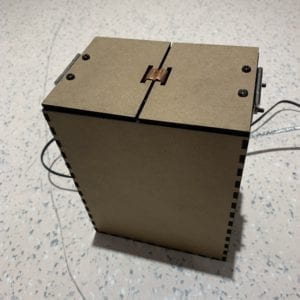
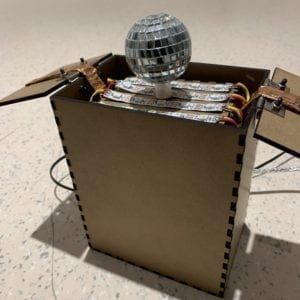
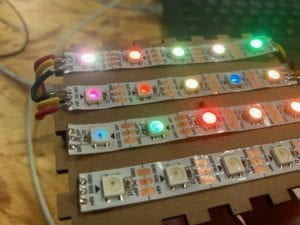
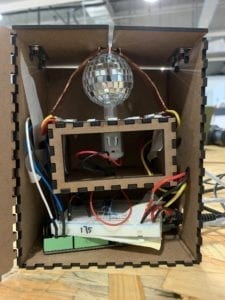
Project Description   Intended to pay homage to the 1977 film Saturday Night Fever, “Disco Fever” comprises a DC motor and a NeoPixel LED strip. As the light composition goes, the spinning disco ball reflects the light and casts it throughout the room, creating dynamic patterns all around. The box containing the motor and circuit was made using laser cutting, in which there is a hidden layer that will lower to hide the disco ball when the lids of the box close.

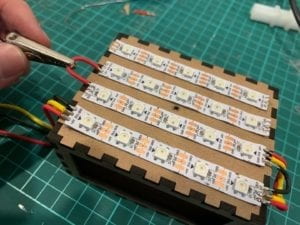
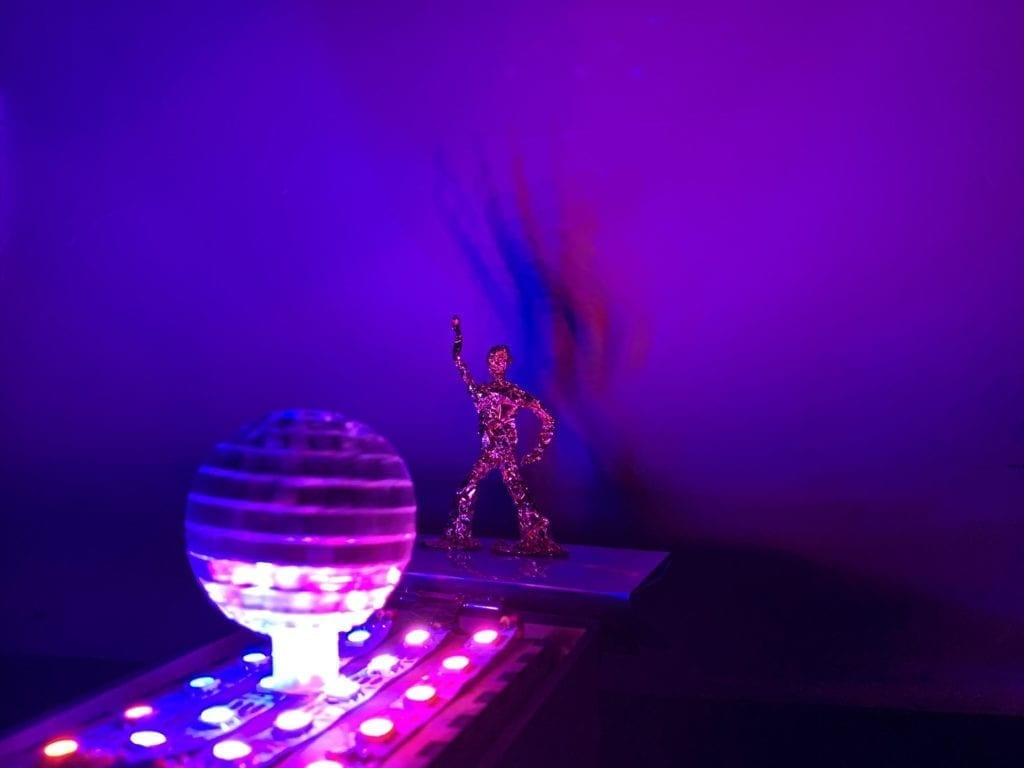
Perspective and Context   As a fan of pop music, I found dance music to be the most engaging and inspiring genre. From 70’s disco to 10’s electronic dance music, dance music has evolved a lot; what remains unchanged is its liberating essence. Dancing symbolizes the liberation of the soul from the mind, and thus dance music acts as the medium that enables the revealing of one’s true self to happen. Greatly inspired by that, I wanted to make a disco box that embodied the retro disco spirit. The intention of my project was to revive the atmosphere of 70’s disco dance floor using a small-scaled device but within space as big as a room. I simulated the famous light matrix dance floor from Saturday Night Fever with four strips that are connected together in a series circuit. The disco ball, on the other hand, softened the light and shattered it into various shapes, producing a sparkling effect.

Saturday Night Fever, 1977

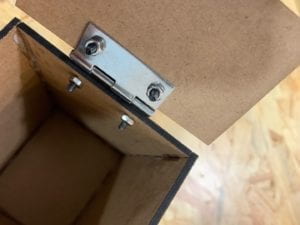
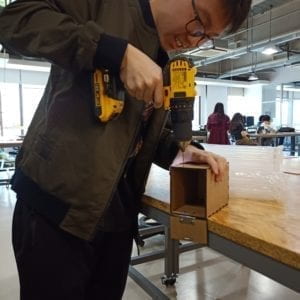
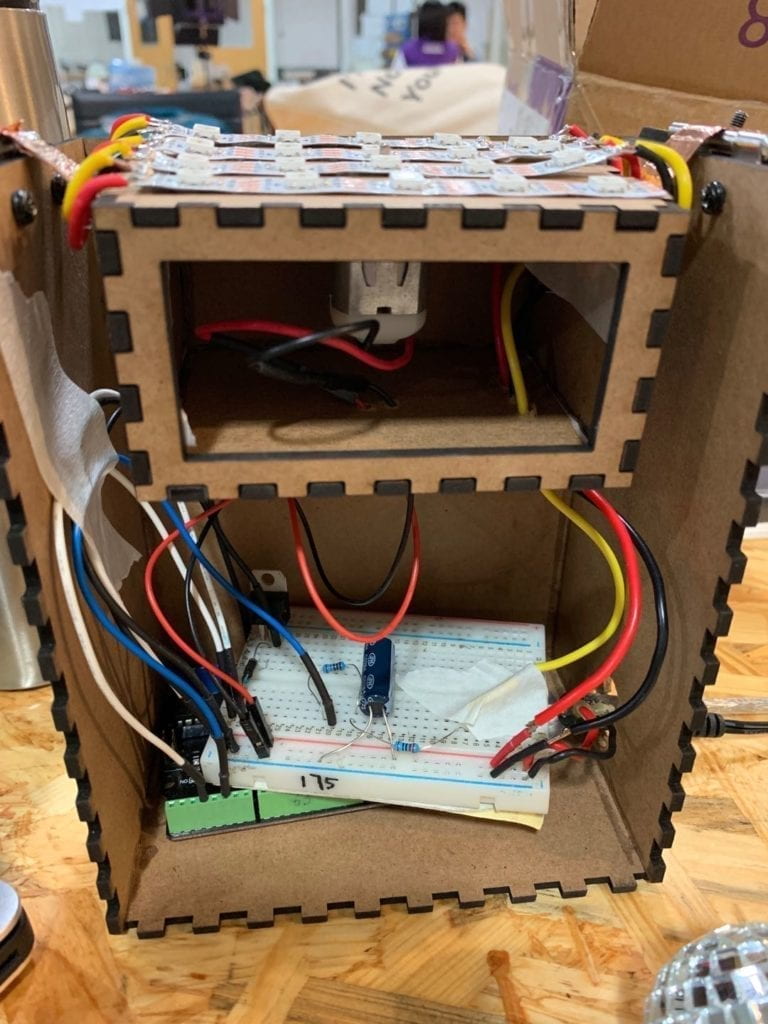
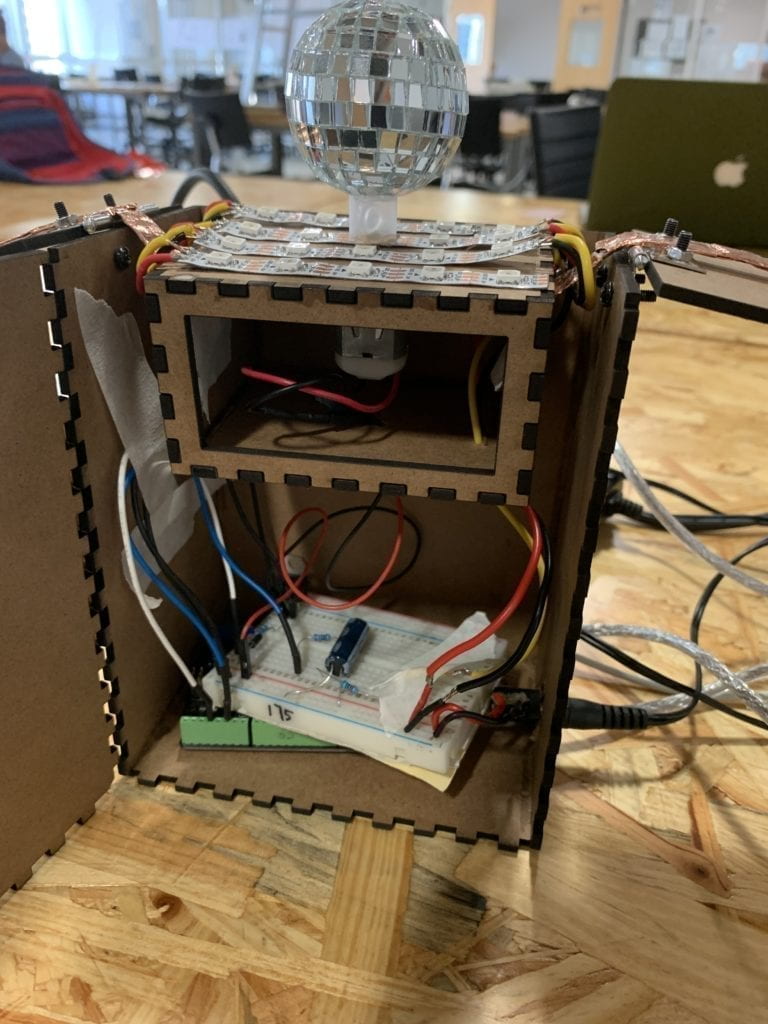
Development & Technical Implementation   The creation process started with making the box. With the help of fellow Leon, I laser cut the two boxes needed for this project. To make the lids, I bought hinges online, drilled holes in the box, and screwed the hinges to the box. I glued the sides of the box together with super glue and left one out for the convenience of building the inner structure of the box.

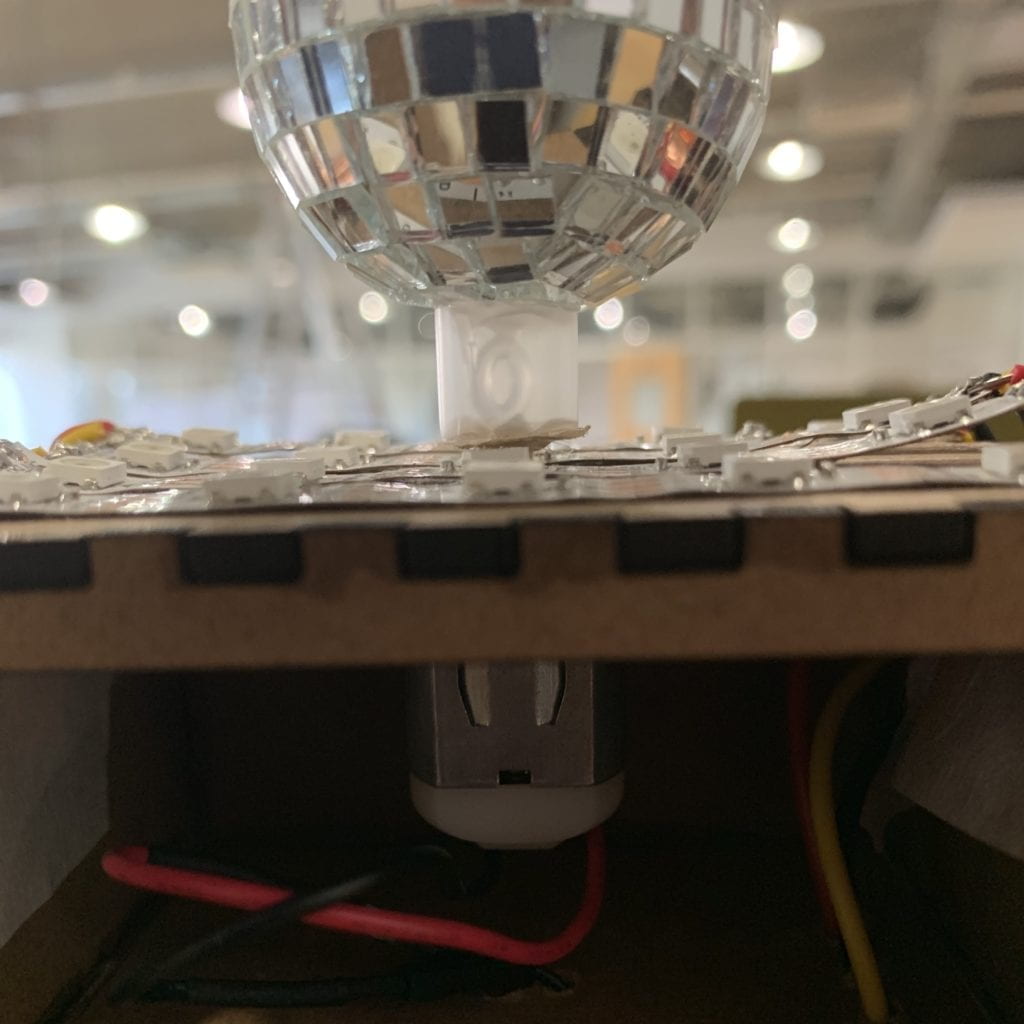
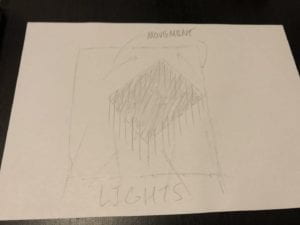
The purpose of making a box was to hide everything inside when it’s closed, and have the disco ball automatically lifted up when the lids open. The inner box is the key to the trick, and also where the LED strip would be. I glued the four strips zigzagged on the lid of the inner box, and then soldered them together. This process happened twice because the first time the product didn’t work, and I couldn’t decide what the problem was. So for the second time I did it, I tested the strip as soon as I finished soldering each part, in order to make sure every joint was well done.

The lids work like this:

After assembling the box, the challenge was to hide the circuit, which contained a strip and a motor, within such small space, and to keep the circuit stable with the inner box moving up and down. I used a lot of tape to make sure the wires stick to one side of the box and don’t interfere with the inner box. Some extended wires were needed to connect the motor as well. To fix the disco ball, I used hot glue. Since the box would be moving up and down, the wires of the strip needed to be flexible, so I soldered a strand wire at the end of each wire of the LED strip, which are softer and easier to bend than solid wires.

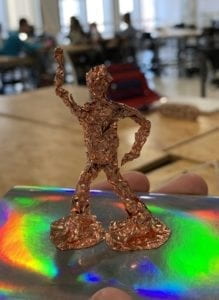
The last part but also the best part is the little statue I hand-made with conductive tape. I gave it the iconic gesture in Saturday Night Fever to make it look like it’s dancing. This little statue is not part of the box but stands beside the disco ball. Because the tape is reflective, it looks extremely shiny with dynamic light casting on it.

Presentation   During the in-class presentation, thanks to some advice I got from my classmates, this project was made a whole lot better through just a simple change. I changed the position of the little statue and put the box against the wall, and the shadow of the disco man statue cast on the wall produced some unexpectedly amazing effects. Because the light from the LED strip constantly changes, the shadow on the wall moves as if the man is actually dancing. I also played the “Stayin’ Alive” song to reinforce the disco theme and build the dance club atmosphere. The feedback was mostly positive, saying that it did produce some “disco vibe” as I expected.

On the final show, this project attracted a lot of attention, which I hadn’t expected at all. Many took photos and videos, and told me that they were impressed at the dynamic movement of the shadow. Some also said that it would look better if made in a larger scale. There were even two little kids who saw my project and started dancing instantly, and thanks to them, I think I have achieved my goal of motivating people to dance to this project.

Conclusion   The making of this project did equip me with a lot of skills that I wasn’t so familiar with or hadn’t even touched before. I had to use the drill a lot to make holes in the box and screw screws into them. Soldering the LED strip really made me better at soldering as I spent about three hours in total doing it.

What I would have definitely done to do it better is to integrate music into it, rather than using an external player. Or better still, I would time the light composition to the music so that the shadow would dance on beat. I would also make the lids into a switch that turns the circuit on when opened.