Week 10: Deep Dream

Idea

For this week, I wanted to use deep dream to create that trippy zooming in kind of video. I couldn’t figure out a proper way to do what I wanted with the code we used in class. I found an implementation of deep dream with tensorflow online. I followed this guide to use deep dream with different kinds of parameters.
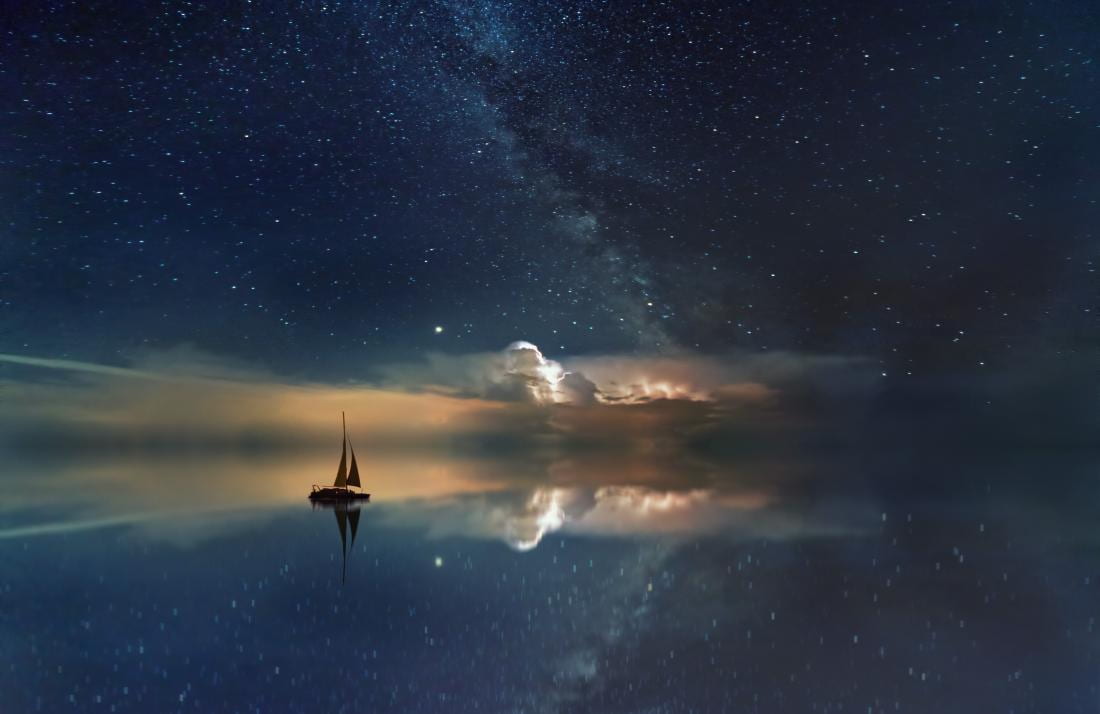
I started off with this picture of a random scenery:
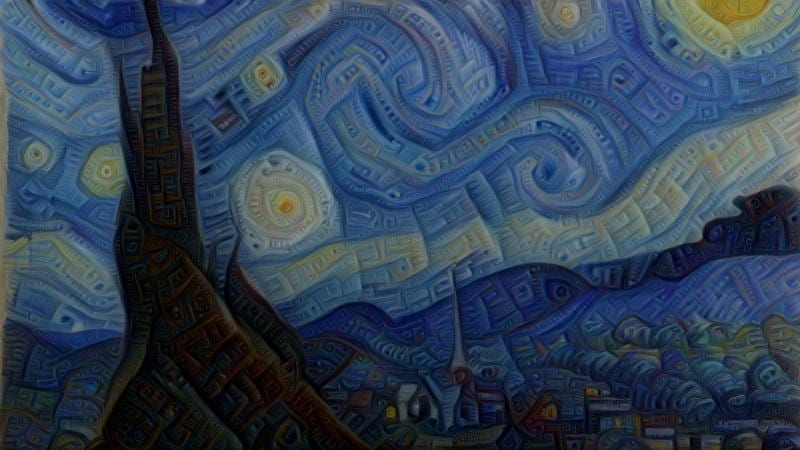
Here’s a sample output with the standard parameters for starry night that I pulled from the tutorial:
Method

The tutorial had a very handy list of what effect each layer of tensors would have.  The process was not too complex: it would do the same things we did in class and feed back the output to the algorithm after zooming in a very small bit. After creating many of these images, we can chain them to create the trippy looking video. 

layer 1: wavy
layer 2: lines
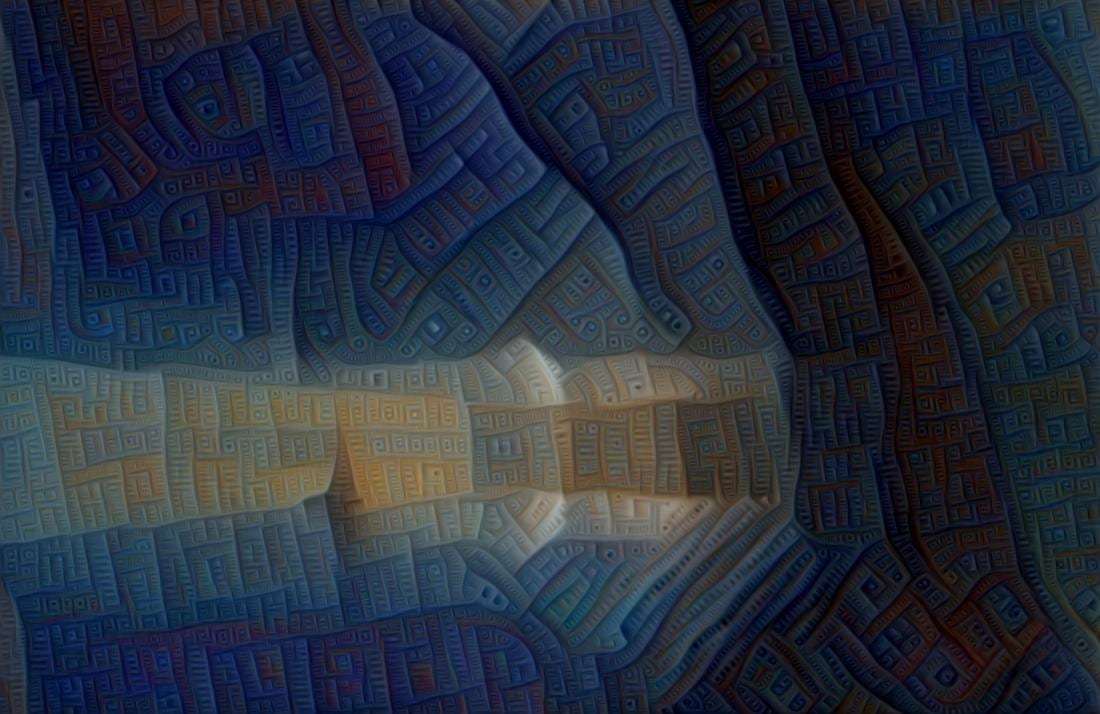
layer 3: boxes
layer 4: circles?
layer 6: dogs, bears, cute animals.
layer 7: faces, buildings
layer 8: fish begin to appear, frogs/reptilian eyes.
layer 10: Monkies, lizards, snakes, duck

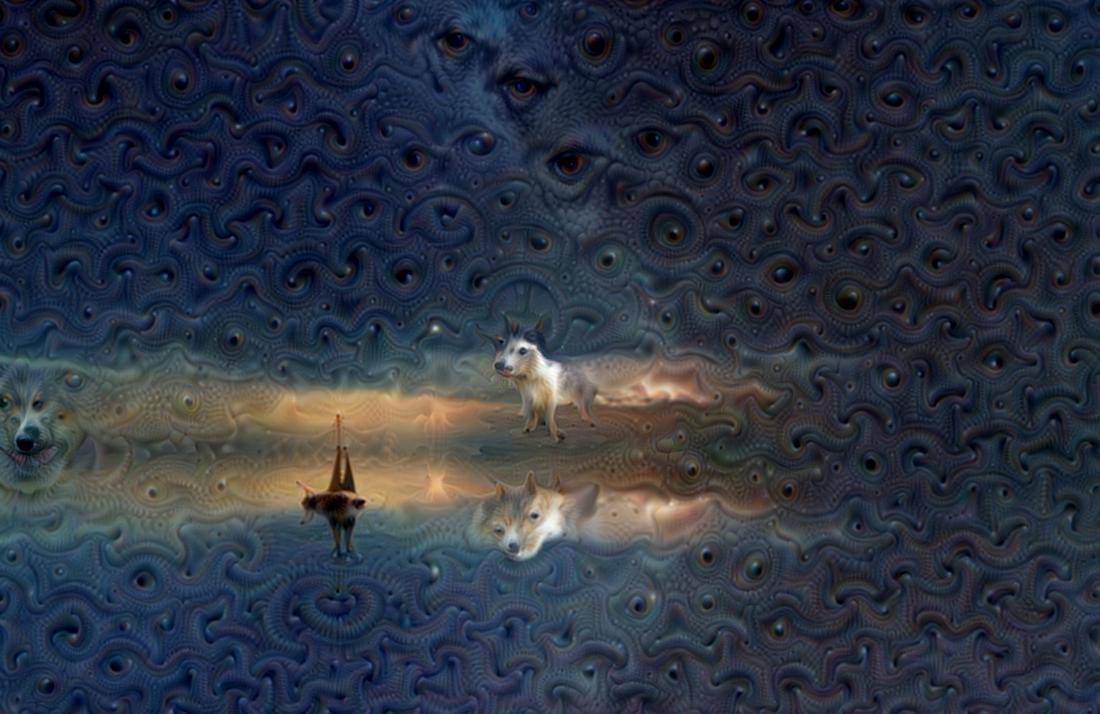
I used layer 6 to get the dogs, and ran it for about 120 images. Each generated image would be fed back into deep dream to generate the next one.

Output

Here’s the output after 5 recursions on layer 6:
Here’s the output after 5 recursions on layer 3 (boxes):
Here’s the video I got by chaining all the images together on layer 6 (123 images). It’s playing in original speed. 

Here’s the video with layer 3 (50 images). It changes layers somewhere in the middle to layer 4 to get the circles. It is 0.5x of original speed. 

I would ideally like to be able to train for longer and more images to create a video for around ~1 minute but I fear it’d take far too long.
Week 10 – Deep Dream – Jenny

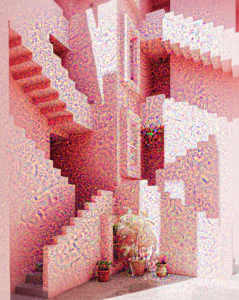
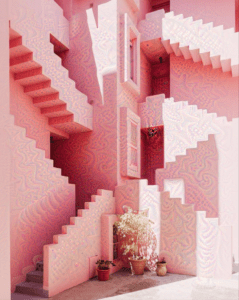
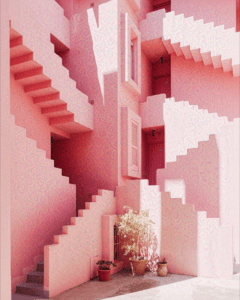
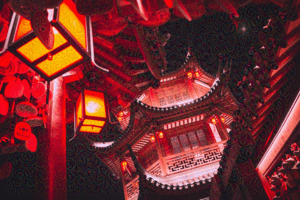
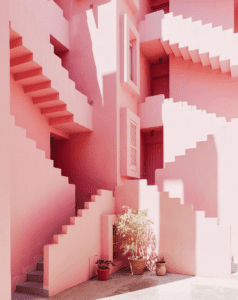
This week I explored some application of Deep Dream on my own computer. I choose one architectural photograph and manipulated with different parameters. This image does not have any outstanding pattern and I am quite curious about the output image after applying Deep Dream layers.

Input Image

ad

Parameter 1

step = 0.01 
num_octave = 3 
octave_scale = 1.4 
iterations = 20 
max_loss = 10

(I did not change the mixed features in setting this time)

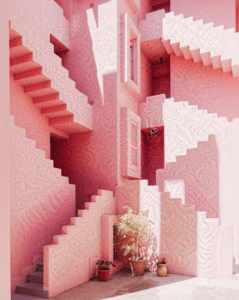
Output  1

a

Parameter 2 

Change step to 0.1 

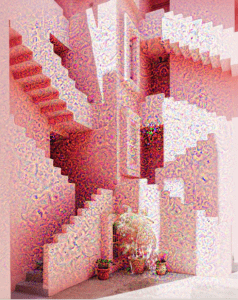
Output  2

2

Clearly, the generated pattern becomes more outstanding but the sharpness of pixels are increasingly lost. Therefore, I would prefer to say at a lower step and generate the image more times with Deep Dream rather than directly increase the step value.

Parameter 3

Change num_octave to 30

Output  3

I got almost the same result as output 2. The clarity of the image has been decreased sharply. I prefer to stay low for this parameter.

wef

Parameter 4

Change iterations to 200

Output  4

acf

There is no much difference with the first output. So I think the time of iteration does not influence much of the output image.

Parameter 5

In the end, in order to get a enormous different from the first output, I changed these parameters as follows. 

step = 0.005 
num_octave = 1
octave_scale = 14.0
iterations = 2000
max_loss = 10.

Output 5

fre

Compared with output 1, this image has relatively small texture and more shallow color of each pattern. I also found that num_octave cannot be changed to float. So there are some underlying restricts among these parameters. 

By adjusting these parameters, I can actually get different output from Deep Dream. But I think the image I choose does not have various color and an obvious pattern, therefore, the result does not look cool compared with our in-class exercise. 

IML | Week11 Final Concept Proposal – Quoey Wu

As for final project, I want to make a simple way for people to do daily logs. Nowadays many people love to do bullet journal and then post them on media platform. However, it tends to be time-consuming when we try to make it as pretty as possible, which can be the majority reason why we cannot insist for a long time, especially for students or office works. Thus, I would like to create a way that people can do daily logs to record their highlight moments with pretty visuals but at the same time don’t need to spend too much time. 

Continue reading “IML | Week11 Final Concept Proposal – Quoey Wu”

Week 10 – Deep Dream

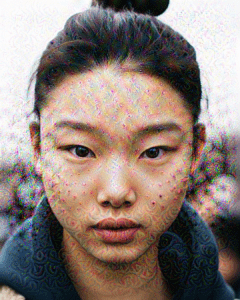
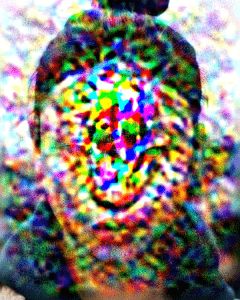
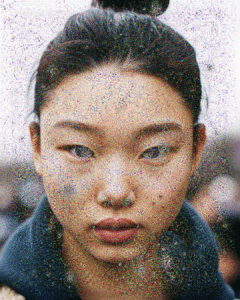
As a photographer, I found myself very interested in the applications of deep dream. Although I’ve seen various artists use deep dream generators to create ‘trippy’ scenes and illusory patterns, I’ve never actually experimented with it myself. Going off of the steps we performed in class, I continued to play around the parameters, using a portrait shot I found online. Initially, I wanted to use the human face as a template, because I’ve seen images of people being warped before, and I thought the effect was quite unusual. However, the images didn’t turn out the way I expected:

‘mixed2’: 0.2,
‘mixed3’: 0.5,
‘mixed4’: 2,
‘mixed5’: 1.5,

step = 0.01 # Gradient ascent step size
num_octave = 3 # Number of scales at which to run gradient ascent
octave_scale = 1.5 # Size ratio between scales
iterations = 20 # Number of ascent steps per scale
max_loss = 10.


‘mixed2’: 1,
‘mixed3’: 1.5,
‘mixed4’: 2.5,
‘mixed5’: 1.5,

step = 0.09 # Gradient ascent step size
num_octave = 15 # Number of scales at which to run gradient ascent
octave_scale = 10 # Size ratio between scales
iterations = 50 # Number of ascent steps per scale
max_loss = 15.

‘mixed2’: 1,
‘mixed3’: 1.5,
‘mixed4’: 2.0,
‘mixed5’: 1.5,

step = 0.05 # Gradient ascent step size
num_octave = 15 # Number of scales at which to run gradient ascent
octave_scale = 6 # Size ratio between scales
iterations = 30 # Number of ascent steps per scale
max_loss = 20.

From these test sets, I gained a general idea of how the parameters affect the final image. It seems that increasing octave numbers results in a more warped color field, while increasing step size leads to more fine grained shapes. A greater number of iterations will also lead to more refined structures, but this will take a longer time. 

After running these test images, I wanted to find a good balance between rigid structure and color warping, and ended up with these parameters:

‘mixed2’: 1,
‘mixed3’: 1.5,
‘mixed4’: 1,
‘mixed5’: 1.5,

step = 0.01 # Gradient ascent step size
num_octave = 3 # Number of scales at which to run gradient ascent
octave_scale = 3.5 # Size ratio between scales
iterations = 50 # Number of ascent steps per scale
max_loss = 10.

With this setup, I applied it to my own photos:

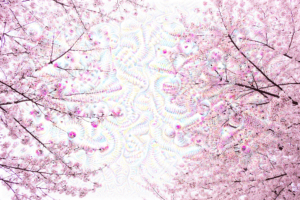
Judging from these results, I feel that my night time shots didn’t mesh too well with deep dream, as the structures and colors didn’t stick out enough. However, if you look very closely, you can still see the intricate patterns. I think my shot of the Sakura trees during the day worked the best, as the colors are extremely noticeable, and the patterns complement the flowers very well. Even the color scheme turned out quite well, and I hope to apply this deep dream pattern to my other daytime photos as well, since I think those types of photos work best with this. 

Week10 – Deep Dream

For this assignment, I chose to explore deep dream further and observe what sort of effects I could create. I was really inspired by the Memo Atkan video and wanted to create something similar to that.  
After going through a bunch of tutorials, I came across this guide to creating multiple deep dream images and then chaining them into a video using openCV. 

The concept I used for this project was a picture of Billie Eilish from her album titled, “When We Fall Asleep, Where Do We Go?” It seemed very appropriate to use Deep Dream here because of the recurring theme of ethereal elements in the songs in her album.

The tutorial explained which tensor layer, account for which effects, which I’ve replicated below for reference.

layer 1: wavy
layer 2: lines
layer 3: boxes
layer 4: circles?
layer 6: dogs, bears, cute animals.
layer 7: faces, buildings
layer 8: fish begin to appear, frogs/reptilian eyes.

layer 10: Monkies, lizards, snakes, duck

I thought it would be cool to control the different layers that go into the video, so I added a chunk of code to control which tensor layers are considered for a given image frame. 

Here are some reference images:

First Image
Base Image
tenth
10th Image
Twenty
20th Image
100
100th Image