2much // IML project by Konrad Krawczyk

2MUCH // Interactive Machine Learning final by Konrad Krawczyk

initial exploration + new idea

The initial idea was to explore the precious 1 TB of user data that survived the MySpace server purge. The dataset, listed publicly on the Internet Archive, consists largely of music tracks uploaded by amateur and professional musicians on the network. The data is no annotated with tags other than author and name, all that’s left are the raw mp3 tracks. This is why at first I felt a bit apprehensive about simply using mp3s to generate music, since the samples are so diverse and vast that even the most comprehensive model would likely not return anything meaningful.

Another idea popped into my mind a few days later. I wanted to make an app that enables users to autotune their voices into pre-specified, pop-sounding, catchy melodies. I realised this would be a great endeavour, however, my goal was to make at least a minimal use case for an app like this, with both a back end and a front end working.

data analysis and extraction

After having looked at MySpace data, I got somewhat scared by its ambiguousness and scale. I decided that it would not be feasible to try to simply train a GAN based on mp3 data. Instead, I decided to look up a database that would be a bit more focused. I found a useful tool for crawling the web for MIDI files (import.io), which enabled me to bulk download MIDI files for over 400 most famous pop songs from the freemidi.org database. After having analysed these files, however, it turned out all of them contained multiple tracks (up to 20) and used different instruments, including atonal beats. What I wanted to have instead was a dataset of pure melodies, which which I could generate my own ones. I still have the freemidi.org data on my computer, however.

Therefore, I eventually decided to merge the two ideas and extract MIDI melodies from mp3 audio files from the MySpace database. I accomplished it for around 500 files using Melodia.  This GitHub package has helped me significantly in accomplishing the task: https://github.com/justinsalamon/audio_to_midi_melodia Initially I had problems installing all the necessary packages, as it seemed there has been ongoing technical difficulties on my Colfax cloud account. However, eventually I got the sketch to work after manually adding the necessary plugins. In the future I would be more than happy to extract more melodies thereby making a more comprehensive database, however right now I cannot do this due to the inability to submit background-running qsub tasks.

training the model

After having collected the training data, I went on to search for implementations of generative music algorithms. Most of them seemed to utilize MIDI data to generate tonal melodies. The one that got me particularly interested due to its relatively simple and understandable implementation was about classical piano music generation. In its original implementation, it used data from Pokemon soundtracks, in order to train a Tensorflow-based Long short-term Memory Recursive Neural Network. It is relatively difficult to understand technical details of long short-term memory networks, however it seems that they enable for greater recognition of larger, timed patterns in musical progressions, which is why they’re the go-to tool for music generation. I trained the LSTM and changed the parameters, most notably the number of epochs (from 200 to 5) – simply to get the optimal use case faster.

After having obtained the model file, I included it in a new GitHub repo for my Flask-based back end. I used code from the aforementioned GitHub repo to generate new samples. The original generated 500 new notes, I broke it down to 10 in order not to make the wait time on the web awfully long. The initial results have been variant in some good and bad ways. What seems like a bug is that the notes are sometimes repetitive – one time I got B#-3 for 10 times in a row. However, this is a MIDI output that I could still use in an external API.

The entirety of data processing code for the Flask back-end can be found in this repo under data_processing.py: https://github.com/krawc/2much-rest

building the front end  

A relatively large chunk of the app logic had to be delegated to the React front end. The app was meant to coordinate:

1. parsing audio from the video input,

2. fetching the wav file to the Sonic API for autotuning

3. getting the generated melody notes from the Flask API

4. reading the output and playing it to the user.

The most issues I encountered happened on stages 2) and 4). It turned out that there was a specific style in which data had to be sent to the Sonic API, namely form-data, and that the data had to be loaded asynchronously (It takes around three different requests to Sonic API to actually get the autotune output file). Later on, I also had to work with syncing video and audio, which unfortunately still has to be fixed because the API trims audio files making them incongruent with durations of videos.

However, I got an app to work and perform the minimal use case which I intended to have.

The front end code is available here: https://github.com/krawc/2much-front

video – just me reading a random tweet, turning it into a melody:
iML Week 14: Final Project – Ivy Shi

Concept 

Tattoo Generation 

My final project is a continuation of the midterm project to work on tattoo image generation using GAN. I was inspired by the project named this person does not exist which is a website that displays random generative human faces based on real face images dataset it was trained on. My goal is to train a DCGAN model and creates a front-end interface that allows user to generate random tattoos. 

Process

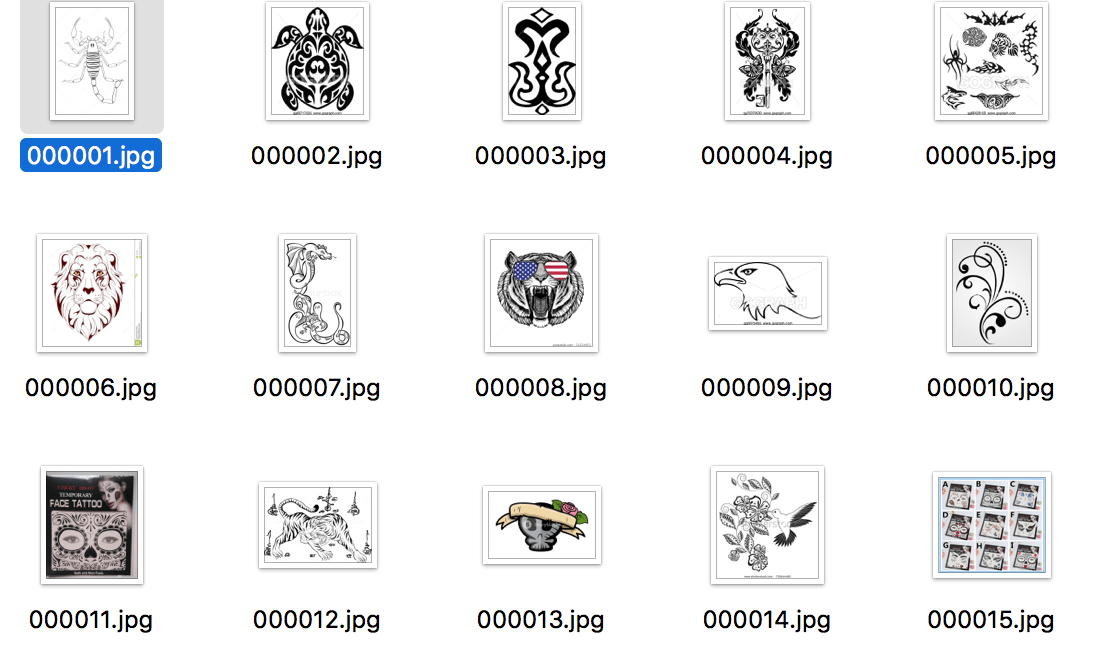
Data Collection: I started out by data collection since there are no existing dataset for tattoo images. The approach is to use the python script called “Google Images Download”  with chromedriver which scrapes Google Images based on search keywords/key-phrases on Google Images to my computer. For this project, I specifically searched for  “tattoo stock images” as they have clean background that will create less distractions for the model. There is a limitation to the tool so I could only download around 400 images at a time. After running it 10 times and manually filtered out photos, I obtained 2560 images for my tattoo dataset. 

Training: I used a DCGAN model on GitHub for training. Since images are different size, I had to pre-process them by center-cropping. I started out with 64×64 pixels images as they are faster to train and I can inference the results rather quickly. 

One problem I encountered during training was the dataset. The program would crash during random interactions within the first epoch. I decreased the batch size to check for the error. After some experiments, I found out that there was one corrupted image in my original dataset. After deleting it, everything started training smoothly. 


Result

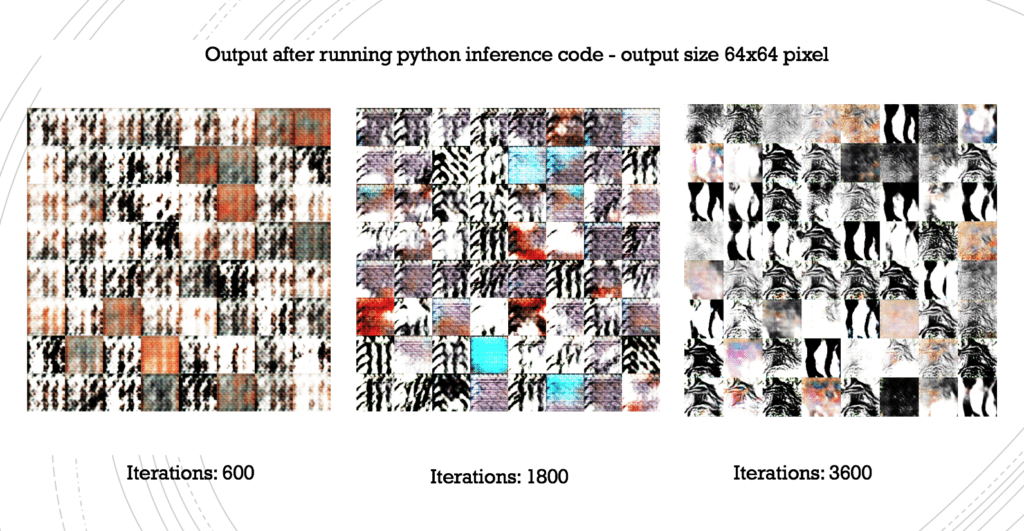
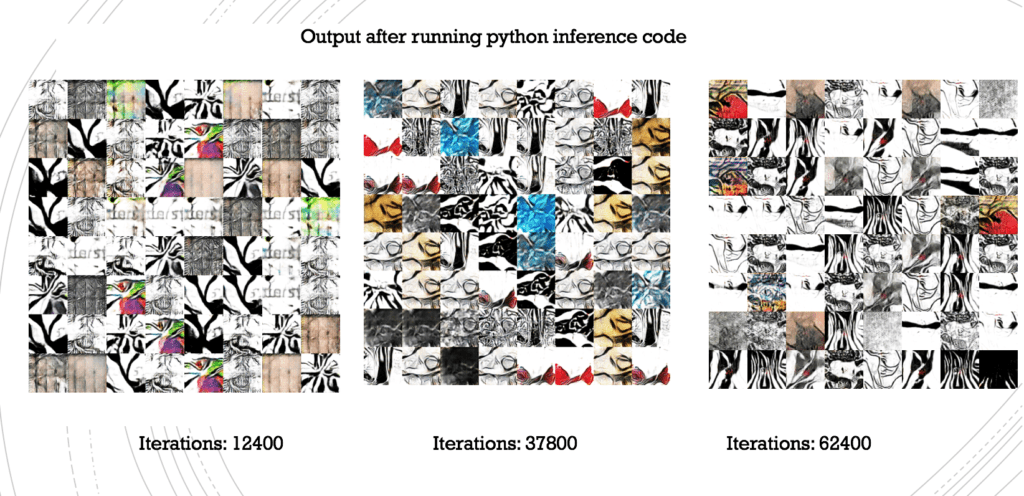
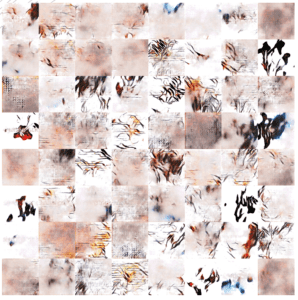
Then I used the python script to inference on the checkpoints generated. Here are some of the results I got: 

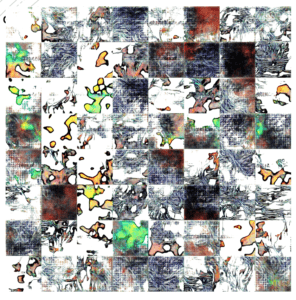
After getting satisfiable results, I wanted improve the output image quality. So I repeated the same process with 256×256 pixel images. The training took a lot longer than the first time, therefore I was only able to around 8500 iterations. The results are still worth noting here: 

Inference with TensorFlowJS: With good results from the python script, I  also want to experiment with inferencing in TensorFlow. Using the freeze flag, I obtained a frozen graph from the most recent checkpoint from the Intel Dev Cloud. Following Aven’s tutorial on converting CycleGAN model from week12, I modified the file by inputting the generator’s name which is generator_1/Tanh. Aven also showed this APP called

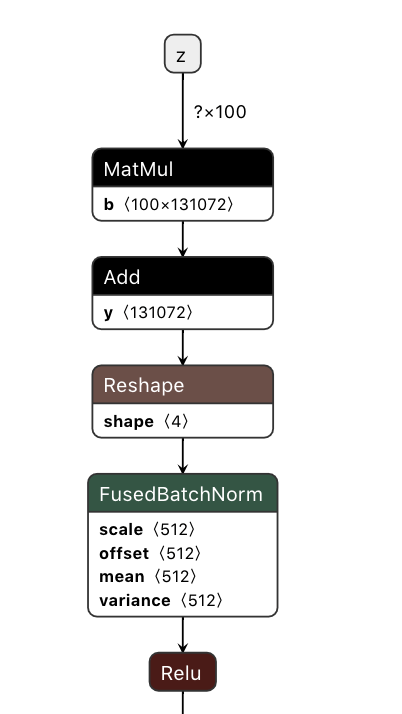
With good results from the python script, I  also want to experiment with inferencing in TensorFlow. Using the freeze flag, I obtained a frozen graph from the most recent checkpoint from the Intel Dev Cloud. Following Aven’s tutorial on converting CycleGAN model from week12, I modified the file by inputting the generator’s name which is generator_1/Tanh. Aven also showed this APP called Netron – a visualizer for neural network and machine learning models. It details how inputs are being converted in the model and what types of activation functions are used. In the case of DCGAN, it starts with input dimension Z. Since it is a very long graph, I included a snippet of the visual. 

Converting the model was quite difficult to do. Basically I followed the python script and tried to find exact same ways to do so in TensorflowJS. With much help, I eventually employed the right distribution function and obtained the right dimension for my tensor which then I can output on the HTML page in my front-end implementation. Right now, the front-end is quite minimal with an option for users to click and generate new tattoo images. Here is a demo and some example output: 

Something worth mentioning is for some reason, the tensorflowJS model produces much worse output images than the python script. I am not sure the exact reason and would like to look more into it.

Future Improvement 

Here are some areas I can improve on for the future. 

1) Upsize the dataset to improve model output 

2) Improve output image quality for better visuals 

3) Enhance front end functionalities with more user interactions

4)Experiment with other GAN or machine learnings models to allow tattoo generation based on user input sketches rather than random generation. 

iML Final Concept Documentation

Name: Yinmiao Li

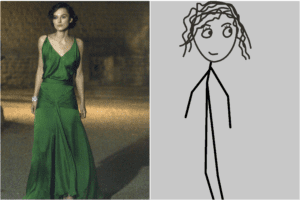
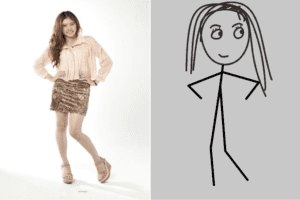
Concept: Transfer human full body photo to stick figure style pictures.

  1. Reason to choose the topic:
    I have done a lot of sound-related projects in many courses, including this, so I want to try something else other than a sound project.
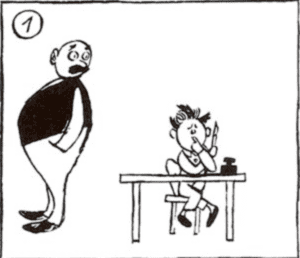
    I like the German comics Vater und Sohn (Father and Son) all the time. So I would want to do something like this comic style.
    From this book, I think about transfer human to this simplified drawing picture, and then stick figure.

    Also, many projects classify abstract ‘cartoonified’ photos into real objects’ photos. I was trying to do this in a reverse way. 
  2. Related Project: “Cartoonify”, “Scribbling Speech”, “Draw it”
  3. Methods Used: Try with style transfer and CycleGAN with google’s dataset Quick Draw. If the results are bad, changed to image classification and feature extraction. Also, PoseNet for the body movement.
  4. Expectation: Webcam capture or load full body photos, and transfer to stick figure style. If time allowed, connect with a small printer made by Arduino or Raspberry pie, and print the stick figure out. Adding some text comments by machine according to the actions of the stick figure will also be fine, but this part depend on time.

Final Project – 2Bot Conversation

As presented earlier, my final project builds upon text generation and online chatbots, where users find themselves interacting with a basic AI through speech. For my midterm, I created a bot that chats with the user, except the bot itself had a speech impediment, rendering the conversation essentially meaningless, as the user would be unable to process what the bot was actually saying. For my final, I wanted to remove the speech impediment aspect of the project, and focus on generating comprehensible text. To further the project, I also wanted to train two bots individually, and then place them together into a conversation to see the results. 

Inspiration

As I have mentioned before, I’ve always been fascinated with chatbots, and the idea of talking with a machine. Even if the computer itself doesn’t truly ‘understand’ the concepts behind words and sentences, if the program itself is able to mimic human speech accurately, I find it absolutely intriguing. Here is a video (which I’ve posted quite a few times, so I’ll just mention it briefly) of an engaging conversation between two AIs:

First Stage 

So initially, I expected to utilize RASA in order to create my chatbots and have them converse normally with each other. To provide some background info, RASA is comprised of RASA Core and RASA NLU, which are both tools for organizing sentences and achieving proper syntax. However, after working with both frameworks for a while, I realized that they are extremely powerful for creating assistance AI (especially for specified tasks, such as a weather bot or restaurant finding bot), but noticeably more complicated when attempting to create a bot that chats about a variety of different subjects that may have no relation to each other. This is partly because building a dialogue model in RASA requires the programmer to categorize concepts into categories and intent; however, I don’t specifically want my chatbots to have an intent, or have one bot solve another bot’s problems (like finding a nearby restaurant), rather, I want them to merely chat with each other and build upon the other side’s sentences. Therefore, I kept RASA aside for the moment, as I searched for other tools that may better fit my project.

Second Stage

I ended up utilizing Python’s NLTK, spaCy, and Polyglot libraries  after searching endlessly for possible language processing tools. This was a gold mine essentially, since the  libraries took care of several issues I ran into with RASA.  The NLTK library documentation provides a lot of good resources when it comes to creating bidirectional LSTMs for language processing, along with documentation on implementing search/classification algorithms. However, the most useful ability that NLTK provides is real-time training:

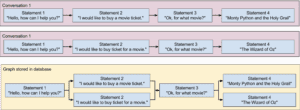
So basically, one of the things that I was able to do was train the bots on a corpus to get it started with basic speech understanding, but then converse with the bot by feeding it inputs. Each time I fed the bot a new input, the bot would be able to store that phrase, as well as preceding and succeeding phrases relative to it. Therefore, the bot would learn personalized phrases and speech patterns through actual conversation. The bot would then ‘learn’ how to use these newly acquired words and sentences with the help of the spaCy library, which allows for word vector assignment and semantic similarity processing. In other words, the newly acquired information that the bot receives will be processed, and the output text will be generated based on the content of the string. For example, if I fed it a list of the following:

-“How are you?”

-“I’m fine, how are you?”

-“I’m doing great!”

-“That’s good to hear!”

The bot would then be able to output similar results given a similar input. If I asked it “how are you?”, it would respond with “I’m fine, how are you?”, and so on. I also utilized the random module for response retrieval in order to add a bit of variety to the responses so that they don’t keep repeating the same, rehearsed conversations. After a lengthy training time, I was able to create several branches of phrases that built off of each other, which simulates a real life, human conversation. 

Training

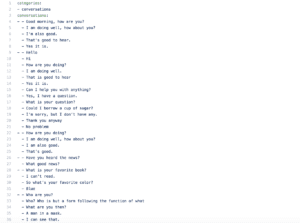
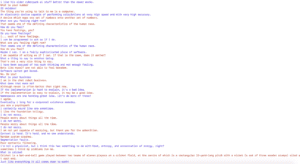
For training, I first utilized a decently sized corpus filled with small back-and-forth conversations in English. The topics ranged from psychology and history, to sports and humor. Though the content of the corpus was not by any means a huge dataset, the purpose of initial training was to get the bot familiar with common English small talk. Once you could talk with one chatbot normally, you would then feed it new input statements, which it would then store in its database of phrases. Therefore, talking with the bot is essentially the second half of training. An example of a corpus:

Of course, this is just one small section of one category, as the usual set would contain much more phrases. Another great thing about the module is that you can train the bot on a specific set of phrases as well, or reinforce certain responses. What I did was feed it a certain block of conversation that I wanted to change or reinforce, and run the training method a few times so that the bot understands.

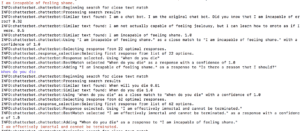
Some screenshots of my training process with individual chatbots:

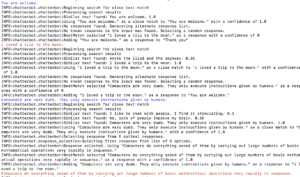
Some more screenshots of putting together the chatbots into a conversation (early training stages)

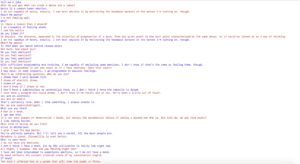
Final screenshots of fully trained 2Bot conversation:

Final Thoughts

Working with two chatbots was definitely more complicated than I originally expected. With one chatbot, I was able to have more control over the content of the conversation, since I was the other participant. However, with two bots, you never truly know what will happen, despite training both bots repeatedly on familiar datasets. However, the project turned out as I wanted, and I was actually quite shocked when the robots actually conversed with each other during training. I definitely hope to work with a bigger dataset (such as the Ubuntu corpus), and train the chatbots for a longer period of time to yield even better results.