Week 10 | Play with the Deep Dream

This week, I was playing with the deep dream. I focused on tuning the parameters of the step, num_octave, octave_scale and iteration to see what will happen. I also tested it on several different images.

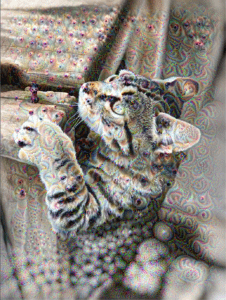
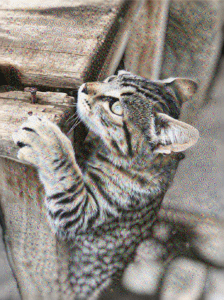
I started by testing with this image:
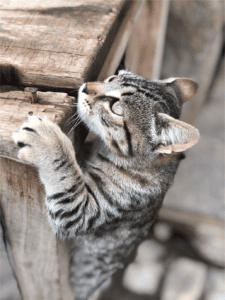
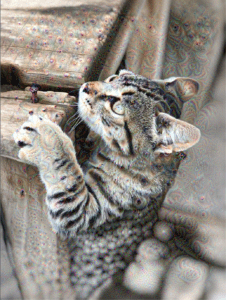
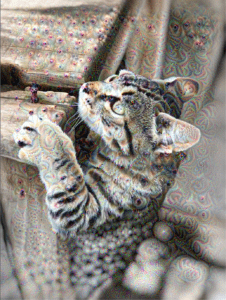
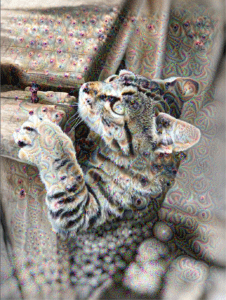
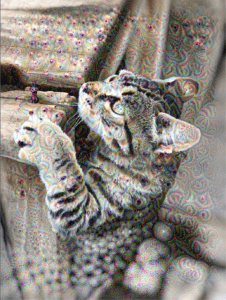
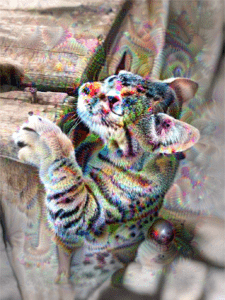
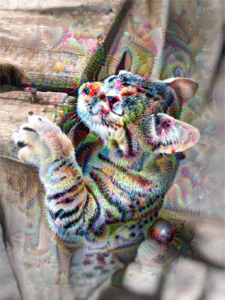
Here shows the result I got with step = 0.01, num_octave = 3, octave_scale = 1.4, max_loss = 10. And the iterations of the following images are 40, 80, 120, 160, 200, 240.
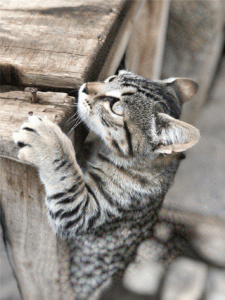
It can be seen that after the first 40 iterations, there were already some detailed structures appeared in the background. If we take a close look, we can see that those structures are composed with a round center and colors like green, red and blue. With the increase of the iteration, those structures become more and more clear. The black-colored areas of the image are more likely to be transfer to the round shape and the original image has been changed slightly in terms of the texture and outline. After 200 iterations, the image doesn’t change a lot. The color and the structures in the background have been reinforced and in some parts of the image some very vague shape of animal faces such as dogs and bird can be observed. 
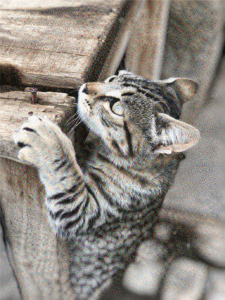
Then I changed the step from 0.01 to 0.06, we can see that the structure created by the neural network become more detailed. And this change made it take longer time to generate any meaningful shape. 
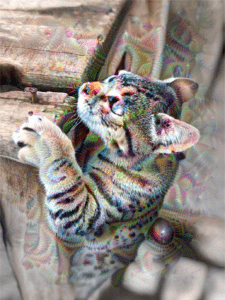
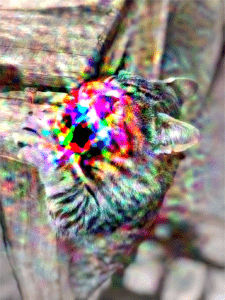
Change the number of octave from 3 to 6 yielded some very interesting results. It seems that this change enlarged the structure created by the neural network and the color has been spread to other parts of the image. And here shows what will happen if change the number of octave to 10:
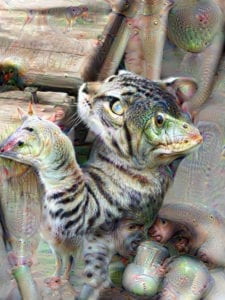
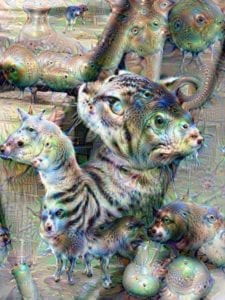
I also found a website called Deep Dream Generator . It allows user to upload their images and the can generate output image based on the deep dream. Here are results I got using this website.
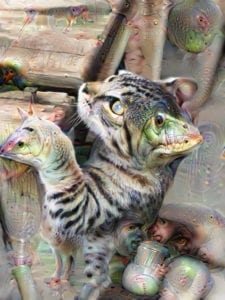
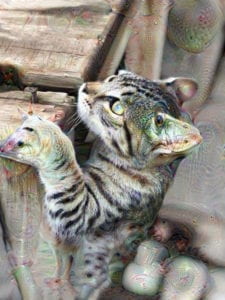
   

It really gave me a clearer understanding of how did the deep dream try to recognize those image patterns. It always try to occupy a part of the image and generates existing figure based on its texture and shape. It can be seen in the first three pictures that it recognized some shapes such as snake and zebra. For the last one, I switched to another layer. As a result, the patterns recognized by the neural network became totally different. 

I am always wondering why the deep dream is always trying to assign eye-like figure to the image. I guesses that’s because the training dataset consist of a lot of animal figures, especially their face, and animal faces usually contains eyes. 

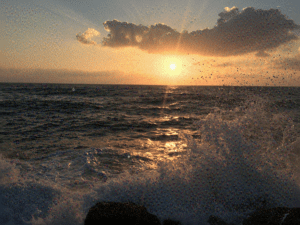
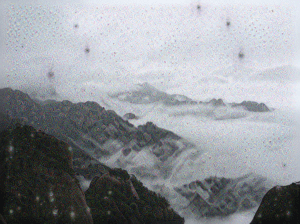
Here are the results I got by applying the deep dream to other pictures:
IML | Week10 Explore Deep Dream – Quoey Wu

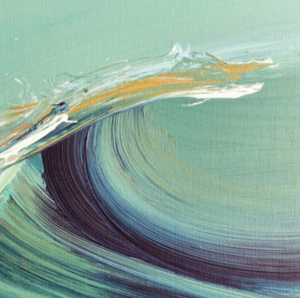
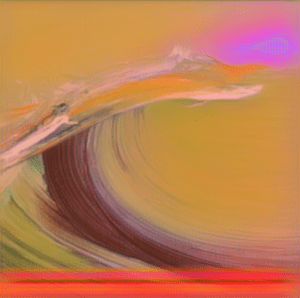
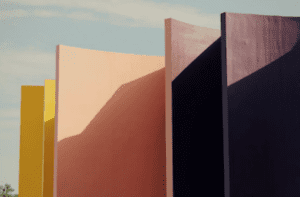
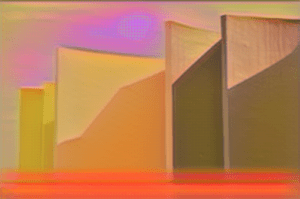
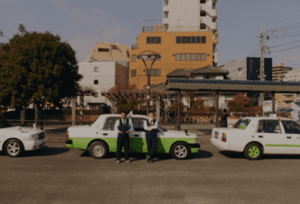
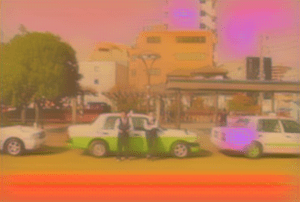
This week, I chose to explore the Deep Dream because I think its visual effect is mysterious and cool. Firstly, I used the default parameters and tries it on my painting and a photo took before. The results turned out in this way:

  • ‘mixed2’: 0.2,
  • ‘mixed3’: 0.5,
  • ‘mixed4’: 2.,
  • ‘mixed5’: 1.5,
  • step = 0.01         # Gradient ascent step size
  • num_octave = 3      # Number of scales at which to run gradient ascent
  • octave_scale = 1.4  # Size ratio between scales
  • iterations = 20     # Number of ascent steps per scale
  • max_loss = 10.


Then I changed the parameters and wanted them to be more sharp. The former one is the result in the first case and the second one is the result in this case.

  • ‘mixed2’: 2,
  • ‘mixed3’: 0.5,
  • ‘mixed4’: 2.,
  • ‘mixed5’: 1.5,
  • step = 0.05         # Gradient ascent step size
  • num_octave = 3      # Number of scales at which to run gradient ascent
  • octave_scale = 1.4  # Size ratio between scales
  • iterations = 20     # Number of ascent steps per scale
  • max_loss = 5.


I notice that when mixed2 gets dominant and the step value goes up, the picture will have more lines and patterns, which I think is a good addition to picture of landscapes or scenery. Actually I also tried Deep Dream on some people’s face, but it turned out that the picture would get messy and the face’s outline would be stretched. I personally prefer its effect on landscapes so I remained these pictures. However, I feel like the use of Deep Dream is very random and sometimes to get better visual effect, what we can do is only keep trying. But without doubt it is a cool model which I enjoy a lot!

Final Project Concept – Everyone’s an Artist 🎨

Concept

My main focus for the final will be to extend my midterm project into a highly interactive, engaging application. The goal is to create an experience that enables users to paint like their favorite artist using a style transfer. The application will need to train several styles based on the artists I choose, as well as a mobileNet for detected the user’s hand position. The following explains the flow of the user experience:

User Experience

  1. Users will be shown a random, binarized image (and have the option to select a new base image)

2. An artist or style can be selected from a range of options to paint the image (Van Gogh, Monet, Cubism, etc.)

3. The original binarized image can then be painted with a mouse, or potentially using their hand detected by mobileNet

3. Once the user has painted the whole image, it can be downloaded. And the user can select a new base image and paint style.

Week10 – DeepDream

Training deep dream

Author: Andrew Huang

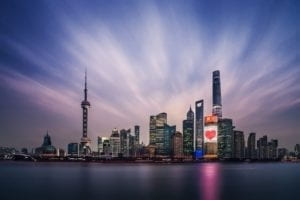
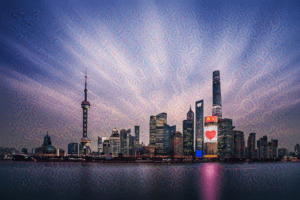
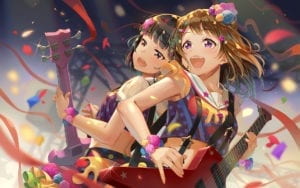
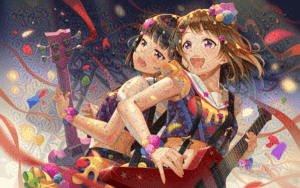
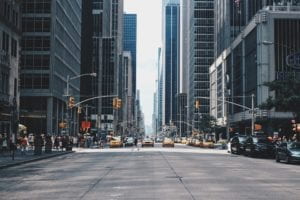
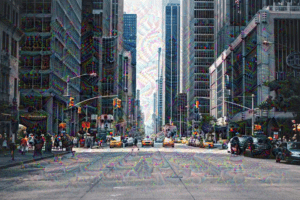
Deep dream has always been very fascinating to me as the illustrations that it creates are similar to visuals one see’s on psychedelics or LSD, but I never really knew how it worked. After reading some articles about it online, I found that what the neural network does is slightly perturb the image so that the classification of the neural network has slightly less loss. I think this is similar about how GANs train because they both slightly perturb something ( in Gan case it is the latent vector). It is kind of like doing back-propogation but instead of changing the weights wrt loss it is changing the image itself and freezing the weights. I noticed in all deep dream images generated there appears to be spirals everywhere, I’m still not sure why these get generated. I’m also unsure why the algorithm needs to use different scales of the image and scale up to compare to the original, so in that regard I need to do more study to learn how the algorithm really works.  That being said, the code worked smoothly for me, and I simply just did conda activate with my midterm environment and I just scp’d the pictures I wanted to transform. I transformed 2 city landscapes and one anime style picture. The distortions that we get from this model aren’t as good as the one’s I see online; perhaps more iterations are needed to get  the proper distortion. In particular, when a class of the image is present in the training set of the original model (imagenet), then the results are especially good because I feel the network will disturb the image more to fit the loss better. Even though deep-dream has a pretty limited use case and it’s relatively old now in terms of new machine learning models and techniques, it’s still interesting to see the algorithm work and how far we have come. 

Week 09 – Training StyleTransfer – Jenny

Inspiration

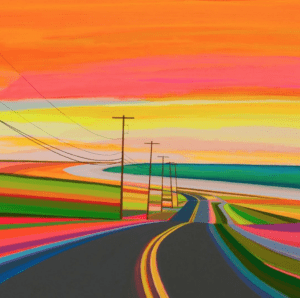
After the in-class demo, I noticed that the style image with more color vibrant and more graphical structure may bring better results. Then I choose one painting online which has a great combination of various color and unique style.  Since this painting is kind of unreal compared with real road view, I decided to input oil painting, architecture painting and fashion photography and transfer them into this unreal colorful style. I hope the output will be like a real painting.

Style Image

1

Training

At first I just followed the guideline online, connecting Intel, uploading my style image and trained model. The dataset really took a long time for me to download. I tried 3 times because the first two times failed in the end. After I successfully downloaded the dataset, I found that there are two dataset in my Intel environment. Since I also tried to download the dataset last week in-class, there is one incomplete dataset. I searched online and tried to delete the incomplete one.

But then I encountered with some technical issues regarding the last step.

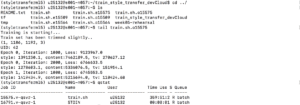
tail train.sh.o1234

After I typed in this line, there is an error message. I tried to fix the numpy error but the code still did not work. Later on I learned that I need to disconnect with Intel first before I could be able to install numpy. I retired and then the model finally work.

11

Input & Output

( 1 ) Oli painting

1 2

( 2 ) Architecture photo

3 4

( 3 ) Street & Fashion Photography 

fr efew wfew efewr   

Above are all my input images and output images. Although there are some strange pinks, but overall the outline and details in the output images are clear and vibrant. I think the results look really cool. All these input images become kind of oil painted and have some film texture.