Week 10 – Deep Dream exploration

For this week, I’ll be exploring deep dream and tweaking hyperparameters that affect the output of the final result.

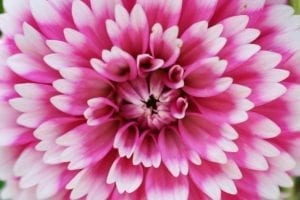
I noticed that deep dream tends to perform better on images that are brighter / more saturated, so I found an image of this flower to test with.

Original

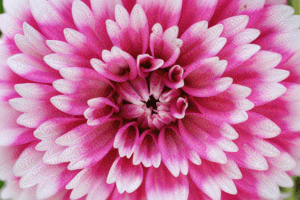
Base Hyperparameters

Octaves – 5

mixed02 – 2

Step – .5

Here we see that theres a high amount of noise, suggesting that with a high learning rate too high, we might undershoot the global maximum, leading to a network that doesnt learn anything

IML: Week 9 Deep Dream Exploration – Thomas Tai

Applications for Deep Dream

For this week, we were allowed to either develop a project using the ML5.js CVAE library or generate visuals using deep dream. After reading some articles, I learned that the person who developed deep dream did so by accident. I found it interesting that art could be generated by scientific research by simply tweaking a couple lines of code. These images represent artificial intelligence research in an artistic way. I really enjoyed the psychedelic images shown in class, so I tried to create some visuals using pre-trained models and services. 

I found a website named deepdreamgenerator.com that allowed me to take a style and apply it to an image.

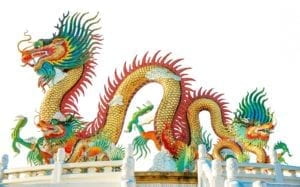
Style + Image:

+

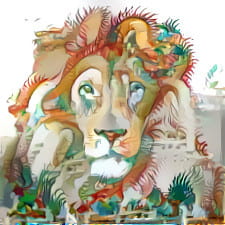
Result:

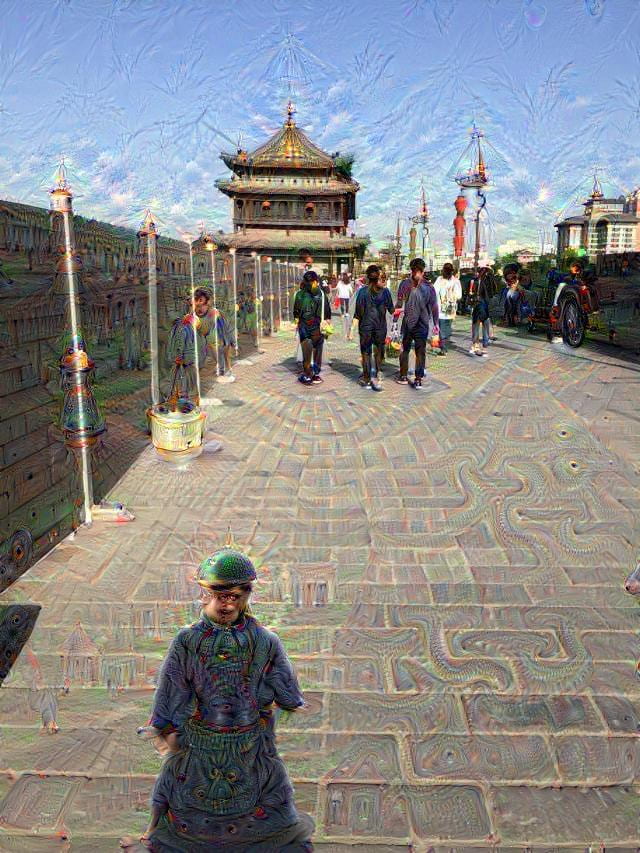
Another cool website was http://deepdream.psychic-vr-lab.com/deepdream which creates trippy images that are similar to taking psychic drugs.

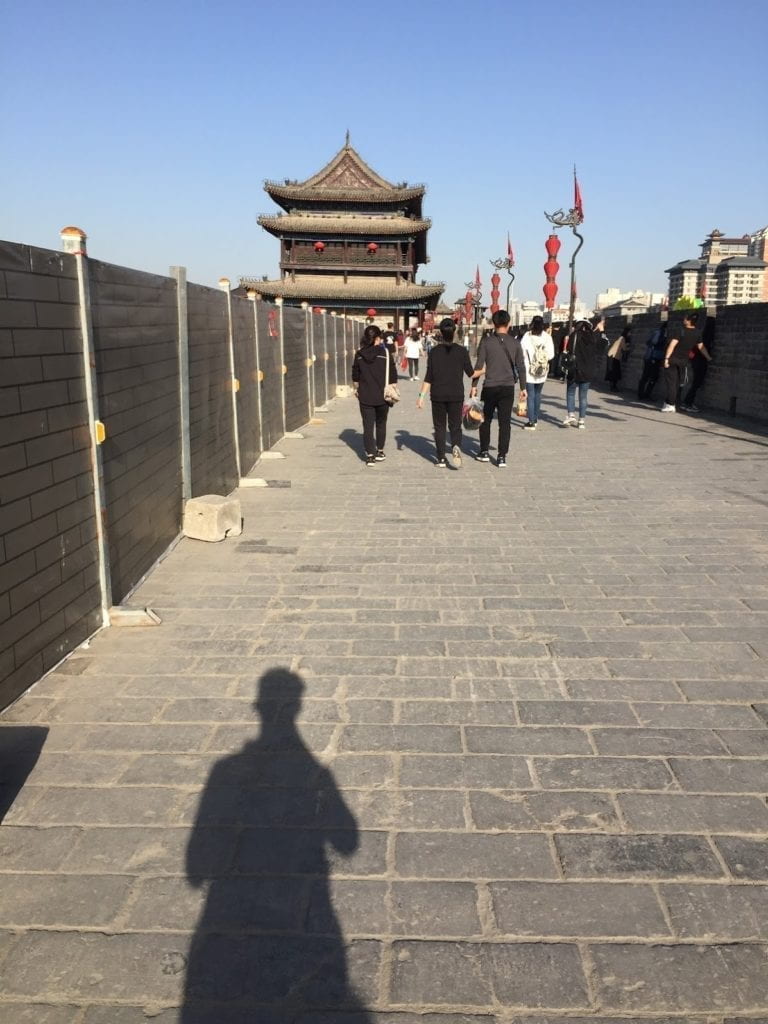
Input Image of a city wall in Xi An:

Output Image:

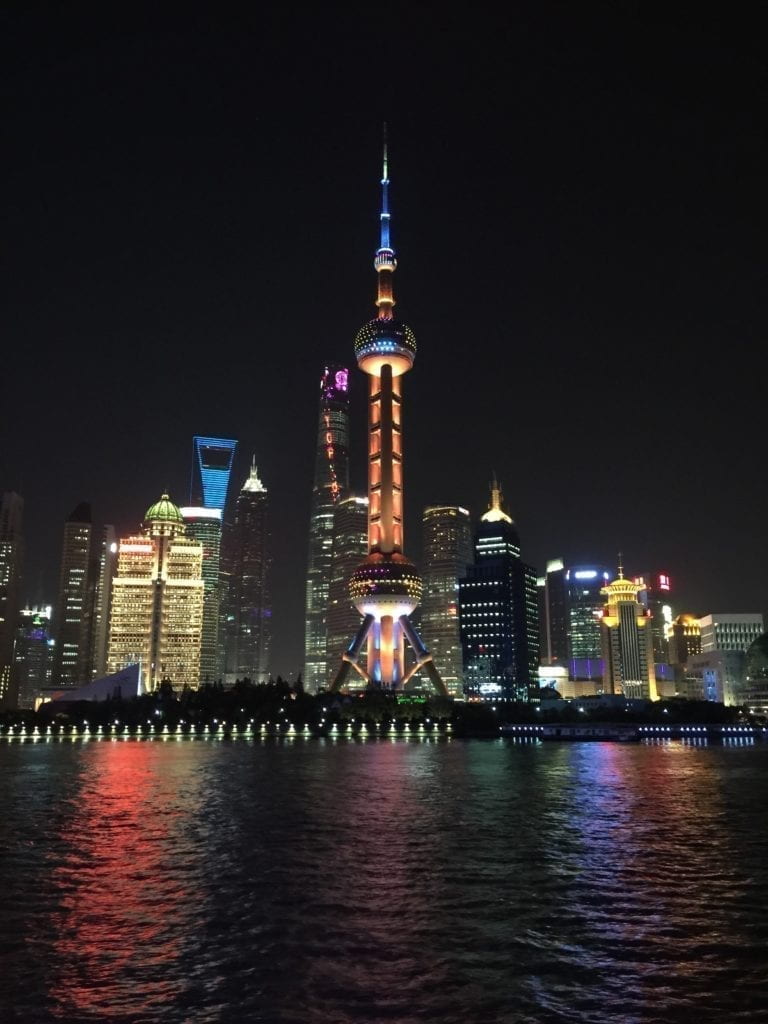
Photo I took from the Bund:

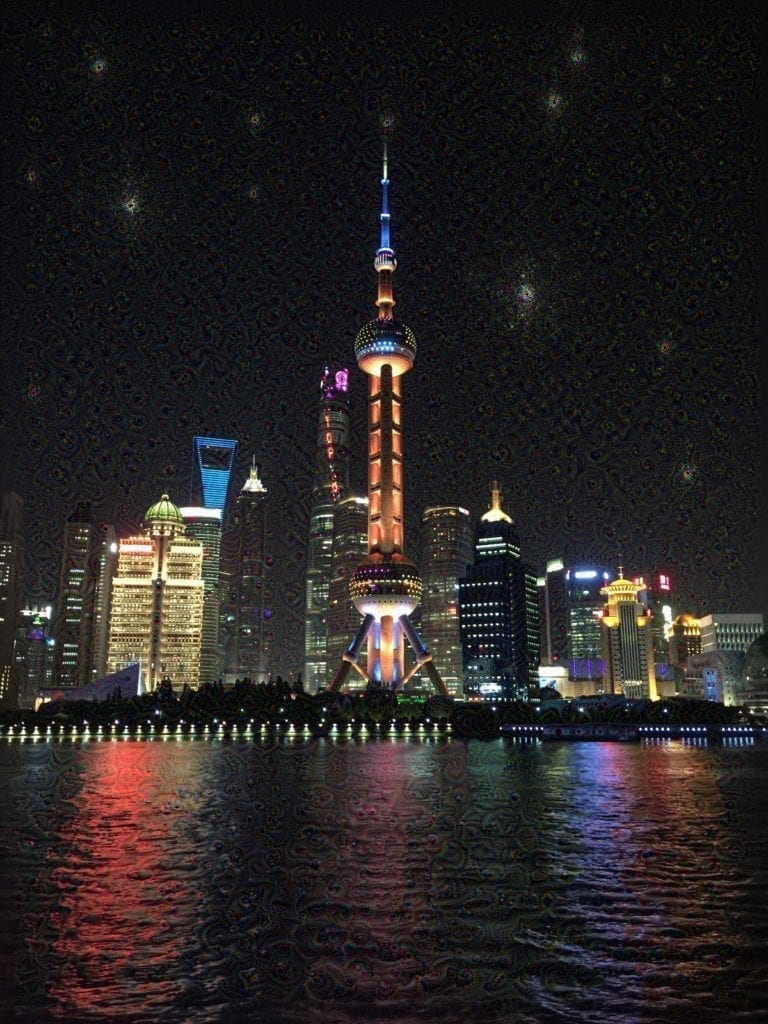
After playing around with different variables to optimize the quality using deep_dream.py, I created this image with the following parameters:
step = 0.03 # Gradient ascent step size
num_octave = 3 # Number of scales at which to run gradient ascent
octave_scale = 1.4 # Size ratio between scales
iterations = 20 # Number of ascent steps per scale
max_loss = 5.

Deep Dream Result:

Deep Dream art has died off in popularity but the concept is still very cool and these generated images show how artificial intelligence and art are actually very similar. Many of these types of programs are variations of Google’s deep dream and all produce similar results. I wonder if style transfer could be combined with deep dreaming to make a more interesting version of both models. I hope to understand deepdream more and use it for my projects in the future.

iML Week 10: Explore DeepDream – Ivy Shi

After the class introduction to DeepDream, I was quite intrigued by the effects and results that this computer vision program produces. I decided to explore it further by trying different image inputs. 

I started out with these images 

The parameters are

settings = {
      ‘features’: {
            ‘mixed2’: 1.,
            ‘mixed3’: 1.5.,
            ‘mixed4’: 1.,
            ‘mixed5’: 1.5.,
       },
}step = 0.01 # Gradient ascent step size

step = 0.01 # Gradient ascent step size
num_octave = 3 # Number of scales at which to run gradient ascent
octave_scale = 3.4 # Size ratio between scales
iterations = 50 # Number of ascent steps per scale
max_loss = 10.

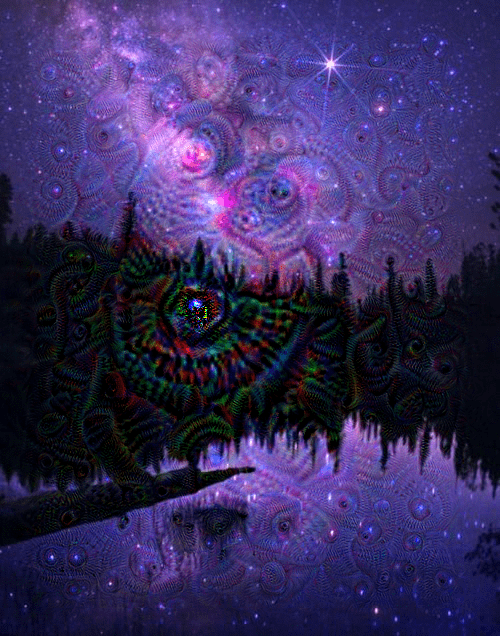
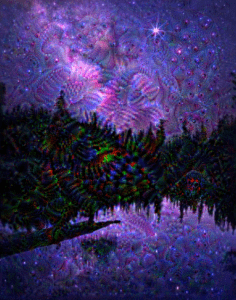
I thought the effect of the night sky star photo was the most interesting. So I continued with that and tuned the parameters to get different output. 

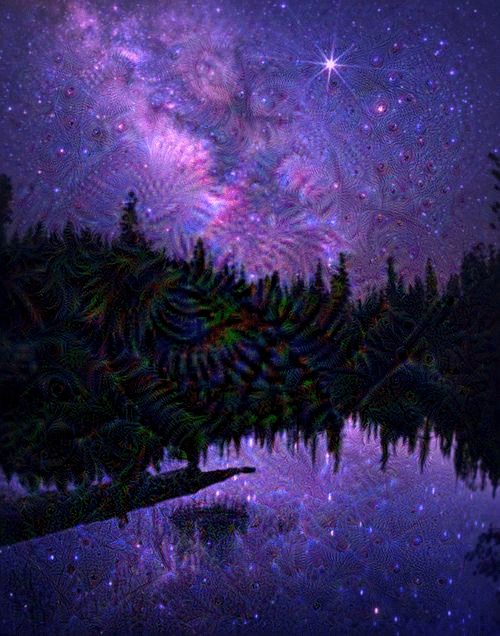
The difference between having mixed3 and mixed 5 as the main feature. Mixed5 looked more pleasing. I then changed the iterations: 

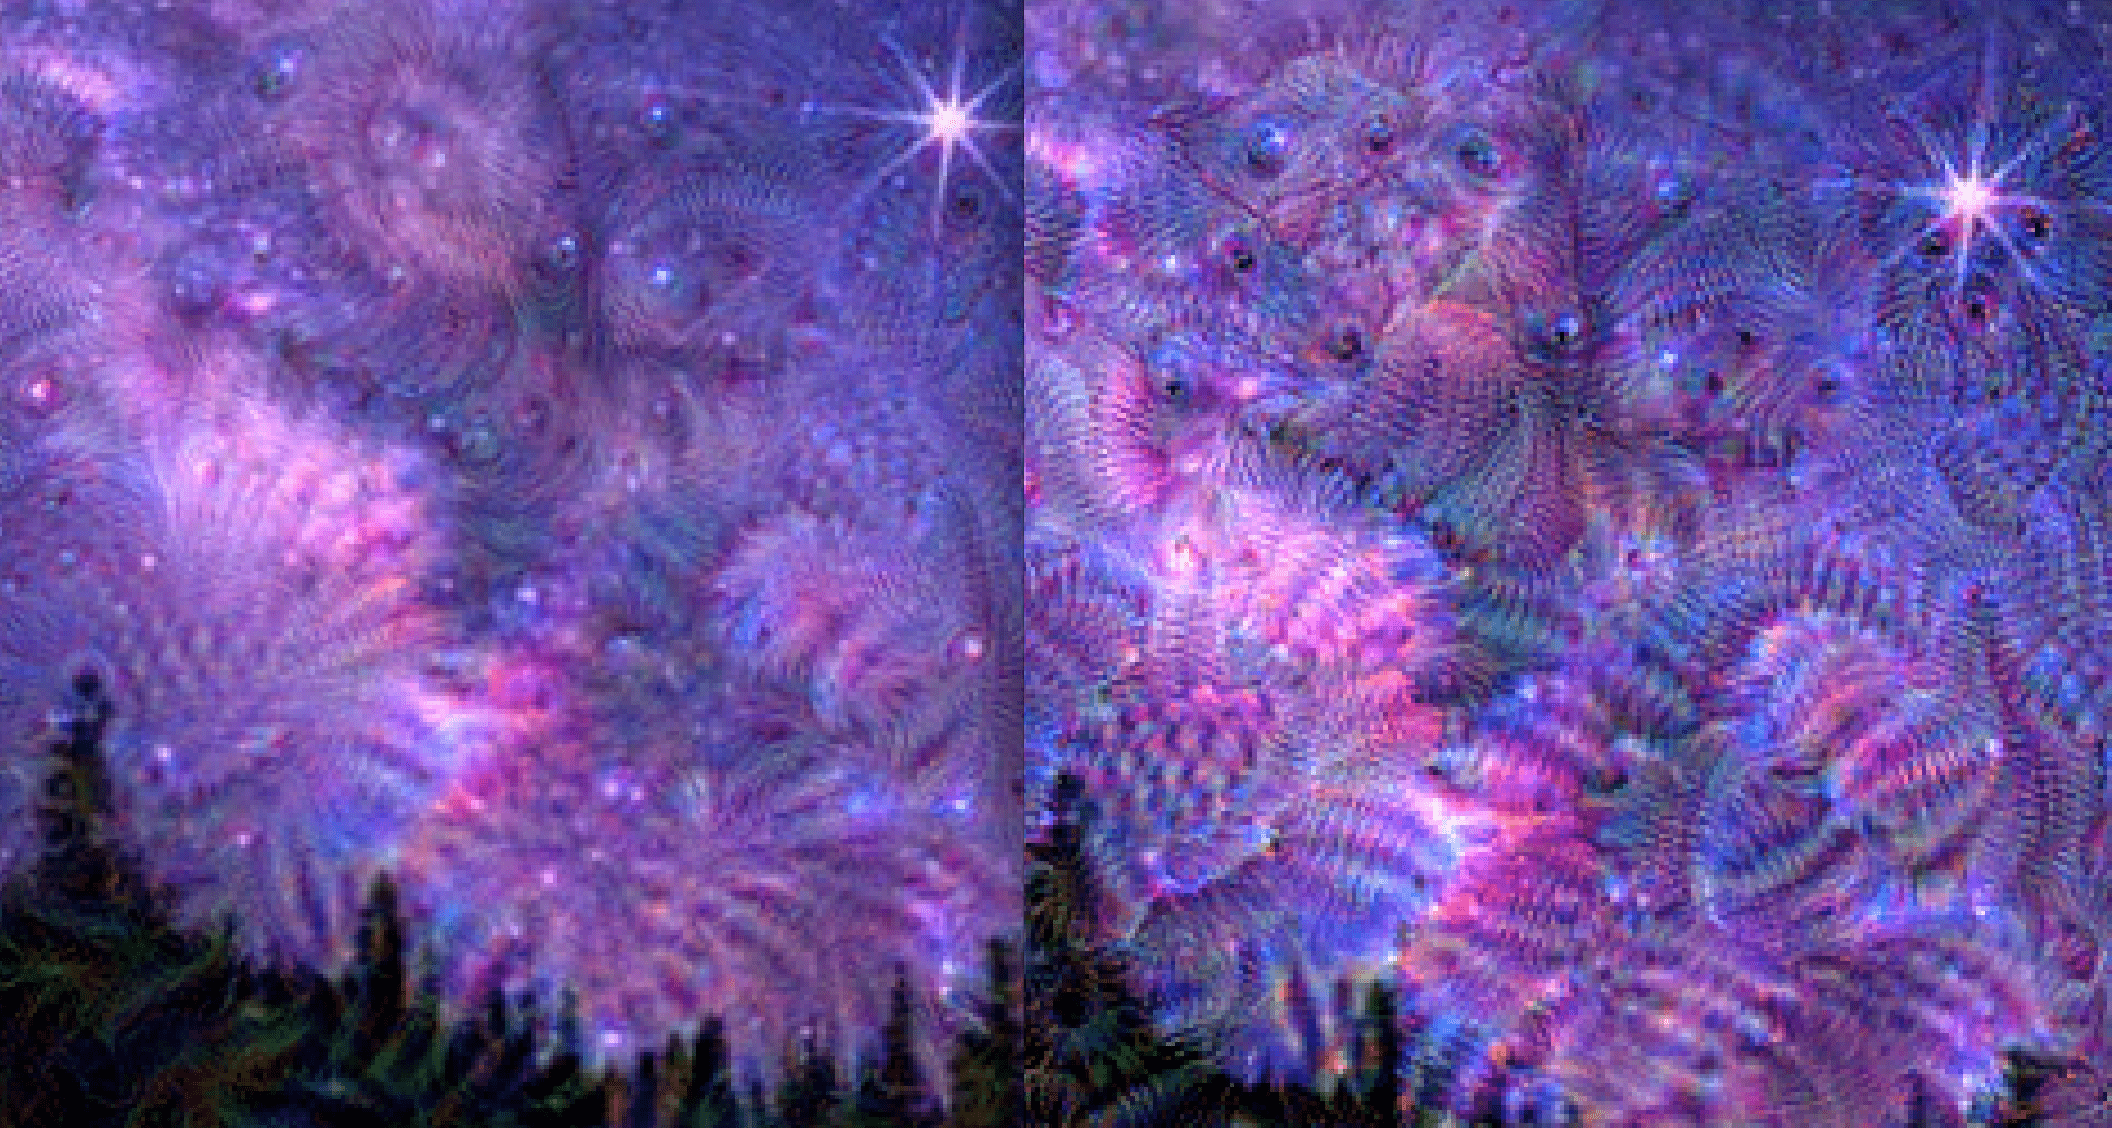
Difference between 20 iterations and 50

Looking at the overall picture, I think the 20-iteration output looks better. But as I zoom in, 50 iterations produces much more refined details. 

iML Week 10 – Deep Dream Experiments – Alison Frank

To begin my experiment with Deep Dream, I chose to work with the images we used in class. From here, I started by changing the following values: max loss, iterations, and step. I found that the max loss and step values gave the largest visible results, so I kept modifying these. As my CPU is limited, I chose to work with a lower max loss value. Here are some results:

(loss value of 20):
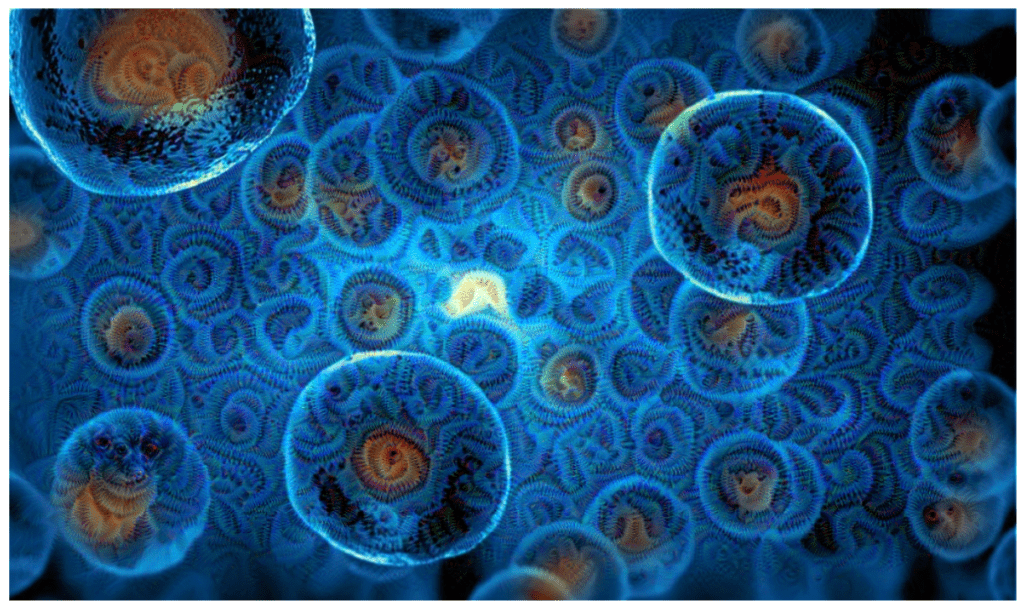
deep dream experiment

(max loss: 5, step: 0.7):

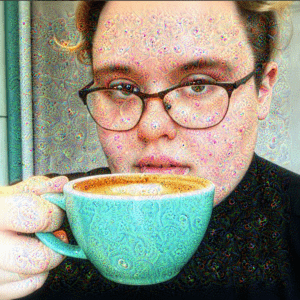
After this, I chose to view the layers and see how each one affected the output.  I found that some layers created different shapes and modified colors differently. Finally, I chose to work with my own image (one of myself) to play with as I was inspired my Memo Akten’s “Journey Through The Layers of the Mind.” After running the model once, I would take the output image received and use it as an input. Here are my results after doing this for 6 iterations:

(max loss: 5, step: 0.7,  num-octave: 5, octave-scale; 1, iterations: 20)

Layers – (mixed01: 2.5, mixed02: 1.5, mixed03: 0.5, mixed04: 0.5)
my face after deep dream

You can see that the model begins to detect structural elements in the picture and starts to implement the patterns around them. Overall, I found this model to be fun to work with. It’s easy to use and has many creative applications.