Lab #2: Robot Brain

By: Gabrielle Branche

Getting Ready:

My partner Kevin and I tested the microbit after downloading the code and were pleasantly surprised at how responsive it was. We used a multimeter to measure the voltage output to be 3.2V ±0.05V.

Programming the brain and using its sensors: 

These sections are merged because we unintentionally programmed the brain with the simulation such that it worked on the hardware as well both inputting data and outputting accordingly. Further programming was done when trying to debug our platypus code.

We decided to program our code to turn on certain LEDs on pressing button A. Turn off these same lights when pressing button B. Additionally, we programmed it to play music when it shook. We then tinkered with the code allowing shake to manipulate the tempo of the music. At first this was difficult because we did not set up the wiring for the headphones right but we finally got it to work.
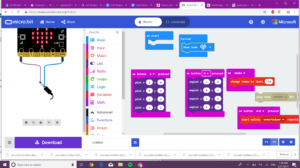
Block Code for first tinkering

Limitations:

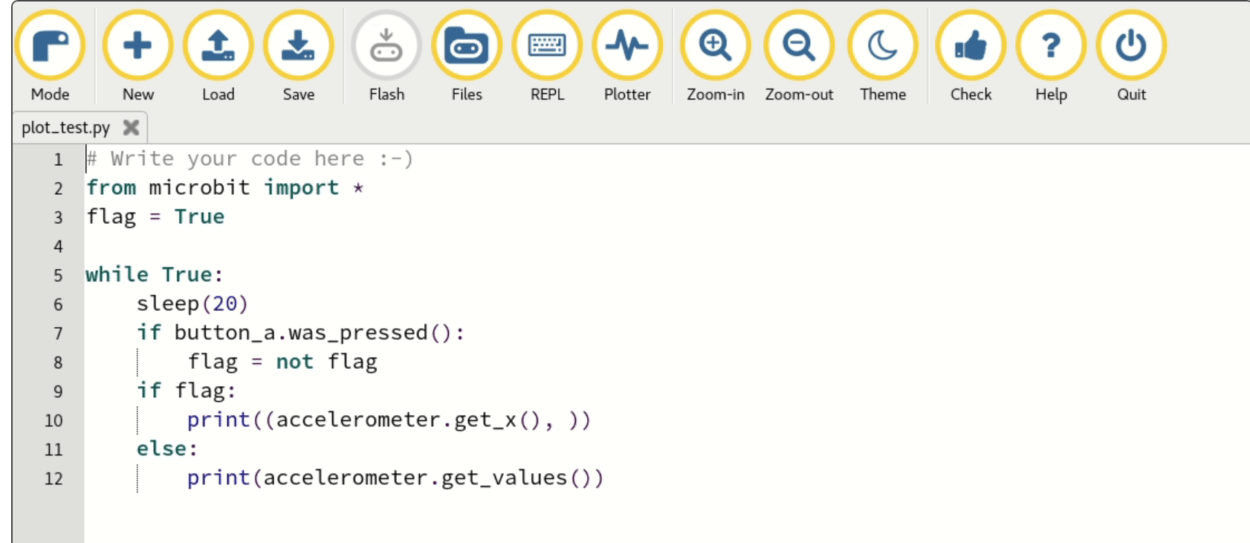
Since we mainly just fiddled with the different box, we realized after that we were giving ourselves unnecessary work by using less convenient code such as the plotting function.

Additionally, due to the microbit’s small grid, it is difficult to have full words shown and the user has to wait till the entire message flashes across the screen to see it.

Finally, the blocks given are quite small in variation and thus makes it hard for a beginner coder to explore all the possible uses for the bot. However, the program does provide a space to code using JavaScript which can allow for the microbot to be more useful

However even though this is a bit limiting, the microbot has the potential to be very handy as other components can be attached to it such as the headphones we used to play music.

Basic Animal Behavior System

We decided to explore the behavior of a platypus. While the exercise did not call for us to look an any particular animal we thought that by narrowing down to a specific animal we could truly explore how it operates holistically. The platypus is an animal native to Australia. It is nocturnal and is known for its acute sight and sense of hearing. As such we decided to design a program that could respond to these senses.
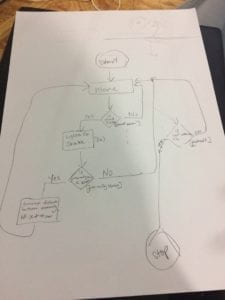
Flowchart showing animal behavior breakdown

By using a photocell, we could execute the responses only within a specific light intensity threshold. Since the platypus is nocturnal we decided that above a certain threshold it would cease all activity.

If below the threshold the platypus could respond to sound using a sound sensor thus simulating acute hearing. If sudden loud sounds are made, the eyes of the platypus would glow and it would shake.

Finally using a proximity sensor, the platypus could be programmed to move away from obstacles within a specific distance. This thus mimics its sight which allows it to maintain a safe distance from predators.

All these actions stem from one of the basic necessities of all living things – irritability: responding to internal and external stimulus. All animals respond to stimuli differently but all girls respond to stimuli none the less.

Using the microbot as the brain of the platypus, the aforementioned components can be set up to allow for execution of its animal behavior.

Connect it

Finally, we created a simplified version of the code for the microbot that maintained the core of stimulus response. Using the built-in light intensity sensor, we could provide a threshold for light. Then if button B was pressed, the platypus would make a smiley face and sing responding to ‘sound’. When it was shaken it would blink an arrow representing running away from a predator.

At first before using the light-intensity sensor the code worked well. However, there was great trouble when working with the light. The values for light intensity changes sporadically and it seemed to not response to any conditional statements that hinged on a specific light intensity. We tried to simplify the code such that above an intensity of 20, the bot would frown and below that intensity it would display a heart.

let light = 0

basic.showNumber(input.lightLevel())

light = input.lightLevel()

if (light < 20) {

   basic.showIcon(IconNames.Heart)

}

if (light > 20) {

   basic.showNumber(IconNames.Sad)

}

However, no matter how we changed the light intensity using flash lights the LEDs would not change from whatever it chose first. We hope that by using more accurate photocell and move debugging such as that done below, this experiment may work.
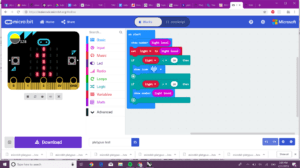
Block code for debugging light intensity
basic.showNumber(input.lightLevel())

let light = input.lightLevel()

if (light < 20) {

   basic.showIcon(IconNames.Heart)

}

if (light > 20) {

   basic.showNumber(input.lightLevel())

}

Reflection:

This was a very useful lab because it made me realize that while the task of building a robot seemed mountainous and challenging, it is in fact a simple matter of breaking down the tasks into individual responses to stimuli. As living beings, we act through reacting, by taking into consideration how one would behave within certain conditions it becomes just a matter of having the correct syntax for creating the response. While this is not meant to invalidate the immense complexities that are found in almost all multicellular organisms, it does make starting the process of building robots significantly less daunting.

Lab Report 2 by Diana Xu

Find limitations when simulating a program & Program the brain

I tried both MakeCode editor and Python editor. MakeCode editor is easy to use and it has a lot of different functions.  I tried input, LED and music functions

Use the sensors

First, I used the accelerometer as input and sound and lights as output. Microbit doesn’t have its own speaker, so I had to connect it to a headphone. The shaking function was really stable, and the audio volume was really loud. 

Then I tried the temperature sensor and the lightness sensor. They both worked quite well. Compared to Arduino, they are much easier to use.

Temperature sensor:

Lightness sensor

A basic animal behavior system

Konrad and I used the radio function to mimic a swarm of fireflies signaling to each other.

First Version: When the button on one Microbit is pressed, another one receives the signal and blinks the LED to give feedback. 

Second Version: We updated the code. When one Microbit sends the signal, both Microbit will blink the LED. And then we increased the number to three Microbits.

code reference:

https://microbit-micropython.readthedocs.io/en/latest/tutorials/radio.html

Lab Report: Robot Brain

Intro: 


In the lab today we explored the basic functions  of Microbit  microprocessor: software programming, sensors and outputs, as well as a simulation of a basic animal behavior.

Exploration on Software and Hardware

After reading the guides sent by professor, we firstly studied how to program the chip using various tools, including Microsoft-provided API support Scratch and JavaScript with a virtual simulation, we also tried python API provided by the chip company.

Enlarge

d
Microsoft Javascript API

Enlarge

捕获sdv
Microsoft Scratch API

Enlarge

dbhsrg
Python API

To explore the basic functions supported in the chip, my teammate and I tried different basic programming, including loops, playing music and LED lights.

Programming LEDs to show words

Enlarge

b20a377f24cce6e1890f912ebc5a48d
Programming LEDs to show a picture

Enlarge

d-1
LED programming codes

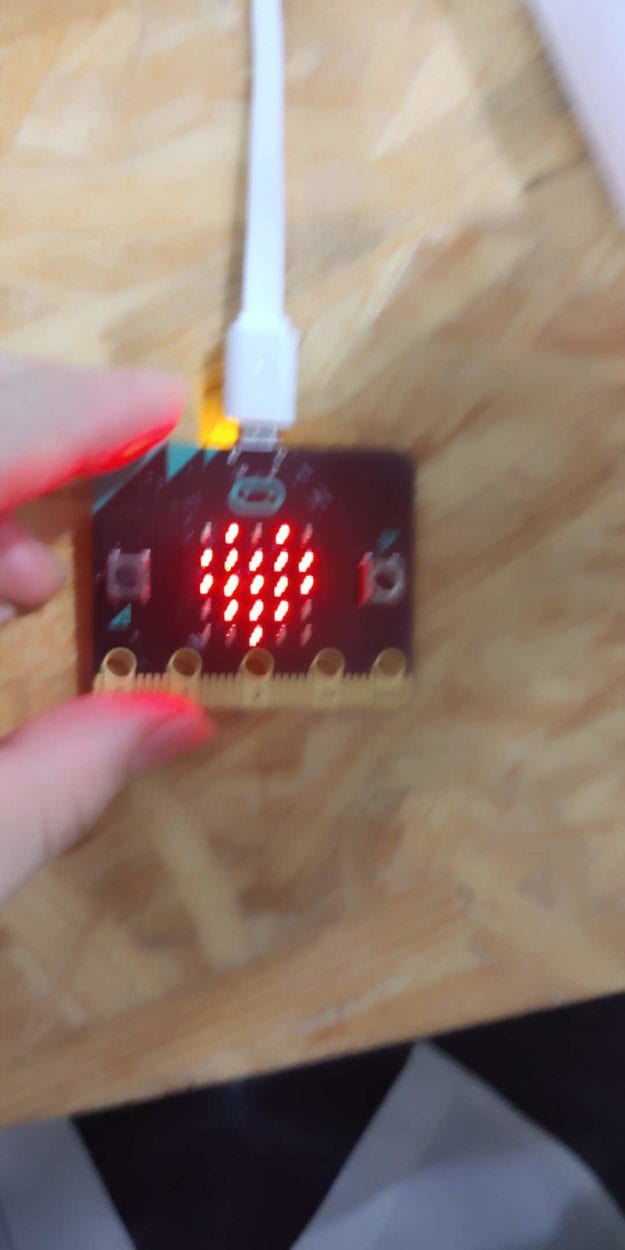
During the practice we successfully find the “Easter Egg”: when simultaneously press A and B button in the factory flash, we can launch the snake game.  So far we found there was little difference between programming for the chip and for a computer (especially the screen).

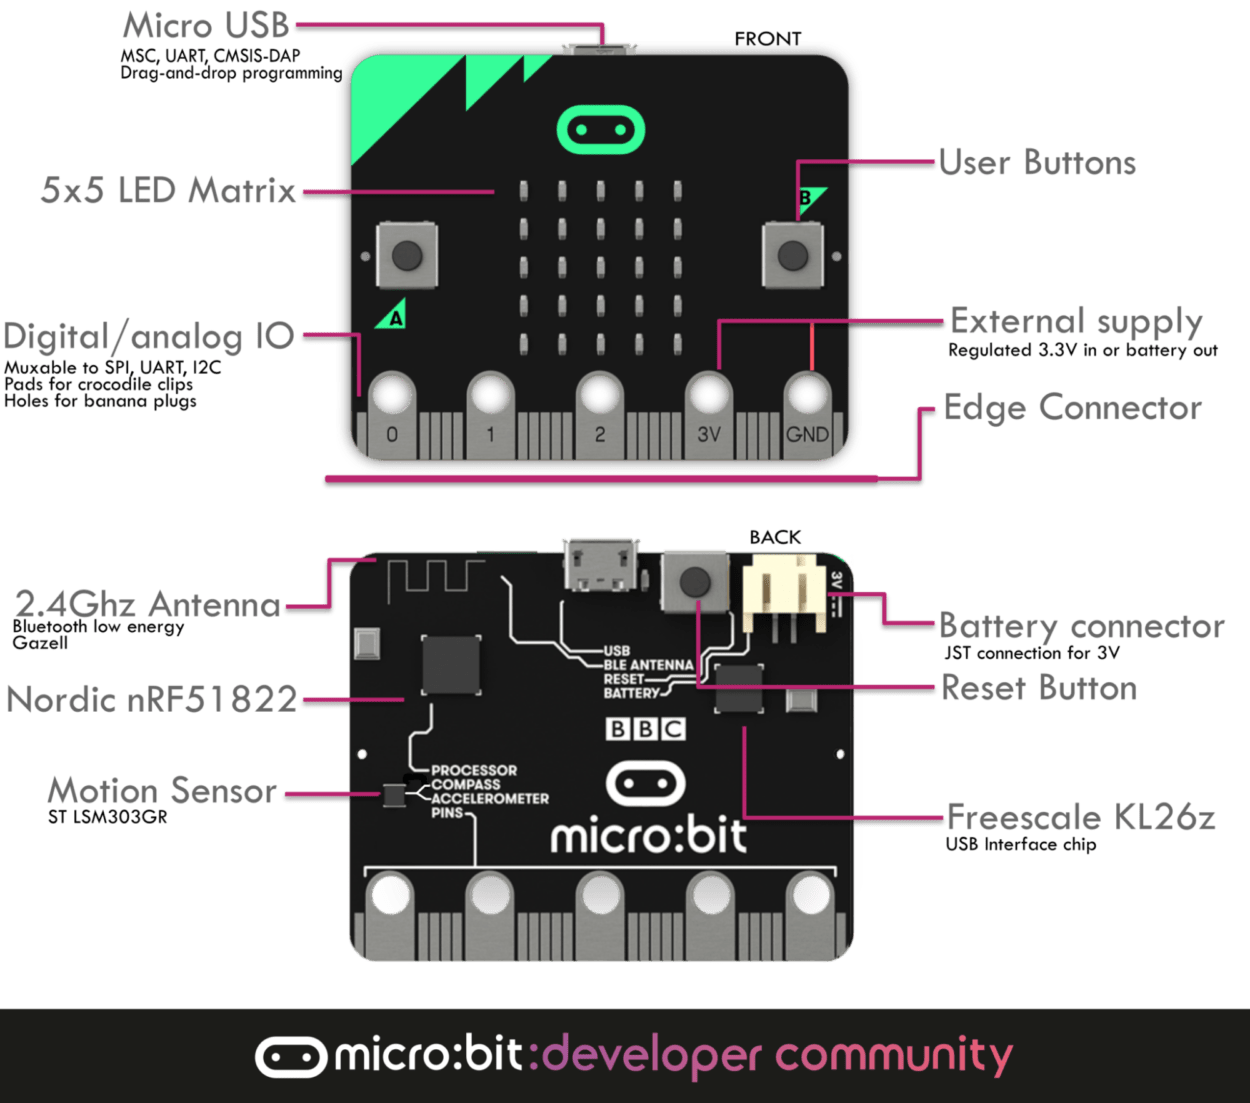
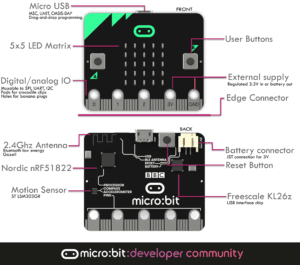
By study the code blocks in the JavaScript API, we discovered that the chip integrates sensors as following: A light sensor, a temperature sensor, acceleration sensor (perhaps 3 gyroscopes), a magnetic sensor, a wireless card. 

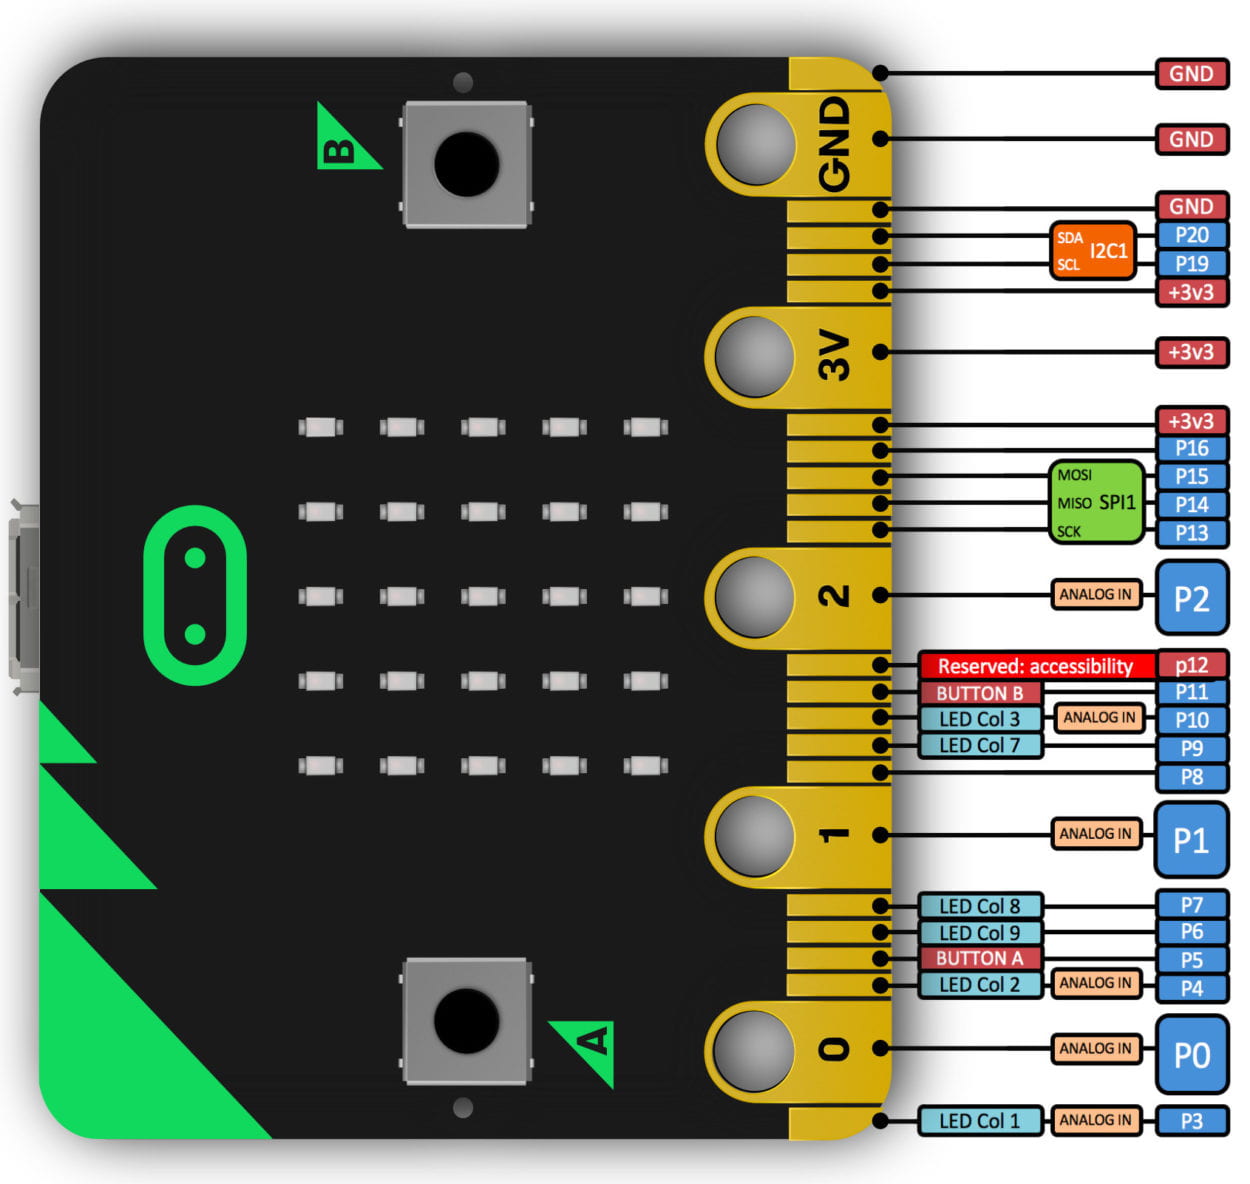
We also found a picture describe the pins, which deserves further knowledge  and exploration:

Enlarge

microbit-pins
Description of the pins

We used a oscilloscope to test the output pins, ad found an interesting result. We didn’t program any output code to the chip, but the oscilloscope showed a square wave on the 3V output pin, for which We researched online but found no explanation. At last we had to suppose it was the default output of the chip.

A general description of different compartment:

Final Build:

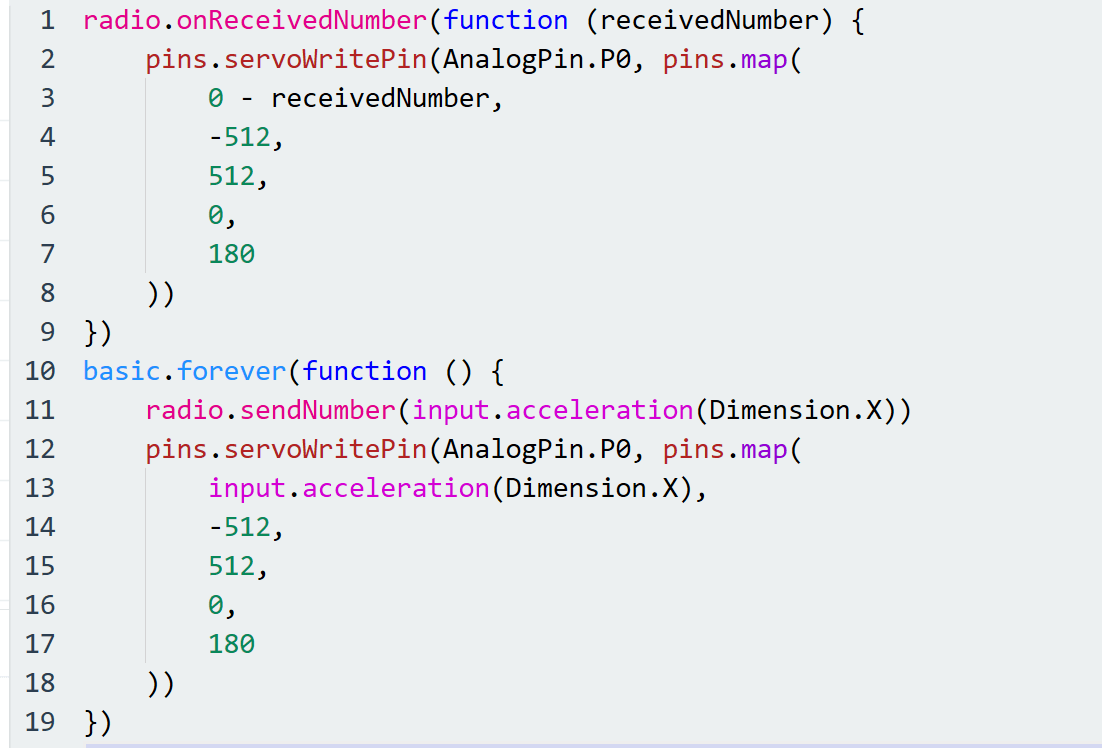
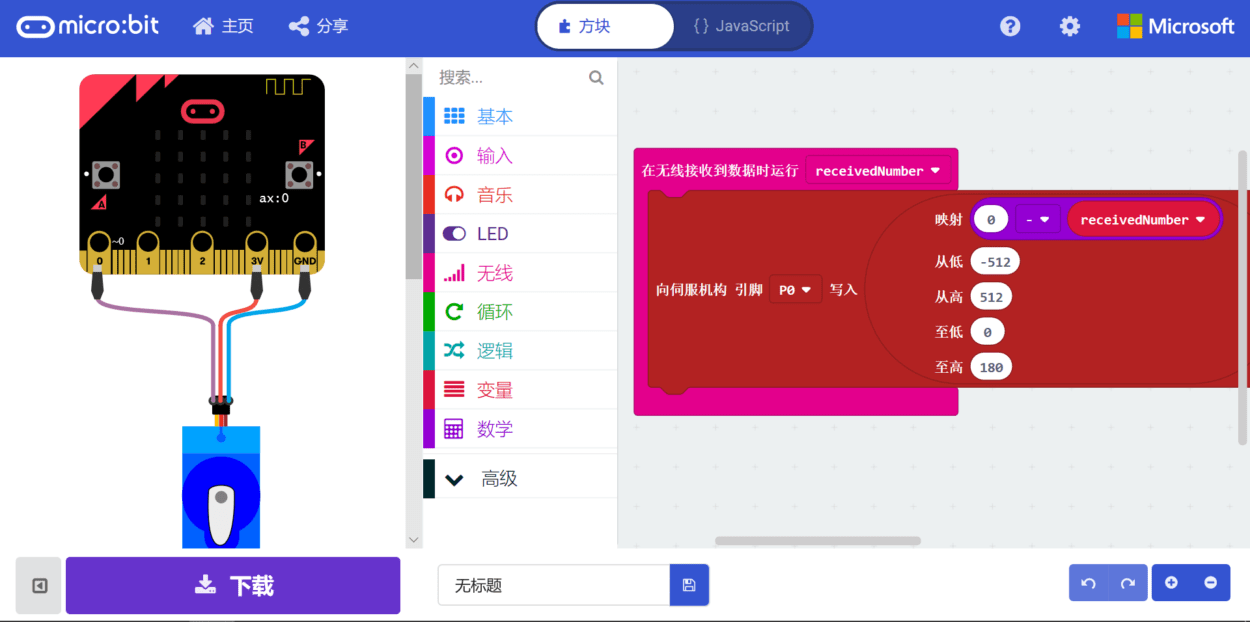
Firstly, we programmed the acceleration sensor, the wireless card and one pin on two chips. Then we connected the pins (0, 3V, GND) on each chip with a motor.  When the acceleration sensor sensed a tilt around a certain axis, the motor it connected will turn in the opposite direction.

It is to simulate the neural reflex of an animal to stand still when receiving a force from the environment  pushing it to one side. the chip represents the receptor, the wires are neuron fibers and the motor is effector (which would be connected to “muscles” in real robots). 

We then programmed the wireless module to represent the communication between animals. When an animal(chip) senses the danger, it will notify other animals(chips) around it to prepare in advance, so that they can reduce the damage from the environment. we used a tiny turn in the motor to show the preparation.

Enlarge

捕获2
Program of Neuron Reflex and Communication

Reflection:

There are still many improvements we can achieve. For example, we thought later that it would be better for us to use the buffer on the chips. When a chip receives a notice of danger from others, it can store the voltage output commands into the buffer, so that it will react quicker when facing its own danger. It would be a more accurate representation for the behaviors we simulated. We were also interested in the unsolved mystery of oscilloscope mentioned above, but sadly we were short of time. Generally speaking it was a very interesting lab, and there are more applications of it for us to explore.

Source:

Microsoft Scratch and JavaScript API: https://makecode.microbit.org 

Firmware picture description: https://tech.microbit.org/hardware/ 

Chip pin picture description: https://microbit.org/guide/hardware/pins/   

Bio | Week 2 | Lab Report: Robot Brain(Terrence Tu)

Topic of Week Two’s lab is Robot Brain. Basically I used the MakeCode Editor to make programs for micro:bit, which is a tiny programmable computer.

A Broken Heart, a sequential output of messages (Please ignore the stupid idea!!!)

Simulated program:

Real effect:

Heart: Crush or Coalescence, program the brain (Again Please ignore the stupid idea!!!)

Simulated Program:

Real effect:

After that, Molly and I ran tests on the radio function and we used servo to simulate  behavior of tortoise.

Radio Function (a very simple test)

Once button A is pressed on one micro:bit, the other micro:bit will show number 0. It is important to set two micro:bit in the same group when programming.

Animal Behavior

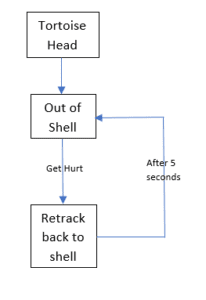
We try to simulate a simple self-defense behavior of tortoise. Once a tortoise’s head is punched or hurt, it will retract its head to its shell. The program is quite simple. The logic is shown in the following diagram.

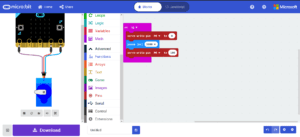
We use the acceleration sensor to simulate hitting. The program is simple and showed below.  

At first, the head(yellow paper) is head to the outside. After it get hurt(shake the micro:bit), it will turn 180 degree(head to inside). After 5 seconds, the head will go back to initial state.

Reflection:

Personally, it is not a wonderful lab experience to me. I have not taken Interaction Lab or other IMA courses before. Thus I am totally unfamiliar with all these little robotics, sensors or whatever things. It took me a while to get started. Thus, I am only able to write very simple program in the rest of the time. Yet it is a good opportunity for me to have a initial experience of  implementing models from observation of the natural world. Hope there will be another chance for me to go deeper in this field.

Lab Report: Robot Brain

Get ready

Hello, world!

The easter egg

Using a multimeter to measure the voltage output

Extra find

Find limitations when simulating a program

At this part of the lab, I wrote a programme that can display my English name in an iterative loop. And also it has a “beep——” at the beginning.

Program the brain

Using an oscilloscope to read fast response signals (but failed)

Use the sensors

At this part, I wrote a programme to apply the micro: bit as a compass. Moreover, if you push the A button, it will send you a heart.

Think about a basic animal behavior system

Kris and I were thinking of building a basic animal-simulating system, then we came up with an idea to connect a servomotor with the gravity sensor in the micro: bit and adjust the servomotor according to the value of the sensor. By combining these two parts, we can create a simple sample of a balance system similar to the cooperation of animals’ cerebella and limbs.

Connect it

Moreover, we tried to connect two servomotors at the same time, but the delay between the two servomotors is too long that they cannot cooperate with each other simultaneously. 

Extra tiny project

In the last 15min of the lab, I found it pretty fun playing with micro: bit, so I used the rest of the time to write a simple programme to have fun. It makes the board repeatedly display “LIKE⬅️” on the board, and if you do press the left button, a little heart will come out. However, if you insist to push the right one, something bad emerges…