Week 10 Assignment (Style Transfer) by Jonghyun Jee

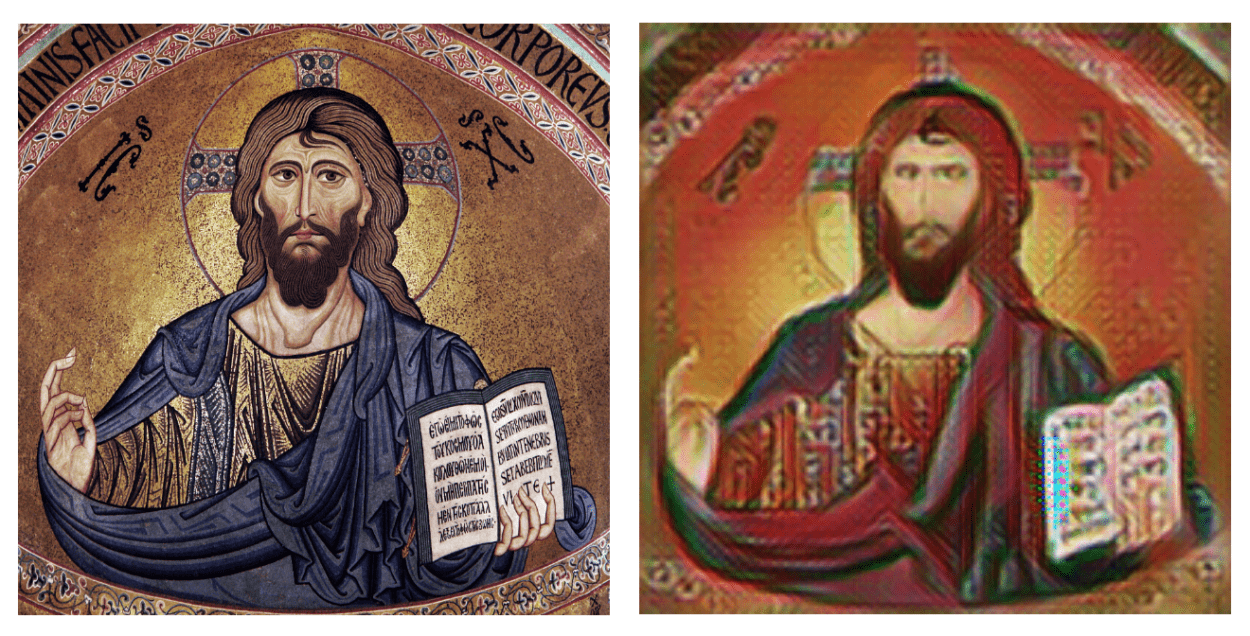
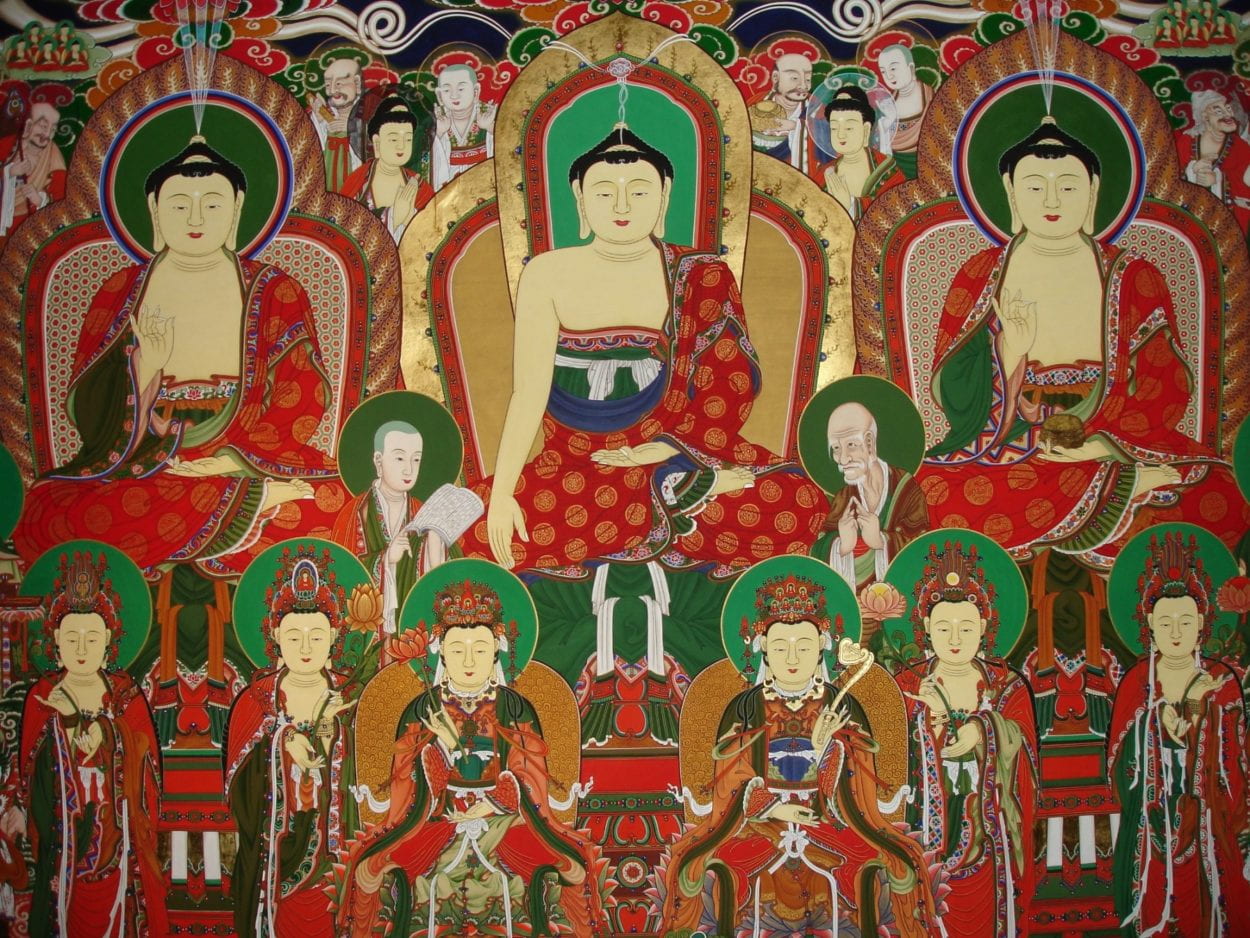
For this week’s assignment, I chose “Taenghwa” as the style input. Taenghwa, paintings of Korean Buddhism that are mostly for indoor display of temples, is characterized by its rich symbols and intense colors. Below is the image I used:

Using Intel DevCloud, The entire training process took roughly 20 hours. Since I tried several times but eventually failed to utilize DevCloud for my midterm project, I could correctly learn this time how to submit my shell file and export trained data. After the training process was completed, it generated a folder with a json file and a number of files that are labelled “variable_#.” I integrated this data-set with Aven’s Inference Style Transfer model. 

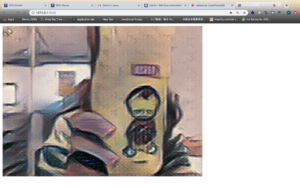
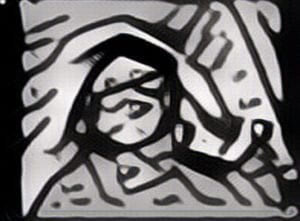
Despite running slowly, it stylized my webcam input in real time. We can clearly see how the color scheme got changed into red and green, which are main colors of the Taenghwa. Most lines seem, as expected, somewhat vague and lumpy. And yet, I was excited to spot some characteristics of Taenghwa from the output. So I tried it with other images, using Aven’s another code: Style Transfer for Images.

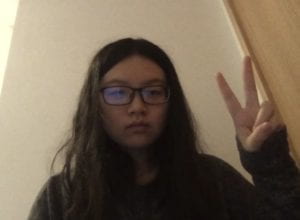
First image I tried was The Birth of Venus by Sandro Botticelli. Its output seems rather surreal than giving the impression of Taenghwa. Another remarkable thing I found is that most of the stylized images have glitched parts. As you can see from the image above, the clam shell and Venus’ leg are partially glitched like rgb subpixels of an analog TV screen. They can also be found on the image in which I have my hands together; the curtain behind me also has a glitchy part. I’m wondering what caused this effect because the original Taenghwa input doesn’t have this sort of characteristics. 

The other image I tried was the 12th century mosaic of Christ Pantocrator. Since it has clear distinctions between the figure and the background, the generated image seems clearer than the past results. And this image definitely displays more characteristics of Taenghwa, considering its composition and solemn atmosphere.

Overall, the whole process went smoothly and I could learn a lot from training the algorithm with the data I chose. I’m excited to learn more about the GANs in upcoming weeks, so I can realize the Hanafuda GAN for my final project.

Week 9: Midterm Update (EB)

Background:

Although I originally planned to create a framework for webVR on A-Frame using posenet, the process turned out to be too difficult and beyond my capabilities and understanding of coding. Although the idea itself is relatively doable compared to my initial proposal, I still needed more time to understand how A-Frame works and the specific coding that goes into the 3D environment. However, I wanted to create something doable and yet creative possibly incorporating sonic elements to the project.

Motivation:

For the midterm, I decided to create an interactive sound visualization experiment using posenet.  I downloaded and used a library called “Simple Tones” containing multiple different sounds of various pitches. The user will use their left wrist to choose what sound they want to play by placing their wrist along the x-axis.  This project was inspired by programs such as Reason and FL Studio as I like to create music in my spare time.

Methodology

I used the professor’s week 3 posenet example 1 as a basis for my project. It already had the code which allows the user to paint circles with their nose. I wanted to incorporate music into the project, so I looked online and came across an open-source library with different simple sounds called “Simple Tones”.  

I wanted the position of my hand in the posenet framework to play sounds. Therefore I decided that the x-axis of my left wrist would be used to determine the pitch.

if (partname == “leftWrist”) {
if (score > 0.8) {
playSound(square, x*3, 0.5);
let randomX = Math.floor(randomNumber(0,windowWidth));
let randomY = Math.floor(randomNumber(0,windowHeight));
console.log(‘x’ + randomX);
console.log(‘y’ + randomY);
graphic.noStroke();
graphic.fill(180, 120, 10);
graphic.ellipse(randomX, randomY, x/7, x/7);

the “playSound” command and its attributes relate to the library that I have in place. Because the x-axis might not have high enough numbers to play certain pitches and sounds, I decided to multiply the number by 3. Left is  high-pitch, while the right is low-pitch.

I ran it by itself and it seemed to work perfectly.

After some experimentation, I also wanted some sort of visual feedback that would represent what is being heard. I altered the graphic.ellipse to follow the x-axis coordinate of the left wrist. The higher the pitch (the more left it was on the axis) – the bigger the circle.

The end result is something like this. The color and sounds that it produces give off the impression of an old movie. 

Experience and difficulties

I really wanted to add a fading effect on the circles, but for some reason, it would always crash when I write a “for” loop. I looked into different ways to produce the fading effect, but I wasn’t able to include it in the code. 

I would also try to work on my visual appearance for the UI. It does seem basic and could use further adjustment. However, currently, this is as much as my coding skills can provide.

This idea and concept did seem to be a very doable task at first, but it required a lot more skill than I expected. However, I did enjoy the process, especially the breakthrough moment when I could hear the sounds reacting to my movement. 

Overall, I have now learned how to use the positioning of a bodypart to do something. Going further, I do want to work on the webVR project and this experience can help in the understanding and implementation.

Social Impact:

In the process of my midterm, I worked on two different projects. The first project was pairing WebVR with posenet in order to develop a means to control the VR experience with the use of the equipment required. The second project was the one I presented in class – Theremin-inspired posenet project. Although I only managed to complete one posenet project, I believe that both projects have a lot of potential for social impact.

First, let’s talk about the WebVR project. The initial idea behind the project was to make VR more inclusive by allowing people without the funds to buy the equipment to experience VR. HTC Vive and other famous brands all cost over 3000RMB to purchase. By allowing posenet to be used inside WebVR, we can allow anyone with an internet connection to experience VR. Obviously, the experience won’t exactly be the same, but it should give a similar enough experience

Secondly, the Theremin-inspired project. I found out about the instrument a while back and thought to myself “What an interesting instrument?”. While the social impact of this project isn’t as important or serious as the previous one,  I can see people using this project to get a feel or understand of the instrument. The theremin differs from traditional instruments in that it is more approachable for children, or anyone for that matter. It is easy to create sounds with the theremin but it has a very steep learning curve. By allowing this kind of project to exist, people of any background can experience music and sound without buying the instrument.

Future Development:

For the first project, I can see the project developing into an add-on that works for every WebVR project. For this to be real, one has to have an extensive understanding of the framework A-Frame. By understanding the framework, one can possibly use it to develop the necessary tools for the external machine learning program to be integrated. 

The machine learning algorithm also needs to be more accurate in order to allow as many functions to be used as possible. 

For the second project, I can see music classes using this project to explain the concept of frequencies and velocities to younger children or those with beginner knowledge in music production. It allows a visual and interactive experience for these people. 

For the future, it can be possible to add the velocity and volume of each point on the x and y-axis to make it more quantifiable for the person who is using it. For those who want to 
Week 10 Assignment: Style Transfer — Crystal Liu

Model training

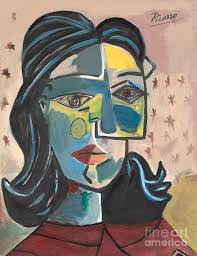
I choose this painting from Picasso as the target style and use cd image_path and qsub image_name colfax to upload this image to my devcloud. 

But when I submitted my training task, I couldn’t see the expected result. Professor checked and found that I didn’t have the local train.sh. So I created one and upload it to the devcloud. This time it worked and then I downloaded the model by using scp -r colfax:train_style_transfer_devCloud/models 111(my name). At first, I did this on the devcloud platform, so I failed to download the model. Then I realized that I should download the model on the local terminal and got my model successfully.

Application

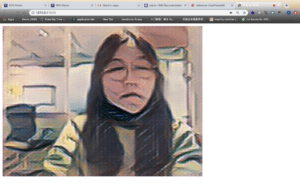
I changed the original code to apply my own model and got this:

This image is abstract and is quite different from my original image, but it looks funny. Also, the canvas isn’t smooth when the style is changed. I think  the reason might be the huge calculation like my midterm project. I thought this was simple because I could only change the style by pressing the space. Thus, I added poseNet model to use the pose to replace space. When the coordinates of the user’s nose reached a certain range, the style will change. However, every time I changed my position, the style would change from the original one to Picasso style. Therefore, it looked so weird and it blinked. So I had to give up this method and still applied the keyPressed function. 

But it inspired me a lot for my final project. Maybe I can use the pitch or tone of sound to trigger the change of the style so that it can enrich the visual output. For example, if the tone is high enough, the style will transfer to another one. However, the precondition is to solve the problem of stuck live video.

Week 10 Assignment: Train & inference style transfer — Lishan Qin

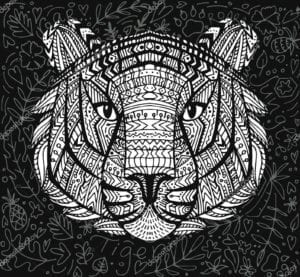
For this week’s assignment, I trained a style transfer model with the painting below.

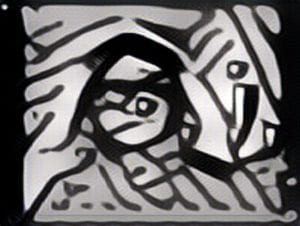
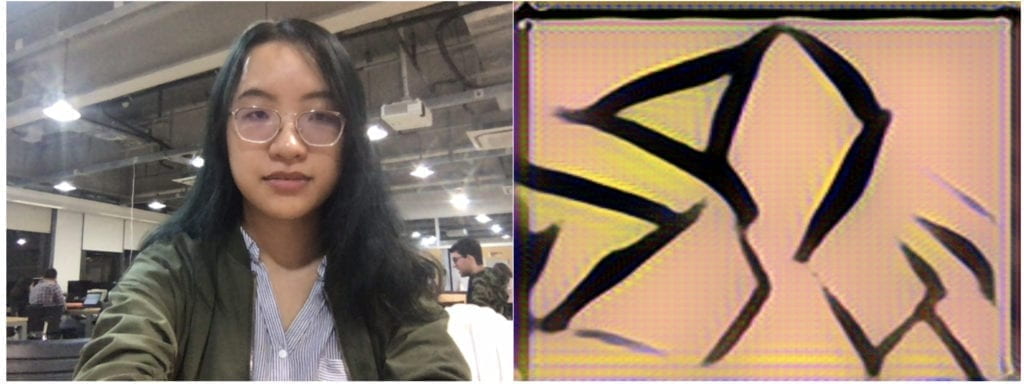
The biggest difficulty I met when training this model is that since the internet is extremely unstable, I failed again and again when downloading the model for training. I tried at least 10 times and finally manage to download that at 2 am in the morning…Other than that the procedures are smooth and I finally have a general understanding of what those commands do with the help of Aven. The output for the trained model is as follows.

(The style transfer can be triggered by a loud sound)

It’s only after I saw the output did I realize that I probably chose the wrong picture to train. Since the image is black and white, so is the output, which makes it hard for me to identify the similar pattern. Originally I want the output image to have the similar drawing line pattern as the input. However, I think  such detailed imitation requires more training. I should have chosen an image with an obvious color pattern that is easier to observe in output image…Still, I guess the pattern of black, white and gray lines shown in the output is somewhat noticeable, even though it’s not as  obvious as I hope.

Overall, it’s a very interesting experiment. I think it helps me a lot to understand how the style transfer process works and allows me to get my hand on to train a model. I also tried using different signals to trigger the style of the web to change, such as using p5’s pitch detection. The style of the web cam image will change when the mic reaches certain volumn. I also hope I can apply this process of training style transfer model in my final project. The style transfer model can be used to generate different characters or battle scene with same style and theme for my battle game. 

Train & inference style transfer – Ziying Wang (Jamie)

Model Development:

For this week’s model, I picked a popart image as my style image.

The model training process didn’t start smoothly since the download is constantly breaking down. After that, I uploaded my train.sh file to the DevCloud and started training. I didn’t realize that I already successfully uploaded my train.sh file and summited the training multiple times so I started the training three times, but I ended up getting a trained model after less than 24 hours. 

The result didn’t turn out as well as I had expected:

Pros: I can tell the basic lines and shapes that outline my figure. The shapes of the lines are similar to the ones in the style image.

Cons: The original picture has colors with high contrast, the trained image barely has different colors other than the carnatio, the black and a bit of yellow and blue. Considering these are all the colors from the style image I used, I assume that if my style image consists of more colors, the trained model will contain more colors. 

Video:

Two experiments:

Experiment A:

I tried to connect this new model with the PoseNet model. The GAN model uses the keypressed function to control the transition between the styled image and the camera image. I implemented the PoseNet model in and programmed it to switch between styles when the left and the right wrist positions match. The code works, but not as I imagined since when it switches between styles, the user can’t keep the two coordinates the same. Even when I left some space for the condition (for example, as long as the distance is within 50px it is considered a switch), the transform still glitches all the time.

Experiment B:

I implemented Crystal’s trained GAN model and PoseNet in my model. Trying to make a project that when one person is detected, it shows the style of my GAN model, when two people are detected, shows Crystal’s style, when more than two people are detected, presents the camera footage. Through console.log, I know that my code should work just fine, whereas the actual image is heavily stuck on the webpage. I assume that the three models are too much for my laptop to run.