Week 12 Assignment: Document Final Concept – Ziying Wang (Jamie)

Background

Dancing With Strangers is a development of my midterm project Dancing With a Stranger. In my midterm project, I used Posenet model to mirror human movements on the screen and exchange the controls of their legs. With my final project Dancing With Strangers, I’m hoping to create a communal dancing platform that enables every user to use their own terminal to log onto the platform and mirror all the movements on the same platform. In terms of the figure that will be displayed on the screen, I’m planning to build an abstract figure based on the coordinates provided by Posenet, The figure will illustrate the movements of the human body but will not look like the skeleton or the contour.

Motivation

My motivation for this final project is similar to my midterm project: interaction with electronic devices can pull us closer, but can also drift us apart. Using them to strengthen the connections between people become necessary. Dancing, in every culture, is the best way to pull together different people, a communal dancing platform can achieve this goal. Compared with my midterm project, the stick figure I create was too specific, in a way, being specific means assimilation. Yet people are very different, they move different, Therefore, I don’t want to use the common-sense stick figure to illustrate body movement. Abstract provides us with diversity, without the boundary of the human torso, people can express themselves freer.

Reference

For building the communal dancing platform, I’m using the Firebase server as a data collector that records live data sent by different users from different terminals.

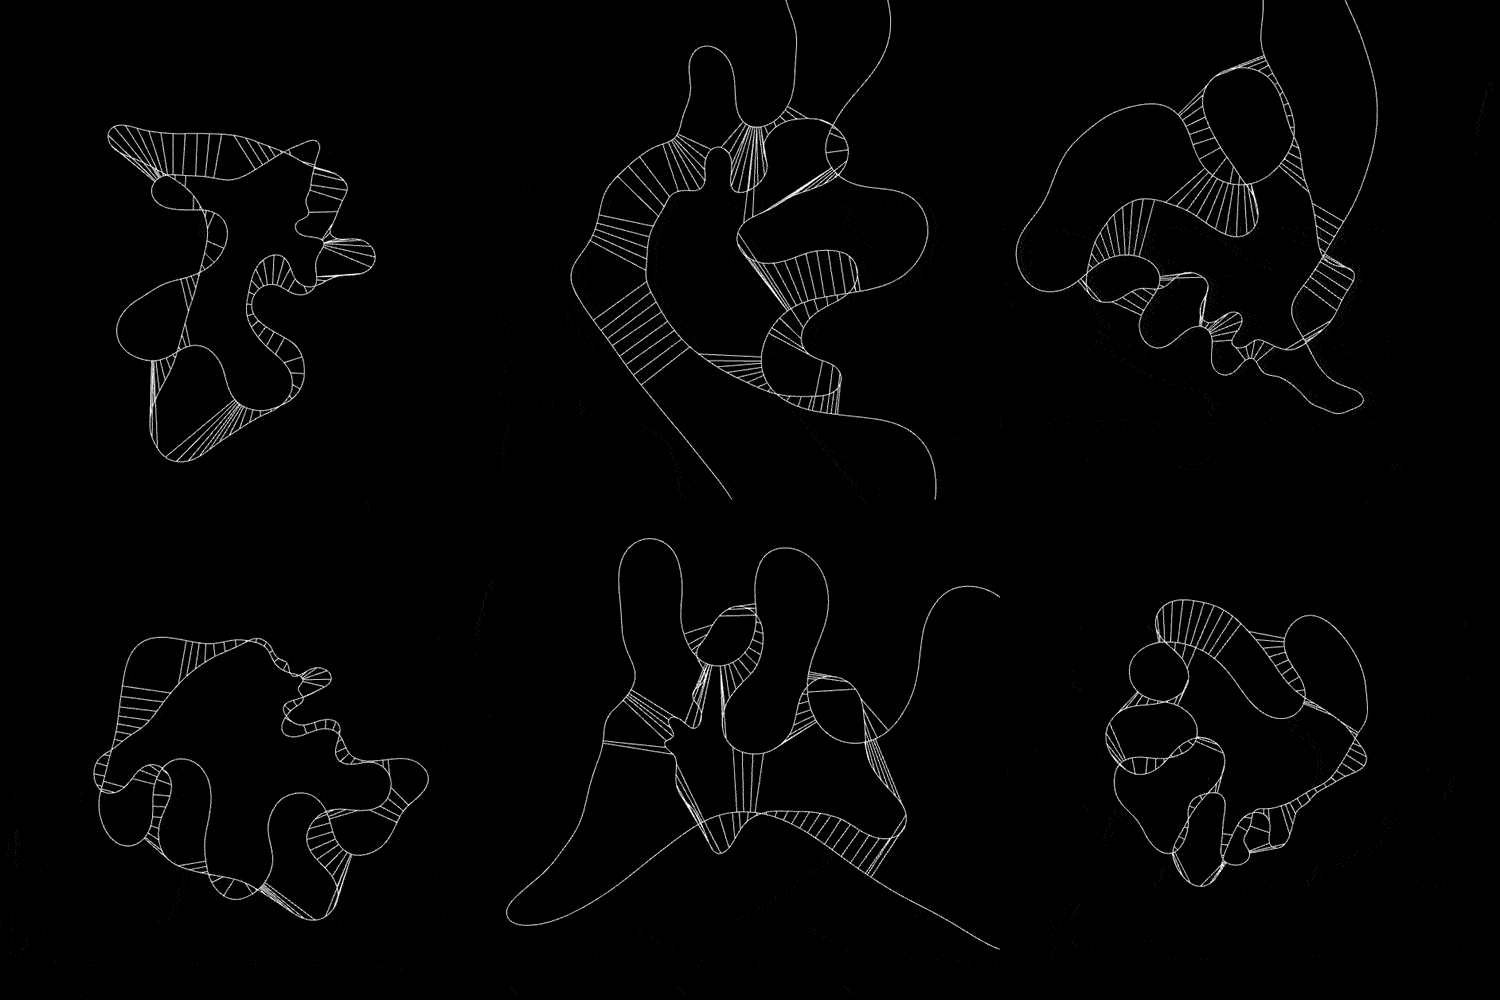
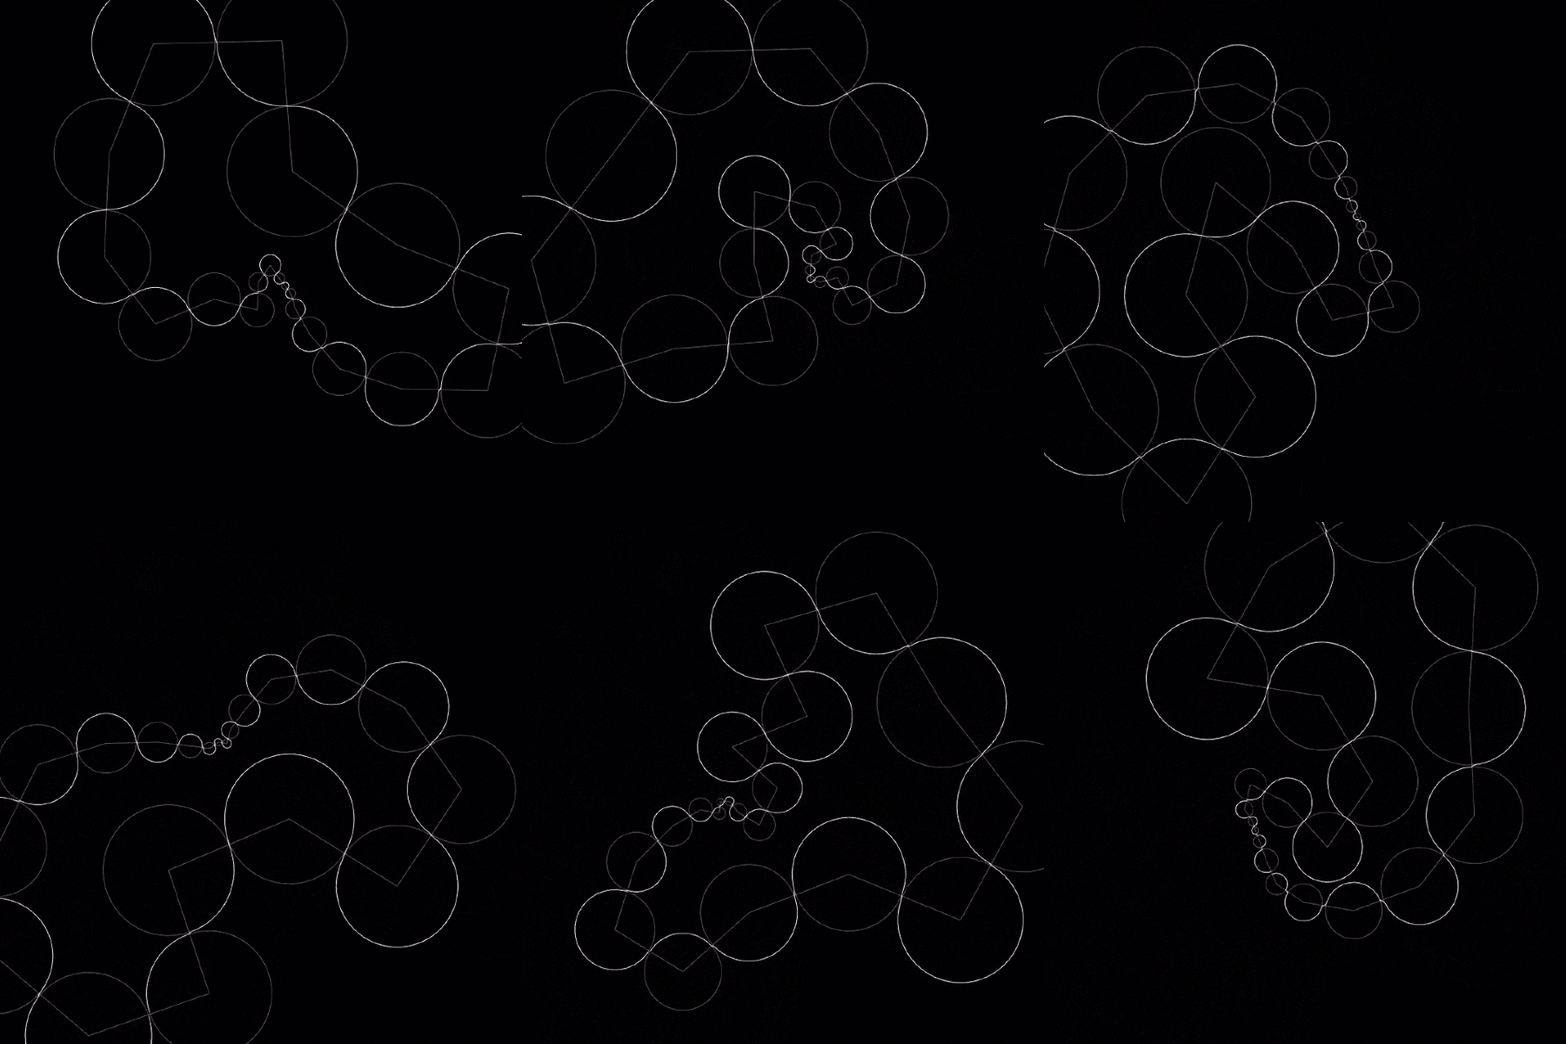
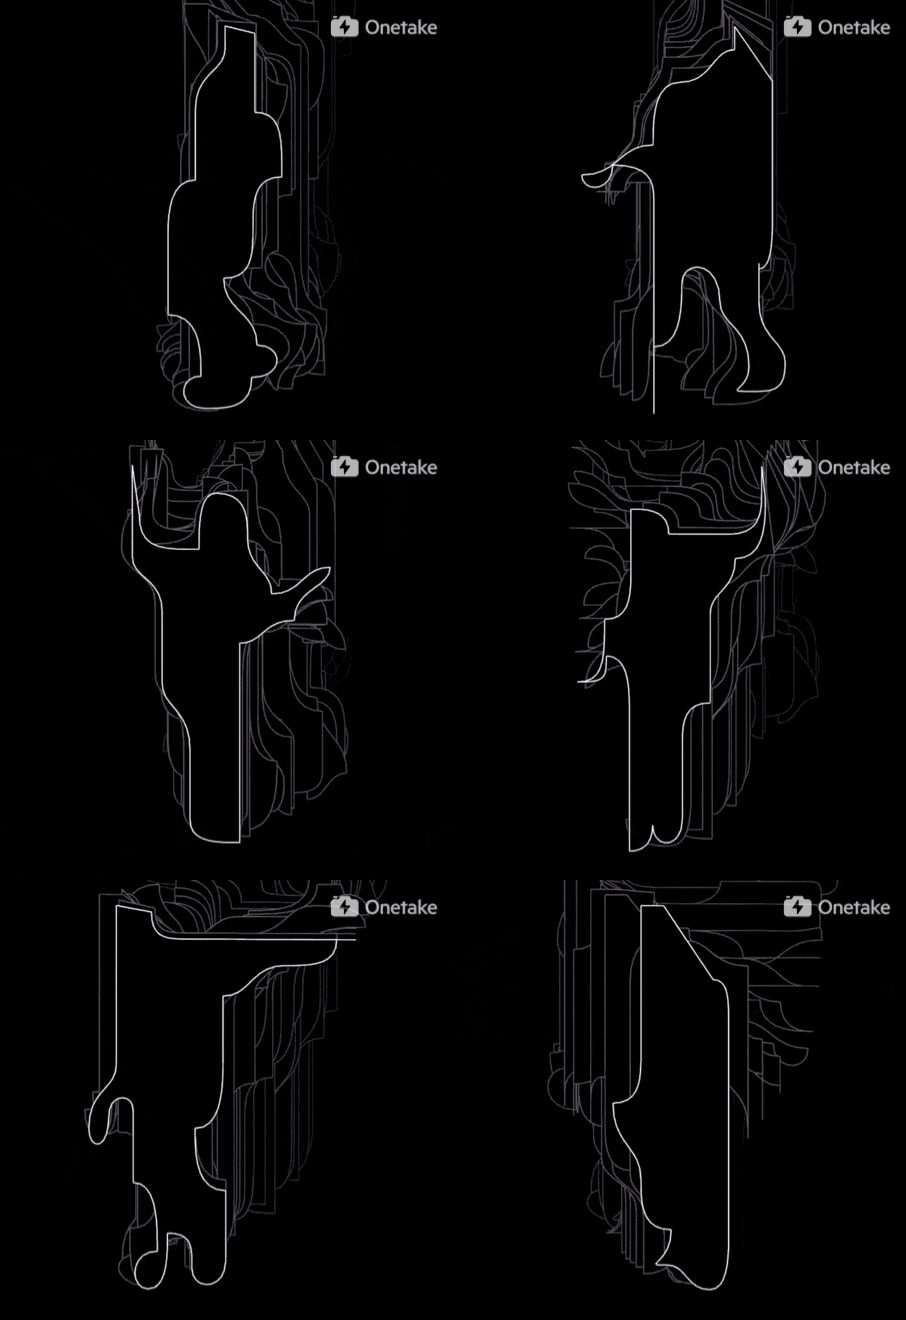
For the inspiration of my abstract figure, I’m deeply inspired by the artist and designer Zach Lieberman. One of his series depicts the human body movement in a very abstract way, it tracks the speed of the movements and the patterns illustrate this change by changing its size. With simple lines, bezier and patterns, he creates various dancing shapes that are aesthetically pleasing. I plan to achieve similar results in my final project.

Some works by Zach Lieberman
Week 12: Final Proposal – Jinzhong

Name

BeautyMirror

Source

Paper: http://liusi-group.com/pdf/BeautyGAN-camera-ready_2.pdf

Pretrained Module: https://drive.google.com/drive/folders/1pgVqnF2-rnOxcUQ3SO4JwHUFTdiSe5t9

Presentation: https://docs.google.com/presentation/d/1DKCaDpAfye6AF4DmrT1d3hjaJCn3PrIQfMcUBAmh2-A/edit?usp=sharing

Inspirations

Nowadays, there are lots of beauty cams in the market that can beautify user’s portraits (transfer the style of makeups) and outputs a better-looking photo than the original one. However, users can either have limited options to select preset models or manually set some abstract configurations described by jargon. These configs indeed guarantee the quality of outcomes, and yet they limit the creativity. The face can be a very personal thing and should be customized based on users’ will.

So, here comes the BeautyMirror, a GAN network by Tsinghua University that extracts makeup features from a face in one image as a model and transfer the makeup style of the input image. The network will detect some feature points of faces, for example, the style of the nose, lip, eye shadow, etc.

The advantage of the project is that by utilizing the power of GAN, the users can change their face style to any portraits they upload which gives the users more freedom when experiencing the project. The challenges are also lying on the ground that I need to be cautious when selecting preset models(images) that have an impressive impact on users.

Demo

Train and Inference Style Transfer

I had a lot of trouble with this assignment and ran into a few difficulties. In the end, I wasn’t able to train the Style Transfer despite overcoming most of the challenges I faced. However, I do feel like I learned much more about the files and the process in terminal after spending hours problem solving and researching the challenges I faced.

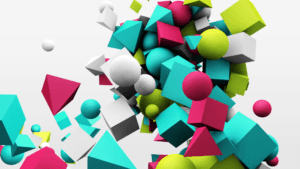
To start training, I cloned the repo, created the environment and checked the installation, but had to use a different command from the slides because I realized that the folder was named styleTransfer instead of styletransferml5, something which threw me off on several steps of the training. After successfully downloading the setup, I renamed my image, shapes.png, an interesting 3D shapes image I thought would produce interesting results, and loaded it into the images folder on my devCloud.

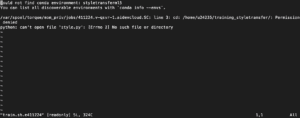
After completing these steps, I attempted to run the qsub -l walltime=24:00:00 -k oe train.sh code, but didn’t receive the “successfully training” message. Instead, I discovered that every time I ran the code, the program created a new “training” file, such as train.sh.o411228, and an error file, train.sh.e411228.

Initially I didn’t realize that train.sh.e411228 was an error file, so I kept checking the other version to find confusing outputs such as this:

Checking the error file showed this error, saying that style.py didn’t exist, so I reuploaded the style.py into the train_style_transfer_devCloud folder on devCloud and kept trying again.

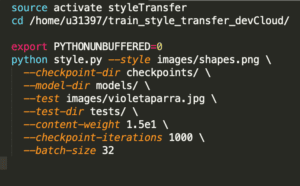
At this point I reviewed all my steps on the slides and realized that I needed to edit the train.sh file, as I had not realized that before. I went back into the downloaded folder from Github and changed the username and file name, but after a few more error messages I realized that the original train.sh indicated the folder was styletransferml5, which is why the program couldn’t find the style.py file, as it was under activate styleTransfer in the train_style_transfer_devCloud folder. Here is my edited train.sh file:

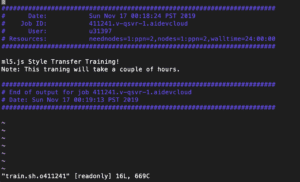
After correcting my mistake, I reuploaded the train.sh file again and submitted the qsub -l walltime=24:00:00 -k oe train.sh command, and was very excited to see the message, ml5.js Style Transfer training!

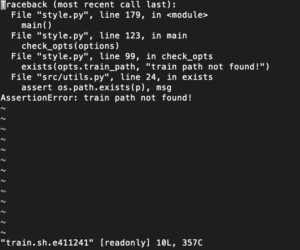
However, after a day and a half went by, the message was still the same with no successful models trained. At this point you directed me to check the error file, which showed this new error, train path not found.

The final hurdle was realizing that when cloning the repo the unzip train2014.zip had failed to work, which meant that despite problem solving earlier the file was still zipped and therefore couldn’t be used to train. I redownloaded the file again and attempted the use the unzip command in Colfax, but got these error messages after several attempts.

In the end, I kept getting the “broken pipe” message, so I had to give up my attempts. While I feel like I got very close and got to know all the parts that go into style transfer training, experiencing all the complications was very frustrating especially after spending hours problem solving, getting help from friends and fellows, and feeling so close to the finish line after the success messages.

Week 11 – DeepDream Experiment by Jonghyun Jee

DeepDream, created by Google engineer Alexander Mordvintsev, is a computer vision program that chews up the reality and renders it into trippy, somewhat nightmarish image. With a help from CNN (Convolutional Neural Networks), the effect of deepDream is a result of how the algorithm views images; that’s why this pattern recognition is called algorithmic pareidolia. For this week’s assignment, I tried a number of experiments with varying parameters to see what sort of results it would yield.

Instead of photographs, I drew a self-portrait and took a picture of it. I colored my drawing with Photoshop and Painnt:

Then I uploaded my drawing on this site, which allows its users to easily apply DeepDream effects on their images–without knowing much of how this DeepDream actually works. 

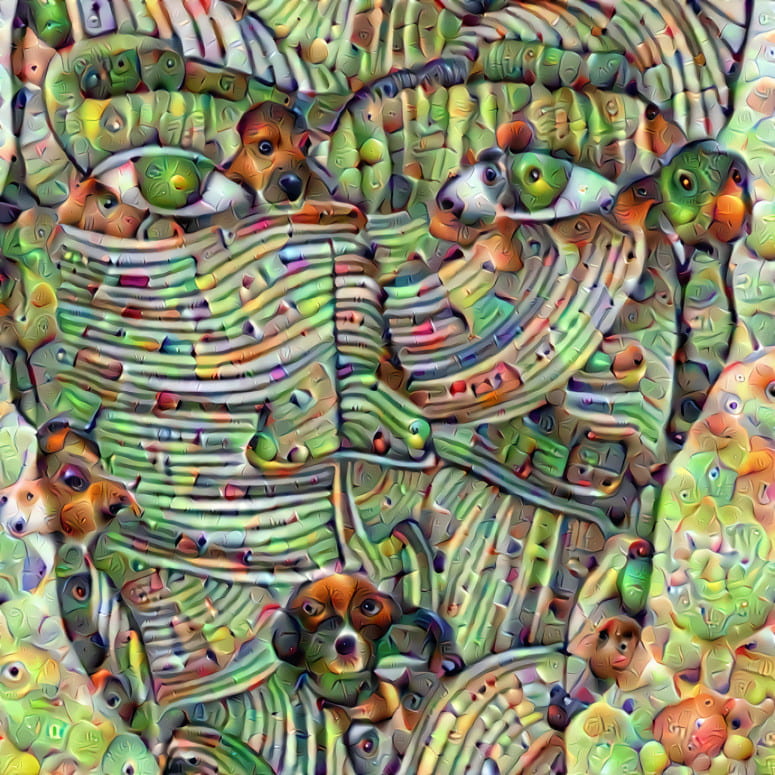
We can see from the generated image above that it warped the original image with mostly animal-related features. We can spot the dog-like and parrot-like visuals, but still the original portrait looks like a human face. To control more parameters of this effect, I used the notebook called “DeepDreaming with Tensorflow” provided by Alex Mordvintsev. I tried different layers to see which one yields the most interesting output.

Those layers are characterized by edges (layer conv2d0), textures (layer mixed3a), patterns (layer mixed4a), parts (layers mixed4b & mixed4c), objects (layers mixed4d & mixed4e).

Mixed 4b created spirals in the background.

And Mixed 4c showed the floral patterns. The way how it transformed the background elements was pretty cool; and yet, my face didn’t change much. I could see there was something interesting going in terms of computer vision. I moved on to the next step: video!

This notebook powered by Google Colaboratory provides a simple yet powerful user environment to generate a DeepDream video. To break it down with several steps, the first thing I had to do was mounting my Google Drive. It allows users to import their own Google Drive and upload an input image and download the output (generated video, to be specific). The next step is to load the model graph–the pre-trained inception network–to the colab kernel. After loading the starting image, we can customize our own neural style by adjusting the sliders (the strength of the deep dream and the number of scales it is applied over). Then we can finally begin generating the video by iteratively zooming into the picture.

Layer: mixed4d_3x3_bottleneck_pre_relu Dreaming steps: 12 Zooming steps: 20 From its thumbnail, we can see some interesting architectural images and dogs. And yet, 32 frames were too small to enjoy a full DeepDream experience.

Layer: mixed4c Dreaming steps: 60 Zooming steps: 20 Dreaming steps were a bit too high compared with zooming steps. At the point where it begins to zoom, the image doesn’t even look like the original portrait. It rather seems a way too deep-fried.

Layer: mixed4c Dreaming steps: 16 Zooming steps: 80 When I added more zooming steps, it goes far deep but the images look a bit too redundant. It would have been better if I tried different layers.

Overall, it was a very exciting tool to play around with. The whole rendering process didn’t take a long time thanks to the pre-trained model. I still don’t have clear idea for my upcoming finals, but DeepDream will be a definitely interesting option. 

Week 11: Training Deepdream – Jinzhong

The assignment for this week is to play around DeepDream, a GAN network to transfer the style (or pattern) of an image, for example, this one:

WORK

There are 5 parameters that are customizable in the step of generation in total. These are:


octave_n = 2
octave_scale = 1.4
iter_n = 15
strength = 688
layer = "mixed4a"
 
And today I am going to talk about my research and understanding of these parameters, as well as my tests and experiments.
 

octave_n

– Test Range: [1, 2, 3, 4, 5, 6]

– Test Outcome:

Form the test we can see the parameter determines the depth of deep dream. The larger octave_n becomes, the deeper the render/transfer process will be. When it is set to 1, the picture is only slightly changed, the color of the sheep remains almost the same as its original source. However, when the parameter becomes larger, the contrast colors become heavier and the picture loses more features.

octave_scale

– Test Range: [0.5, 1, 1.5, 2, 2.5, 3]

– Test Outcome:

This parameter controls the scale of the deep dream. Although the contrast colors are not as heavier as the first parameter octave_n, the size of each transfer point scales and affect a larger area. So, we can see from the last picture, the intersections of several transfers are highlighted.

iter_n

– Test Range: [10, 15, 20, 25, 30, 35]

– Test Outcome:

This parameter controls the number of iteration of the deep dream. In other words, it determines the times of image processing. When the number is smaller, the output woulld be more similar to its original input. When the number becomes larger, the output would be more ‘deepdreamed’.

strength

– Test Range: [300, 400, 500, 600, 700, 800]

– Test Outcome:

The strength determines the scalar condition of each deep dream process. As we may see from the pictures above, the 6 transforms of the original picture are almost the same while only differ in the strength of colors (patterns). The higher strength outputs the sharper result.

layer

– Test Range: [“mixed3a”, “mixed3b”, “mixed4a”, “mixed4c”, “mixed5a”]

– Test Outcome:

The layer gives different patterns of the deep dream. It is also the pattern GAN used to train. So, each pattern would render different shape of DeepDream.