The Trailing Snake 🐍
Project Description
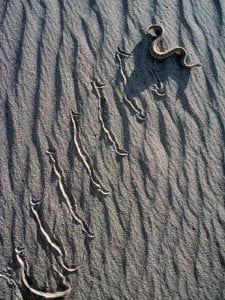
The Trailing Snake is a kinetic light sculpture that mimics the movement of a snake. This project is inspired by a Greek artist named Vassilis Hatzopoulos. One of his element that I will take away is his automata mechanism which moves along stationary strip object back and forth. The mechanism involved several circle plates that are connected by a metal rod through a hole on the plate close to the edge. These plates will then rotate at a different degree based on where the plates are tilted towards. There will be shorter metal rods stick up vertically which will be the supporting ground for the light. The vertical rod will then move based on the plates with different positions which will then rotate the vertical rod on different angles
The goal of this project is to move around a long strip of light as I called it the snake. Since I want to move the light quite frequently, I need to find a type of light that is flexible enough so I settled on the flexible neon light. Another goal of this project is to create a complex automata mechanism that creates multiple different movements from one single movement type. In this case, I will be using the stepper motor to create different swinging movements of different angles.

Perspective and Context
Guy Brett writes in the Kinesthesia that “It is not a movement in itself which is important but the intensity with which a work can reveal space, time and energy”. This quote matches the purpose of this project in creating something that is not only physically moving but also reveals the sense of space and energy. Such space can be revealed by the use of material around the light. For the project, I planned on using a reflective material underneath the light which will reflect off the light. This will then reveals the surrounding and as the light moves in different positions, the surrounding space will then react differently.
Despite being a stationary object, meaning that it doesn’t actually move. The sculpture will still reveal energy as it mimics the movement of a snake and the light enhances that trait further. Lastly, the project is based on the adaptation of nature and specifically the movement of a snake. This project will give the audience the impression of a moving snake.
Development & Technical Implementation
I started off making the project will a design drawing and figuring out what components I need to purchase on my own.
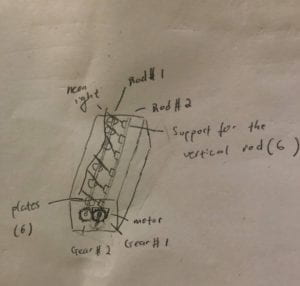
The following components are what I need to buy: two metal rods 48 cm length (0.5mm diameter), two shaft bearings (0.5mm inner), six rods 16 cm length (0.3mm diameter), neon flexible led.
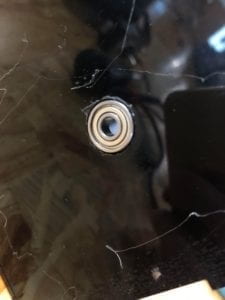
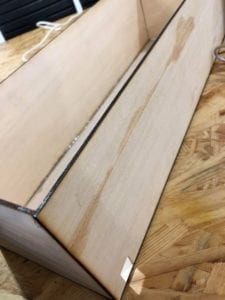
When I got most of my components, I made the platform of my installation with the laser cut. The platform will be a long box that is 48cm in length 6 cm in width and 5 cm in height. I created the design with casemaker and modified it on the illustrator to add the holes for my bearing. For convenient, I glued the top and the bottom with one panel from each side. This way, I can reach inside and make changes easily. After I glued them together, I added the bearings on the far side of the panels.
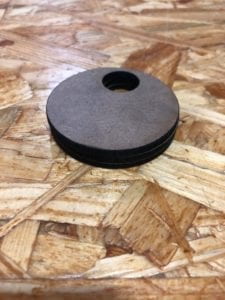
With the laser cutter, I also made the plates that will move my vertical rods that is supporting my light. These are glued together with 3 in order to form one single plate. These will fit perfectly into the long horizontal metal rod.
The installed the stepper motor on the side of the panels near the bearing. On the motor, there are 4 holes for the screw so I measure the length against the panels relative to the bearing and the metal rod. I made the holes with the electrical screwer. Then 3d printed the gear. Since the stepper motor is D-shaped, I need to modify the hole so it can fit perfectly.
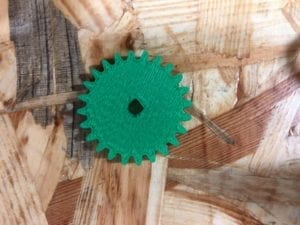
I made another gear that is slightly smaller in size and in circle hole that fits perfectly into the metal rod. I then tested the motor by connecting it to the Arduino and using the code from the example (speed control).
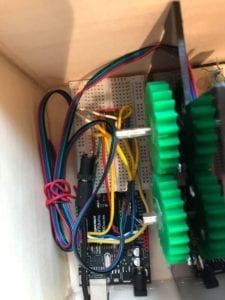
As you can see, I made an outer layer that is made out of wood with the laser cutter which I thought gives the contrast from the reflective material that I will be using later for the surface. I cut a square-shaped hole so I can put through all the connections.
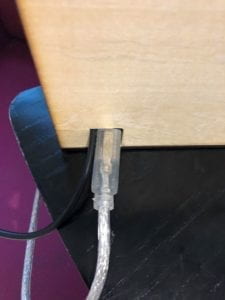
In order to fit in all my connections, I made the wires about the same size to save space and to make debugging easier.
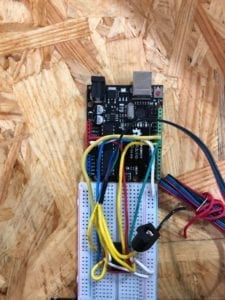
After I tested out the motor, I will install the vertical rod with a supporter that made with 3d printer through Sketchup.
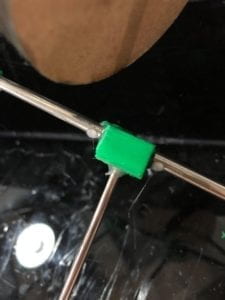
In order to put them in place, I will lay some hot glue next to the side so it doesn’t move around. After putting them in the correct spot, I will align the plates in the same location accordingly.
These vertical rods will be put in place against the place with a rubber band that I got from leftover clothing.
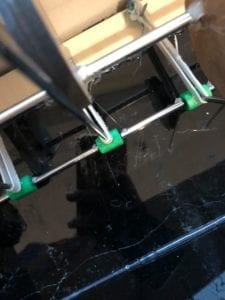
I tested out the motor against to see if the whole mechanism work well and like as I expected it did.
The last thing I needed for the project is the light and the reflective surface. For the surface, I got the material from a senior that she left over from her capstone. I will be laser cutting it out with cutouts so that the vertical rods can go through.
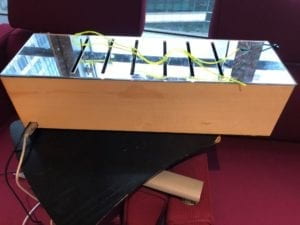
As you can see, I used the el wire at the end which I will explain later in the presentation part. But one of the difficult that I had is with the light. Even though the whole mechanism went smoothly, the light that I bought just wasn’t flexible enough. The el-wire could almost be moved, but still, it wasn’t enough. I just wish that I could give my self more time on the installation of the light.
Presentation
I remembered when Eric said to me that it looked like a struggling snake and it did. The light is struggling to move and I don’t think it was the motor having a lack of power. The audience knew what it was: a snake, but the light wasn’t quite like a snake yet. There wasn’t much criticism except for the fact that the snake isn’t moving as it should. Nick didn’t know what went wrong exactly as I worked with him on the project several times. I thought that there is more rubber needed in the opposite direction and the light should be more flexible. Also, the measure of everything like the cut out for the surface should be more precise. The final effect of the light should look like this.
Conclusion
Although the light was a disappointment and a failure, the creation of the mechanism was still a success. What I learn from the project is to give equal distribute the time equally so I can give enough attention to each part. When creating a plan for a project, time management is a very important part because it determines whether a project is achievable in a certain amount of time. Also, I should think about an alternate plan that works well if the original plan doesn’t work. What I realized after the project is that I could make better use of the mechanism such as having long el wire dropping down and controlling the height and the speed with the mechanism I created. Something like that would be a much better substitute instead of something that partially works.
Nick told me that I should keep everything clean so that it is good to present. Since I have the reflective panels as one of the focal points of the project, I should keep better care of it and not have any specks of dirt on it. Overall, I was a bit too confident in that the light will definitely work out at the end which it didn’t.
