During this week’s recitation session, I and my partner Amy built three types of electric circuits with the help of learning assistants.
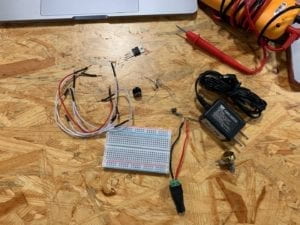
The first circuit is the door bell one which takes us most time to figure out how it works. Most of the mistakes we made leads to the fact that we had not fully understood how the breadboard worked and could not read the schematics. But with the help of the kind learning assistant (so sorry I forget her name but she’s so nice), we got started with guidance and build the latter two circuits on our own.
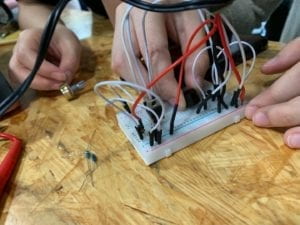
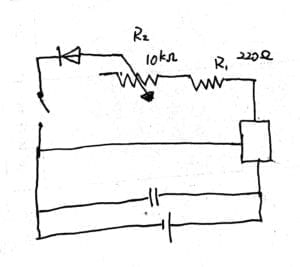
Our first doorbell circuit is not successful though I still don’t know what was wrong with it. But we later made a new one which places components on both sides of the breadboard so that we can view the circuit clearer to avoid mistakes and it worked.
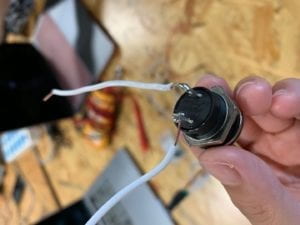
The other two circuits become easier for us to build with the experience. The only problem we met was to differ the two resisters and we were taught to use the multimeter.
About the components:
The speaker/buzzer and the LED functions as output which directly meets the need people desire from this circuit and they are the result and feedback of the interaction.
The resisters work to keep the current in a suitable range where other components can work.
The button/switch is the operator which connects the circuit into function.
For the capacitor, I’m still not quite sure how it works.
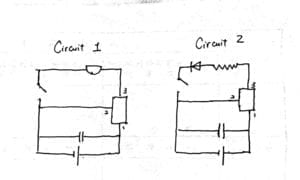
The circuit somehow shows interactivity that we can clearly see an input and an output (which can be regarded as a response). When we turn the switch on or click the button, we give out the signal which receives by the buzzer or the LED and they reacts by giving out sound or light. With the dimmable lamp it is more apparent. When we change the resistor, we can see the luminance changes responsively.
If interaction design appears alone (like installations), audience usually needs to perform the whole dialog on their own. That is to say, the audience see or experience something (with sound, light, or smell) and then get certain feeling or thought. Both the input and the output part is performed on their own though the installation work to form the whole thought-provoking process. While interaction design is combined with physical computing, instant response can be given directly by the artwork. Hand shadow play is a popular tradition and children’s play in China and artists now made it into an interactive art by which the sensor can detect the shape of one’s hand and match the most similar animal hand shadow shape to guide the user. It is a quite interesting example of how Interaction Design and Physical Computing be used to create Interactive Art (but I cannot tell the artist since I learned about it in morning news…).