Recitation 5: Processing Basics by Xinran Fan

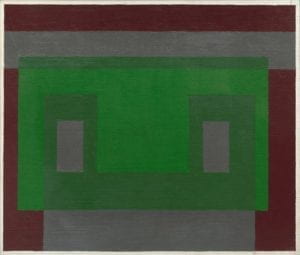
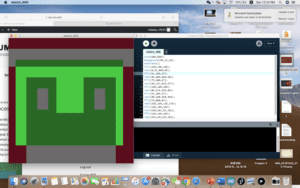
In today’s recitation we are going to practice using the processing to draw. I chosen an image drawn by Josef albers from  Bauhaus School of Arts.

I chose it for it just use some simple cube construct a sense of cyberpunk. The character look like a green robot, while stare at you by a lackluster grey eyes.

At the first I thought it will be very simple. To begin with, I draw the image in the chart to make sure about the wide and height. Then I set up the canvas size into 600×600 as I learned in the class. Then I used fill to set color. The first problem I met is setting the color, this image use a special dark mix color which hard to reappear. In addition, I used rect function. At that time I realized the main challenge  using the processing to draw something is bear the boring. Using the processing to draw is not like draw by CNC version, each brushstroke and color shape are separate into single coordinate. I really felt sleepy when I measured the cube one by one. I once asked the teacher if I can just draw a stroke and paint the Blank between the stroke and the frame, but get an unpleasant reply. After that, I fought the cube with a black stroke, I checked the reference and use noStroke to fix it.This is the final draft, though the color  still too bright. What’s more, because we can get the accurate coordinate for unavoidable error, my image looks thiner to the original one.

I must say that using processing it is not a ‘drawing’ process for”drawing” is an artistic process. Holding the brush is not only the painter but also the god, by the hand of random. But when using the processing , all the step is too correct to let the freedom exist, meanwhile is too correct to let the art live been the brush.

But we should  permit that precessing also can produce a wonderful art. And once you want to build a complex model as an agency to achieve your goal.

Recitation 4: Drawing Machines-Xinran Fan

introduction:

   First,  I’d like to tell you that this is the first time ,and unfortunately could not find a partner until near to the end of the class. So this blog prohaps look like a individual work.

Materials:

For Steps 1 and 2

1 * 42STH33-0404AC stepper motor
1 * L293D ic chip
1 * power jack
1 * 12 VDC power supply
1 * Arduino kit and its contents

For Step 3

2 * Laser-cut short arms
2 * Laser-cut long arms
1* Laser-cut motor holder
2 * 3D printed motor coupling
5 * Paper Fasteners
1 * Pen that fits the laser-cut mechanisms
Pape

Step 1: Build the circuitH-bridge circuit diagram

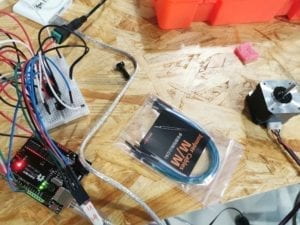
I felt dizzy the first time I saw that image. It is the most complex circuit I have seen in the recitation. So the first thing I did is taking out the certain number of the similar color wires. Then I just build it according to the image. Though this actually is a non-thinking part, I am still on tenterhooks. After that, I asked an assistant for helping me check it (afraid of burning my computer),then copy the link…It didn’t run hot!

Step 2: Control rotation with a potentiometer

In the second step I really met a intractable trouble, my Potentiometer, which is should be 0~1023, but actually is only 540~645. That’s really puzzled me when I doing the map. There were more than one fellow came to help me to figured out what happened. we have tested many Potentiometers and at last found out that non of Potentiometers can get to the standard range…Because of that , I changed the the value in the map. Anyway, it did not have a big difference

Step 3: Build a Drawing Machine!

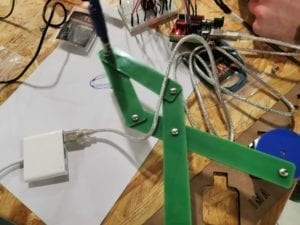
It was super easy to put the laser-cut arms together and used paper fasteners to fix them.Then I walked around to find someone build the last step with me. There comes Krabs when it near the end of of the class, but he haven’t known what the laser-cut arms used for! Though the class was over, we still insisted to have it down. I was so happy to see the pen begin to move itself!

Question 1:

what I want to create at the midterm project is a plants watering reminder which can let people communicate with their speechless friends. Using moisture sensors to sense the humidity of the soil and giving people light and sound to remind them water the plant . It can even give the suggestions on how much water we should add into the soil. The plant would move up and down when is soil is too dry, while if you put too much water into the soil, a servo will rotate a hand-shaped sign try to make you stop watering the plants.

Question2:

The interactive artwork Daniel Palacio Jimenez’s Waves. Motors in it rotate elastic strings to create complex sounds and visual vibration. It lead to the different shapes and movements, which make it looks like there is a solid object suspended in mid air when you takes the photos.

our  project  is actually controlled by people. In Waves, it seems that the movement is depend on sensing the movements of people. But they are both interactive, and result in an art work.


Group Research Project Individual Reflection-Xinran Fan

Interaction:

     I get puzzled with the meaning of that word at the first time I saw the name of this class. Then I ask many people about what will I learn in this class and surprisedly gain various reply. Some told me it is all about AI, others argue that it is more focus on engineering. So what is “Interaction” in deed?

     The first understanding about Interaction I got is very vague, “It might be kinda like a conversation between people and the computer.” That is because most interactive devices we saw, like those examples below, are about the relationships between people and the computer, especially is the computer receive the information (such as movements, press, or sound) from people and make a reaction. Yes, it is the most common kind of interaction, but after the following  classes I took, I found my thought is too narrow.

Video mirrors

Floor Padseye_thing.png
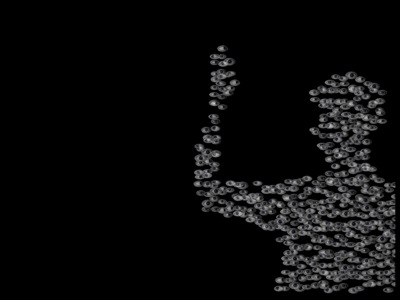
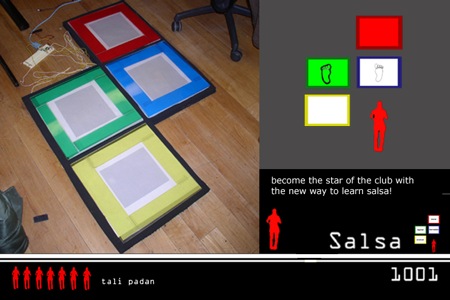
salsa_floor.png

     Interaction is “an interactive process of listening, thinking, and speaking between two or more actors” Reading this concept from Chris Crawford, I suddenly realize the actor is not only the computer and the people, it can be the conversation between the outside environments and the computer, two computers and even two human! The interaction do exist if there are three stages, for human being intelligence, that are “listening, thinking and speaking”, for the computer side, that are “input, processing and output”. But no matter what kind of interaction it is , the main actor should have some sorts of intelligence, at least it has the ability to “processing”. It can follow some kind of logical system to translate the information it received into another expression. For example

WiFi Impressionist – City as an electromagnetic landscape

Created by Richard Vijgen, ‘WiFi Impressionist’ is a field installation inspired by the cityscapes of William Turner that imagines the city as an electromagnetic landscape.

whose input is WIFI signal, processing by computer, and the output is an imagine. That’s no human exist, but that’s truly a completely interaction.

        So, as a conclusion, I think the interaction is the conversation between two or more actors (a random access media as the main role) which has three completely stages.

Group project:

    “How to show a device after 100 years? Should it be very advanced?” I have to emphasize this two questions lead to many unexpected ideas and discussion  at the first meeting of our group. The first idea given by Barry is a smartwatch which can measure the wearer’s physical digital, which is shelved for lack of futuristic feeling. Jackson even presented a doomsday idea according to the Bible-a house where people live in the doomsday’s flood! Of curse it was turned down for the feasibility. Then I put forward a scheme-a smart suit, which can change its thickness depend on the temperature. Meanwhile, Cathy come up with a more artistic idea-a drawing machine but draw by the user’s emotion. Compared this two, we finally choose the latter.

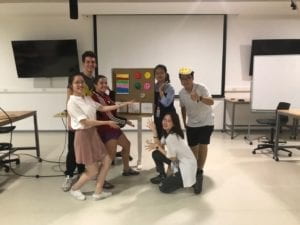
     Our process is not smooth either. At the beginning I and Stephanie complete a script including aliens and other novel scene. However, this story ignited a keen discussion about that question I list above. At last, we made an agreement that this device, though it exist 100 years ago, it still used in daily life. After that everything go successfully-Leah took the responsibility of drawing and preparing the materials about it, Cathy and Barry improved the script, and we all together made a beautiful computer. (Jackson though was absent for the last show, but he did put much effort in making the materials)

       I think I don’t need to introduce that show in detail. Though my role is a computer who could not show my face, I was still very exciting to be one of this team, for I feel so many interaction between each other here! After watching all the performances, I have the confident to say our show is out-standing, because our ‘Interaction’ has a very clear logic!
Recitation3 sensor-Xinran Fan

    This time I cooperate with a foreign boy. Being a senior, he really had a good command of his computer and that really raised our efficiency. As a result, we tried five kinds of sensors this time!!!

     Variable resistors:

Hardware Required

  • Arduino or Genuino Board
  • Potentiometer or
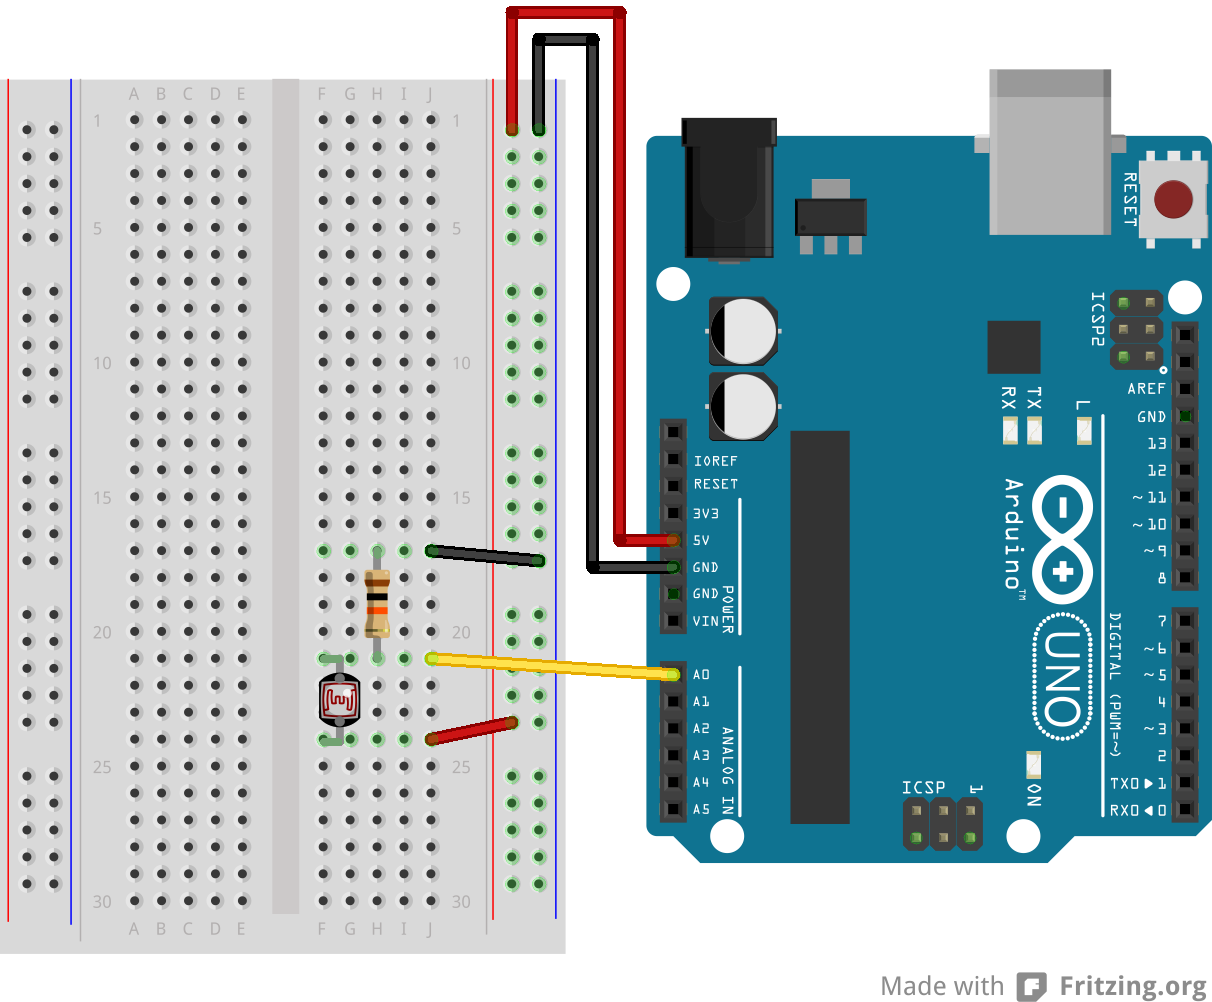
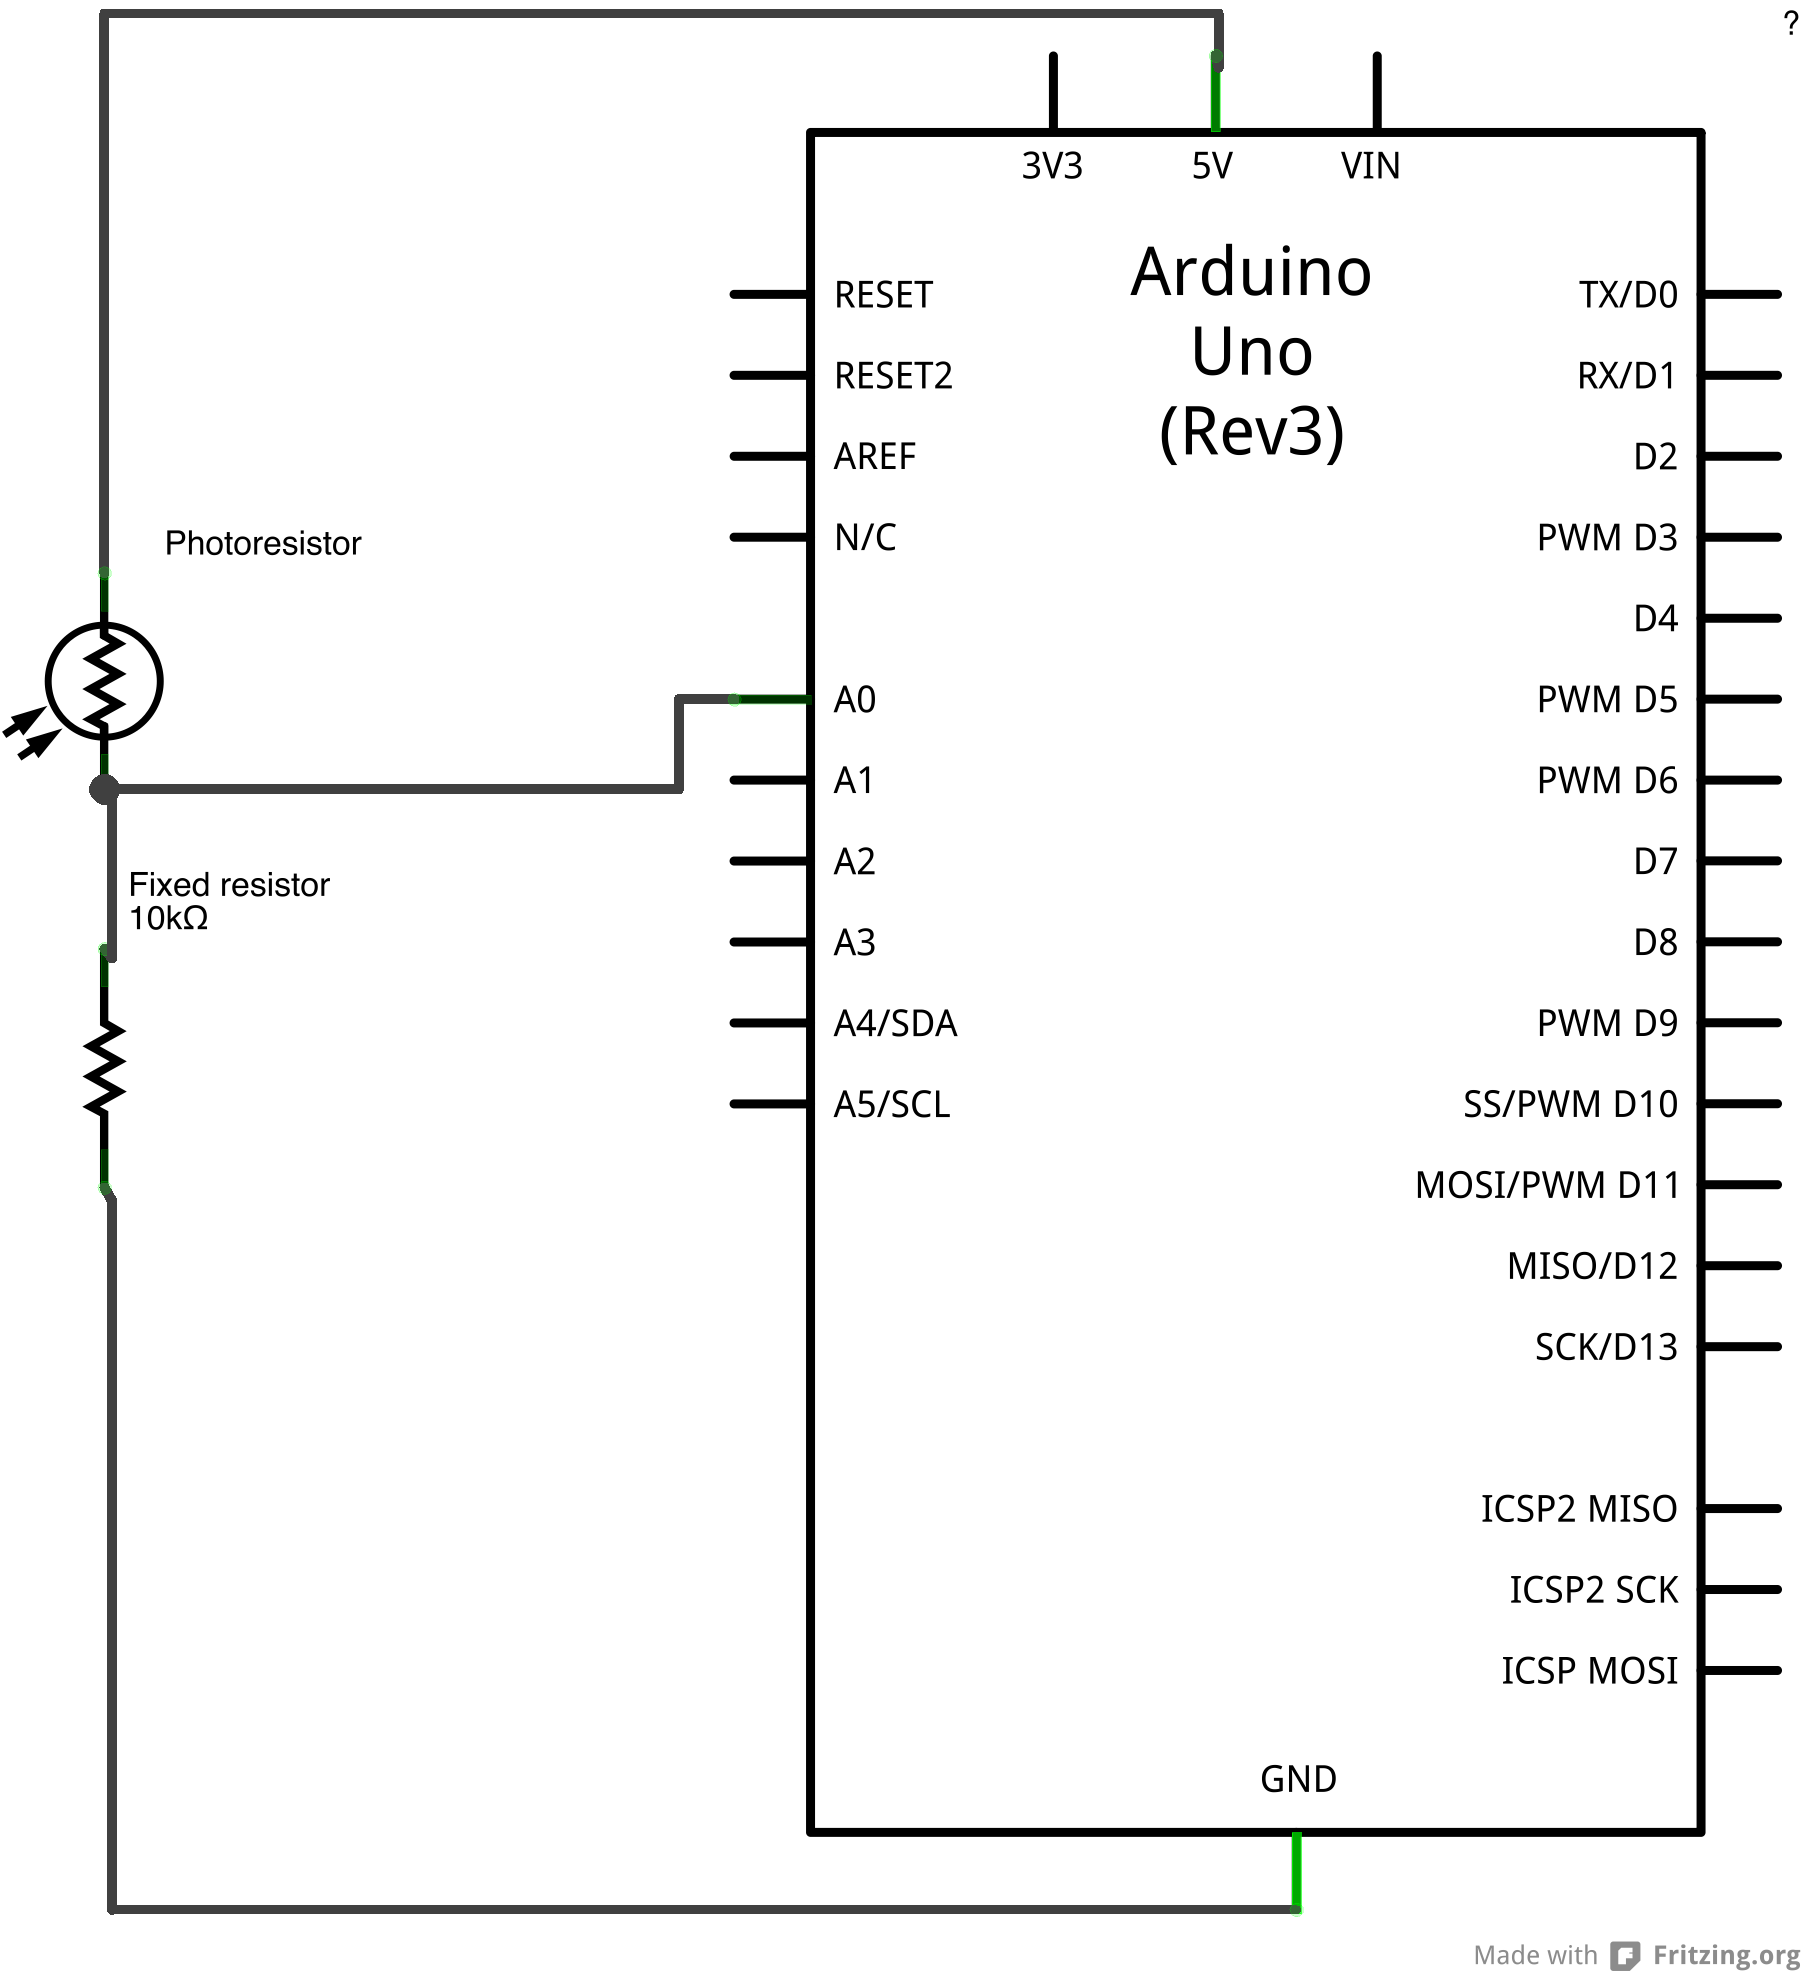
  • 10K ohm photoresistor and 10K ohm resistor
  • built-in LED on pin 13 or
  • 220 ohm resistor and red LED

Video player

then we decided to change the LED into BUZZLE and make some noise!

Video player

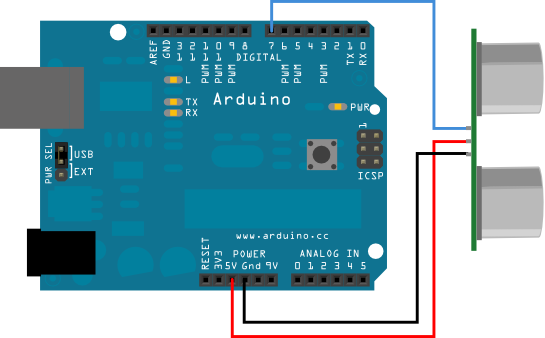
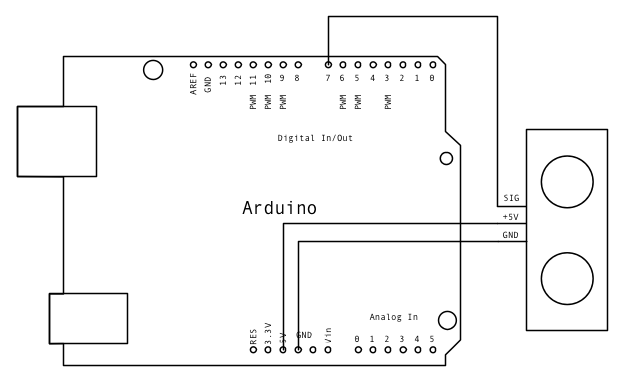
Ultrasonic Ranger:

Hardware Required

Video player

Grove – Moisture Sensor:

At the first , we are quite confused about how is it about, for the components in the introduction is different from which we have.However, we tried to connect it directly, and get a good consequence.

Video player

Infrared Distance Sensor:

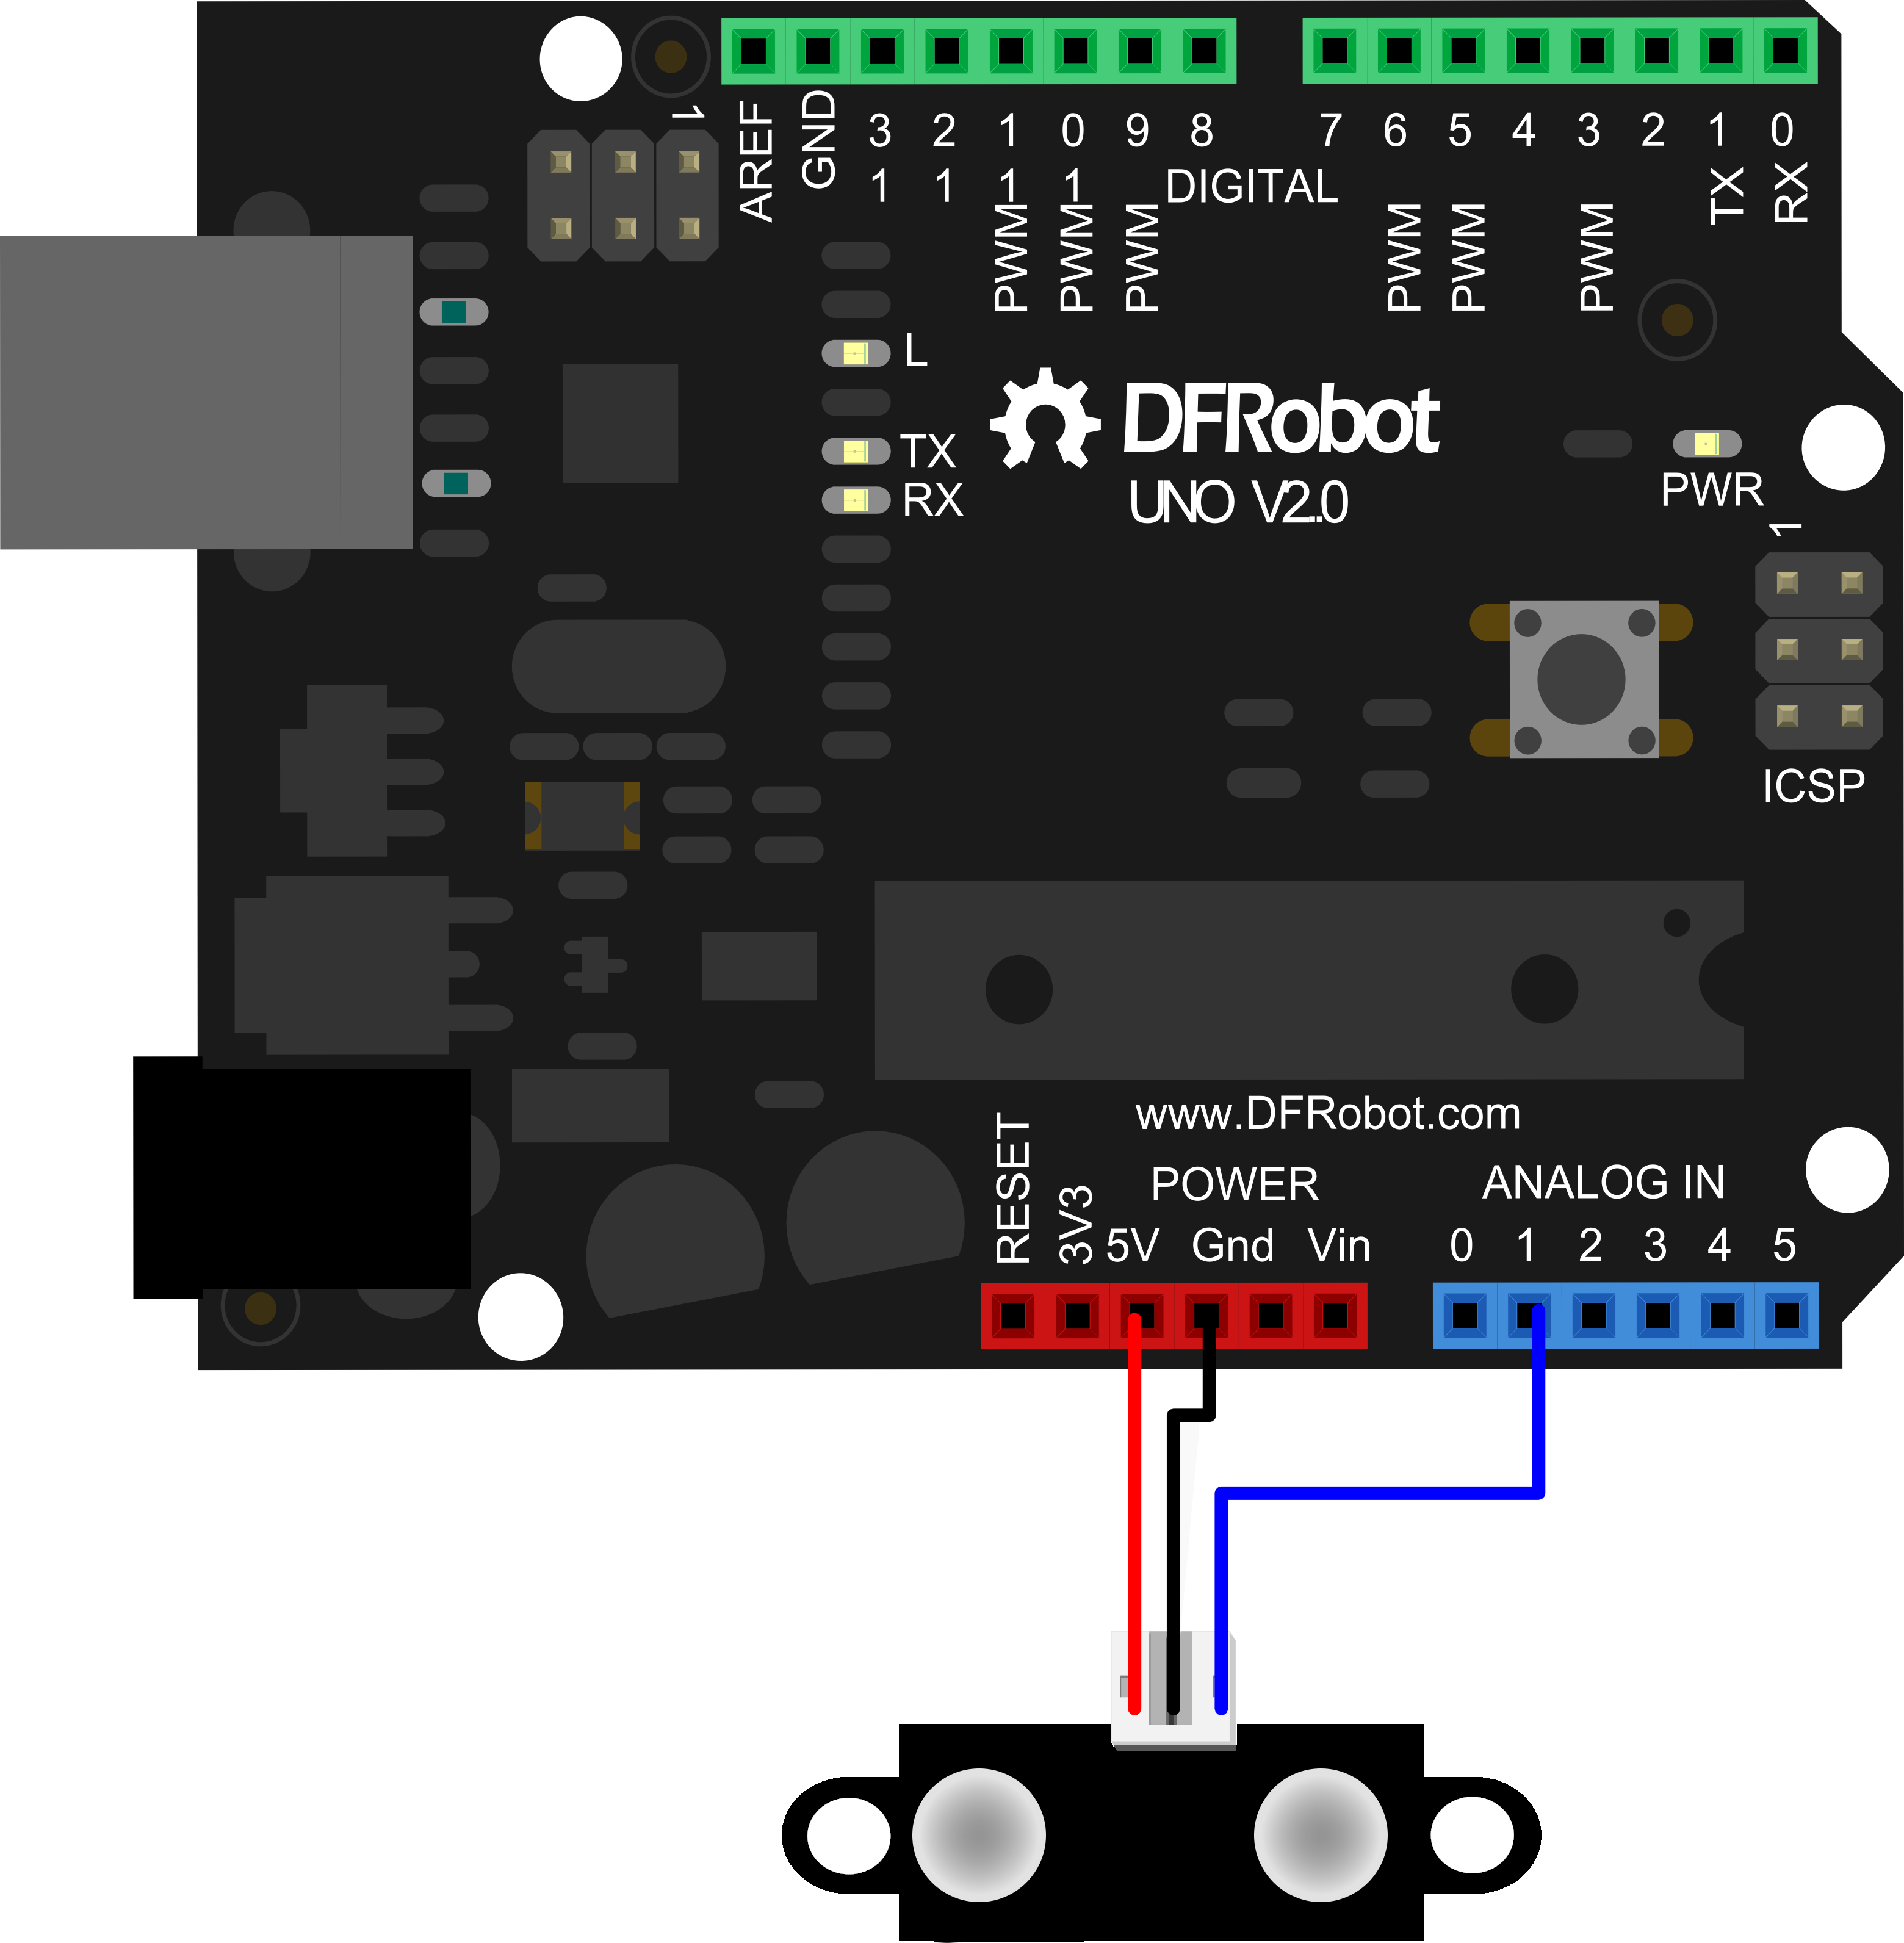
sen0143_connection

Video player:

Analog joysticks:

so at the end we decide to choose the hardest one.

To begin with, we are kind of confused for connect which line from all this mess. Under the help of the team next to us, me finally figure out how to handle it.

Question:

Q1:This time we try to change the LED in the first circuit into BUZZLE, we successfully make it. Then we try to change  the LED into a fan (with driver), but we could not cross the obstacles of coding. Moreover, I came up with the idea that we can combine the Variable resistors and Moisture Sensors and make a machine to compute how much water we need when we water the plants.

Q2: Because the language for coding is so simple and straightforward. the computer will compute just follow these lines, which hold a clear logic. So once you get it clear that how to read it,  you can just consider it as a recipe or tutor.

Q3:From one side, compute is the most important helper for modern people. It undertake a lot of labor and assist the advanced science. From other side, its convenient and efficiency trap some people in the virtual world. All in all, the huge influence it give to the human society is definite.

Recitation2 Arduino Basics Clover-Xinran Fan

Materials:

From Arduino Kit:

1 * Arduino Uno
1 * USB A to B cable
1 * breadboard
1 * buzzer
2 * LEDs
2 * 220 ohm resistors
2 * 10K ohm resistors
2 * pushbuttons
A handful of jumper cables

From cart:

2 * arcade buttons
1 * Multimeter (optional)

Circuit 1: Fade

At first, I and my partner would like to make this circuit respectively for we think it should be quite  easy. I was kind of confident glancing at the              , for I have become familiar with it after last Wednesday’s workshop, and I even simplified the circuit (take away two lines) myself. But just at the moment when I’m trying to connect the Arduino with my computer, bad luck hit on me. No matter how I trying to modify the program or change the circuit, it just did not work. I even got help from three teachers! Finally, we had to admit my line had been broken. At that time, seeing most of the other students had finished the first missing, I was quick worried and anxious, Thankfully, my roommate offer me her kit, while the professor trying to give a new one really patiently.

Video Player

picture

Circuit 2: toneMelody

Then we begin the second circuit. That wasn’t hard but I really meet some problems on understanding the code. At the beginning we forget to copy the code under the new tap. But thank to the help from assistants we figured the problem and successfully made it.

Video Playe

picture

Circuit 3: Speed Game

To begin with, we did not know where to find out the tap of the resisters and could not put the bottom into the breadboard. This problem really took us a long time for we had to change the circuit. After that we continued making mistakes until the class was over. But we did not want to just give it up, we kept on working on it after the class . Finally, we got our ‘game’ done!

Video Player

Reflection:

          Though we met numerous of problems  today. But they also expressed how much I learn. There was nothing can give more achievability than crossing all the obstacles to “light the bulb”.

questions:

Q1: As far as I am concern, the interaction is the communication and reaction between two roles. The procession comprise “input”,”computing”,”output”. like in the recitation ,we always use Arduino to send the digital or analogue information, that is input. While the electric current go through the circuit is the computing ,and the action of the effector is output. But the machine and the human can always change place. For example, when you hear the bell ring and go to open the door. That is a reversed procession.

Q2:For the resistance of the push Botton is quite small, could not bear the 5 voltage. So we need a relative big resistance to share the voltage and protect the other component in that circuit.

Q3: If I have 100,000 LEDs, I will  use them to make a number of festival decorations for the poor , and I will call off more students to join us. Though just some small  twinkle , but I still hope it can light someone’s dream.