Final Project: Repictionary

What is this?

RePictionary is a fun 2 player game (read: Reverse Pictionary) in which users type in descirptions of images that are generated by an attnGAN and guess each other’s image descriptions. The scoring is done using sentence similarity with spaCy‘s word vectors.

How it looks like

Here are some images of the interface of the game. I used some retro fonts and the age-old marquee tags to give it a very nostalgic feel. Follow along as two great minds try to play the game.

Choose basic game setting to begin

game options

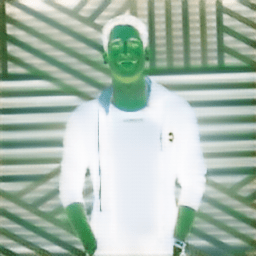
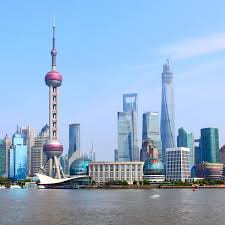
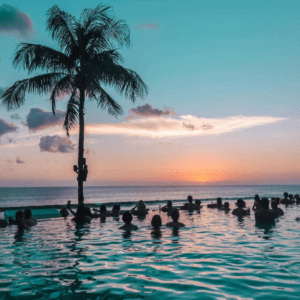
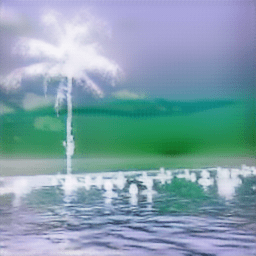
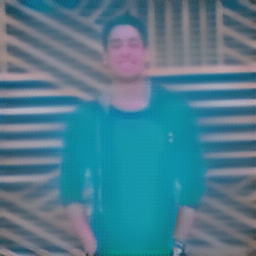
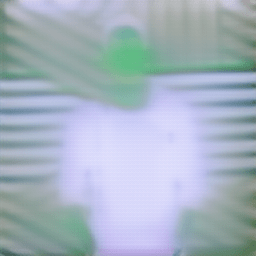
First player gets to type in a caption to generate an image

p1 caption

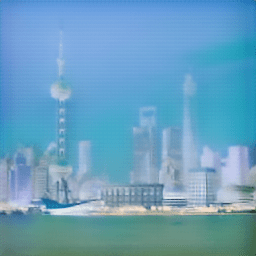
Second player must guess the image that was GANarated

p2 guess

Scores are assigned based on how similar the guess was to the original caption

score

After repeating, the winner is announced. Hooray!

result

How does it work?

Image generation

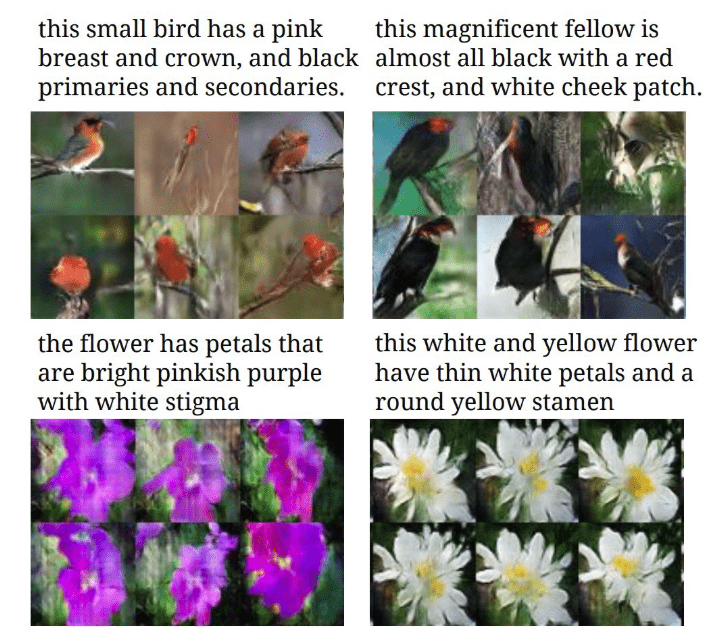
The image generation is done using an attnGAN, as described in AttnGAN: Fine-Grained Text to Image Generation with Attentional Generative Adversarial Networks by Tao Xu, Pengchuan Zhang, Qiuyuan Huang, Han Zhang, Zhe Gan, Xiaolei Huang, Xiaodong He. It uses a pytorch implementation of the model as done in this repo with additional modifications from this repo. A high level architecture of the GAN is described in the image below. (source

gan imageThe model uses MS CoCo dataset, a popular dataset of images used for object and image recognition along with a range of other topics related to computer vision.

The scoring

For the scoring part, I used the age-old sentence similarity provided by spaCy. It uses word vectors to provide cosine similarity of the average vectors of the entire sentence. To avoid giving high scores to semantic similarity and place more importance of the actual content, I modified the input to the similarity function as described in this StackOverflow answer. The results looked pretty promising to me.

The web interface

The entire web interface was created using Flask. The picture below is a rough sketch of the artitecture and the game logic specific to the web application. 

flask architectureDetails that are lacking here can be found by reading through the code, most of the relavant stuff is written in app.py. There are various routes and majority of the game data is passed using POST requests to the server. There is no database and game data such as scores are store as global variables, mostly since the project was a short term project for which I did not really need to create a database to do many things.

Why I did this

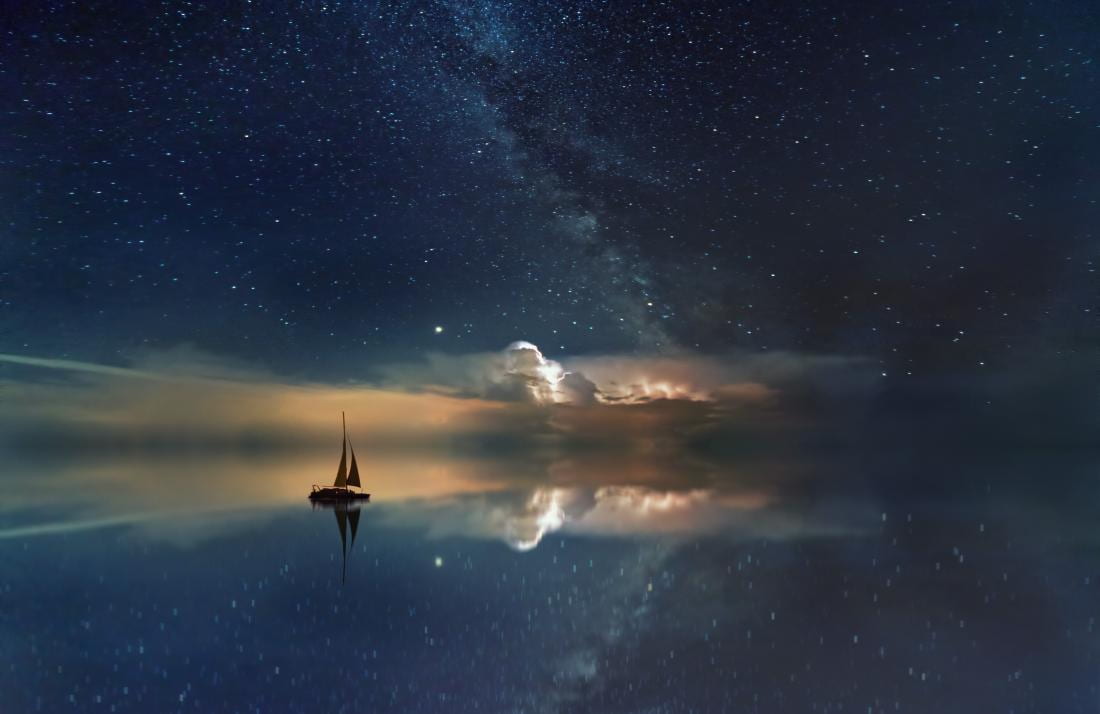
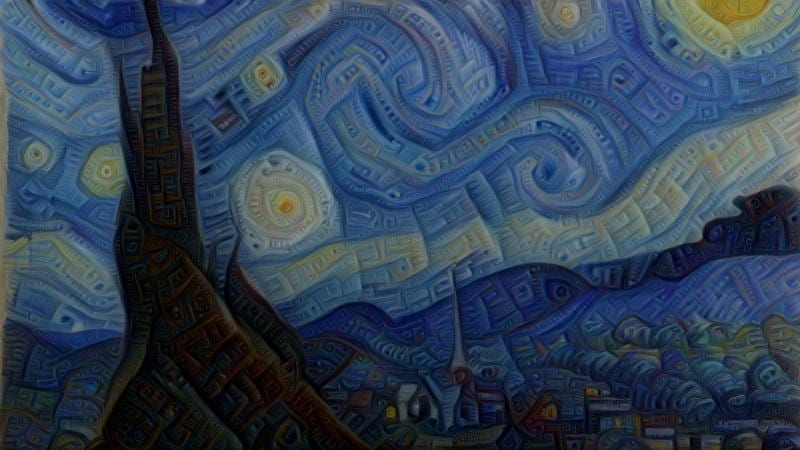
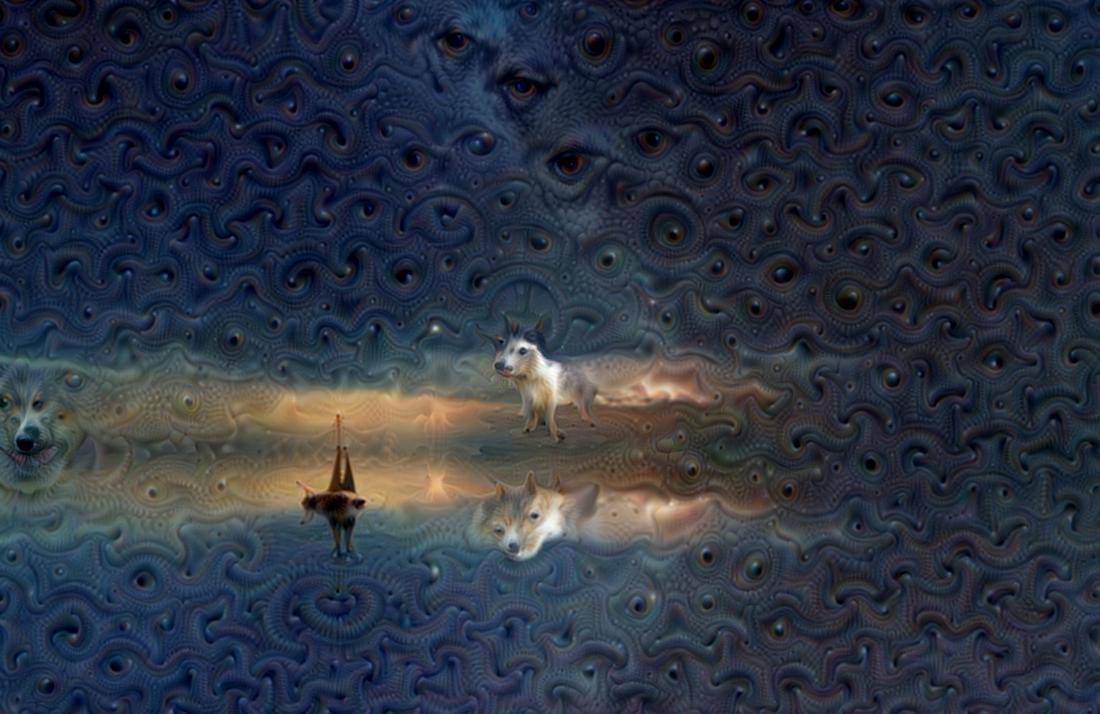
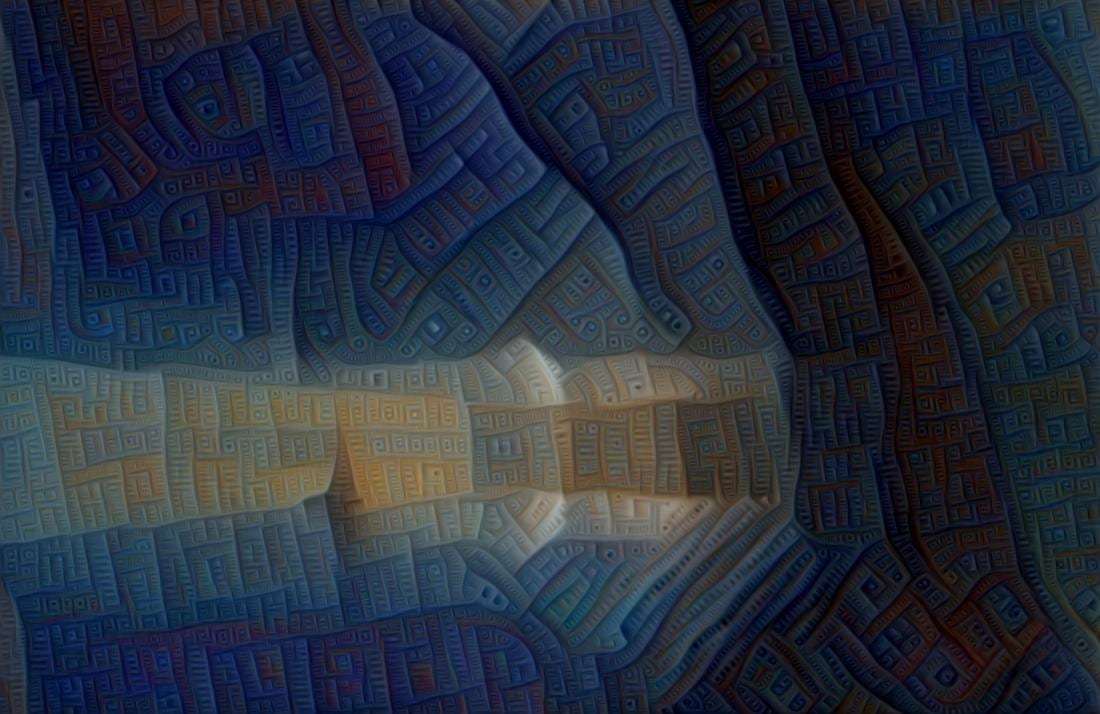
I knew I wanted to try and explore the domain of text-to-image synthesis. Instead of making a rudimentary interface to just wow users with the fact that computers nowadays are making strides in text-to-image generation with GANs, I decided to gamify this. It’s a twist on a classic game we’ve all played as kids. Although the images generated are sometimes (highly) inaccurate, I’m happy that I’ve created a framework to potentially take this game further and make the image generation more accurate using a specific domain of images. Since the images were a bit off, I obviously followed the age old philosophy “it is not a bug, it is a feature” and came up with the whole jig about the AI being trippy. 

Also, if you remember, I had the idea of generating Pokemon with this kind of model. After much reading and figuring out, I came to realise it might actually be possible. I intend to pursue this project on my own during the summer. I couldn’t really do much for the final project in this direction because it was too complex to train and I did not have a rich dataset. However, I’ve found some nice websites from which I could scrape some data and potentially use that to train the pokemon generator. I’m quite excited to see how it would turn out. 

Potential Improvements

  • Obviously, the image generation is very sloppy. I would like to train the model using a specific domain of images. For example, only food images would be a fun way to proceed, given that I am able to find a decent dataset or compile one on my own.
  • The generation of the image takes roughly 2 seconds or so. I don’t think there’s a way to speed that part up but maybe it’d be nice to have a GIF or animation play while the image is being generated.
  • Add a live score-tracking snippet on the side of the webpage to let users keep track of their scores on all pages.
  • Try out other GAN models and see how they perform in text-to-image generation. Of particular interest would be the StackGAN++, an earlier iteration of the AttnGAN.

All the code is available on GitHub. The documentation is the same as the one on GitHub, with additional details and modifications. 

Week 12: CycleGAN and Goblins?

This week’s CycleGAN homework had some interesting results in store, especially in the realm of hideous beasts. Wait and watch.

The training was done on colfax, but not by me. I had many problems with many things on my machine, so after many failed attempts, I got the training to work but only to realise that I would in no way finish in time. I cross checked with other people and Abdullah was training on the same dataset (Van Gogh) so I borrowed his checkpoints. 

After getting the checkpoints, I followed the steps to actually get the transfer working. To convert, we had to run the code in the file generate_model.sh. After a bit of peeking, I found that all the parameters were actually set to run with monet2photo and not with any dataset in the checkpoints folder. So I replaced the line python3 test_save_pb.py with python3 test_save_pb.py --dataset vangogh2photo and hoped that fixed the issue. 

However! the results that I got from putting and image into it were almost the same as the ones in monet2photo. I cross checked, found out that they were the same indeed and had to look through all the files individually, including freeze_graph.sh and convert_model.sh. The files actually were also set up to run the inference for monet2photo, so these had to be modified as well!

Here’s what the files look like after modification, in case you had dummy outputs as well: 

freeze_graph.sh:

mkdir outputs
freeze_graph \
--input_graph=../../train/outputs/checkpoints/vangogh2photo/cyclegan_tf_vangogh2photo.pb \
--input_binary=true \
--input_checkpoint=../../train/outputs/checkpoints/vangogh2photo/Epoch_199_400of400.ckpt \
--output_node_names="a2b_generator/Tanh" \
--output_graph=./outputs/frozen_cyclegan_tf_vangogh2photo.pb

convert_model.sh:


tensorflowjs_converter \
--input_format=tf_frozen_model \
--output_format=tensorflowjs \
--output_node_names='a2b_generator/Tanh' \
./outputs/frozen_cyclegan_tf_vangogh2photo.pb \
../tfjs/models
Results
 
After modifying the files and using the sample code to inference by passing in a few different kinds of images, here’s the effect you actually get, not much of Van Gogh though: 


And just to get the goblin-ness off myself, I ran it multiple times using the output as input. Here’s the series: 
 
Turns out that this cycleGAN turned out to be a negative filter after all. 
 

Final Project Proposal: Repictionary

For my final project, my initial idea was to use a GAN to improve my first project, pokebuddy. After doing some research online, I came across a project that used a Bird dataset with a GAN to receieve results like the ones pasted below. This inspired my project ideas in the direction of text to image synthesis. 

Idea 1: Pokecreator

Inspired by this, I really wanted to explore the possibility of generating new pokemon based on some descriptions. However, the concept itself was baffling, let alone how I could go about achieving this. The next significant hurdle with this idea would be the dataset. I searched online and tried to source some datasets with multiple images of same pokemon that I could use to train the a model. I also explored expanding my current dataset of pokemon descriptions to include more desciptions for each Pokemon. Another hurdle would be that image quality of GANarated pokemon would be very poor. 

The obvious things to do here would be to remove the front-end webcam interface for giving buddies and the PoseNet portion, and replace it with a very simple interface for just getting the description from the user. The same Flask architecture for the entire web-app would be used, where the image would be generated on the backend and then ported to the front end for user to admire. 

Idea 2: Repictionary

Mostly since I was unsure whether the idea above would work, I thought of using a gan to create a reverse-pictionary style of game. The inspiration came from two sources – one being the game of Pictionary itself, the other being Revictionary: a reverse dictionary, where users can type in a description and get the word matching the description. The idea then would be to combine these two, using text-to-image synthesis. The format of the game would be 2 player. Each player would enter a desciption which would then be used to generate an image using a GAN. The second user would have to guess the description of the GANarated image and would receive a score based on how close to the answer they were.

An additional idea regarding Repictionary was to have a Human vs Bot implementation. The Bot would be comprised of an AI that would be able to guess an image based on the given image.  This ‘AI’ would have a list of descriptoins that it would provide to the game for the player to guess. 

This entire project idea has many layers to it: The first being the GAN which would generate images from text descriptions. The second would be a NLP tool that would compare two descriptions and give them a similarity score. If the AI works, then an added layer of image to text classification would be involved. 

Direction

It seems like Repictionary is the one I will be going for, possibly using AttnGAN. This pytorch implementation of AttnGan was the one used for the bird project described at the beginning. The plan would be to train this on CoCo dataset and other image datasets to see what kinds of outputs I am able to achieve. Just as a fun side project, I would even try to run it on the pokemon image dataset and see what results I am able to achieve. I plan on using NLTK and Gensim for the Natural Language part, and maybe add spaCy if necessary as well. The AI bot would only be touched upon if time permits, which I’m not sure it will. 

Week 10: Deep Dream

Idea

For this week, I wanted to use deep dream to create that trippy zooming in kind of video. I couldn’t figure out a proper way to do what I wanted with the code we used in class. I found an implementation of deep dream with tensorflow online. I followed this guide to use deep dream with different kinds of parameters.
I started off with this picture of a random scenery:

Here’s a sample output with the standard parameters for starry night that I pulled from the tutorial:

Method

The tutorial had a very handy list of what effect each layer of tensors would have.  The process was not too complex: it would do the same things we did in class and feed back the output to the algorithm after zooming in a very small bit. After creating many of these images, we can chain them to create the trippy looking video. 

layer 1: wavy
layer 2: lines
layer 3: boxes
layer 4: circles?
layer 6: dogs, bears, cute animals.
layer 7: faces, buildings
layer 8: fish begin to appear, frogs/reptilian eyes.
layer 10: Monkies, lizards, snakes, duck

I used layer 6 to get the dogs, and ran it for about 120 images. Each generated image would be fed back into deep dream to generate the next one.

Output

Here’s the output after 5 recursions on layer 6:

Here’s the output after 5 recursions on layer 3 (boxes):

Here’s the video I got by chaining all the images together on layer 6 (123 images). It’s playing in original speed. 

Here’s the video with layer 3 (50 images). It changes layers somewhere in the middle to layer 4 to get the circles. It is 0.5x of original speed. 

I would ideally like to be able to train for longer and more images to create a video for around ~1 minute but I fear it’d take far too long.

Style Transfer: BOOM

For this project, I just wanted to play around with style transfer and see if I could get something cool working. I wanted to see the kind of style that transfers onto an image if the base image is just fire. Developing this idea further, I thought I could use the webcam input feed to simulate a “boom” or an explosion, the result of which would be a fire-styled camera output. To play around a bit more, I tried to shake the canvas and add that extra ‘boom’. I also added a little audio effect for fun. 

Training

I trained the model based on Aven’s instructions and what we learned in class.  I did run into some really weird errors while trying to train my model. Even after deleting and reinstalling the environment, the error persisted. The error message was “No module named moviepy found”. However, a quick run of pip install moviepy seemed to fix the issue and it worked! I left it for many hours and got the model after. I used this image to train the model for style transfer:

Inference with ml5

The next step was to obviously use ml5 to actually create the end result. I used the same syntax as we followed in Aven’s example in class. After fixing many bugs, and encountering many rounds of my computer freezing completely, I was able to get it running. 

Here’s how it looks: 

fire bomb

As you can see, the result is not that great. I really expected some cool flames but that didn’t happen, it ended up looking more like a sunset filter kind of picture. Additionally, I even wrote code for the entire canvas to shake when the style is transferred by pressing the spacebar. However, since the style transfer process slows down the computer and the browser so much, the problem was that you could not really see the shaking as it happened. The shaking was something like this.

Result

Style transfer is really cool. I’m guessing I need to tweak some parameters to get results more towards what I want. However, the training time is so large that it’s extremely hard to try out different parameters like number of iterations etc to get the best one. I’d like to maybe use a different image or try other parameters to get something that looks a little more like what I want. Additionally, this technique is not that suitable for working with video input, as it requires a lot of processing power and correspondingly, power.