Final Project Documentation | Zihua / 字画: A Kanji Character Generator by Kefan Xu

Project Name

Zihua / 字画: A Kanji Character Generator

Intro

Inspired by Xu Bing’s the Book from the Sky, in which he used strokes of the Chinese character to create over 4,000 fake Chinese characters, this project aimed to find a way of generating Kanji characters by using sketchRNN.  I hope this project can serve as an interesting way for the audience to feel the beauty of Chinese characters and create something new.

Technique  

To achieve my goal, I used sketchRNN. By adopting the Quick Draw! dataset, sketchRNN showed an amazing performance in reconstructing different types of doodle works created by users. The unique part of sketchRNN is that it has a sequence-by-sequence autoencoder, which is able to predict the next stroke based on the last one. When combining this feature with the p5.js library using magenta.js, it can draw doodles line by line like a real person. 

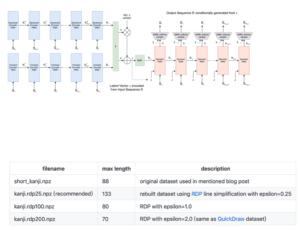
The dataset I choose is called Kanji Dataset, which contains 10000  characters for training, 600 for validation and 500 for testing. The reason why I chose that dataset is that all the sketches in this dataset are vector drawings which are the perfect form for training sketchRNN. Once plugin with this model, of course, the sketchRNN will not be able to understand the meaning behind those characters but it will try to use different types of stroke I learned to recompose characters. This process is quite similar to what Xu Bing did in the Book From the Sky.

Overview

In general, this project is made by three parts: Kanji generator, Kanji Sketch Board and the description part.

Kanji Generator
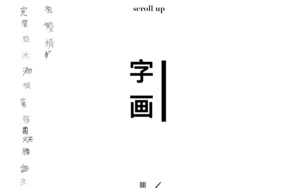
 

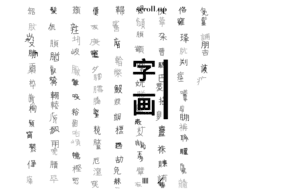
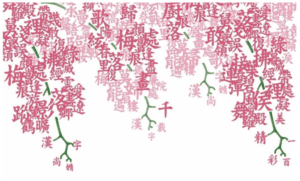
This is the first page the audience will see once they open the project. The generator will keep creating new characters in the background from top to the button. Once it researches the button, it will start a new line from the right side. It feels like there is a real person who is writing on the blank page, and it’s quite funny to watch. Few of the characters it writes are real ones, but most of them are entirely new characters. The shape of those characters varies a lot. Some have existing elements in it while some are completely made from no-sense strokes. The writing process echoes to my experience when I forgot how to write certain characters. It can be seen that sometimes the AI is quite confident with its memory, it composed elements in a nice form, but when it’s going to complete the rest of the character, it kind of forgets how to do it and randomly put some strokes on it. Once the characters fill all the screen, it will clean the full screen and start over. This part serves as a blurred background of the whole project, and in the middle of the project, it will be shown again. 

Kanji Sketch Board

The sketch board will be presented to the user once they have gone through a brief introduction, it and also be directly accessed by clicking the brush shape button below the screen.
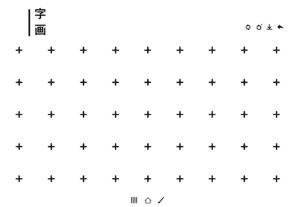
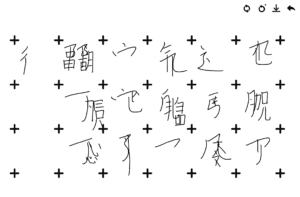
 

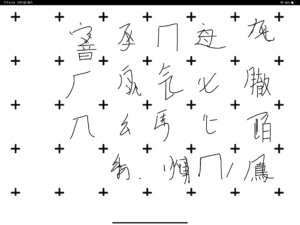
On this sketch board, the user will be able to create their own characters by drawing on it. Once they accomplish several strokes, the AI will help their finish the rest of it. There are three buttons on the top right. The most left will clear the whole screen, and the middle one will let the AI rewrite the stroke that it just wrote, the right one allows the user to save their work to their devices. The writing process is quite interesting. I found that the AI won’t respond to every stroke I wrote. For instance, if I wrote the Chinese character of NYU SH IMA department (上海紐約大學交互媒體與藝術) in the traditional form, only the character 紐, 約, 互 will trigger the AI to write the rest strokes. After a few experiments, I found some strokes become quite easy to trigger the AI, as I showed in the presentation. And it also requires some writing techniques. If using the mouse to write, it’s very hard to trigger the AI since the input should be rather smooth. So I used the iPad as the sketch board, which I will mention in the Other Works part. This might because the percentage of different Chinese character elements in the dataset is unbalanced, there are some elements have been used to train way more times compared to others, which makes them become more easily to be recognized. 

Description Part

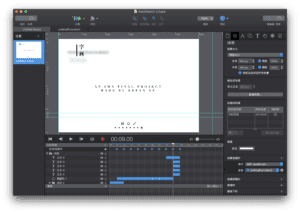
In this part, I gave some introduction of the Kanji’s history and my inspirations. I applied some web animation to present the content by using an editor called hype which allows me to create those animation effect and generate the html page. 
Other Works 

I posted the website to Github so it can be openly accessed by this link. The Chrome can achieve the best effect and the user need to scroll at the side of the page. My initial thought was that the user can access this page with their iPad so the drawing process can be done in a smoother way, but I then figured out that the borrowers on iPad will cash every time when I open this site while it works pretty well on my laptop. It seems that the compatibility of the magenta framework is not that good with iPad. So I removed part of its function and just kept the sketch board part. This time it works for iPad. So as Aven has shown in one of our classes, I saved this page to my iPad’s desktop so it looks like an app and the user can write with the Apple Pencil. 

Future Works 

The performance of the sketchRNN still has space to improve. The dataset is relatively small compared to Quick Draw! dataset. So when the user is trying to generate Kanji characters, there are certain limitations. First, the users’ writing must follow the style in the dataset but the fact is that each different people has their own style of writing Chinese characters. And also some strokes are hard to be recognized by the AI since their data size might be very small in the Kanji dataset. The best way to improve this part is to have a bigger dataset which has the collection of characters wrote by different people. To gather the data, the way used to collect the Quick Draw! dataset, which is to use a game to collect users’ drawing, can also be used to collect the writing of Chinese characters. Amazon’s AMT can be another way to collect those data. The shape of the strokes can also be improved. It could be better if those strokes can resemble the real Chinese brush style.  And by using the style transfer network, the user can transfer their work into a real Chinese calligraphy work. 

Inspirations

Monica Dinculescu, Magic Sketchpad

Xu Bing, the Book from the Sky

Ulrich Apel, Kanji Dataset
Week 12 | Cycle GAN Model Testing

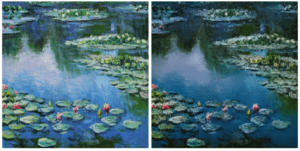
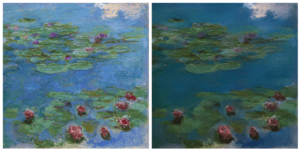
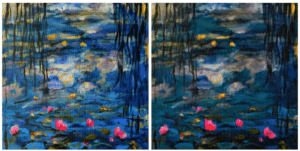
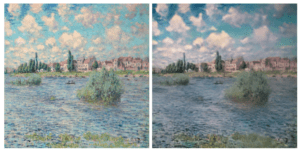
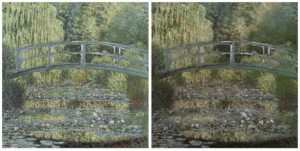
This week I was playing with the Cycle GAN to generate some interesting images. However, due to the time limit and my access to the Intel AI DevCloud has been canceled. I tested Cycle GAN using the model we transferred during the class and here shows some of the results:


The images transferred from the original one make me feel like the content had been blurred. And their color scheme also changed a little bit and became more similar to the real-world color. In other words, the contrast of the color had been reduced. This model preformed quite well in dealing with water color and the sky, but it performed less well in transferring the figures of building, trees and the bridge in the first image. Two possible reason might be count for this result. First, if the transfer logic is that the real-world image is smoother in their texture and the network is trying to blur the art piece in order to achieve the similar effect, the water and the sky are certain more easy to deal with. Second, the training set might be more images related to the water or the sky and those figures are more easy for the network to extract their characteristic. 

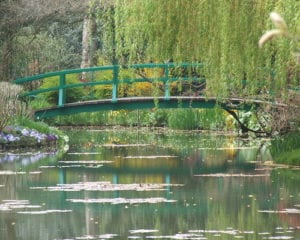
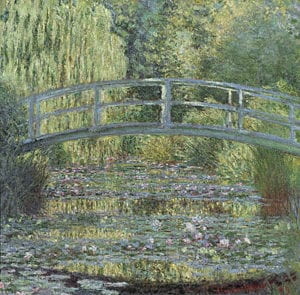
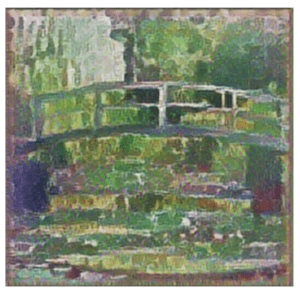
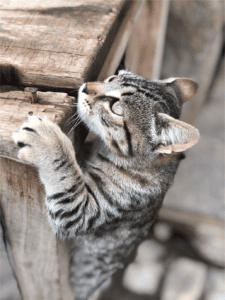
Then I tested another network with Monet’s painting. This model is a convolutional network which can transfer style of one image to another. I found an image from the web which is the real spot where Monet put in his work. The  reason that I chose this one is because this might be the best picture that perfectly represent the light and the color in Monet’s painting, so we can have a comparison between this one and the circle GAN based on the output. So here is what I got: 

The input image, the first one is the real-world figure:

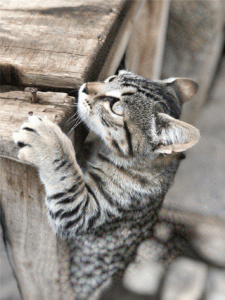
The output:

It looks like model only tried to combine the two different styles instead of transferring one’s style to another one. And this network can also combine two styles so I had a try but the output was quite the same. The circle GAN achieved a better performance without any doubts. 

iML: Final Project Concept: Kanji AI

Background 

The Chinese Character has a long history of evolution and is wildly adapted among Asia Country. In China, it was called Hanzi, and Kanji in Japanese and Hanji in Korean.  It’s the oldest writing system in the world and still used by the largest amount of users. 

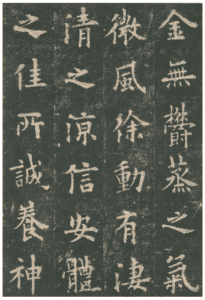
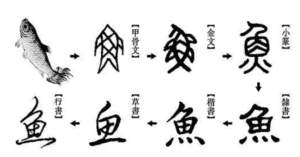
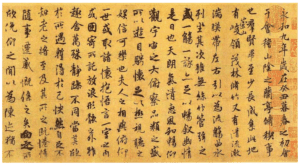
Known as the only logogram exists in the world, Kanji or Hanzi encodes different meanings in its shapes and strokes. It has many different types of writing style like jinwen, xingkai and xiaozhuan. Those different types brought a prosperous calligraphy culture, in which the writings of Chinese characters are considered not only a way of delivering information but also a form of art. 

Inspiration

My project was inspired by A Book From the Sky 天书, created by the artist Xu Bing. In this piece, Xu Bing used those elements in the Chinese character, such as the strokes, to create book full of fake Chinese characters. Those characters resembled the real Chinese characters but have no meaning in it, or they might have some sort of meaning but didn’t disclose to the audience. Then Xu Bing printed those fake Chinese characters out in the style of fine editions from the Song and Ming dynasties

Idea

His work makes me wondering that if I can create something similar with the help of AI. That’s to say, I want to enable user to create their own fake characters and even allow them to arrange the characters they created to compose something like this:

Technique and Dataset
For the model, I used SketchRNN because of its sequence-by-sequence autoencoder which allows to reproduce the strokes step by step and add more interactivity. And sketchRNN is easily to be implemented by using ml5.js. The dataset I found is called Kanji Dataset. This dataset provides 10000 characters for training, 600 for validation and 500 for testing. All the characters in this dataset are in vector form which allows the sketchRNN to decode the writing process step by step. 
So with the help of the sketchRNN and the Kanji Dataset, hopefully I will be able to create something similar to Xu Bing’s piece and allows user to have an interesting interaction with it. 

Week 10 | Play with the Deep Dream

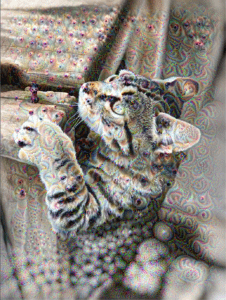
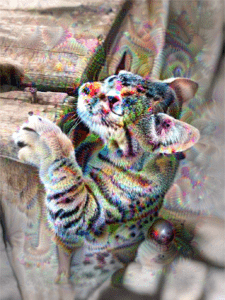
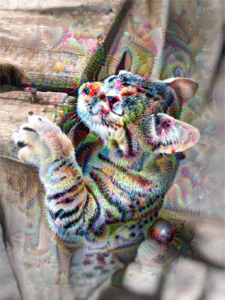
This week, I was playing with the deep dream. I focused on tuning the parameters of the step, num_octave, octave_scale and iteration to see what will happen. I also tested it on several different images.

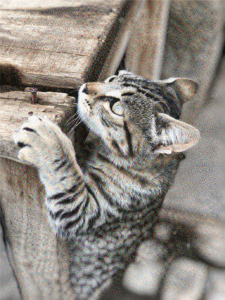
I started by testing with this image:

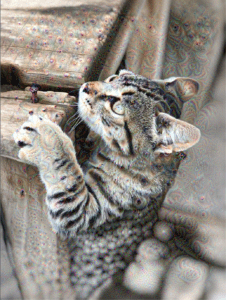
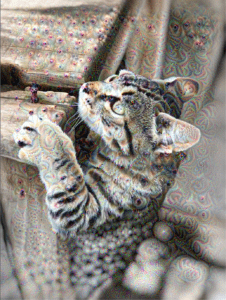
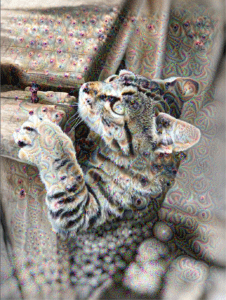
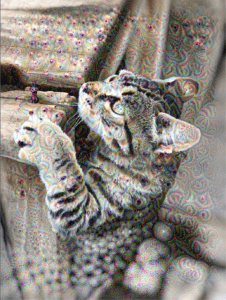
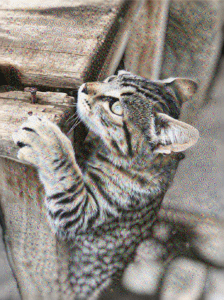
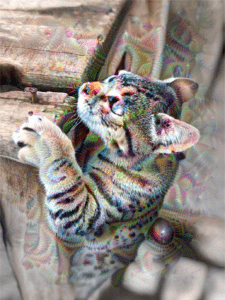
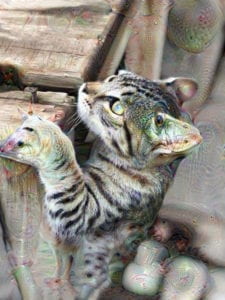
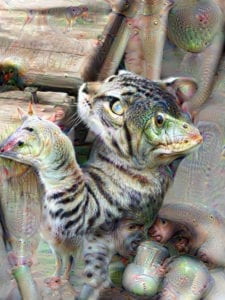
Here shows the result I got with step = 0.01, num_octave = 3, octave_scale = 1.4, max_loss = 10. And the iterations of the following images are 40, 80, 120, 160, 200, 240.

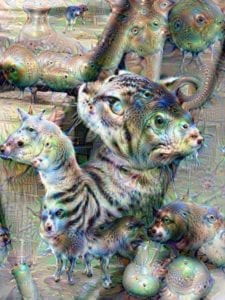
It can be seen that after the first 40 iterations, there were already some detailed structures appeared in the background. If we take a close look, we can see that those structures are composed with a round center and colors like green, red and blue. With the increase of the iteration, those structures become more and more clear. The black-colored areas of the image are more likely to be transfer to the round shape and the original image has been changed slightly in terms of the texture and outline. After 200 iterations, the image doesn’t change a lot. The color and the structures in the background have been reinforced and in some parts of the image some very vague shape of animal faces such as dogs and bird can be observed. 

Then I changed the step from 0.01 to 0.06, we can see that the structure created by the neural network become more detailed. And this change made it take longer time to generate any meaningful shape. 

Change the number of octave from 3 to 6 yielded some very interesting results. It seems that this change enlarged the structure created by the neural network and the color has been spread to other parts of the image. And here shows what will happen if change the number of octave to 10:

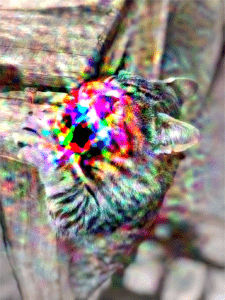
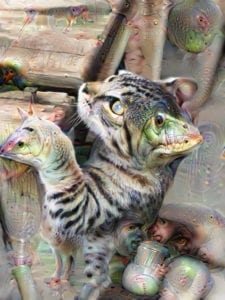
I also found a website called Deep Dream Generator . It allows user to upload their images and the can generate output image based on the deep dream. Here are results I got using this website.


It really gave me a clearer understanding of how did the deep dream try to recognize those image patterns. It always try to occupy a part of the image and generates existing figure based on its texture and shape. It can be seen in the first three pictures that it recognized some shapes such as snake and zebra. For the last one, I switched to another layer. As a result, the patterns recognized by the neural network became totally different. 

I am always wondering why the deep dream is always trying to assign eye-like figure to the image. I guesses that’s because the training dataset consist of a lot of animal figures, especially their face, and animal faces usually contains eyes. 

Here are the results I got by applying the deep dream to other pictures:

Chinese Shanshui Painting Style Transfer

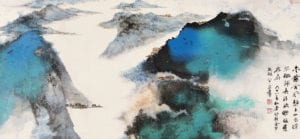
Inspired by Aven’s Shanshui-DaDA project. I was trying to train a style-transfer model to give images a traditional Chinese Shanshui Style. Here are the two style images:

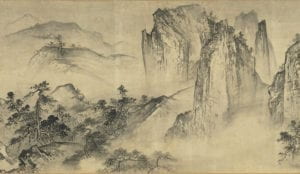
The first one was the Pure and Remote View of Streams and Mountains, done by Xia Gui, one of the most famous painters in the Southern Song period. His painting can be identified by the ax-cut texturing strokes. And the second one was done by Zhang Daqian. He developed the Pomo skill in the traditional Chinese painting and liked to use colors like blue and green to depict mountains. 


Here shows some of the results by implementing the two models. The webpage was based on the sample page given on the ml5 official website:


Since Xia Gui’s painting has no color, the style-transfer will turn the color of the image to white (not that white actually) and black, while the Pomo style will always try to give it some blue color.

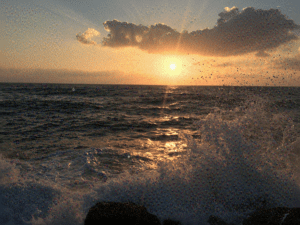
The quality when applied the model to the wave image is not that good. It maybe needs more training epoch to refine the model, or it just simply because there are not many Chinese painting to depict the wave.

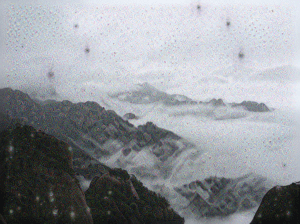
This made I wondering that if the original style of the picture played an important role in the quality of the result. So I tested it with some mountain pictures. It seems that the mountain pictures after the style transferring process can achieve better effect than using pictures of other subject. The third one was the most successful one as it even imitate the ax-cut texturing strokes of Xia Gui’s work. And it gives a sense of the traditional Chinese painting. By the way, those pictures are all from my phone. The first two mountain pictures were taken in the desert in Jordan and the third one was taken on the Mountain Huang 黄山, Anhui Province. 

It’s interesting to find that the quality of the image after the style transfer depends much on the their original style. That’s to say, if one image’s original style matches well with the style image, the result will be relatively better. For instance, the image taken in Huang Shan might be most close to the footage the painter referred, that’s why it looks so good after the style transfer. 

Reference:

https://ml5js.org/docs/StyleTransfer

https://www.aven.cc/Shanshui-DaDA.html