Context and Significance
According to my previous research, my definition of interaction is a conversation between the human and the machine. During this process, the machine attempts to satisfy the human’s needs, the human provides feedback to the machine, and the machine caters to human needs more accurately. The machine is also getting closer and closer aligned with human behavior. Thus my project is unique in that it requires the human to think about what to do with the machine and what the coherent rules are. It is targeted towards people of all ages and walks of life, for entertainment and intellectual training.
Conception and Design
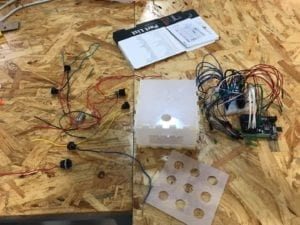
Therefore, my partner and I decided to make an interactive game. We brainstormed all kinds of folk games, from tic tac toe to minesweeping. First, we decided on the pellet game, but it was too complicated to interpret from the aspect of a person unfamiliar with the game. So this decision was banished. Then we thought of the doll machine, but it was too hard to make. It involves a claw moving in six directions with the claw opening and closing, a button to control the claw going down, and a handbrake to control the claw’s direction. Since this is clearly out of our league, we dropped the idea. Finally, we decided on a “lightbox” that incorporates nine LEDs arranged 3×3 with 9 buttons attached, and the LEDs that correspond to the ones around the button would go off. The goal of the game is to turn off all LEDs. We decided to use the laser-cutting method for the box, and we used transparent plastic as the material to keep the appearance of the box simple to emphasize the effects of the box.
Fabrication and Production
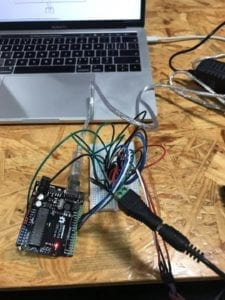
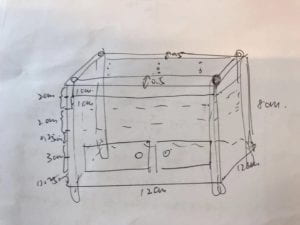
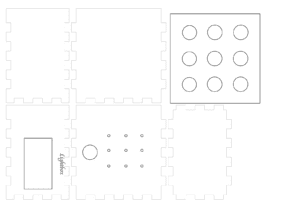
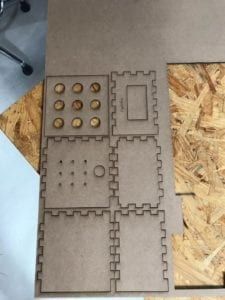
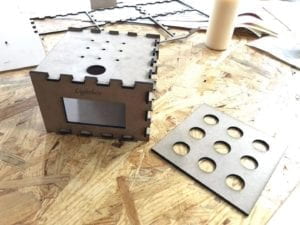
The goal of this project is to let the user engage in an interactive puzzle. To achieve this goal, I followed these three steps in the production process. The first step is sketching. I measured the size of the box roughly and sketched the box on paper. The second step is drawing on Illustrator. Luckily, the kind Professor told me to use a box template to make the parts of the box stick together easier. The third step is fabricating. In this process, I found out that the result was a mistaken-the opening side of the box should be at the back. For testing I used wood, but at last, I used plastic. Unexpectedly, the engraving on the box wasn’t very visible on plastic material. The last step is assembling. Since my partner is responsible mostly for the coding part, I assisted him in assembling the Arduino and the box. In the end, we also decided to put the charger inside the box to make things neater. Unfortunately, we were slow on progress so we couldn’t receive any feedback on user testing. But we later asked the IMA fellows for advice. The initial plan was to have nine buttons attached to the box, but there weren’t enough unbroken ones in the equipment room and soldering would take too much time. Luckily we used a remote control along with an ultra red ray sensor to control the LEDs.
Conclusions
In the presentation, we realized that the box could’ve been bigger to contain all the wires and that the sensor could’ve been attached to the box to avoid inconvenience. Also, we could’ve made a success background music piece. Again, the goal of this project is to create an interactive puzzle for people of all ages for entertainment. It aligns with my definition of interaction that it is interactive, but it doesn’t improve itself and cater to the user more. This project is significant in that it leads people to find out the rules themselves instead of referring to instructions. It picks up the ability to think, which has been long lost in the human brain in this era of excessively convenient search engines. That said, we have achieved success and know what to expect for the second half of the semester now.
References:
