In this week’s recitation, we were given our Arduino Kit for the first time, and used it to build 3 circuits; Fade, toneMelody, and Speed Game. We also set up tour Tinkercad account in order to access the circuit design of the speed game race.
Materials:
-
From Arduino Kit:
1 * Arduino Uno
1 * USB A to B cable
1 * breadboard
1 * buzzer
2 * LEDs
2 * 220 ohm resistors
2 * 10K ohm resistors
2 * pushbuttons
A handful of jumper cables
-
From cart:
2 * arcade buttons
1 * Multimeter
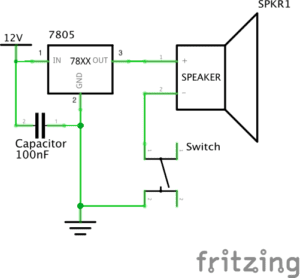
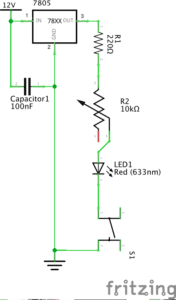
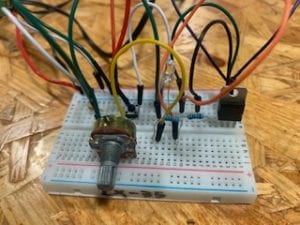
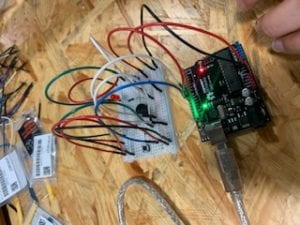
Circuit 1: Fade
IMG_6232
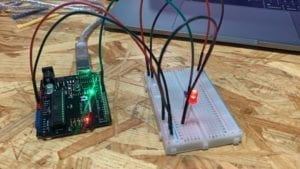
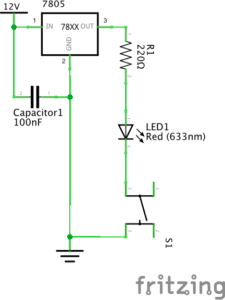
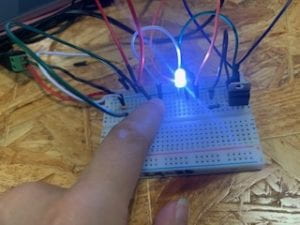
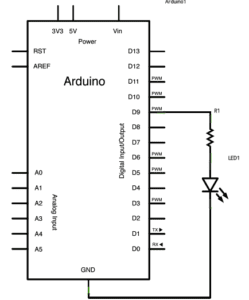
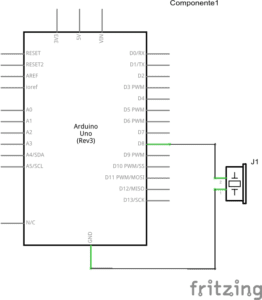
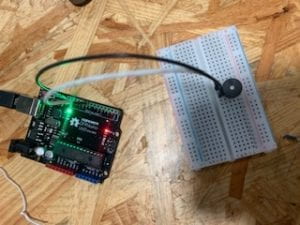
Circuit 2: toneMelody
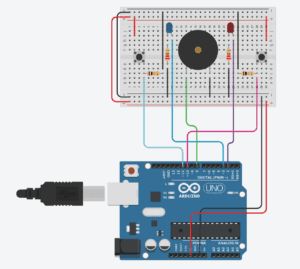
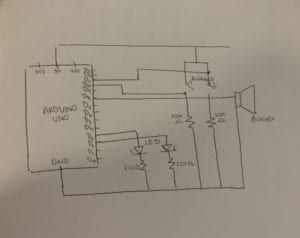
Circuit 3: Speed Game
Reflection:
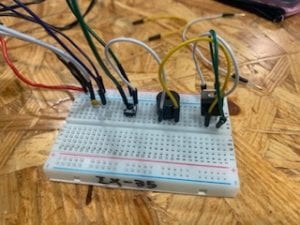
While building the circuits, I had initial problems with my arduino kit. As the programme in my computer wasn’t able to detect my arduino board due to a faulty system in the cable. Therefore, that took up some time in my recitation until I could fix it along with the ima assistants that were helping me. Nevertheless, I was able to build successfully the Fade and toneMelody circuits on my own, and to be able to complete the third circuit, due to time limitations I was only able to assist my partner, as she was already ahead making the speed game.
QUESTION 1:
Technology is an aspect of our everyday life that surrounds us in means that we may not even think of. Everything from communication, up until the algorithms used to create those devices, are part of a complex technological web that is prevalent in our society. The presence of this new technological era increases each day, as it doesn’t only serve to facilitate essential aspects in life such as having light, but it also helps entertain us through our interests in music, and even keeps us occupied with games.
With the circuits we’ve built in the recitation, I have learned the means through which these technological advancements are executed, or at least how it’s electrical base is initially programmed and configured on the bread board. After experimenting first hand with these circuits successfully, and analyzing the text of “Physical Computing” along with its idea of making “computers for the rest of you”, the definition of interaction has become a lot clearer. In fact, now I can address how the concept of interactivity is in fact a two way road. Meaning that, for interaction to actually occur between two subjects, there needs to be a reaction in response to the original action. For example, while explaining the toneMelody circuit made in this recitation in simple terms; the action of uploading the programme with the code to the breadboard, resulted in the buzzer responding with sound, hence indulging interactivity.
QUESTION 2:
I would think that we used the 10K resistor with the push button to protect the circuit and prevent it from blowing up, as its resistance is low.
QUESTION 3:
If I had 100,000 LEDs of any brightness and color at my disposal, I would make some instrument that detects music notes based on colors, that way people with hearing disabilities could know how to play music even if they physically cannot listen to it.