Questions
- I would love to go more in-depth with the current idea of a drawing machine. I am always enthralled by how steady the hands of artists are. I could never sit still for hours with steady hands to draw something that could be considered art. I would love to improve our current project to actually make a machine capable of drawing something beautiful with precision. Actuators are quite amazing if you think about it. It allows your projects to come to life because they become sort of like the legs to your product. They become legs because they allow the act of movement. Also, in our current world digital manipulation of art has become very proliferate. It can be used to enhance an already amazing piece of art or used to deceive. It can be an amazing supporting tool, or it can be used as a propaganda weapon. IMA is all about being creative because it allows you to explore. In order to make something new in a sea of used ideas, one must look towards the unexplored oceans.
- Raffaello D’Andrea, Max Dean, and Matt Donavan’s The Table is a project that stands out to me. This project is truly a creative endeavor because who would ever think of an autonomous table? Comparing their project to our drawing machine, not only is their more complex they are also crazier. Crazy in a positive sense because when someone sees a moving table, I cannot imagine them not cracking a smile. The drawing machine is more of a practical robot, but a table that follows you around is just silly and amazing. The actuators that are making this project move must have been carefully selected. They were probably picked because they were able to support the weight, and their in-sync movement was natural. If you are going to have a moving table, you should make sure it’s movement is smooth, like someone is pushing it.
Materials/Diagram/Code
For Steps 1 and 2
1 * 42STH33-0404AC stepper motor
1 * SN754410NE ic chip
1 * power jack
1 * 12 VDC power supply
1 * Arduino kit and its contents
For Step 3
2 * Laser-cut short arms
2 * Laser-cut long arms
1* Laser-cut motor holder
2 * 3D printed motor coupling
5 * Paper Fasteners
1 * Pen that fits the laser-cut mechanisms
Paper


Task
Step 1: Build the circuit
Build the following circuit to control the stepper. You can use the stepper_oneRevolution(Arduino>File>Examples>Stepper>stepper_oneRevolution) example code to get your motor to make one revolution. If done correctly, your motor should rotate smoothly. Make sure you orient the IC in the correct position; this can be seen in the Components section at the bottom.
Step 2: Control rotation with a potentiometer
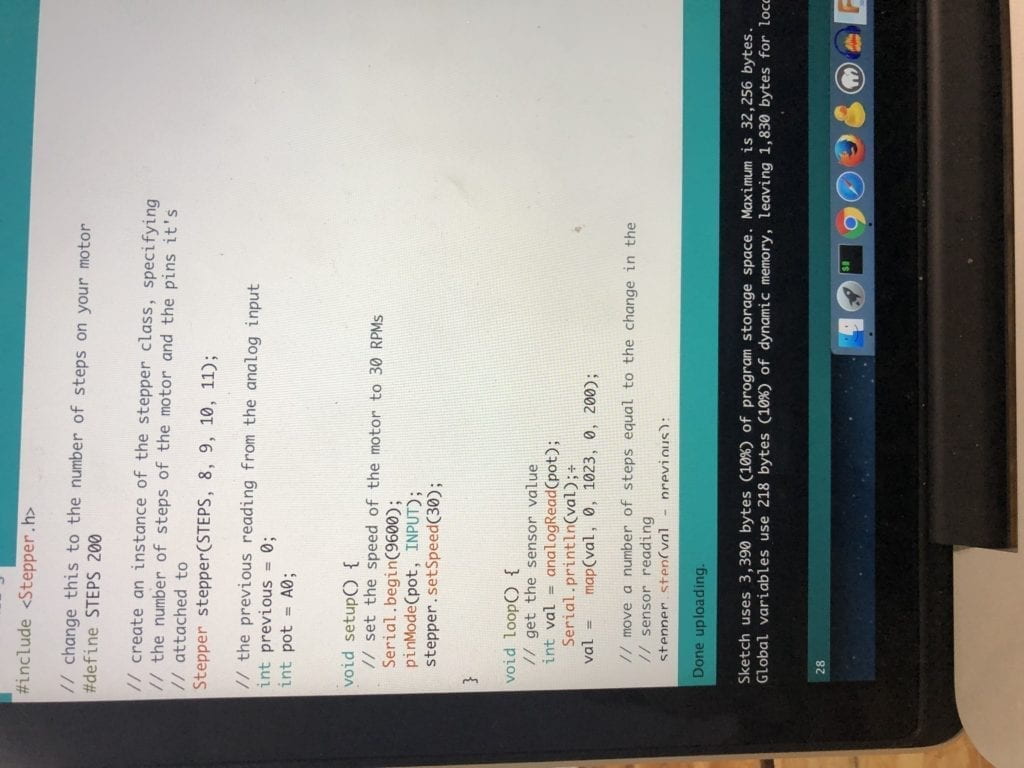
Add a potentiometer from your kit to the circuit in such a way as to allow you to read analog input. Then, upload the MotorKnob (Arduino>File>Examples>Stepper>MotorKnob) example to control your motor. Please modify the number of steps within the code to 200, because the 42STH33-0404AC Stepper Motor is a 200 step motor. You can use the function “map()” in order to match the movement of the knob with the rotation of the motor.
Step 3: Build a Drawing Machine!
Once you have your motor moving via input from a potentiometer, find another person who has also completed Step 2 and pair up with them. Collect the materials needed for Step 3 and combine your parts into a mechanical arm that can hold a marker on paper, as seen in the picture below. Use your potentiometers to make the motors turn and draw something.
Conclusion
The problem I had, in the beginning, was that I had to be very careful with following the diagram. One little mistake and I would have to backtrack a lot. After finishing the diagram, I tested it but it did not work at first. I thought maybe my code was the problem, but the reason why was because my H-Bridge was not fully pushed in the breadboard. After that, I partnered with one of my classmates. The drawing machine was pretty easy to assemble and we got it working pretty quickly.