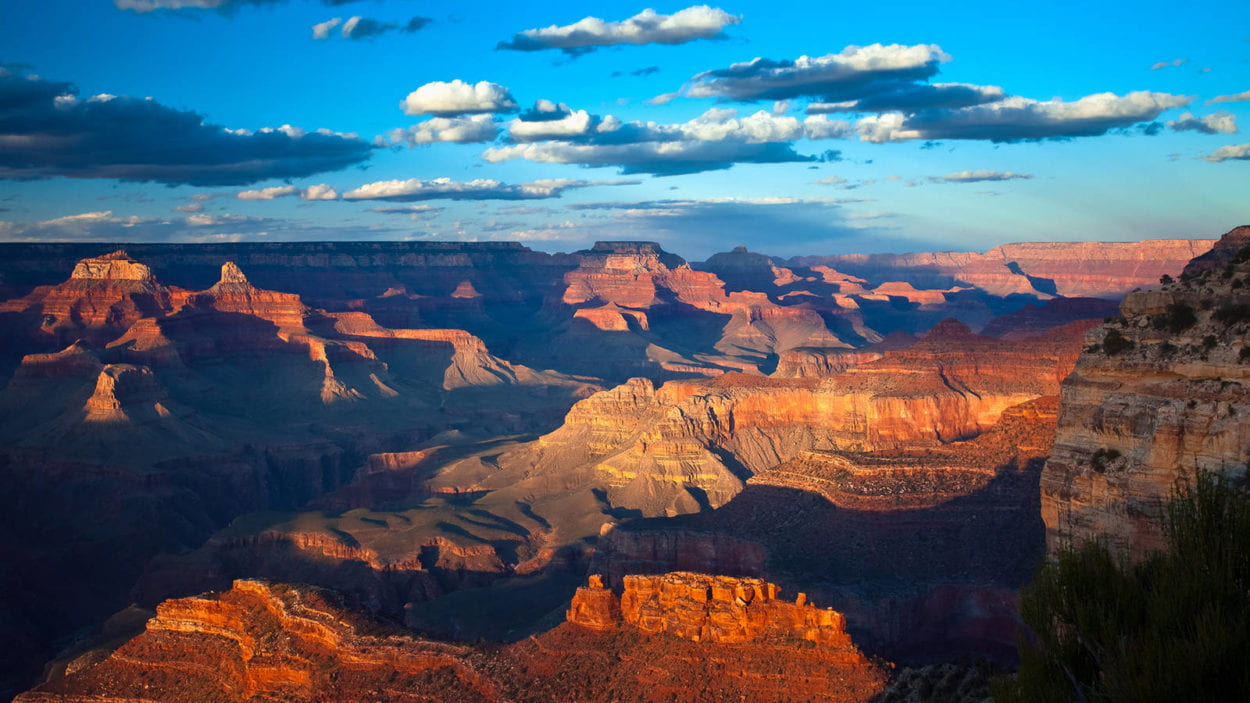
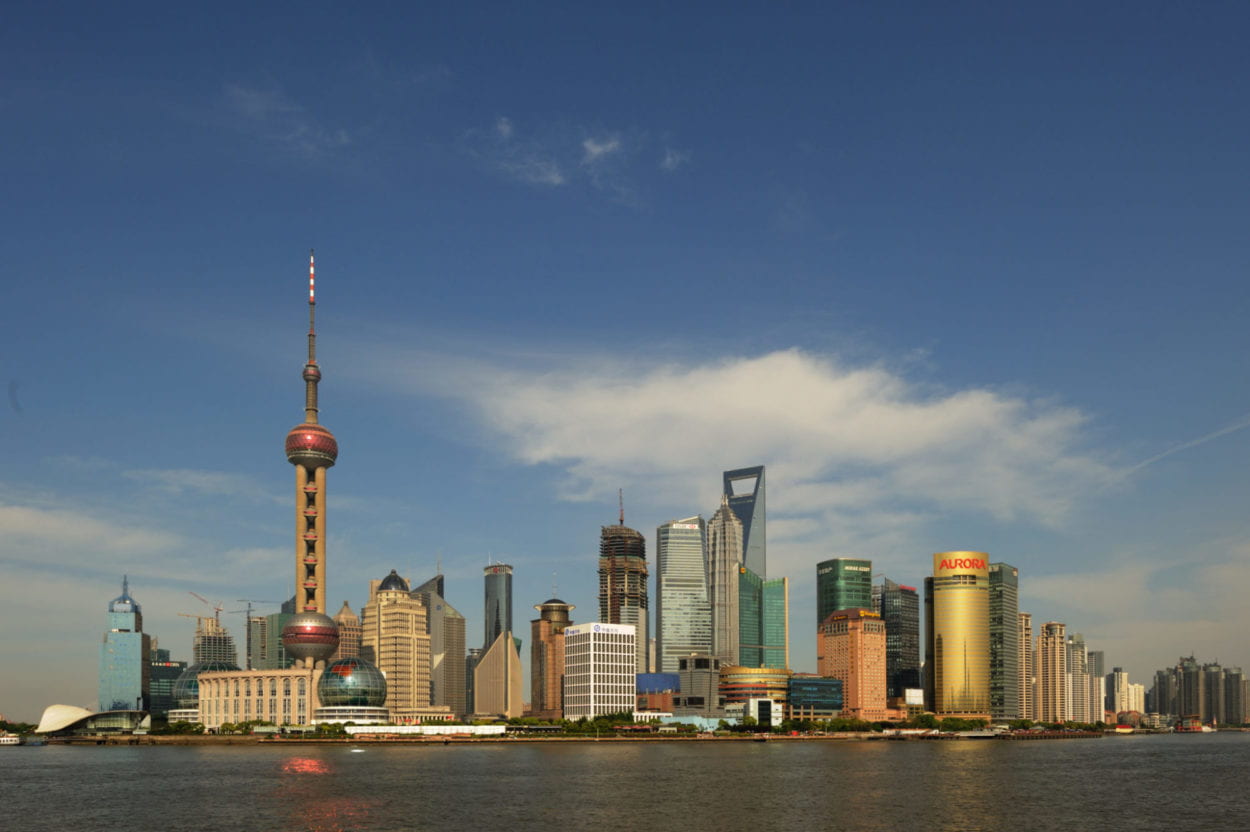
Photoshop is one of my favorite platforms to use, so I had a lot of fun with this project. I decided I wanted to juxtapose Shanghai’s skyline for this project, so I started thinking of places that look completely different from the city. The first place that popped into my mind was the Grand Canyon. I decided on this image because I thought I would easily be able to add the skyline of Shanghai to it.
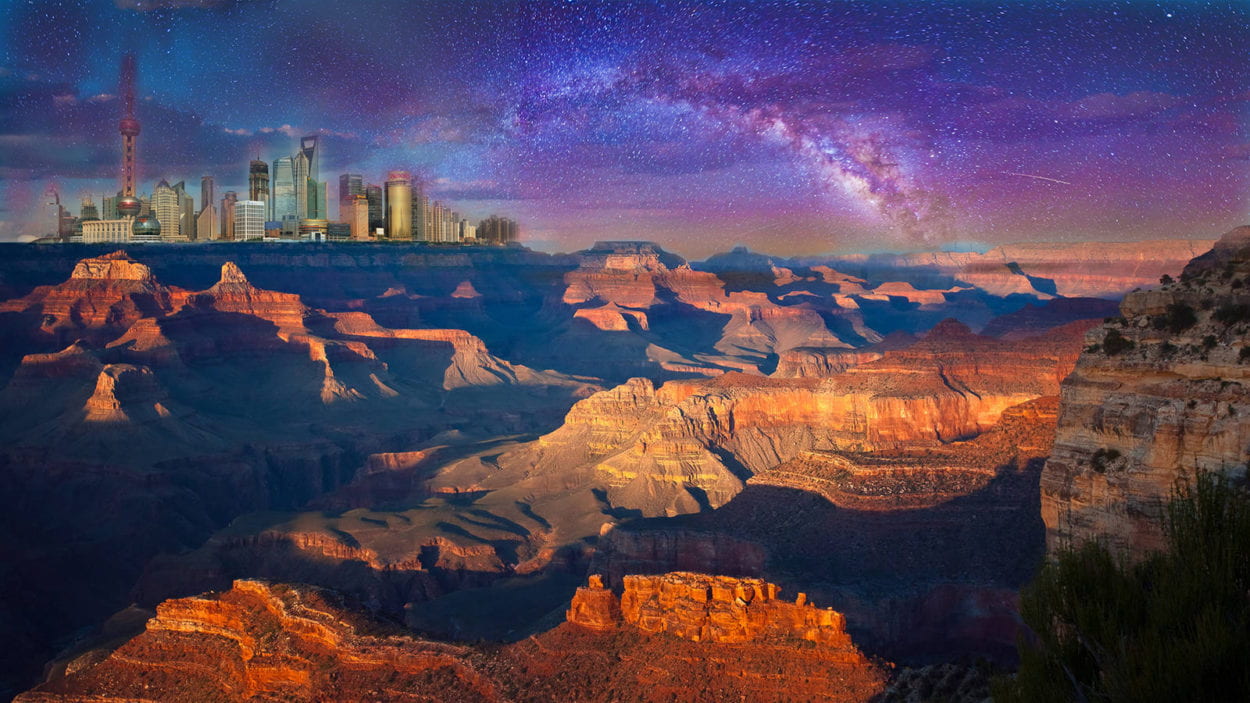
I used the image of the Grand Canyon as my first layer, made a copy of the background, then dragged the image of Shanghai’s skyline on top and used it as my third layer. Once I resized the image and placed it into the location where I wanted I went over to the layering tab and dragged the skyline layer underneath the Grand Canyon. Then I used the eraser tool with a low opacity to reveal the image of the skyline.
Finally, I chose my third image of the galaxy and layered it underneath the Grand Canyon and skyline layer. I used the eraser method again to reveal the image of the galaxy. In the end, I didn’t end up adjusting any other settings on the image such as the contrast, brightness, or saturation. I found that the three images all had similar color palates that were in unison for the most part.


