For this week’s assignments, we were given the task to create 3 custom 3D models and put them into Reality Composer. Starting off, I had a really difficult time figuring my way around and creating models in Blender. There was just a lot going on everywhere and there were so many hot keys to remember, even after watching the introduction tutorial (multiple times).
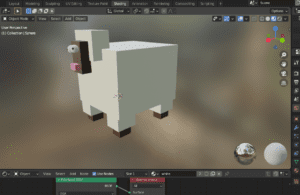
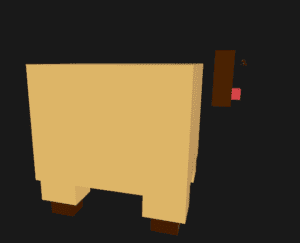
I decided to build off my idea from last week – starting off with creating a sheep! To get some inspiration, I literally just searched “beginners tutorial blender sheep” and found this one tutorial to follow. I’m giving credit to Grant here because I followed his model pretty closely. However, after modeling the sheep and adding color via the shading tab, I soon ran into a problem that only affected my sheep model. As I was exporting the model (to glb and fdx format) and putting it into Reality Converter, some parts of my model did not get exported! You can see this in my final AR experience – the main head part and eyes weren’t able to transfer over so the sheep just looks a bit scary. The first screenshot shows what my sheep is supposed to look like, but then when I put it into Reality converter to be converted into usdz format, it lost some key components. I even tried to delete the original eyes and head portion and replace it with a new duplicate, but for some reason it just wouldn’t hold. I’m not sure why this happened for my sheep because for my other farm animals, everything was fine! I was able to export the model as a glb file and convert it via Reality Converter to a usdz so that it could be read in Reality Composer.
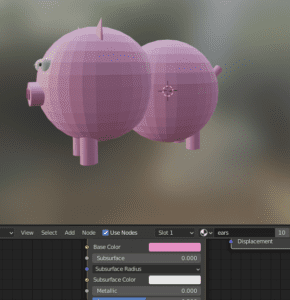
Now, onto my next two models. Recently, my brother has been raving about his Minecraft worlds and so I was inspired to create Minecraft-like models so I could brag to him about MY models. For my second model (pig), I ran into another inconvenience! I didn’t center the body portions of the pig nicely/parallel to the anchor, so I had to do extra alignment work so that the head portions and leg lined up nicely. You can see in the second screenshot below how the pig is slightly sideways. Other screenshots show the model and color.
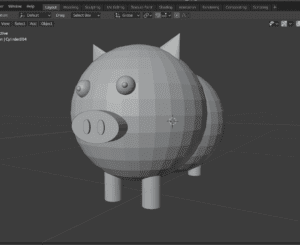
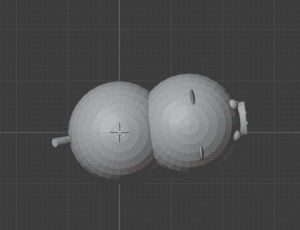
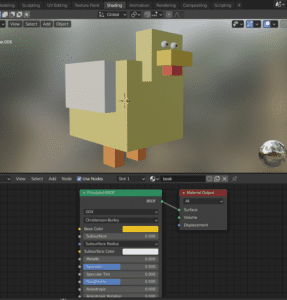
Finally, I made my chicken. However, the coloring in Blender turned out different when I converted it to usdz so I had to go back and redo the color shades multiple times before I was satisfied.
Now, it was time to put my models into Reality Composer. I wanted to create a farm animal experience so, whenever you tap on the animal, its associated sound would play. I chose a horizontal anchor. Below is a screenshot of what the experience looks like in RC.
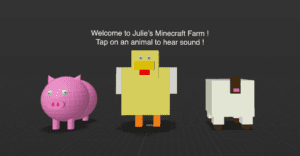
Here is the link to the screen recording.
In the future, I would have loved to develop the models a bit further but I didn’t feel like I had gotten the hang of Blender quite enough yet. I would have loved to create a swirly pig tail for my pig and even looked online for ways to do it, but there wasn’t too much information on it and if there was, it was in the older Blender versions. It also would have been really cool to add some flappy wing animations for my chicken. Even though the process was a bit overwhelming at first, I’d say this was a good start and am looking forward to really getting to know the ins and outs of Blender for future models.