In this week’s recitation, we built three basic circuits using our new Arduino kits. The materials that we needed for these projects included the following:
From Arduino Kit:
1 * Arduino Uno
1 * USB A to B cable
1 * breadboard
1 * buzzer
2 * LEDs
2 * 220 ohm resistors
2 * 10K ohm resistors
2 * pushbuttons
A handful of jumper cables
From cart:
2 * arcade buttons
1 * Multimeter (optional)
CIRCUIT ONE: FADING
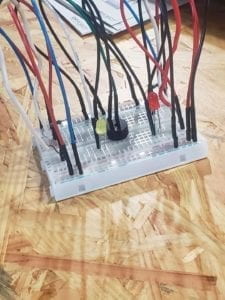
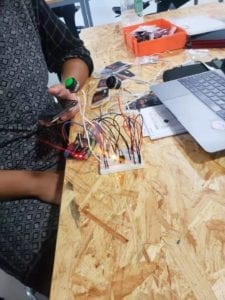
In the first circuit, the goal was to make the LED light fade on and off. There were no problems with coding because we used the example ones on Arduino, but we had some trouble placing the jumper cables. At first the light was not turning on because we had the cables plugged into the digital portion, but we later realized that the power should come from the analog output.
CIRCUIT TWO : toneMelody
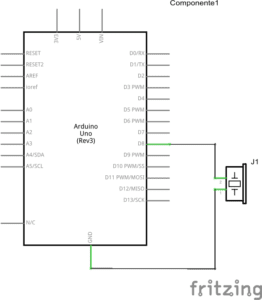
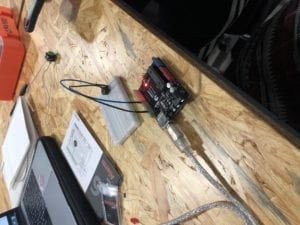
In circuit two, the goal was to use the Arduino board to make the buzzer make a sound. We did not encounter any problems with this one because plugging in the jumper cables to pin 8 and ground was straightforward.
CIRCUIT THREE: Speed Game
In circuit three, we used arduino to create a speed game. The goal was to use two buttons to play, and the person who clicked their button the most in 10 seconds won which meant their LED would flash on. While the concept of the game was easy to follow, we encountered many problems putting the breadboard together. Firstly, my partner was working on one half of the bread board while I was working on the other half so this meant we were mixing up which jumper cables we had used. We ended up starting over which helped because one of us worked on the breadboard while the other person interpreted the schematic, but then we had problems with the buzzer. We realized after a few trials that we had placed the jumper cables connected to the buzzer on both halves of the breadboard which meant it was not receiving ground or power. The next time we do this, we will start by placing the cables vertically on the same half of the board and then putting in the buzzer. Another problem we encountered was we used a 220 resistor when we should have used a 10K resistor, so the LED would not turn on.
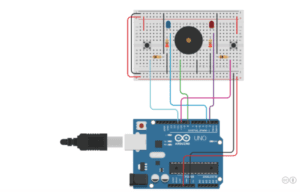
Schematic:
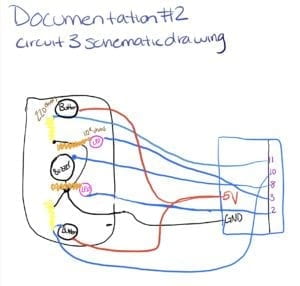
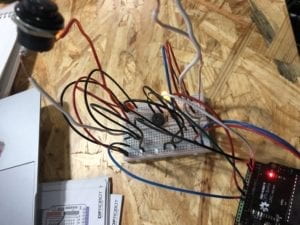
Question 1:
Interaction, as defined by the text Physical Computing, is “ an iterative process of listening, thinking, and speaking between two or more actors” which in computer terms can be thought of as “input, processing, output.” In everyday life, I realized that it is impossible to avoid using technology— in fact, I am having to interact with my computer as I write this response. When I move my finger across the trackpad or type on the keyboard, this interacts with the computer and produces an output.
Question 2:
We used a 10K resistor with the push button because we needed the right voltage to power it and this is a generic resistor to use when the output, like the button, is simple.
Question 3:
If I had 100,000 LEDs of any brightness or color, I would create Shanghai’s best selfie station in People’s Square! People could pay 20 kuai for eight minutes and control the colors and brightness to take a great picture.