1.Welding
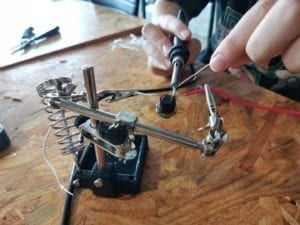
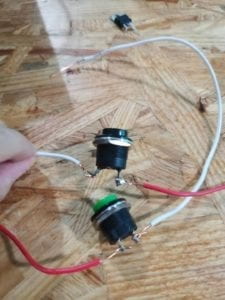
We started our work with processing the button.The button can not connected to the circuit directly,so we need to weld the button’s electrodes and the wire together to plug it into the breadboard.The process is as follows:

The first try failed because we melted the plastic legs of the button’s electrodes,and we had to pick another button.

We tried another time and we succeeded this time.
2.Assembling
In the class we took,we’d learnt that resistors are used to keep the current away from a dangerously high reading;LEDs are a kind of diode,which can only let the current pass through one direction;capacitors stores energy and release it slowly afterwards;votage regulators reduces the Voltage reading.

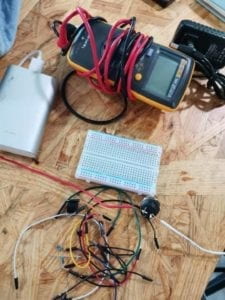
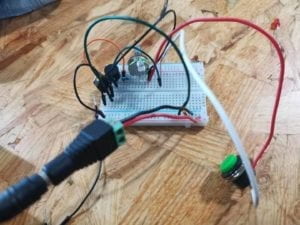
After understanding it,we assemble the circuit accordingly.
Circuit 1: Door Bell

Circuit 2: Lamp

Circuit 3: Dimmable Lamp


Complete version!
(the video is missing because its too big)
Q&A Part
Queation 1:
Yes.Though simple,the circuit i built with my partner still includes a basic imput-output system.The button and the adaptable resistor is the input conponent and the Speaker or the LED is the output conponent,responding signals from the imput side with the decline of lightness or the Beep sound.To some extent,the circuit forms a complete circle of listen-think-respond,which is the definition of “Interactive”.
Queation 2:
I think what we are goning do is to bridge the gap between the thoughts and reality,which is,more precisely,to use physical computing technique to realize what interaction design has planned.Interactive arts is a interdisciplinary subject,and the prospect of interactive arts is promising.It can be applied to many aspects like the interface of AIs,the handicapped’s convenience or maybe the untimate solution for the brain-computer interface with technologies and computer science.