Information:
Time: 13:45-15:00, 15 February, 2019
Location: 824 & 825, 8th floor, NYUSH
Partner: Sheldon Chen
Preparation:
Learning to solder:
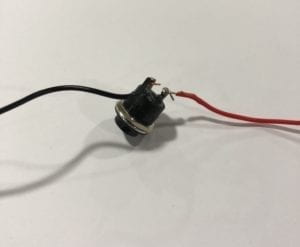
- This is our soldering button.
Our goal was learning and practicing how to solder an arcade button. We used the soldering machine to melt tin to connect the wires with the metal rings on each side of the button. The problem was that I was a little nervous. My hands were shaking so that I can not perfectly control the soldering pen. It was hard to operate because the wire was fine and the soldering pen is too sharp. When it came to the soldering part, we learned how to take advantage of the metal conduction for a better operation to make the solidified tin shiny.
Materials:
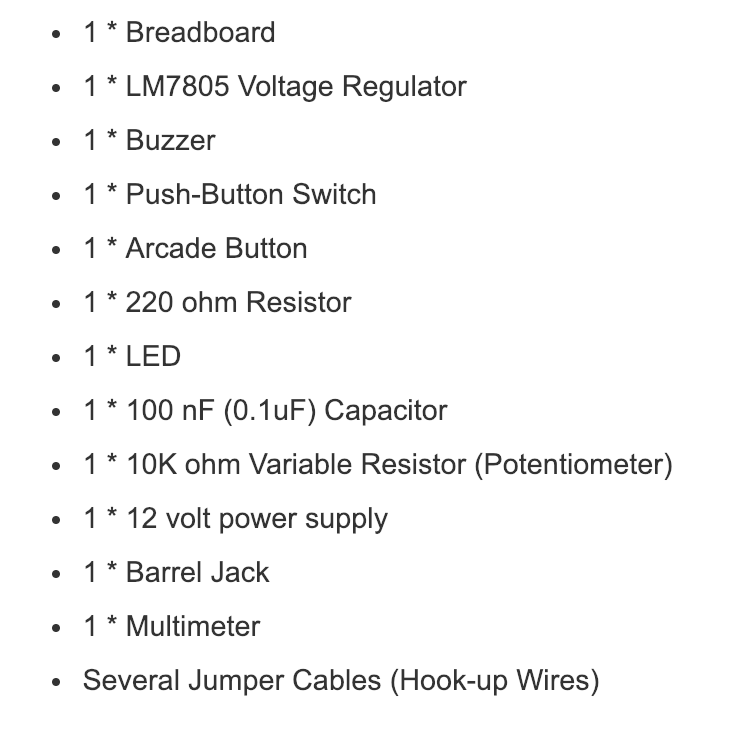
Process:
Circuit 1: Door Bell
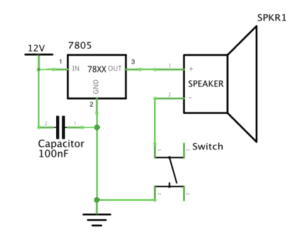
We first selected the needed materials in this circuit, which are:
- Breadboard
- Voltage Regulator
- Capacitor
- Buzzer
- Switch
- Couples of hook-up wires
- 12-volt power supply
Then we met our first and the biggest question:
How can we build the circuit according to the schematics?

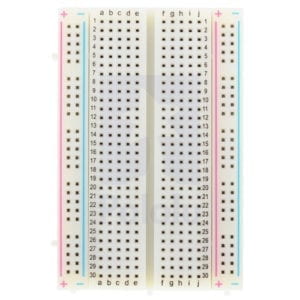
We both learned some knowledge about the circuit back to high school, but this was the first time for us to try to build it on the breadboard. What’s more, the regulator and the capacitor are two electronics we never used before.
However, we came up with an idea that we can use the numbers labeled on the wires to distinguish the direction of current flow. First, we collected the power with the regulator which was the most simple one. Then, for the regulator, we collected “2” to the cathode of the capacitor and “3” to the anode of the buzzer. By using the number, we finished the building process.
But when we turned on electricity, the buzzer kept ringing and the switch didn’t work.
So we turned off electricity and started to check. Because the buzzer was working normally, we believed that the problem was from the switch. We removed the switch and the buzzer could still work, which confirmed our suspicion. We looked twice to the schematics of the switch and found that we had collected wrong legs of the switch.
This time we changed the direction of the switch and finally succeeded!
Circuit 2: Lamp
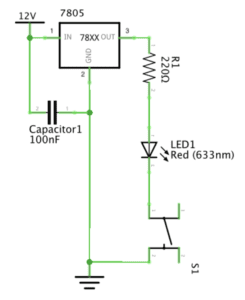
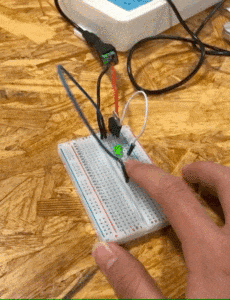
This time was easier because we already had the basic circuit. We removed the buzzer and inserted the resistor and LED. Each Leg of the resistor and LED were in a new line on the breadboard to avoid short circuit.
Circuit 3: Dimmable Lamp
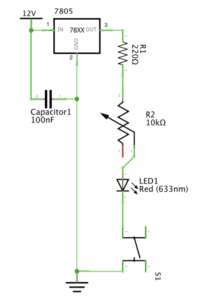
Also by distinguishing the number on the variable resistor, we inserted it into the circuit.
Extra: Dimmable Buzzer
Since there was time, why not to create something new?
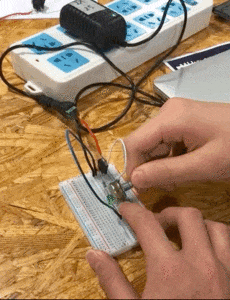
We changed the LED to the buzzer but found that no matter how we turned the variable resistor, there was no sound. We thought that it might because of the 220-ohm resistor that made the current too small. So we removed the 220-ohm resistor and BOOM!
Question 1 :
I do think there is interactivity in the circuit we built, but not a strong one. The author defines interaction as “a cyclic process in which two actors alternately listen, think, and speak”. Like the fridge in the article, in this process, the circuit listens to the pressing switch, thinks with also all the processing power of a single switch, and speaks by ringing the buzzer or turning on the LED. For me, I listen to the output of the circuit, think what I want to do next, and speak by turning off electricity or rotating switch of the variable resistor.
Question 2:
I think Interactive Design provides creativity and Physical Computing offers the possibility. Mindstorms in your mind, no matter they are cogent thinking or fantastic imagination, give birth to new ideas maintaining great creativity. Physical Computing makes those ideas real in life and keeps improving them to be better. Compounding the two is like connecting the abstract and the concrete to create Interactive Art. Like Zach’s recent project, the eye-tracking system for disabled artists. Interactive design gave him ideas and physical computing made it possible. The process might be hard. But when Interactive art finally shows up, you can see how inspired it will be, just like what Zach did.