Color Diffusion
Introduction
My final project mainly simulates the movement of colors in water and provides an interactive model for users to experience color diffusion, where they can also create some appealing visuals. Inspired by marbling, I used GUI to enable users to pick colors and adjust the viscosity of water. Along with some other choices, users can drag the mouse and explore the colors mobility.
Process
1. Basic Setup
To start building my project, I referred to Mike Ash’s paper “Fluid Simulation for Dummies”, where he simulates the motion of water in a C++ environment and raises many useful basic concepts about fluid simulation.
Here is a screenshot of his paper where he introduces three main operations in the system:
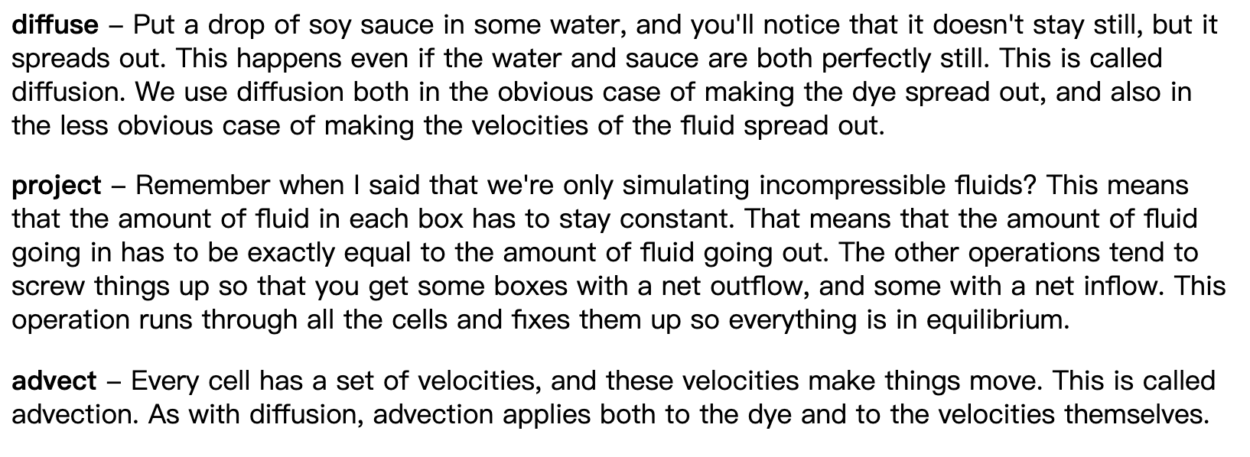
I think his description is quite clear. And from my understanding, generally speaking, these three operations respectively represent the feature of still water, the balance of the whole system, and the movement of water as well as the dye.
Also, I think Mike Ash’s concepts correspond with what we learned about flow field this semester. The different thing just lies in that for simulation here, it needs to emphasize the relation between each square and its neighbors. So, another thing that is worth mentioning is the main calculation here:
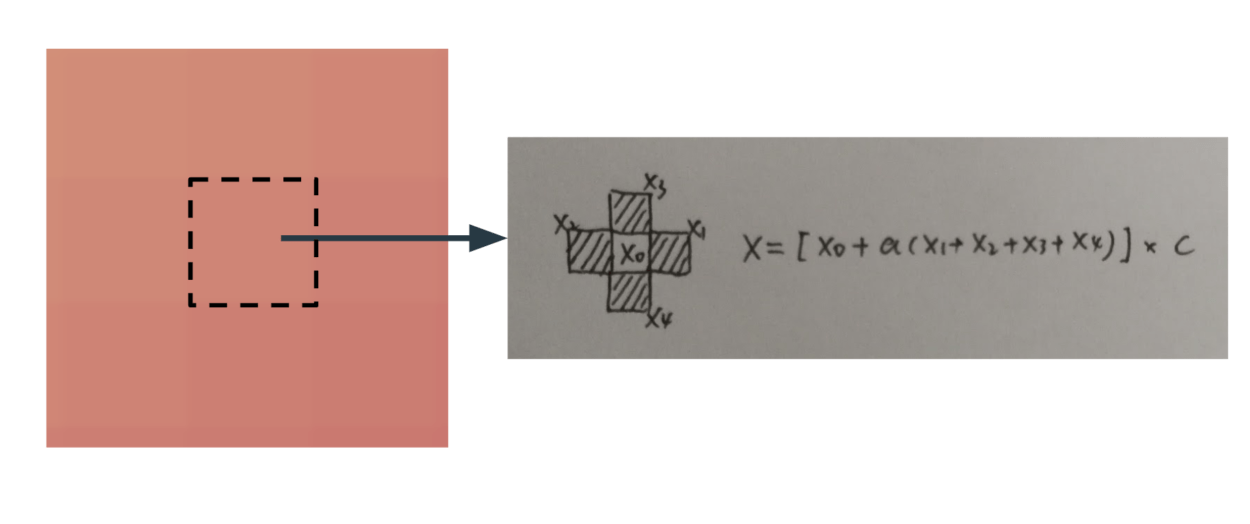
This is a simplified explanation of how they affect each other. Basically, there is some linear equation between the original value of the position and the values of its neighbors so that they can affect each other.
Mike Ash’s knowledge led me to set up my project from scratch, and I successfully got things like this:
2. Colors
Obviously, the basic setup was only the beginning, and I explored to do supplement based on the basic to make it the way I want. The first thing I added was the colors.
But at first when I tried to pick different colors, the whole color always changed together. I tried to use dictionary to track colors of each little square, but it failed. Later I though that maybe I could apply the concept of density to color to make it diffuse as well. And it worked! 🙂
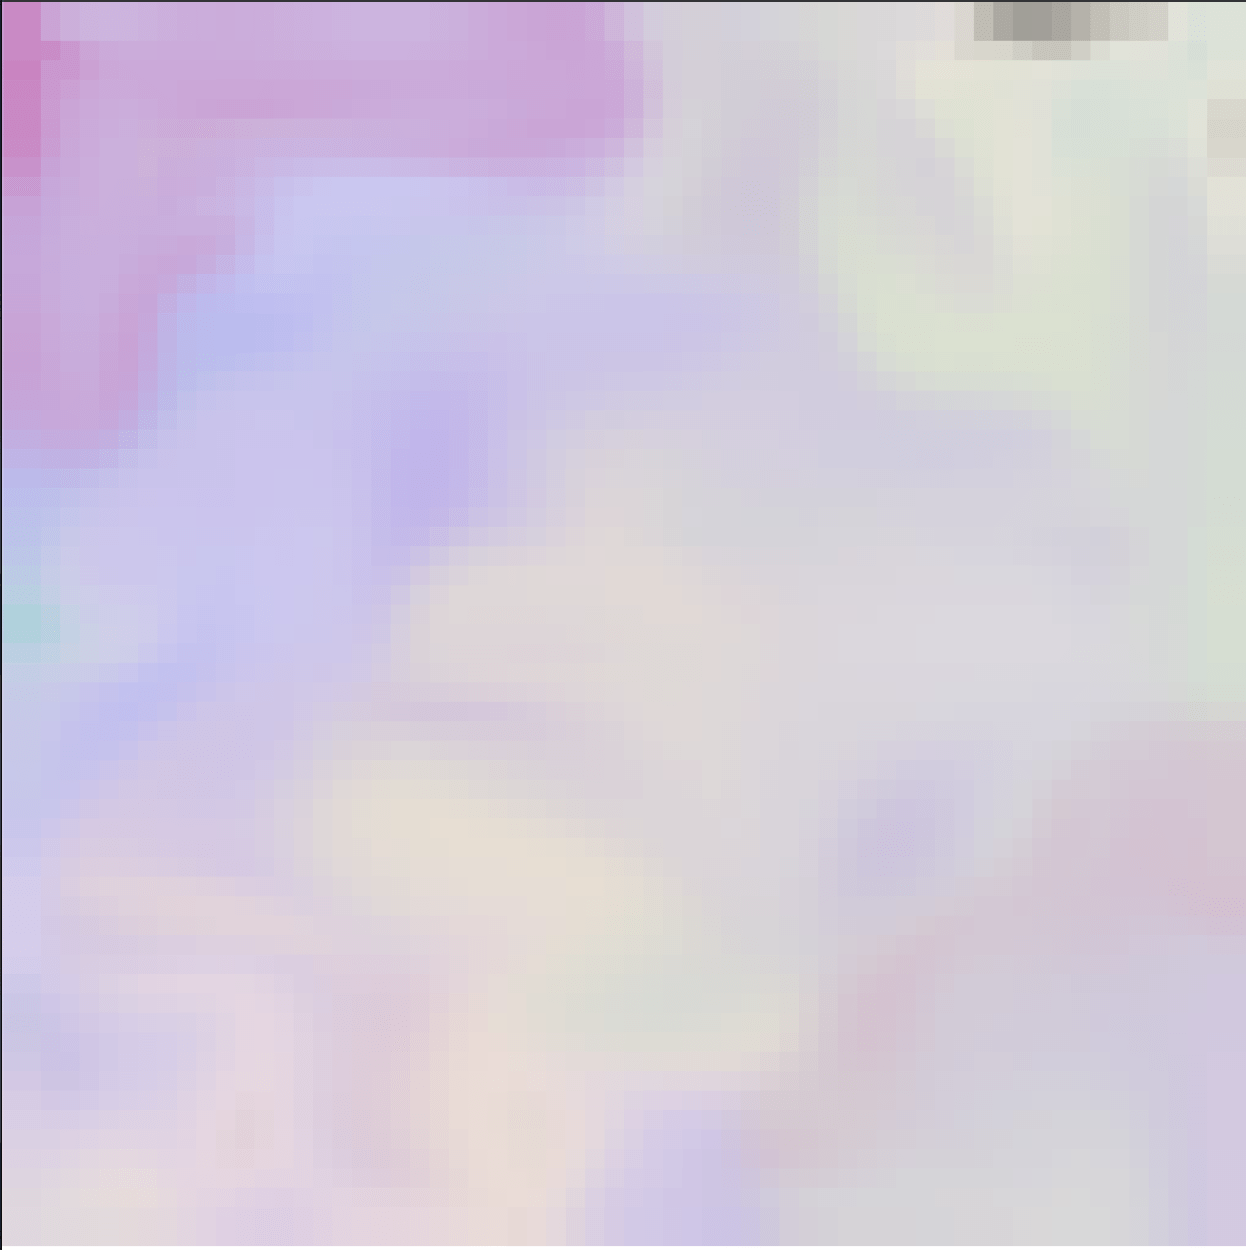
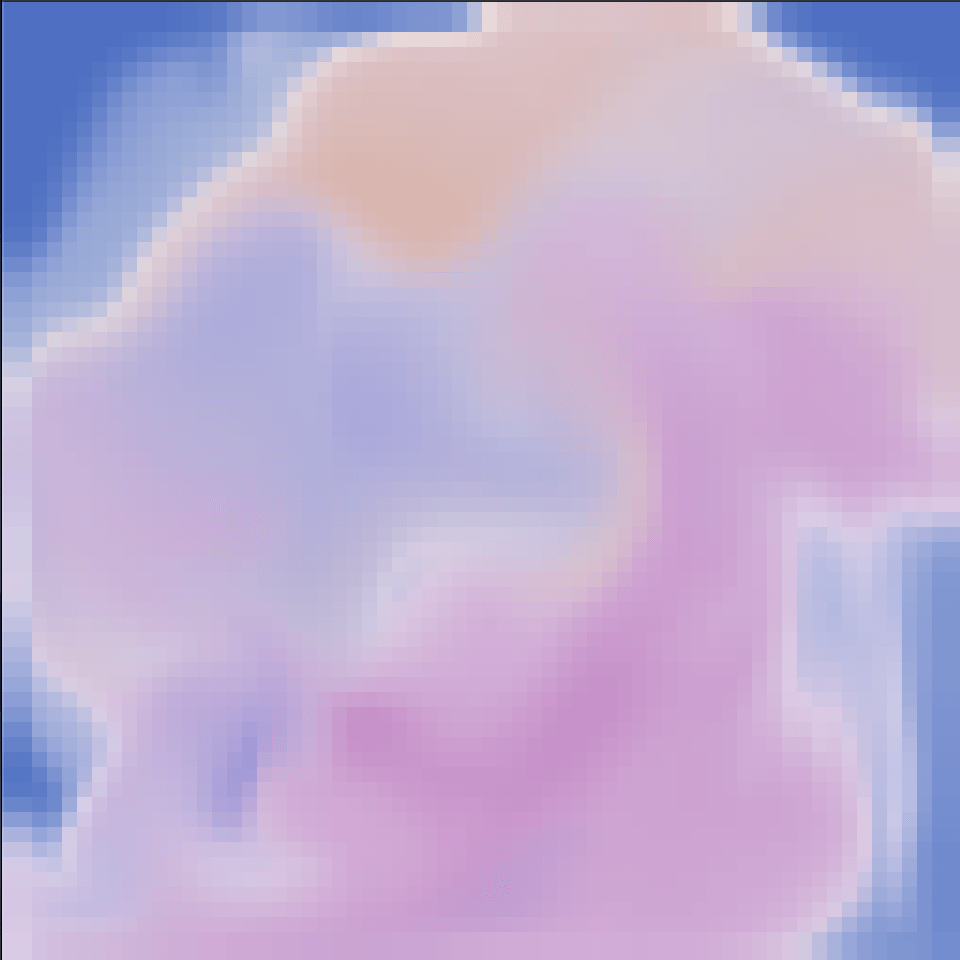
And by further applying some formula to blend the colors, I made progress like this:
3. Wave
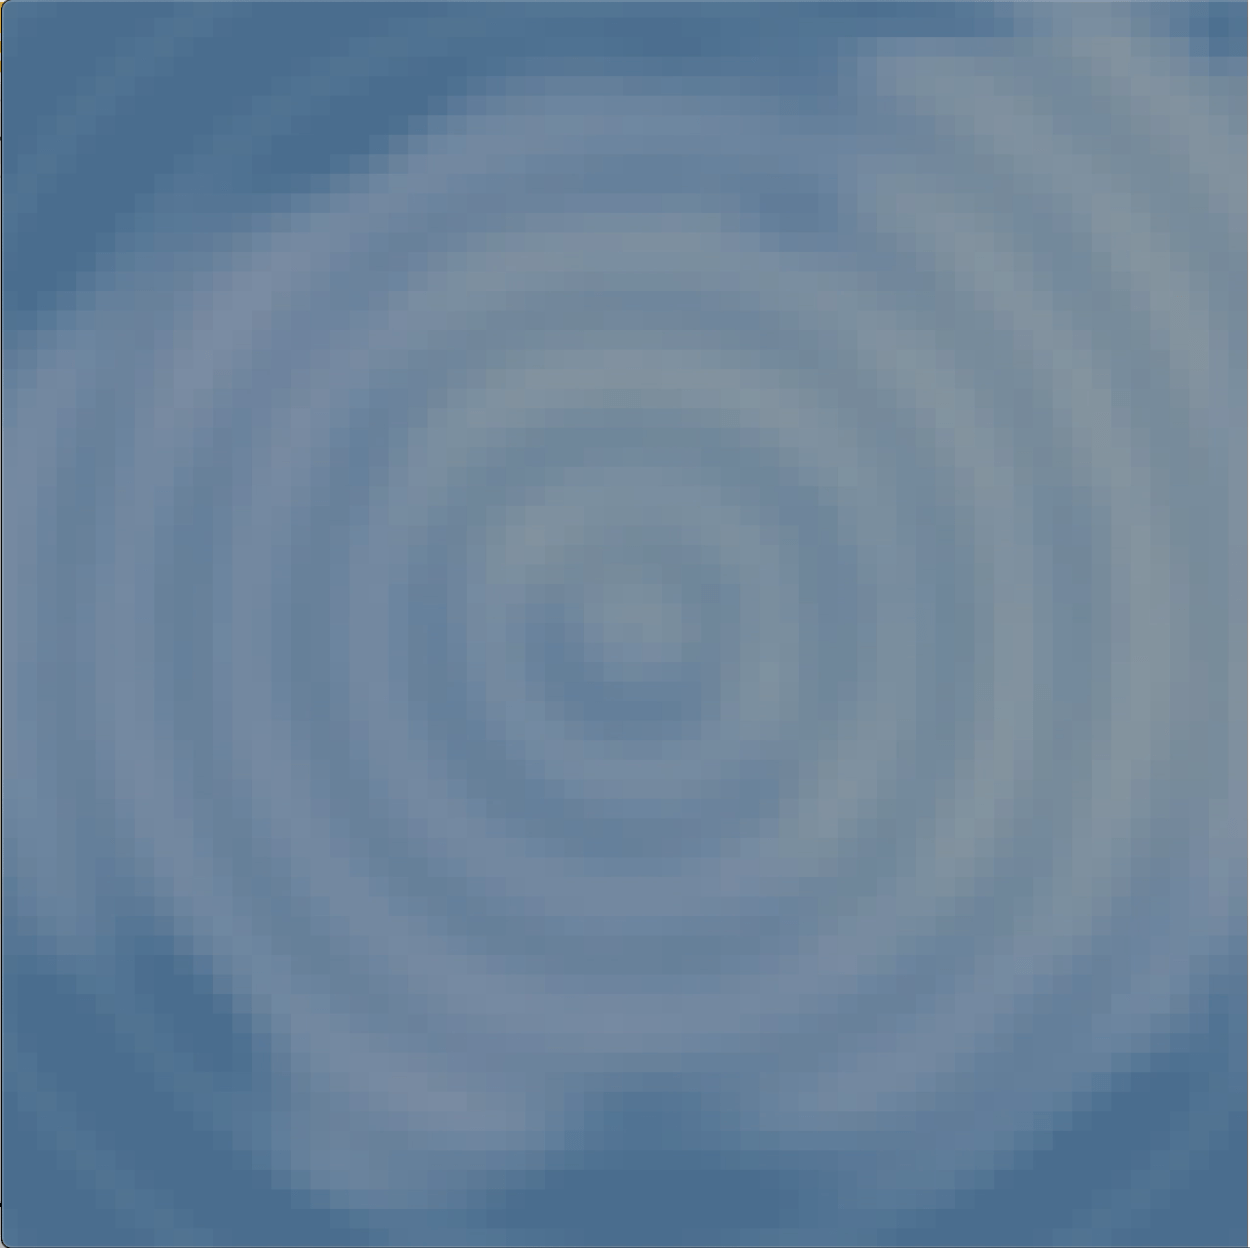
To give it more mobility as some water motion, I also added some wave that diffuses from the center. I use sin value here and it is built as an additional part, which means it won’t affect the color diffusion but can coexist with it.
4. Light Particles(“Duang”)
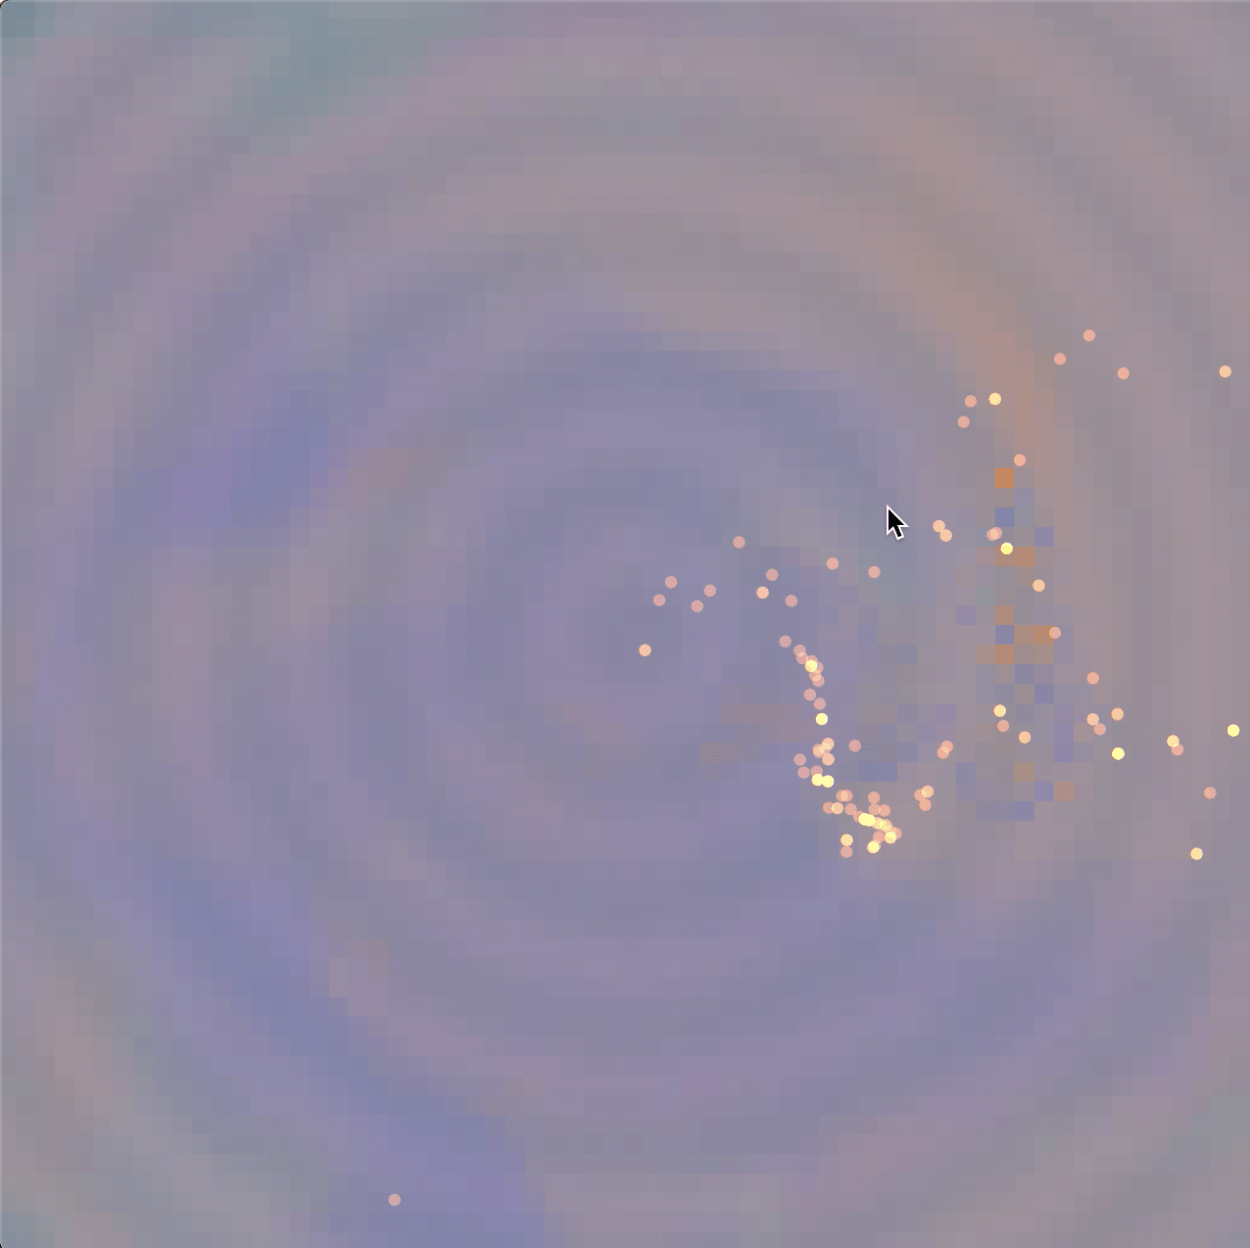
Furthermore, I provides an option where users can add some light particles, whose effect is named as “Duang” by me. It works like vehicles in flow field and will blink with noise value. The velocity of the particles depends on mouse movement and the wave movement if the wave is shown. Also, I used blendMode here.
5. Debug Mode
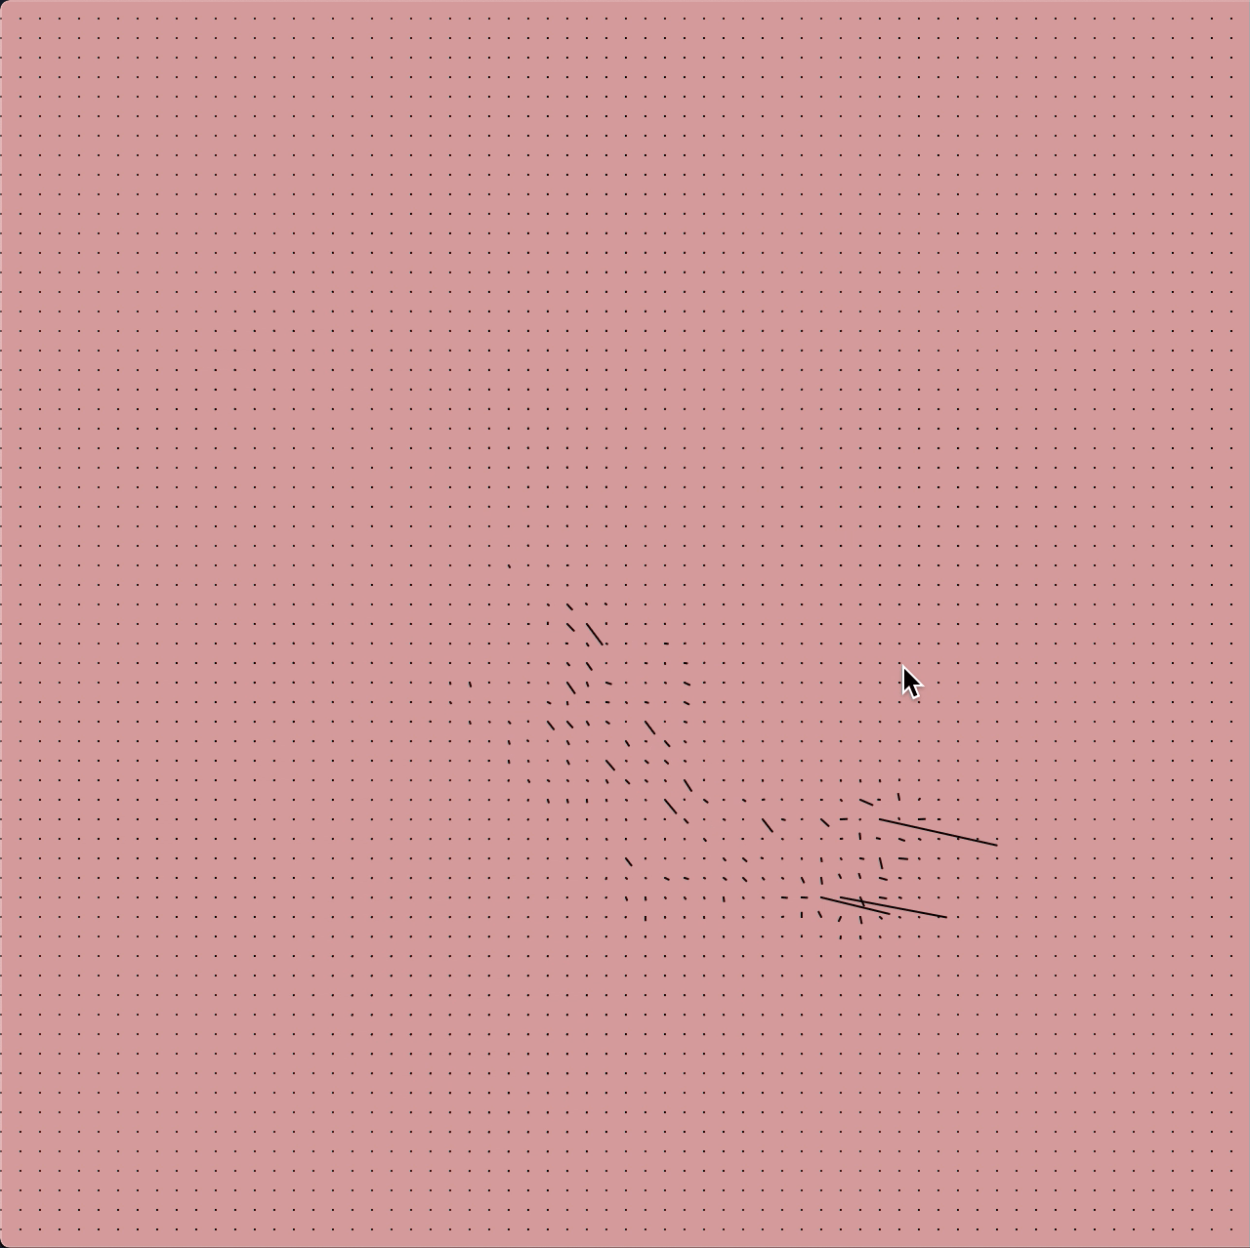
I also created the debug mode, (which I forgot to mention during the presentation.. ). Basically, it will show the velocity of the square in form of lines where users drag the mouse.
How it works
Here is a short video demo:
Further Development
- In fact, I’m not very satisfied with the formula for color blending, which makes the color shown kind of grey. So, I would like to improve it in the future.
- Also, due to the heavy calculation and the amount of squares/pixels here, the frameRate is really limited so that when users add the color, there will be some effects like mosaic. As Professor Moon pointed out, it is possible to add an extra blurred filter to make the transition more natural.