Context and Significance
My previous group project was rather a design of armor with less fundamental interactive aspects added to it, in order to portray the story and fit into the story the creativity came from within. “The suit” we had built in served more as a demonstration of what and how we actually want to create and to protect the main character from dying, and my definition of interaction and interactivity is being able to put in both mental and hands-on work/connection and the previous group project, however, could be interactive hands-on but not quite mentally since it’s only armor pieces that are demonstrated to be protective, but this time we are determined based off of specific given topics, at first the topics we discussed on actually had no similarity to what our final product whatsoever, we discussed more towards the ideas of fun hands-on multiplayer games, but when the concepts didn’t really spark for the criteria we came up with something right away and took my partner’s idea of a music playing machine, and we then suggested make a piano with buzzer and buttons and also try to have it reply the music once replicated. But on the co-feedback day, our breadboard design was still in progress, it worked the day before, but during the feedback day, there were some issues with our code since we were trying to change the code at the last second to allow 2 or more buzzers to make the music at the same time. The fundamental significance of our project is that it is used for a lot of possible things, learning music, enjoying the fun of finding unique patterns with the sounds, and revisiting the masterpiece one has created. We wanted to do this because we realized that normal pianos don’t record themselves rather others have to record it. Our project is mainly intended for teenagers/kids and people who love music or are learning music, because of the recording function and the colorful display that attracts attention.
Concept and Design
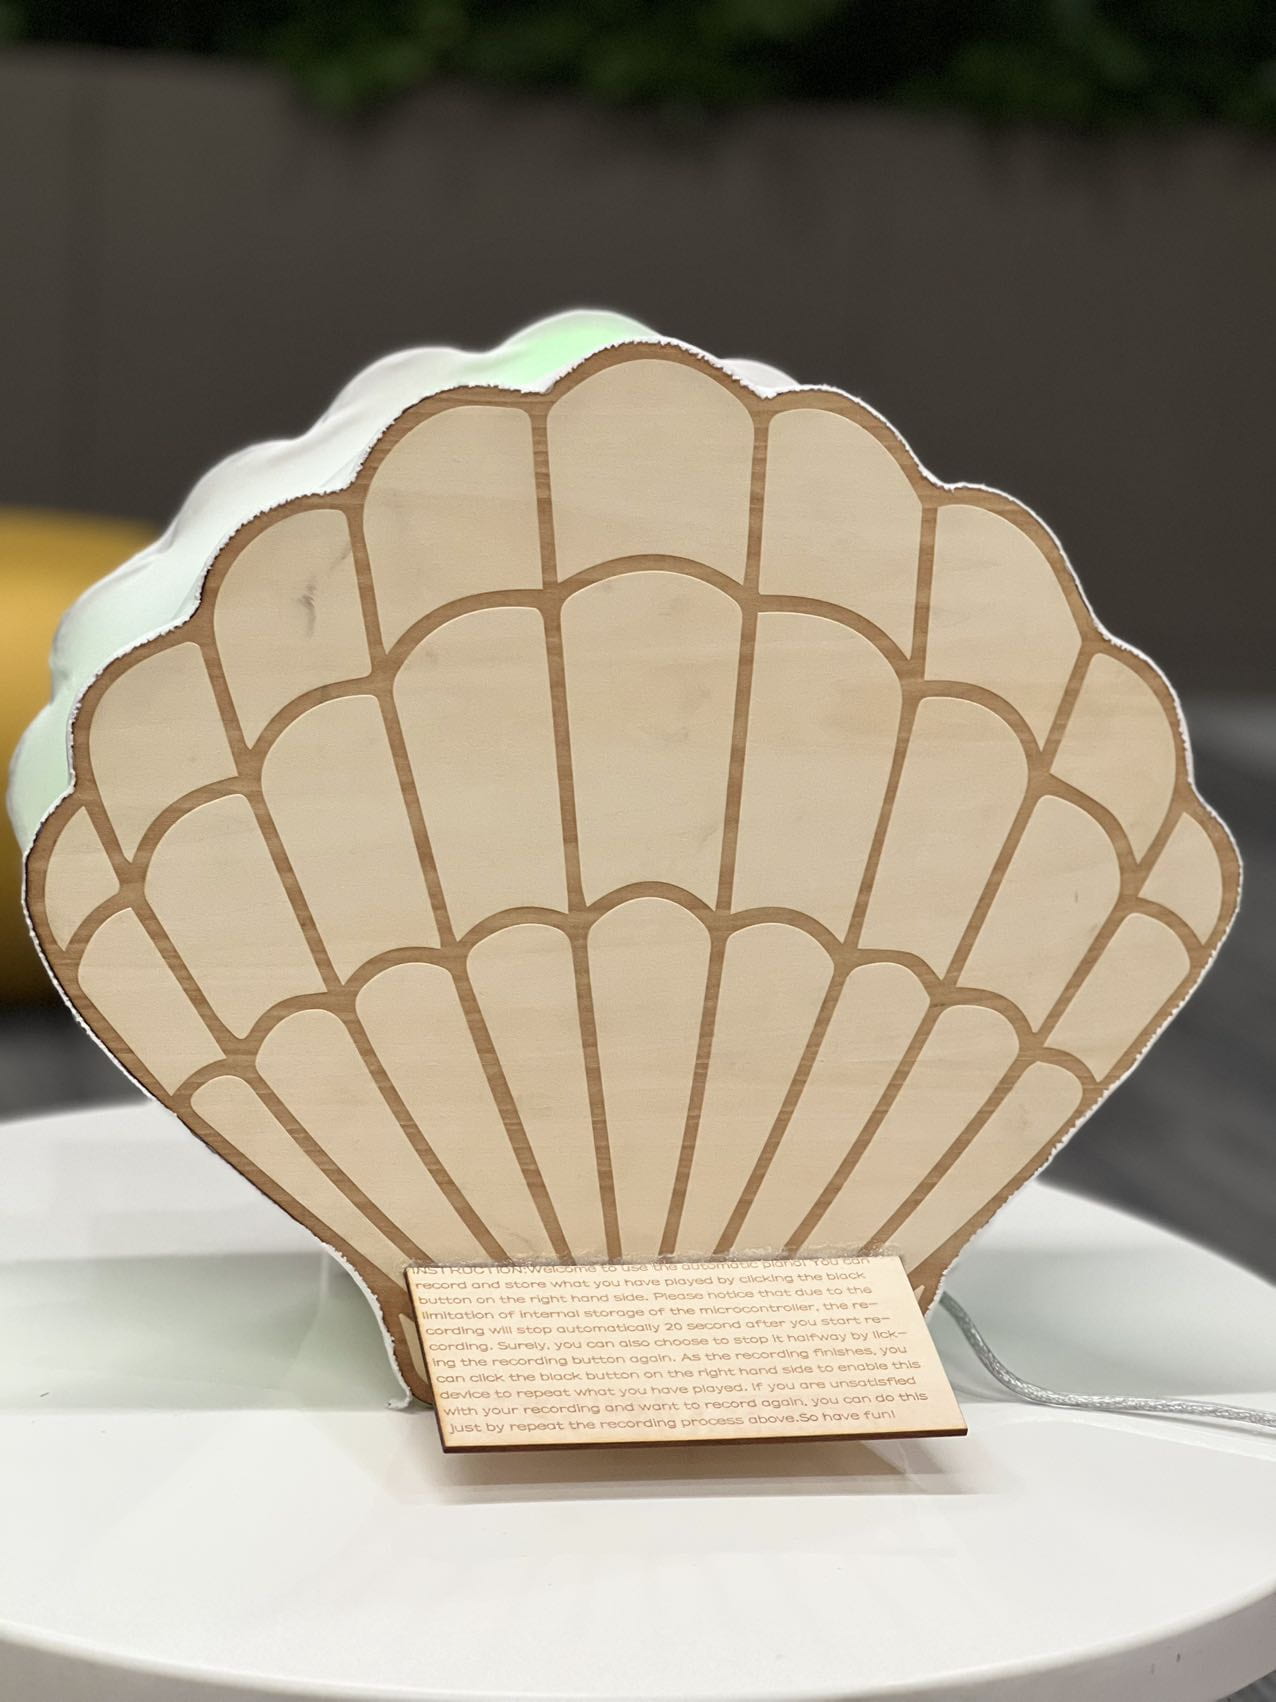
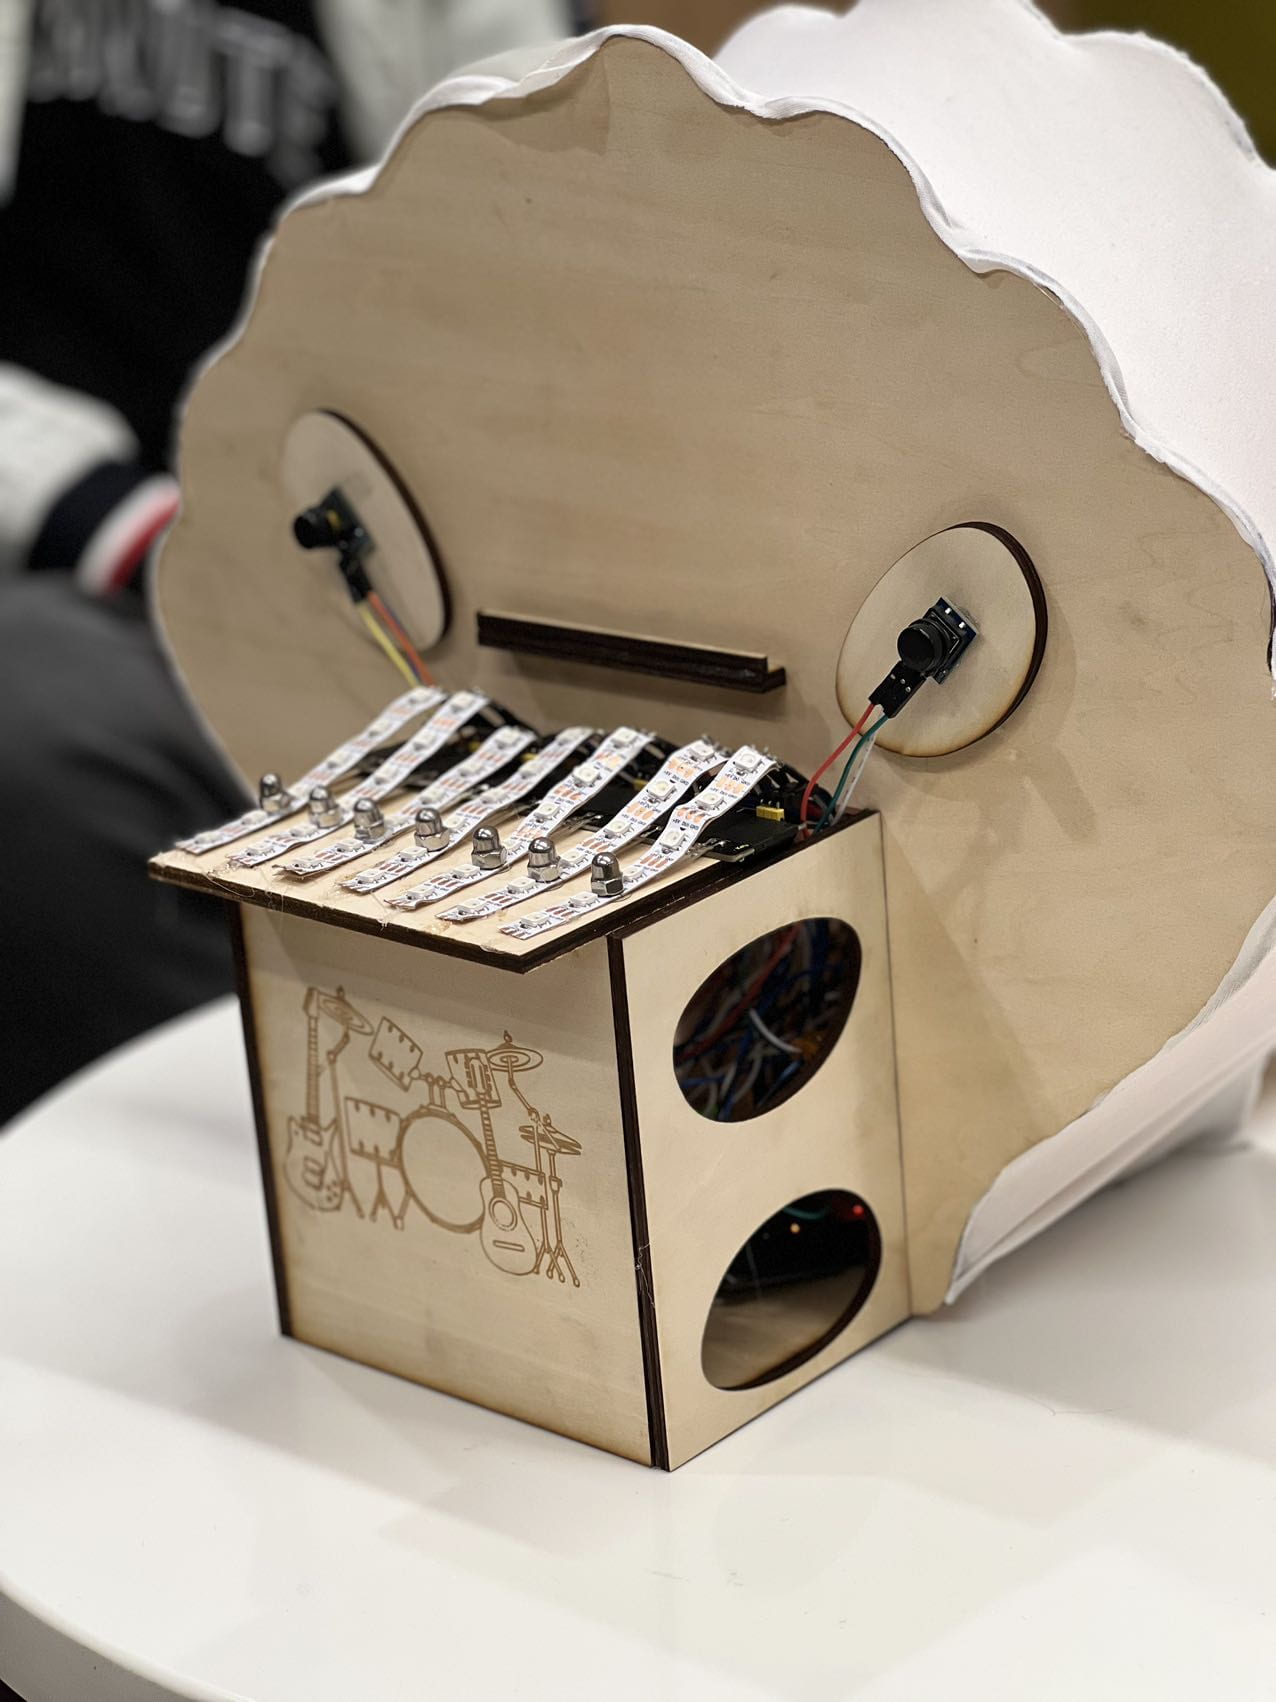
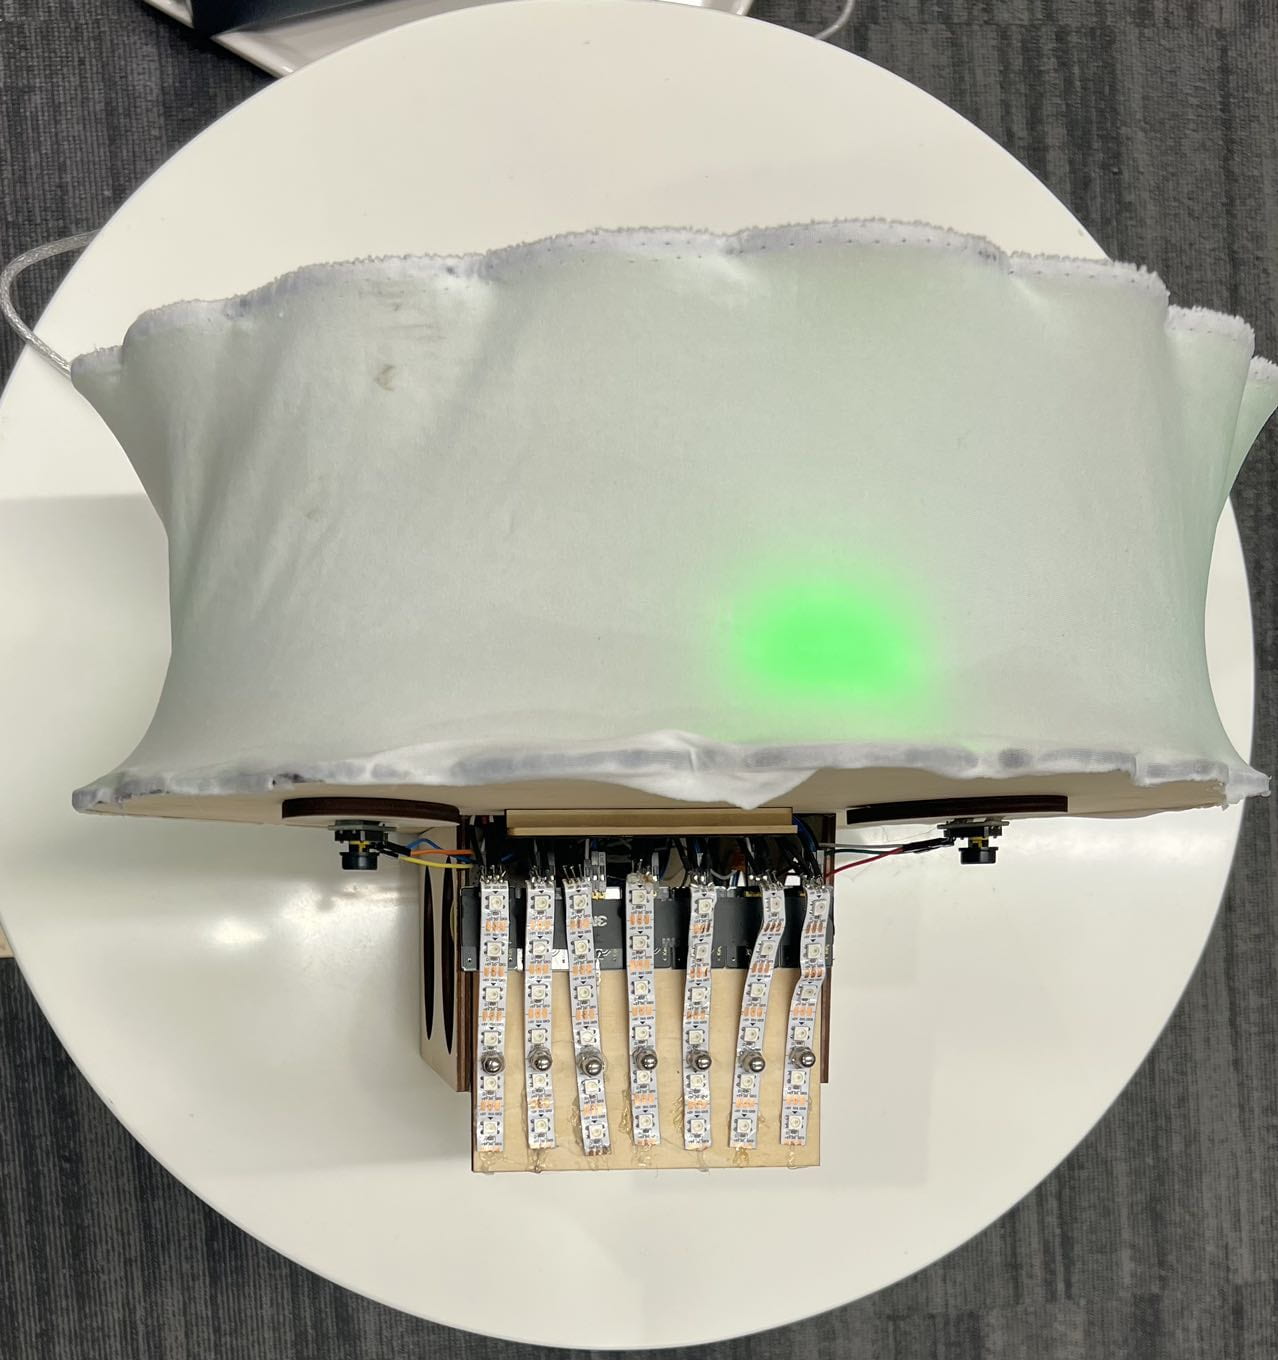
We started off the design process just with the idea of a piano in mind, but in order to make it more interesting and interactive, we decided to add the record feature with the buzzers and 2 buttons. (One demonstrates start recording/end recording and the other demonstrates play recording) Furthermore, when we were building the outer layer design for the piano we decided to use cardboard for the other layer to cover up the breadboards and the wirings, but we understood and realized that merely a button that is hard to press simply doesn’t work out for the whole project, so we concluded it to the touch sensor with light strips being glued on top, so every time we press a area of the keyboard, depending on how hard we pressed the different amount of light would light up and at the same time the tone would be played. (The recording also captures the pattern of the light) We decided to settle on light strips and touch sensors instead of just buzzers because since we are taking advantage of the laser printer, why not just create a better-looking design of a seashell, and the light sensors would be able to make that even more eye-catching. Other than the light coming from the light strips outside, there are also light strips inside which are constantly on when connected to power, it’s main purpose is to serve as a signal for the user to understand when the user can start playing and when the recording is on. (When it lights off) We rejected the idea of breadboard design even though we worked hard to also make it look decent because it simply could not compare to the design we made from wood plank and cardboard isn’t that strong so it would be manipulated easily if the user is pressing the button too hard.
Fabrication and Production
The most significant step in the production process is the coding part, where we coded with multi-variables that are used for the connection of each button to the LED light first to demonstrate if it would light up when pressed and then we changed it to buzzers and added different tones from the tone library. At first, we made it so the recording lasted only 10 seconds. The first main issue we encountered is that even though the buzzer and button works and the recording works, 2 buttons or more cannot be pressed at the same time for the buzzers to simultaneously release their tones, and it connects back to what I mentioned earlier, where during the user testing demonstration we messed up the code on the last second trying to adjust the buzzers. In order to debug we tried many different ways, either by deleting the additional addons to the previous code and changing the the function within conditionals to more specifically address the buzzer tone and the connection between each specific button, making sure the code doesn’t overlap them, after like 30 minutes of debugging, we deleted a lot of codes and found out that the main problem is within a variable that is used for the Led not the buzzer misplaced into a conditional causing the Led and the buzzer to both not function properly. My contribution to this project was less part of the coding, and more the designing and the building/testing. I created the first cardboard version of the structure to give a reference design, and helped look for debugs and add suggestion codes. (I am not good at coding) During the user testing even though we didn’t demonstrate our project to everyone, after the debugging we did demonstrate it to some, and the suggestions we received were rounded towards the loudness of the buzzer and the ideas that we could make the button bigger, which later we came to the conclusion of using light strips and touch sensor to adapt to that idea which is better in ways that it both solve the issue of hand placement of the keys and add a more unique look and function to the project as a whole. The final product came out amazingly despite the many concerns about the project ideas before because, for the first step, the challenge was that we came up with ideas that weren’t as suitable for the project proponent but we had to share an idea in class, so we discussed fast and determined on this project and then slowly renovated it for it to become what it is now.
Conclusion
Going back, the main goal of our project is to have people enjoy learning the fundamentals of music and patterns with their own imagination and hands-on experiences. This project aligns with my definition of interaction since it can bring joy and a new type of excitement when the user is using it. From seeing other people test our project I noticed almost every one of them had some type of wow expression and they couldn’t keep playing over and over again and trying new patterns. Finally, if we had more time, we would decide on taking the presentation suggestions into consideration, and make the instructions on where to press on the light strip more clear or maybe have instructions read out. The takeaway from making the project is that complexity is not the requirement to make certain things more Interactive, simpler things sometimes have the upper hand because it doesn’t need much understanding but are also fun to handle around with. From the process of creating, the project is constantly improving despite the failures or the mistakes we create since we are learning to solve them.
Appendix
The Front of “Seashell piano”:
The Back of “Seashell Piano”:
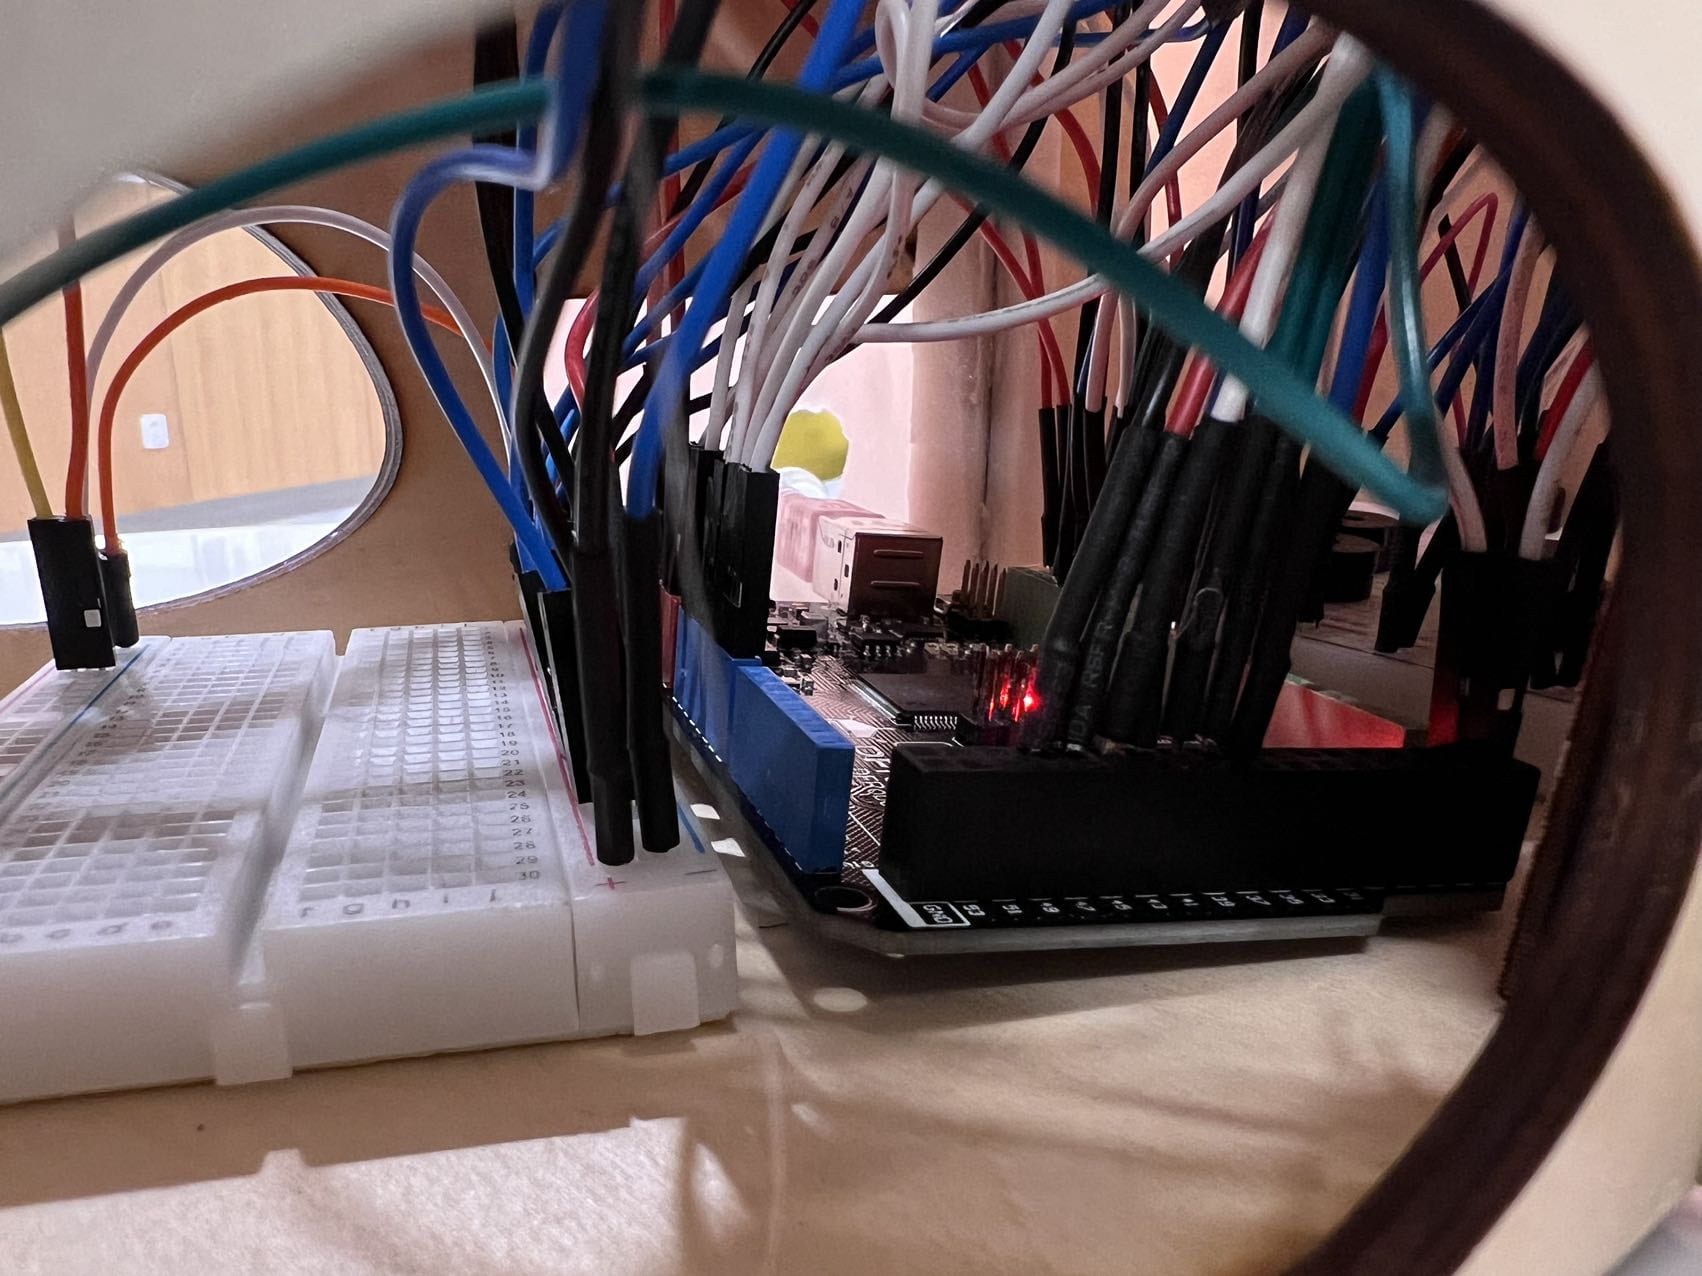
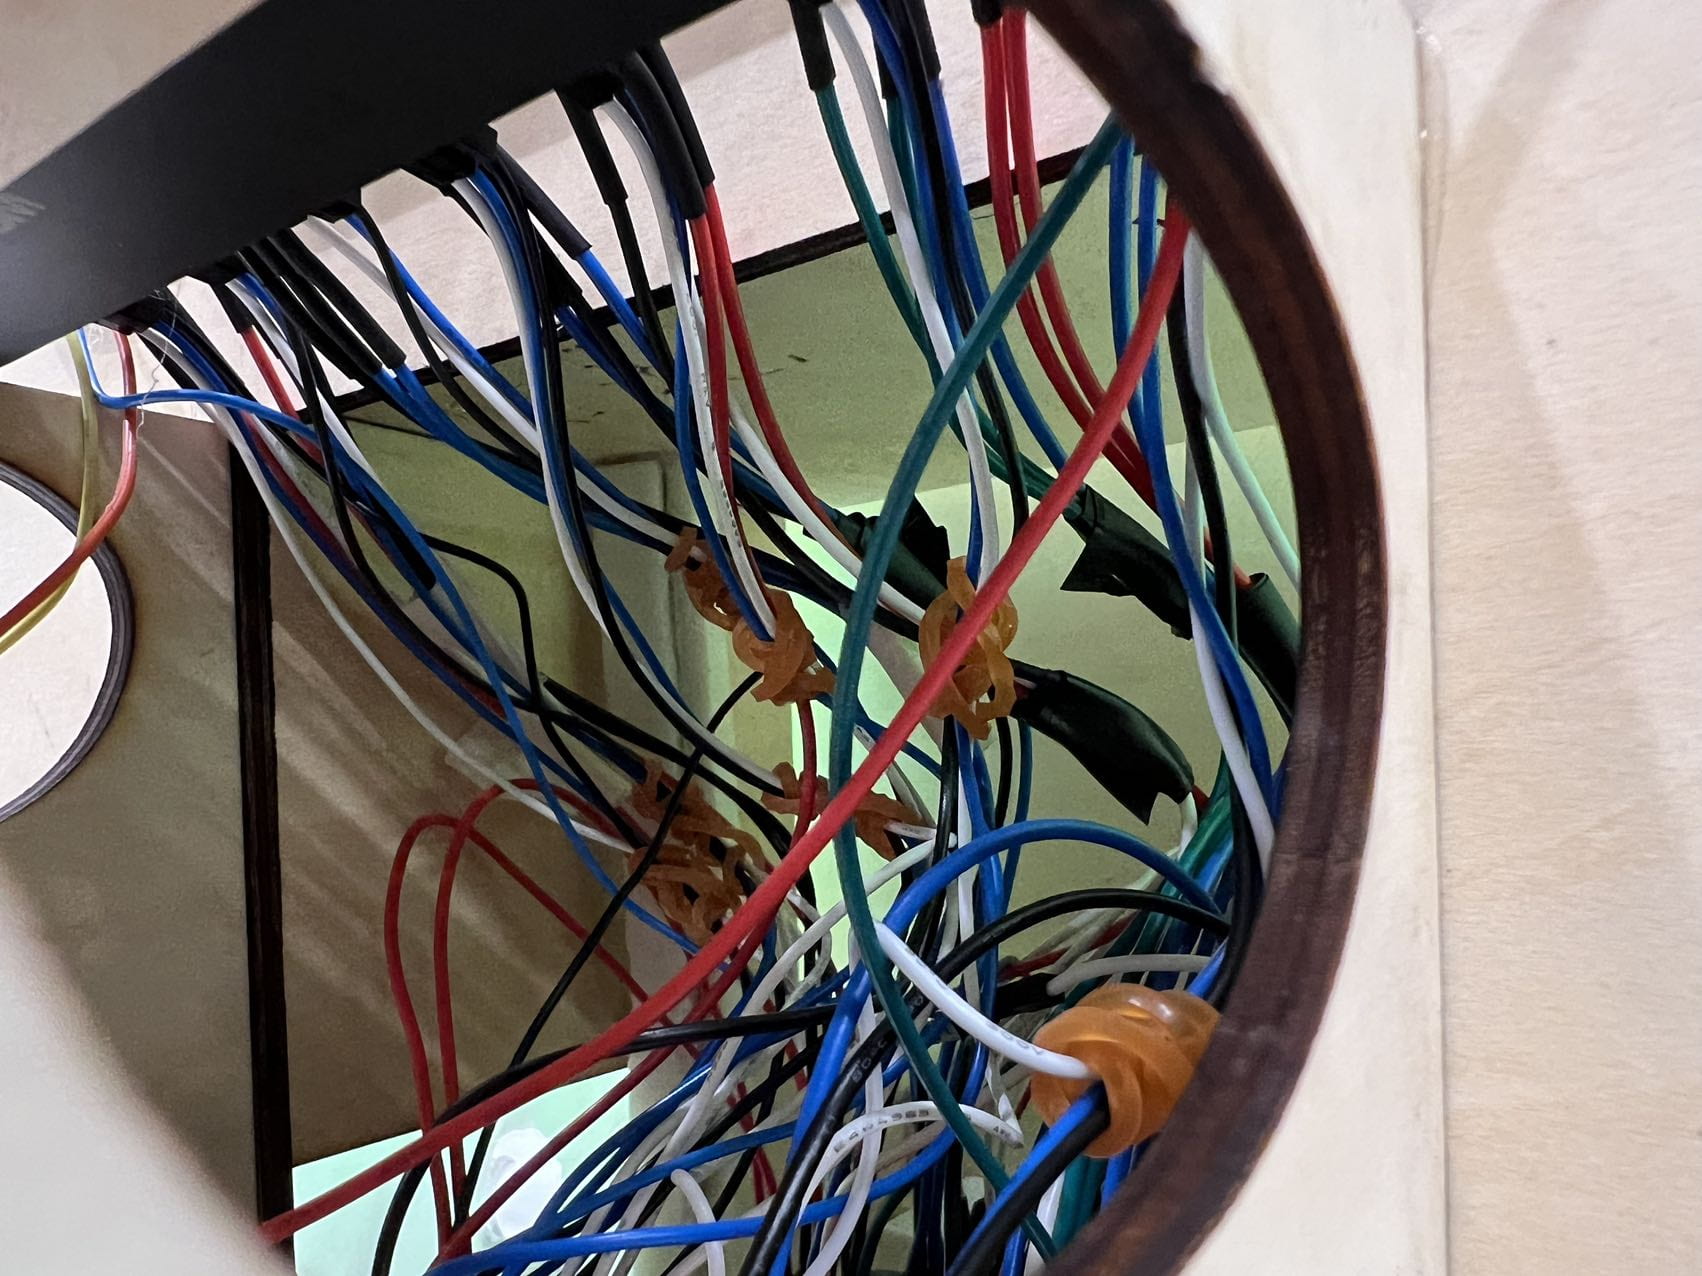
Wirings within “Seashell Piano”:
Top of “Seashell Piano”:
“Seashell Piano” Video Demonstration:
Code of “Seashell Piano”:
#include <FastLED.h>
#define NUM_LEDS_PER_STRIP 6
#define NUM_STRIPS 7
const int maxVal = 401;
int time[maxVal];
int state[maxVal][7];
int butt[7];
int buzzer[7];
int butt_pin[7] = { A1, A2, A3, A4, A5, A6, A7 };
int buzzer_pin[7] = { 36,38,40,42,44,46,48 };
int freq[7] = { 262, 294, 330, 349, 392, 440, 494 };
int timeinterval = 50;
int color_pin[3] = {2,3,4};
CRGB leds[NUM_STRIPS][NUM_LEDS_PER_STRIP];
CRGB colors[7] = { CRGB::Red, CRGB::Orange, CRGB::Yellow, CRGB::Green, CRGB::Blue, CRGB::Pink, CRGB::Purple };
long start;
int diff;
int record = 0;
int play = 0;
int record_pin = 22;
int play_pin = 23;
int pre;
int color1_pin = 2;
int color2_pin = 3;
int color3_pin = 4;
void setup() {
Serial.begin(9600);
for (int i = 0; i < 7; i++) {
pinMode(butt_pin[i], INPUT);
pinMode(buzzer_pin[i], OUTPUT);
}
FastLED.addLeds<NEOPIXEL, 13>(leds[0], NUM_LEDS_PER_STRIP);
FastLED.addLeds<NEOPIXEL, 12>(leds[1], NUM_LEDS_PER_STRIP);
FastLED.addLeds<NEOPIXEL, 11>(leds[2], NUM_LEDS_PER_STRIP);
FastLED.addLeds<NEOPIXEL, 10>(leds[3], NUM_LEDS_PER_STRIP);
FastLED.addLeds<NEOPIXEL, 9>(leds[4], NUM_LEDS_PER_STRIP);
FastLED.addLeds<NEOPIXEL, 8>(leds[5], NUM_LEDS_PER_STRIP);
FastLED.addLeds<NEOPIXEL, 14>(leds[6], NUM_LEDS_PER_STRIP);
pinMode(record_pin, INPUT);
pinMode(play_pin, INPUT);
pinMode(24, OUTPUT);
pinMode(color1_pin, OUTPUT);
pinMode(color2_pin, OUTPUT);
pinMode(color3_pin, OUTPUT);
}
void loop() {
record = digitalRead(record_pin);
play = digitalRead(play_pin);
effect(color_pin[random(0,3)]);
if (record) {
start = millis();
delay(15);
pre = 1;
for (int j = 0; j < maxVal; j++) {
record = digitalRead(record_pin);
if (record == 1 && pre == 0) { break; }
time[j] = millis() – start;
for (int i = 0; i < 7; i++) {
if (j < maxVal-1) {
butt[i] = analogRead(butt_pin[i]);
state[j][i] = butt[i];
}
if (state[j][i] > 250) { buzzer[i] = 1; }
else{buzzer[i]=0;}
lit(i, state[j][i]);
if (buzzer[i]==1) {
tone(buzzer_pin[i], freq[i]);
} else {
noTone(buzzer_pin[i]);
}
}
pre = record;
delay(timeinterval);
}
effect_end(color1_pin);
}
if (play) {
start = millis();
pre = 1;
for (int i = 0; i < maxVal; i++) {
play = digitalRead(play_pin);
if (play == 1 && pre == 0) { break; }
while (millis() – start < time[i]) {
for (int j = 0; j < 7; j++) {
if (state[i][j] > 250) { buzzer[j] = 1; }
else{buzzer[j]=0;}
if (buzzer[j]==1) {
tone(buzzer_pin[j], freq[j]);
} else{
noTone(buzzer_pin[j]);
}
lit(j, state[i][j]);
}
}
pre = play;
}
effect_end(color2_pin);
}
}
void lit(int INDEX, int LED) {
int maxNUM = map(LED, 0, 850, 0, 5);
for (int i = 1; i <= maxNUM; i++) {
leds[INDEX][i] = colors[INDEX];
FastLED.show();
}
for (int i = maxNUM + 1; i < 6; i++) {
leds[INDEX][i] = CRGB::Black;
FastLED.show();
}
}
void effect(int PIN){
for (int fadeValue = 0; fadeValue <= 1000; fadeValue += 100) {
analogWrite(PIN, fadeValue);
delay(10);
}
for (int fadeValue = 1000; fadeValue >= 0; fadeValue -= 100) {
analogWrite(PIN, fadeValue);
delay(10);
}
}
void effect_end(int PIN){
for(int i = 0; i < 5 ; i++){
digitalWrite(PIN,HIGH);
delay(100);
digitalWrite(PIN,LOW);
delay(100);
}
}